
Cyber Totem: Cool No Support Printer Benchmark
Print Profile(1)
Bill of Materials

Description
🪐 🚀 WELCOME TO THE CYBER TOTEM 🚀 🌌
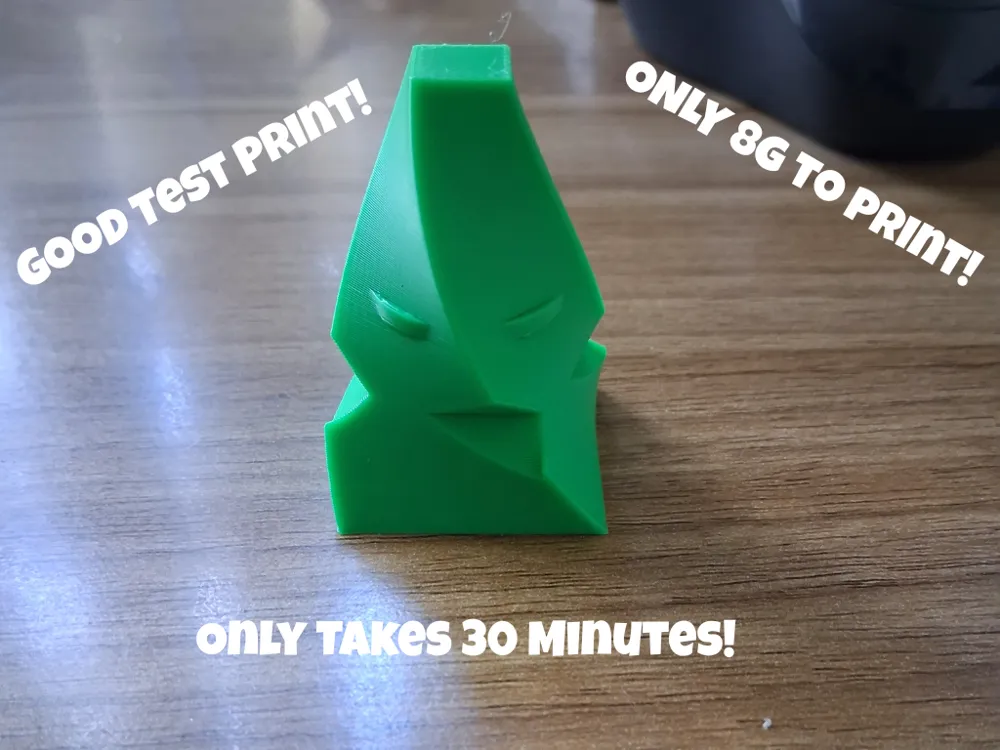
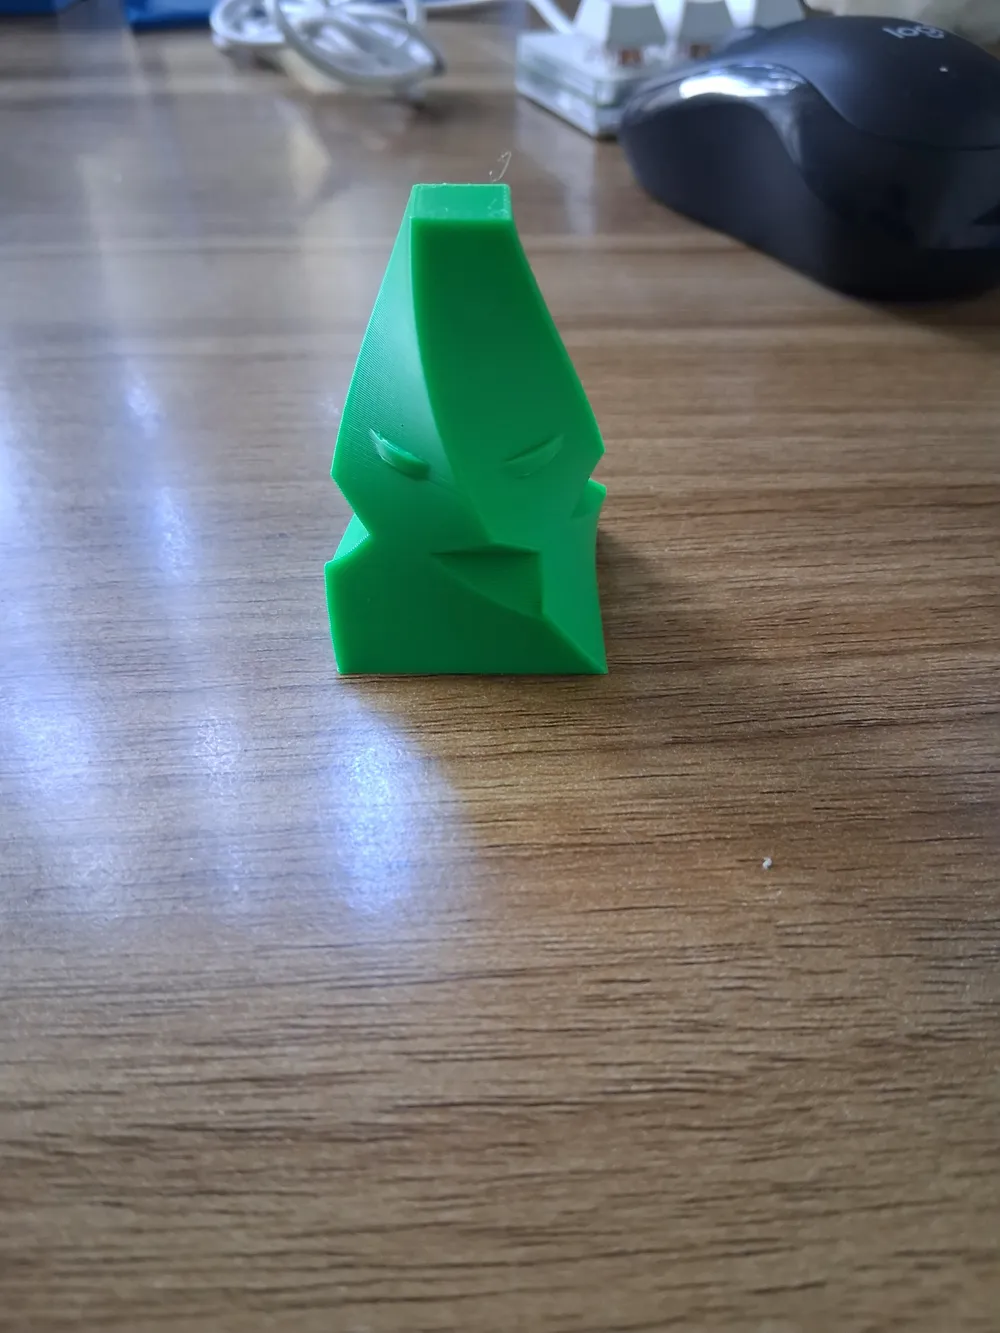
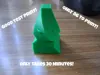
Behold the Cyber Totem—an absolute masterpiece of architectural geometry and mathematical precision! Engineered entirely from pure code inside OpenSCAD, this is not just another dust-collector for your desk. It is a futuristic artifact, a cyberpunk trophy, and a highly advanced stealth benchmark for your 3D printer disguised as high art! 🪐✨
🎨 Where Architectural Art Meets the Ultimate Torture Test 🛠️
At first glance, it looks like a prop straight out of a sci-fi movie. But underneath that ultra-sleek, twisting silhouette lies a brutal gauntlet of structural challenges designed to push your 3D printer's calibration to its absolute limits! 🏎💨
Here is the secret diagnostic checklist your printer executes while building the Totem:
- 🌀 The 90° Hypnotic Spiral Twist: A continuous, tapering vortex that demands flawless Z-axis extrusion. If your printer has any layer-line inconsistencies or wobble, this curve will reveal them instantly!
- 🕳️ The Hollow Cyber Core: Look closely inside! The center is entirely carved out to test internal cooling and inner-wall stability without using a single strand of support material.
- 📐 Geometric Window Bridges: The sharp, futuristic side-cuts introduce extreme overhangs. Watch your cooling fans go to work as they stretch hot plastic across open air without sagging!
- 🪐 The Floating Saturn Ring: A completely disconnected horizontal perimeter ring. This tests hyper-precise retraction, travel movements, and clearance as the nozzle zips back and forth between the core and the outer ring.
- 📍 The Micro-Apex Needle: The print finishes with a razor-sharp point at the very top. This tests your minimum layer time settings—proving whether your cooling can freeze the plastic before it turns into a melted blob!
📊 Optimized Print Profiles
This model is highly optimized for fast, reliable printing on machines like the Bambu Lab A1, A1 Mini, P1S, and X1C. Use these settings for the best results:
| Setting | Recommended Value | Why It Matters |
|---|---|---|
| Supports | NONE ❌ | The geometry is 100% self-supporting. |
| Layer Height | 0.12mm to 0.20mm 📐 | Use 0.12mm for a hyper-smooth liquid-metal look, or 0.20mm for speed. |
| Infill Density | 10% - 15% 🧱 | Keeps the print lightweight and saves filament. |
| Infill Pattern | Gyroid or Cross Hatch 🔄 | Provides excellent structural strength for the twisting walls. |
| Wall Loops | 2 to 3 🪵 | Ensures crisp geometric edges and strong outer surfaces. |
| Top/Bottom Layers | 4 or 5 🔝 | Guarantees a perfectly solid base and flawless roof layers. |
| Filament Choice | Silk, Matte, or Coextrusion 🌈 | High-contrast filaments make the light bounce beautifully off the shifting angles. |
🔮 This is a fully made from OpenSCAD. Drop a comment if you want different twist variations, and if you print one, smash that "Upload Make" button! I want to see your cleanest filament colors shining on this totem! 🔮
License

You shall not share, sub-license, sell, rent, host, transfer, or distribute in any way the digital or 3D printed versions of this object, nor any other derivative work of this object in its digital or physical format (including - but not limited to - remixes of this object, and hosting on other digital platforms). The objects may not be used without permission in any way whatsoever in which you charge money, or collect fees.


Comment & Rating (0)