
Oscillating Desktop Fan
Print Profile(1)

Description
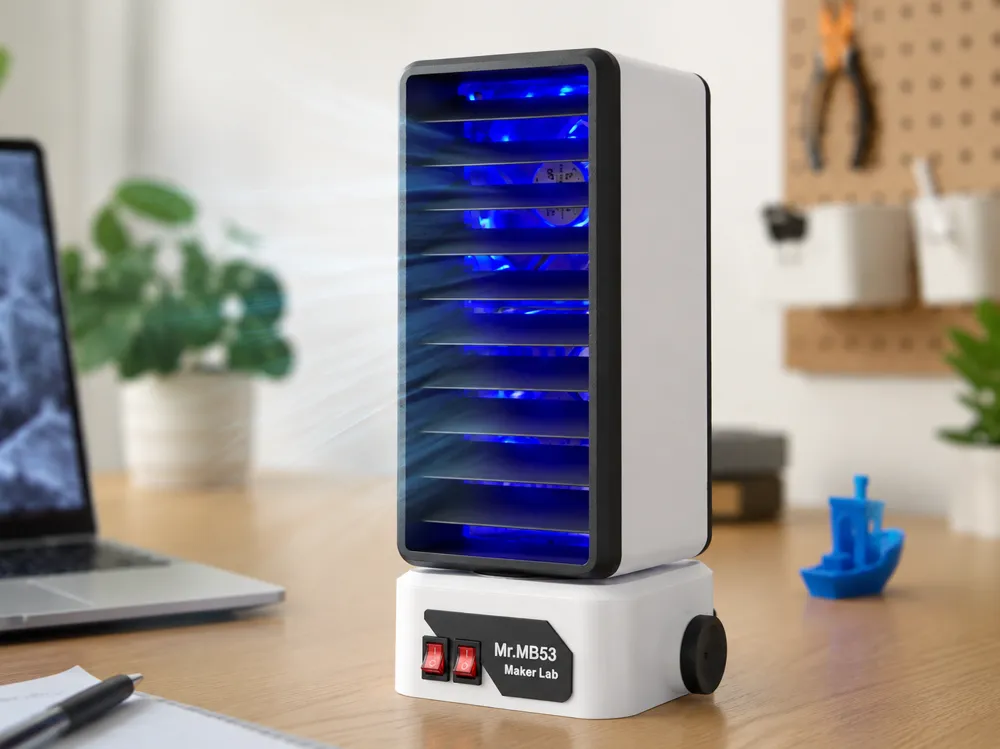
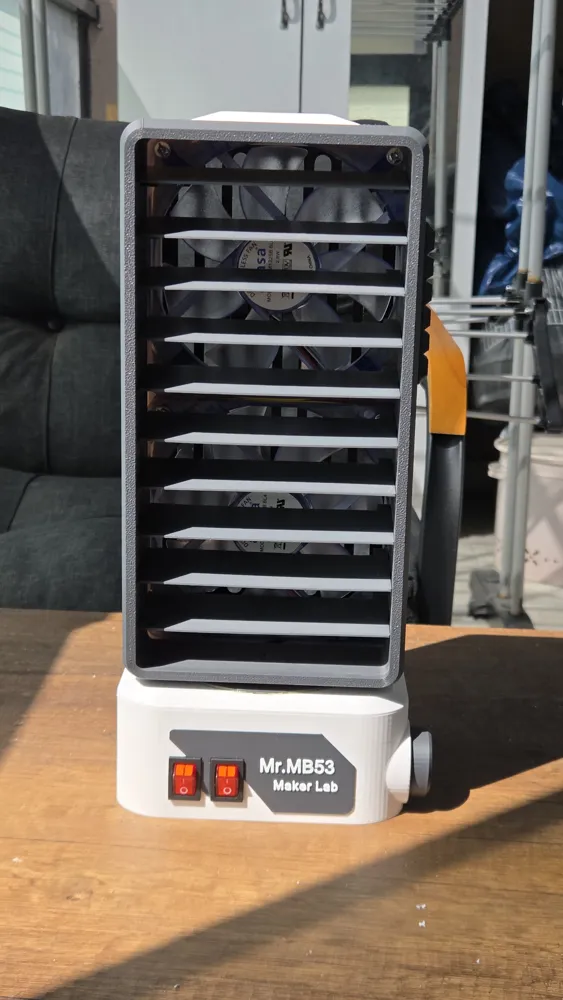
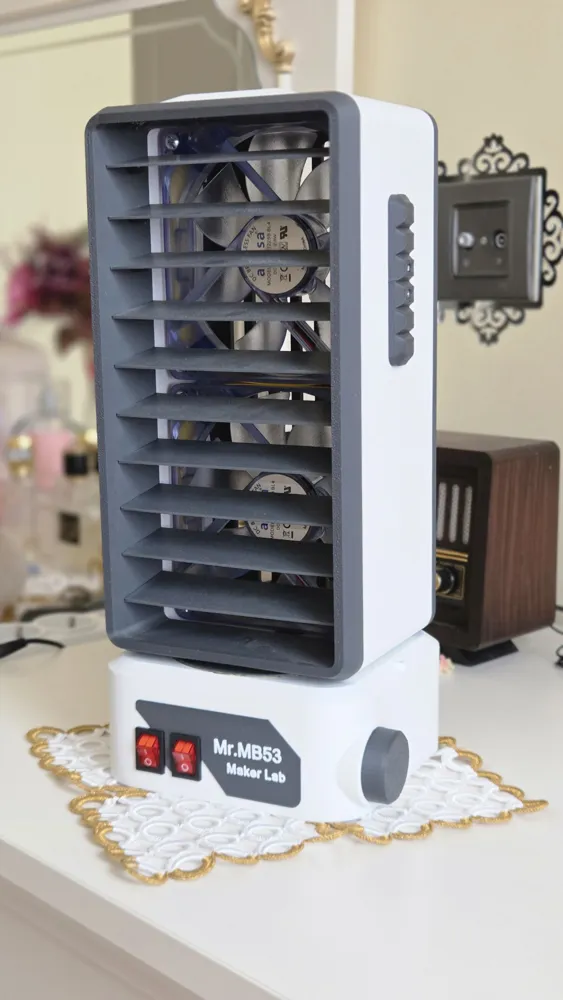
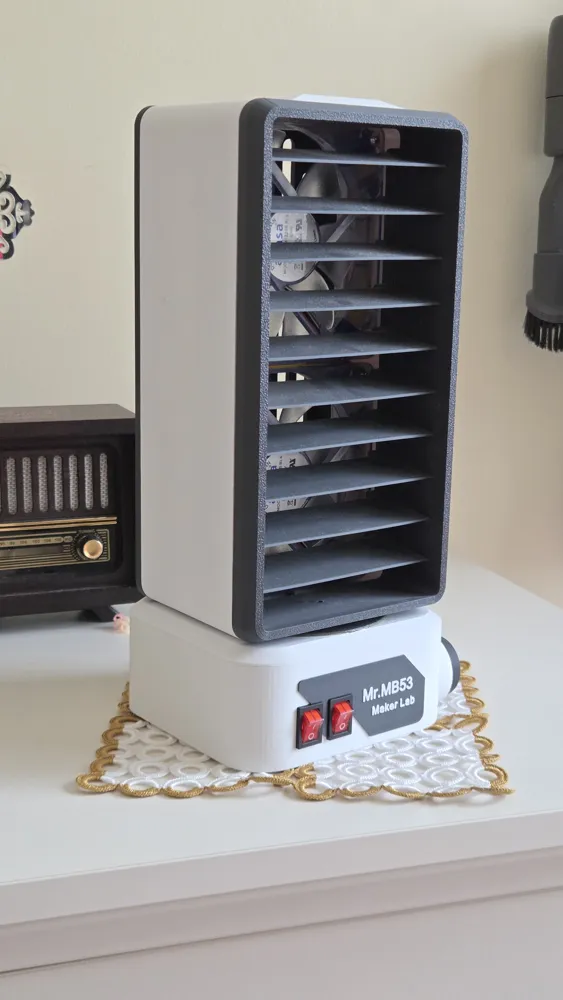
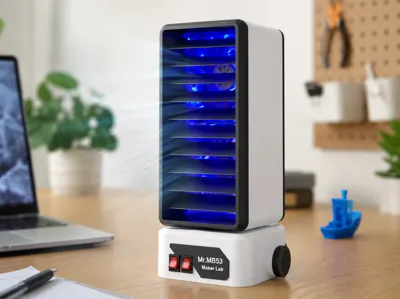
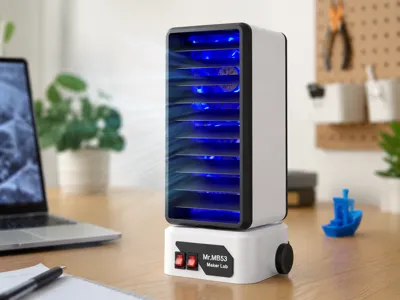
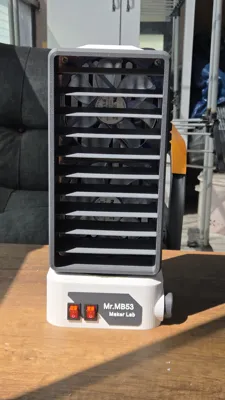
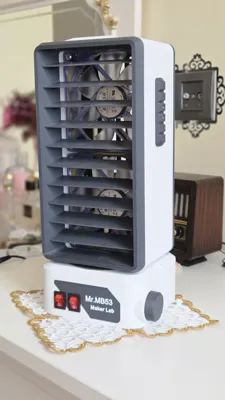
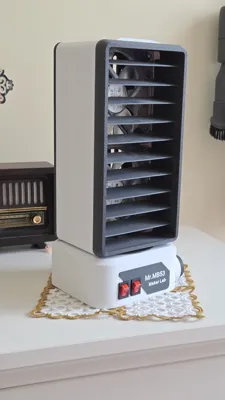
Oscillating Desktop Fan – 3D Printable Design
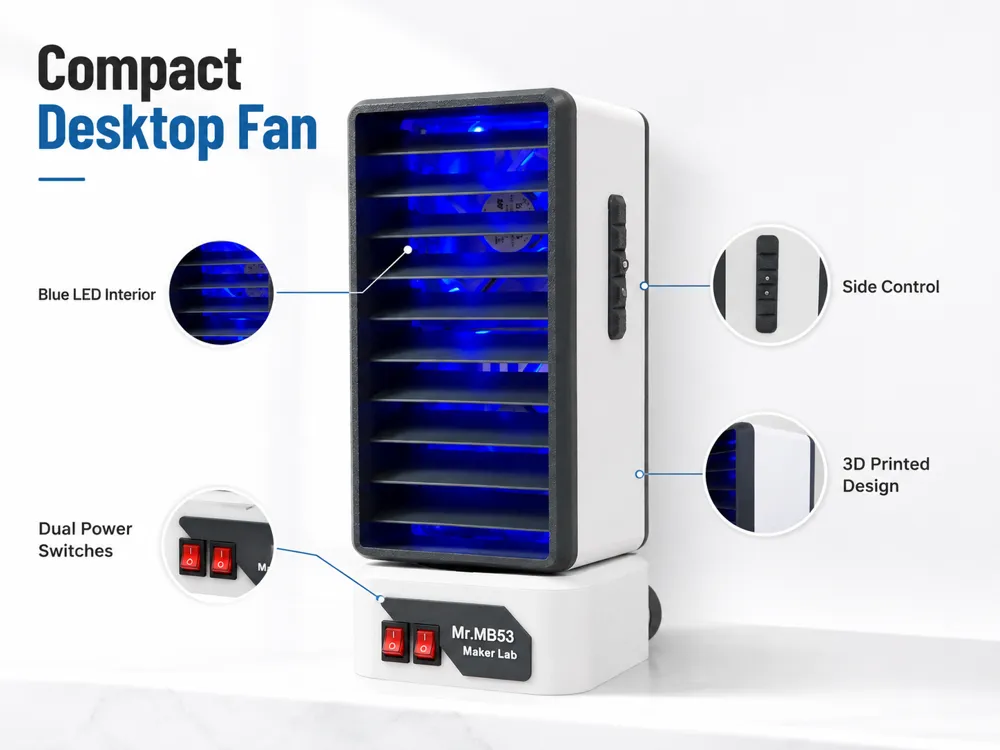
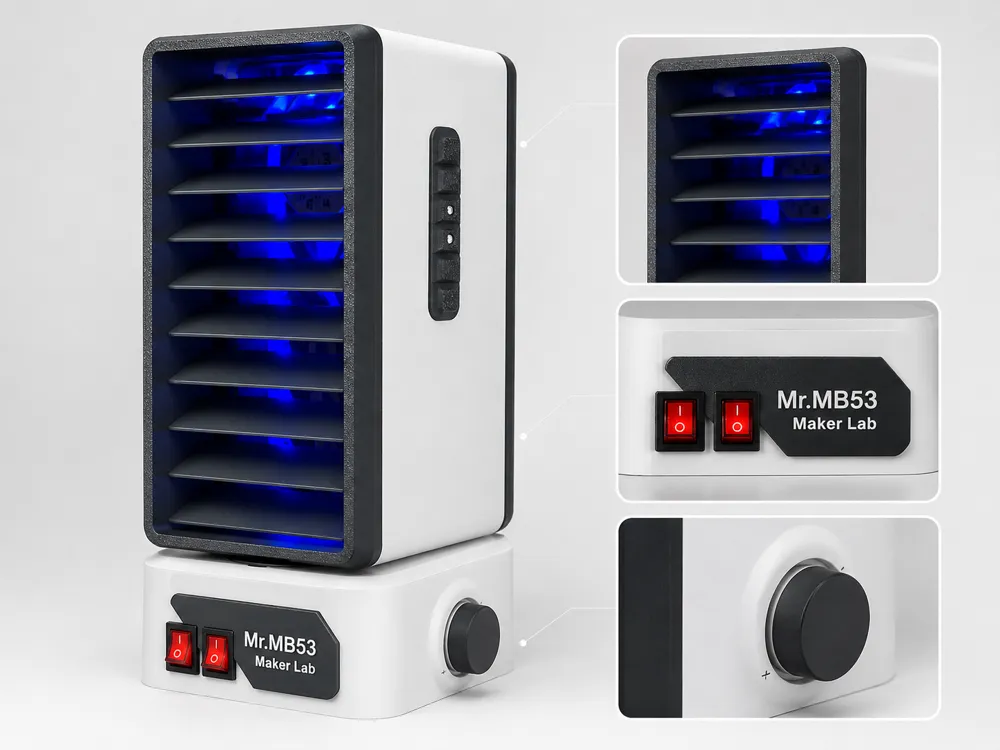
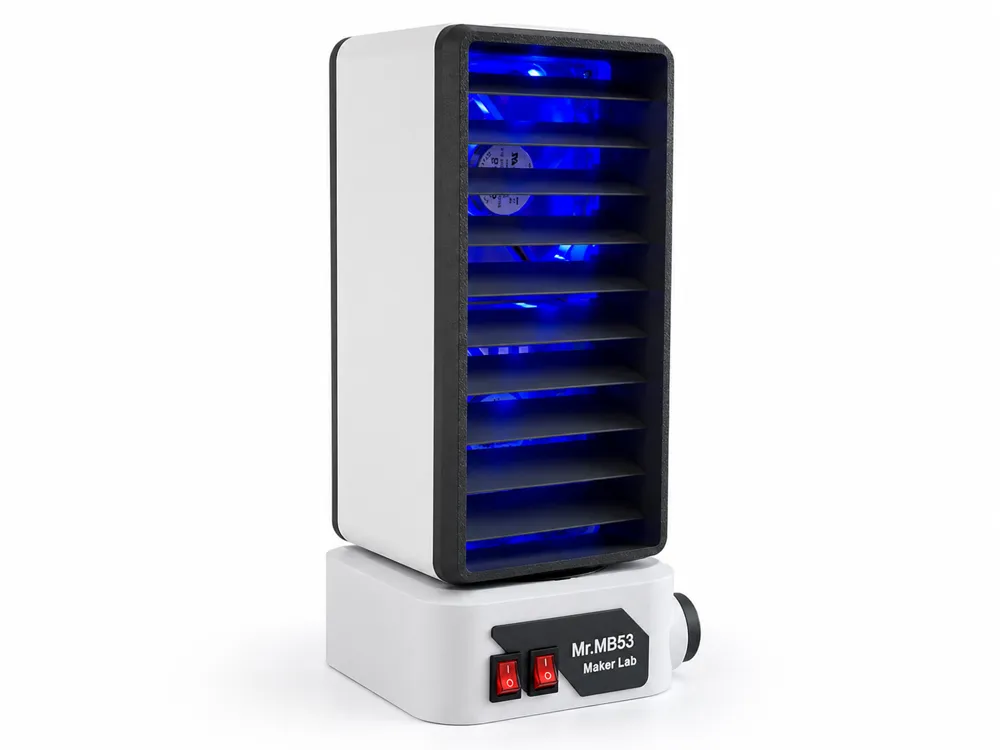
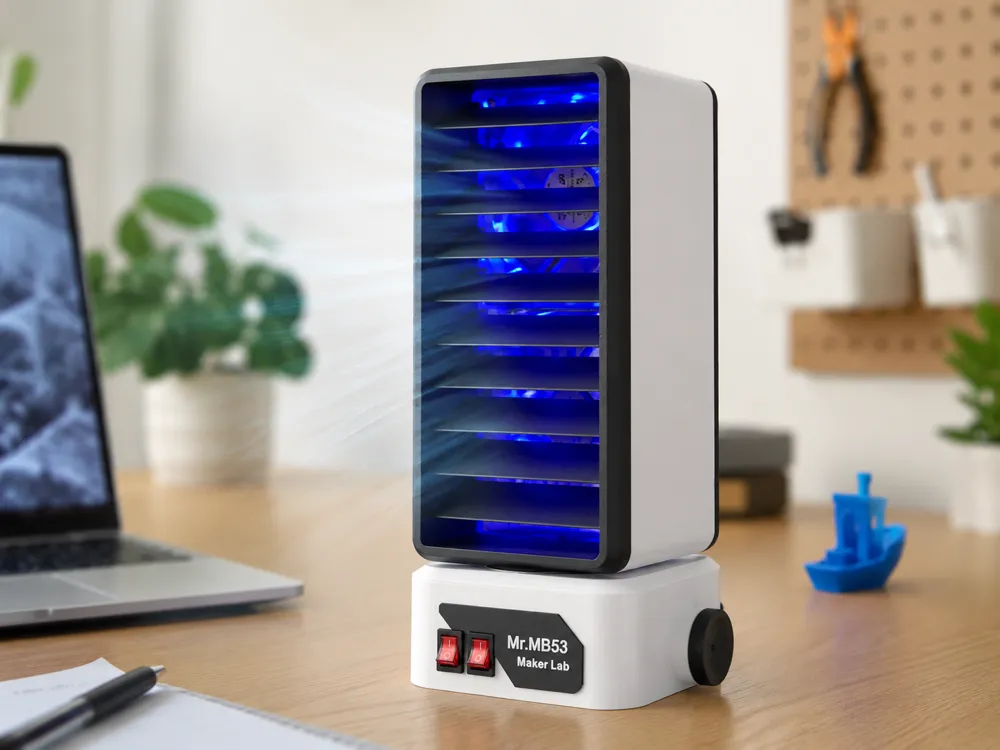
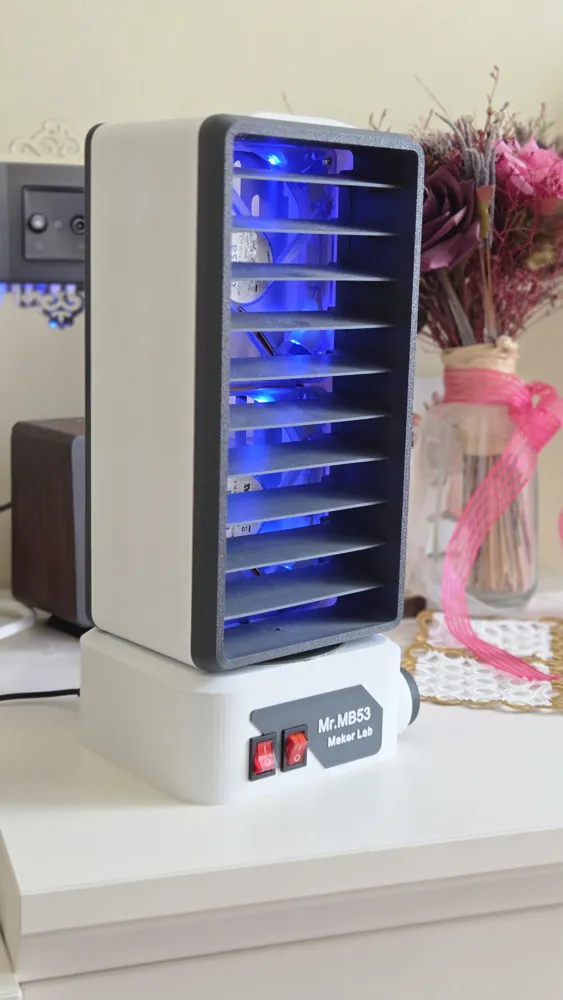
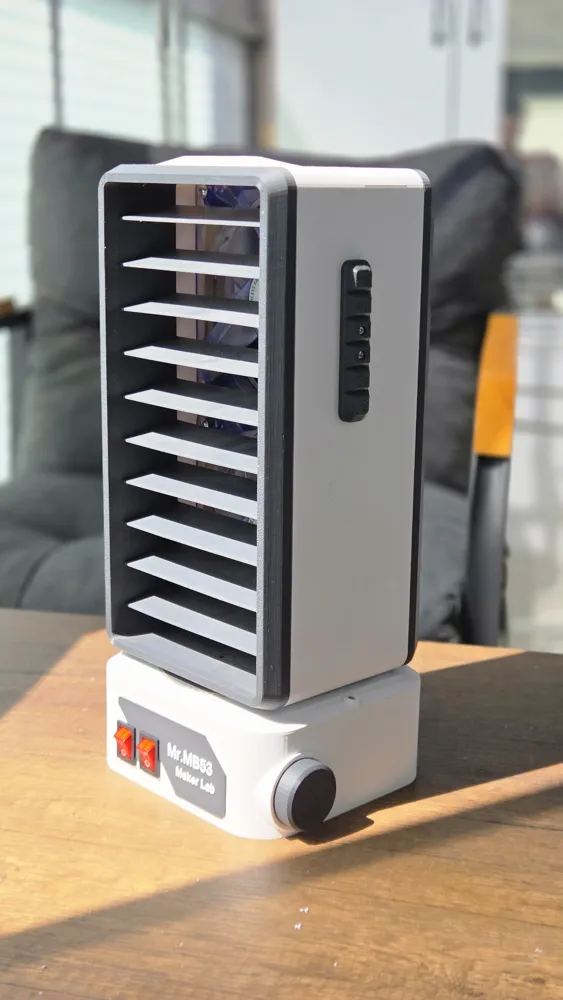
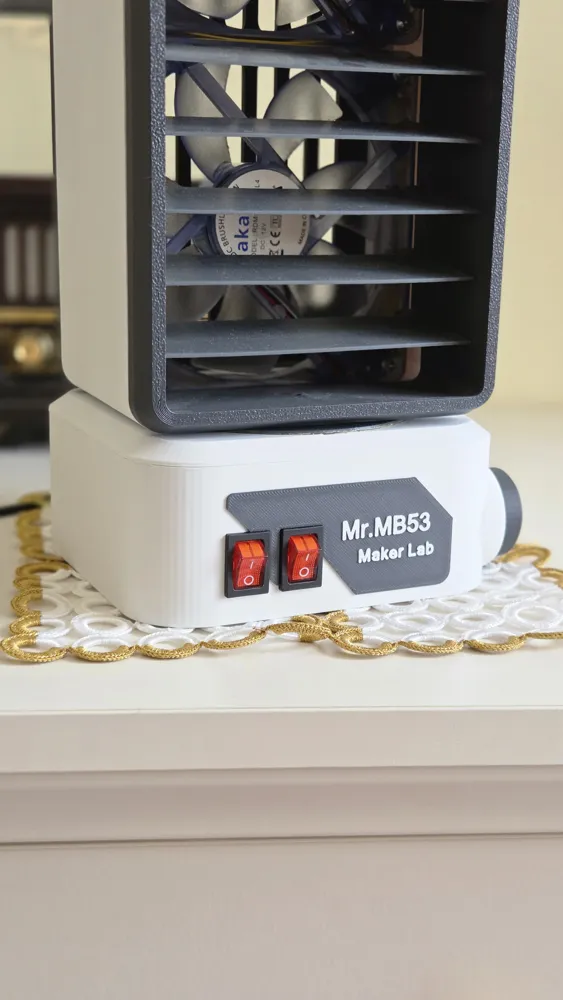
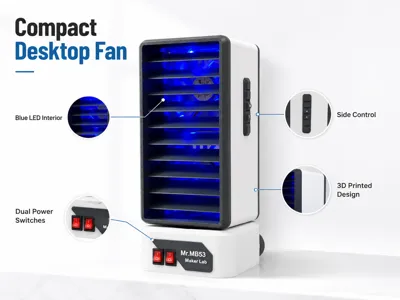
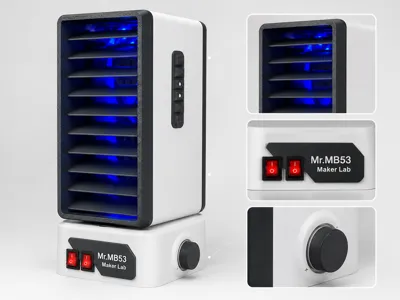
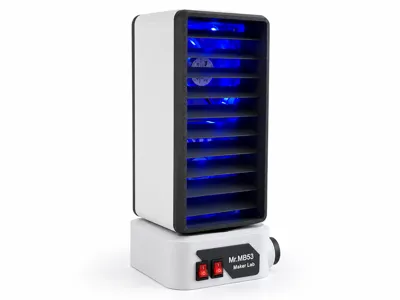
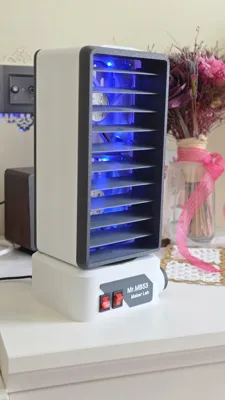
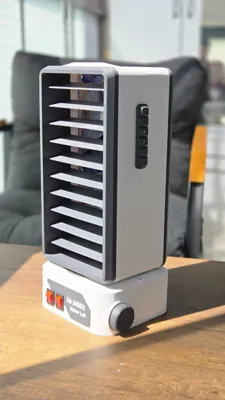
This project is a compact oscillating desktop fan designed for 3D printing. It uses two 12V fans, adjustable fan speed control, and an automatic left-to-right oscillation mechanism.
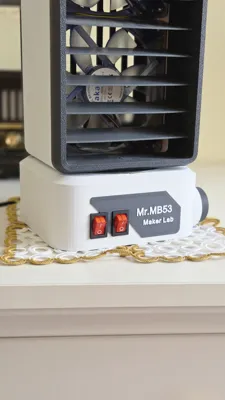
The vertical angle of the fan can be adjusted manually. The airflow speed can be controlled using the knob located on the side of the body. The oscillation mechanism is powered by a small N20 geared motor, providing a slow and smooth left-to-right movement.
Features
- Automatic left-to-right oscillation
- Adjustable fan speed
- Manually adjustable vertical angle
- Compact desktop design
- Two 12V fans
- 3D printable body and mechanical parts
- Easy access to the controls and electronic components
- Suitable for desks, workshops, and hobby rooms
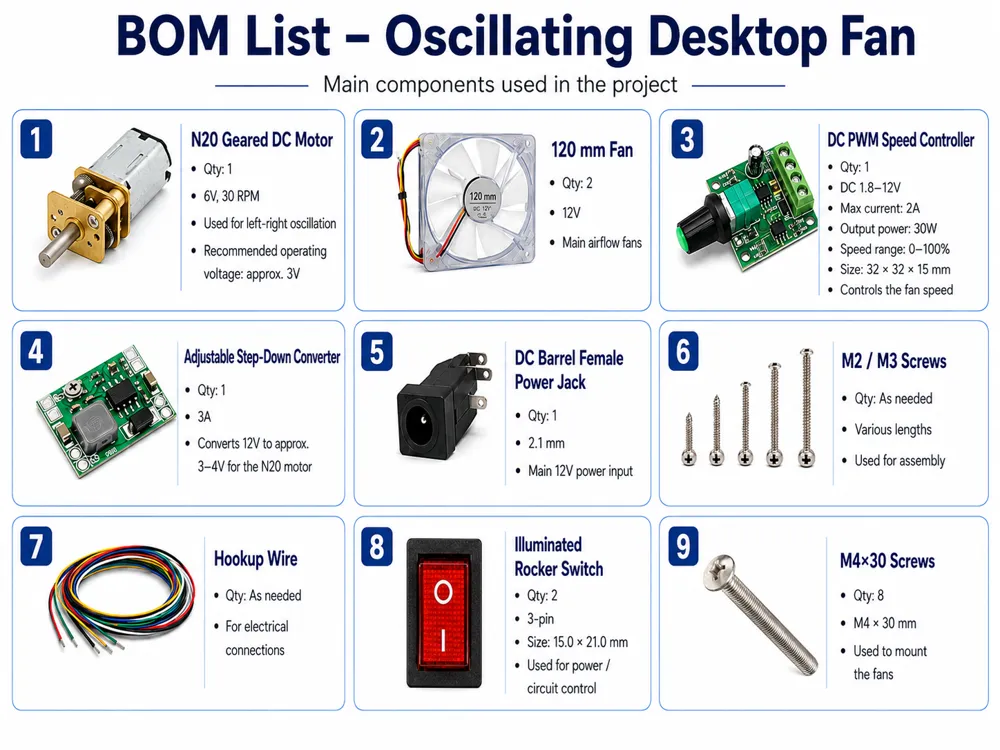
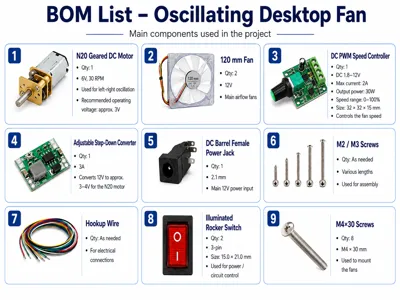
Electronic Components
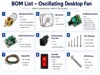
- 2 × 12V fans
- N20 6V 30 RPM geared motor
- DC-DC step-down converter
- PWM fan speed controller
- 12V power supply
- On/off switches
- Wires, screws, and basic electronic components
I used an N20 6V 30 RPM geared motor for the oscillation mechanism. The motor is powered at approximately 3V through a DC-DC step-down converter. In my setup, 3V provides a suitable and balanced oscillation speed.
The motor can also be operated at 3V, 3.5V, or 4V depending on the desired movement speed. Increasing the voltage will increase the oscillation speed.
You can also use an N20 10 RPM or 15 RPM geared motor if one is available. Since lower-RPM motors may behave differently depending on the applied voltage, I recommend testing the motor speed before completing the final assembly.
Electrical Wiring
I recommend connecting the 12V power input to the switches first, and then distributing power from the outputs of the switches to the relevant components.
With this wiring method, no power will be supplied to the fans, speed controller, step-down converter, or other electronic components when the switches are turned off.
In my video, I distributed the power before the switches. However, for anyone building the project, placing the switches between the 12V input and the electronic components is the better wiring method.
The general connection order should be:
12V power input → Switches → Related circuits and components
This prevents unnecessary power consumption and ensures that the connected circuits are not continuously powered when the switches are off.
Printing Notes
I divided the project into a total of six build plates. The plates are named according to the type of print surface that should be used.
In the project files:
- Plates named Smooth Plate should be printed on a smooth print surface.
- Plates named Textured Plate should be printed on a textured print surface.
It is especially important to print certain sliding, rotating, or contact parts on a Smooth Plate. These parts require smooth contact surfaces for the oscillation mechanism to operate correctly.
If the contact surfaces are too rough, the additional friction may cause:
- Excessive load on the N20 motor
- Irregular oscillation movement
- The mechanism to jam
- The motor to become unable to move the mechanism
For this reason, please check the build plate names carefully before printing and use the specified print surface.
Most parts can be printed using PLA or PETG. PETG is recommended for parts located close to the motor or electronic components, especially if the fan will be operated for extended periods.
I recommend keeping the prepared print orientations and plate layouts where possible. However, always check support requirements and inspect the slicer preview before starting the print.
Assembly and Mechanism Notes
Depending on your printer calibration and dimensional tolerances, some parts may require light sanding or minor adjustment.
All moving, rotating, and contacting areas of the oscillation mechanism should be lightly lubricated using a plastic-compatible lubricant.
Pay particular attention to:
- Rotating connection points
- Shaft and bearing areas
- Plastic surfaces that slide against each other
- Moving joints in the oscillation mechanism
Only apply enough lubricant to create a thin layer on the contact surfaces. Excessive lubrication is not necessary. Make sure that the lubricant is safe for plastic parts.
After completing the assembly, check the following:
- The oscillation mechanism should move freely when operated by hand
- Moving parts should not rub against the housing
- Fan wires should not restrict the oscillation movement
- Wires should not enter or become trapped inside moving parts
- The motor should be mounted securely
- Screws in moving joints should not be overtightened
- Electrical connections should be properly insulated
- The mechanism should not jam at the left or right movement limits
Before powering the motor, move the mechanism slowly by hand and check for excessive friction, resistance, or jamming.
If the mechanism does not move freely by hand, do not operate it with the motor. First locate the source of the friction or obstruction. Lightly sand the contact surfaces if necessary and apply lubricant again.
Important
This project requires basic knowledge of electronics, soldering, and mechanical assembly.
Before connecting the power supply, always check the voltage, polarity, and all electrical connections. During the first test, operate the oscillation motor at a low voltage and make sure that the mechanism moves freely.
Do not leave the device unattended during the initial tests.
Feel free to share your prints, improvements, and modifications on MakerWorld. I would be happy to see your version of the fan.
Documentation (1)
License

You shall not share, sub-license, sell, rent, host, transfer, or distribute in any way the digital or 3D printed versions of this object, nor any other derivative work of this object in its digital or physical format (including - but not limited to - remixes of this object, and hosting on other digital platforms). The objects may not be used without permission in any way whatsoever in which you charge money, or collect fees.


Comment & Rating (18)