
Kikka Boo Baby Monitor Crib Mount + Ball Head
Print Profile(1)
Description
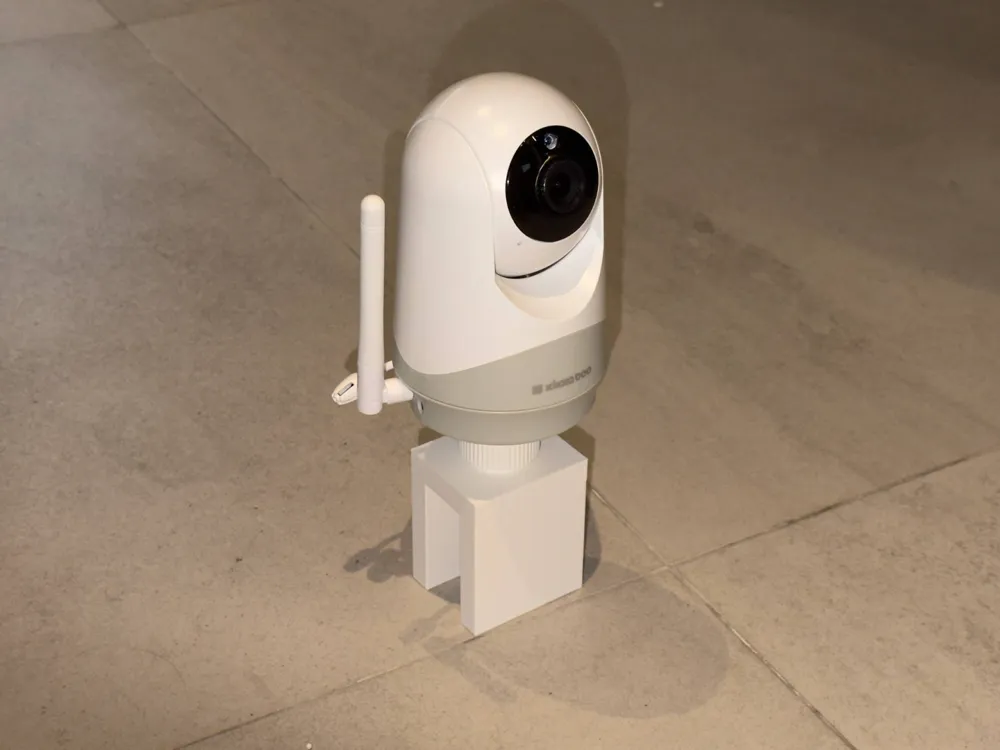
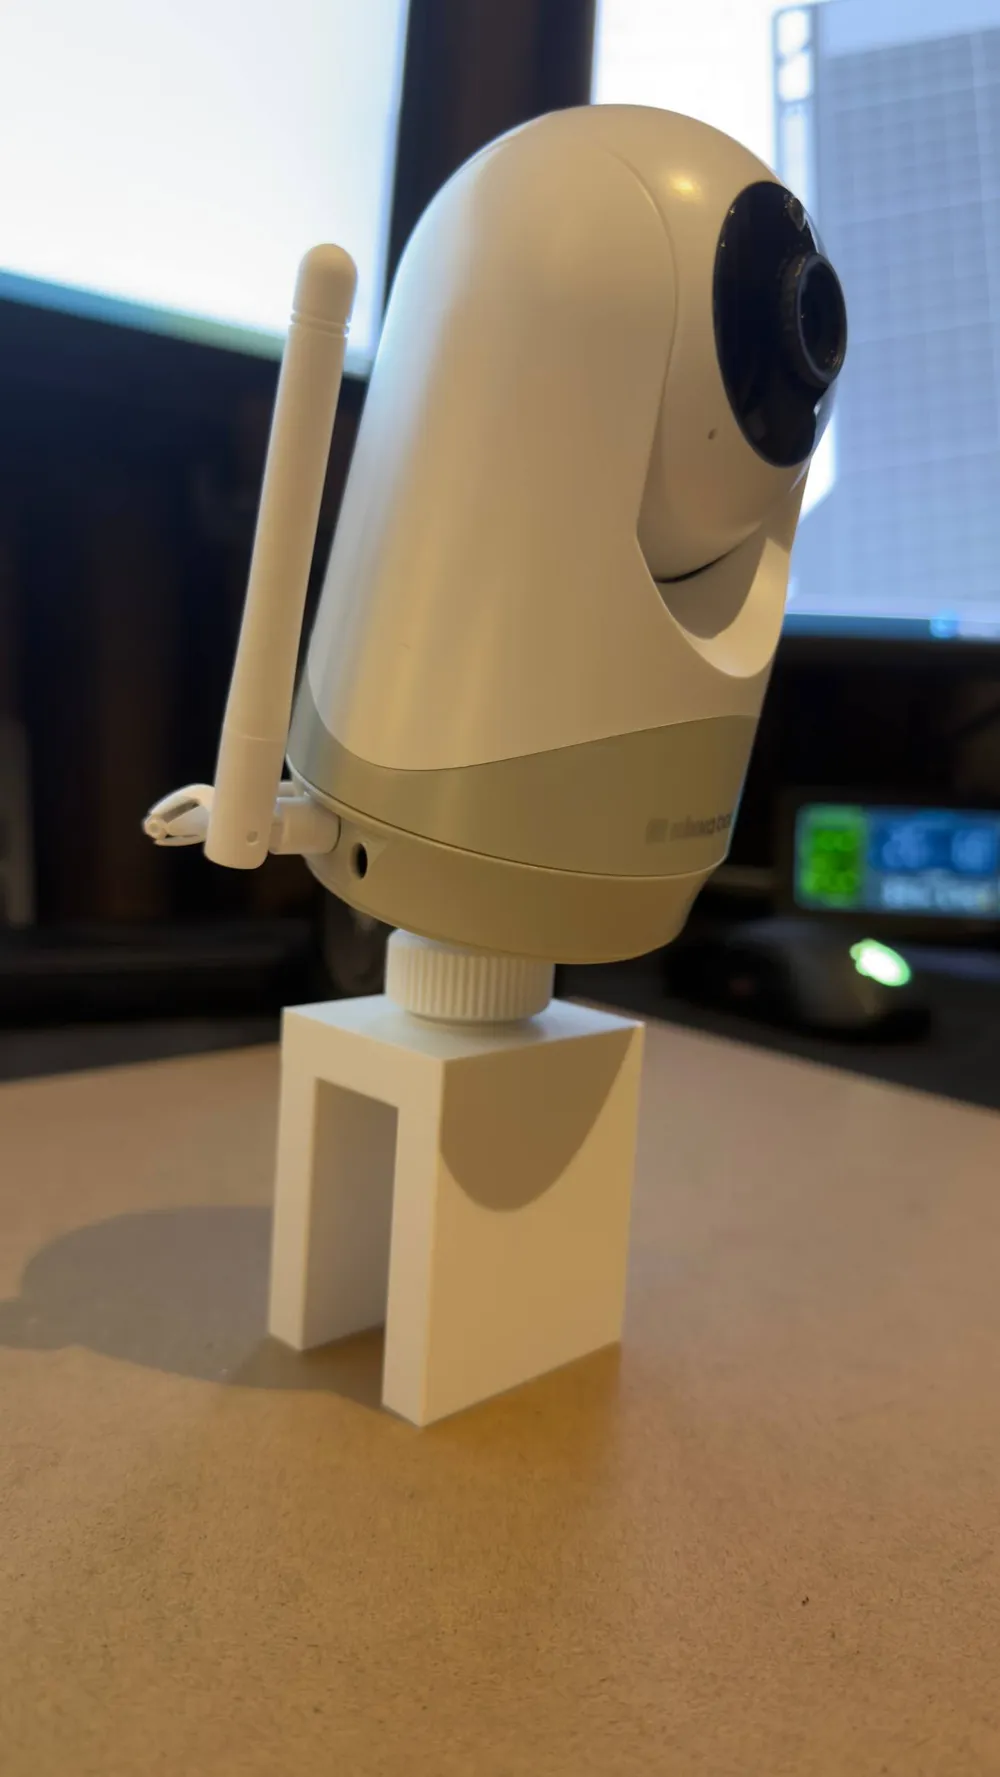
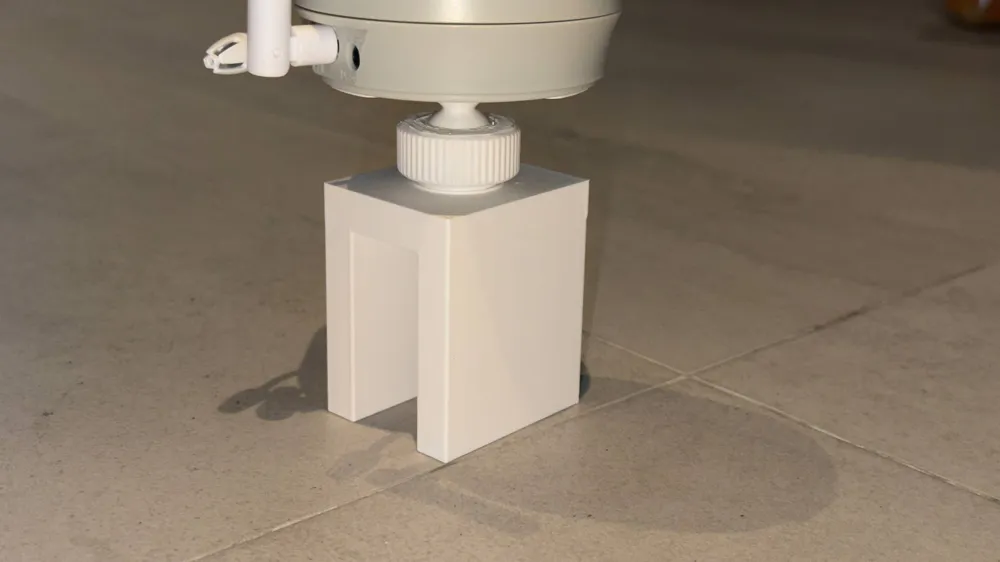
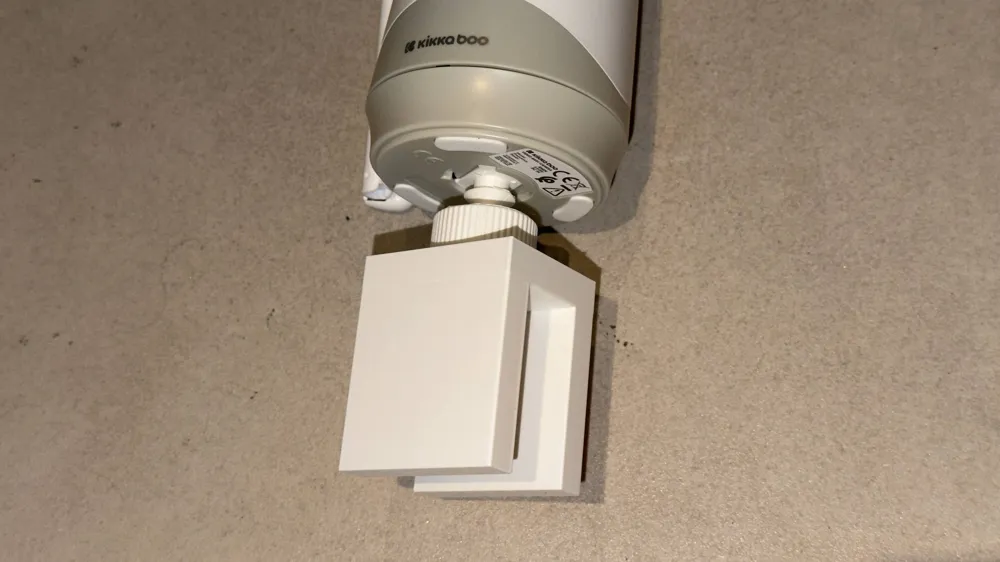
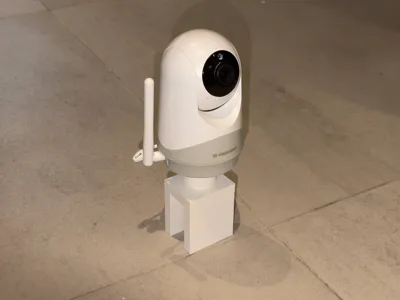
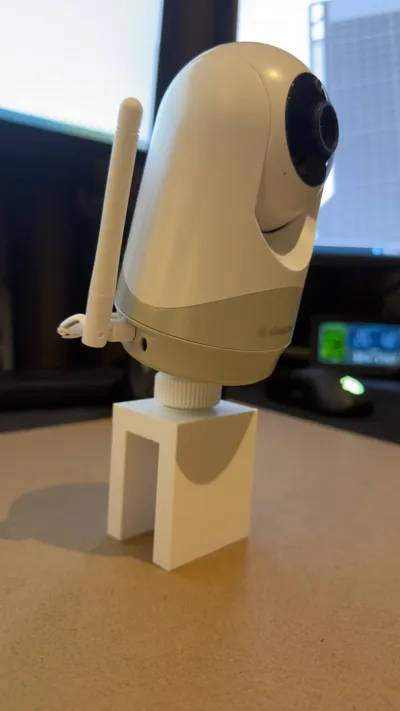
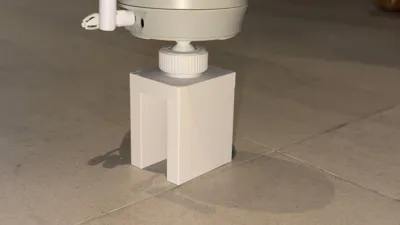
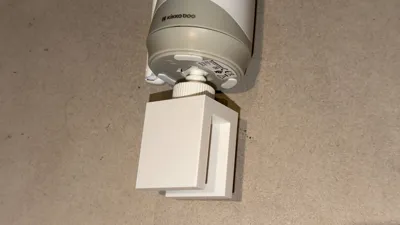
Clip your Kikka Boo baby monitor straight onto the crib rail and aim it exactly where you need it. This is a rail clamp with a screw-locking ball joint: slide the saddle over the rail, attach the camera, loosen the ring, point it at your baby, and tighten to lock the angle. No adhesive, no drilling, no tippy OEM stand.
Why I made it
The stand that ships with these monitors is made for a shelf, not a crib — it's easy to knock over and you can never quite get the angle right over the mattress. I wanted something that grips the crib rail solidly and lets me fine-tune the view with one hand, then stays exactly where I put it.
Features
- Rail clamp (saddle) — slides over the crib/cot rail and is held by its own weight plus the camera; no tools, no glue, no marks on the furniture.
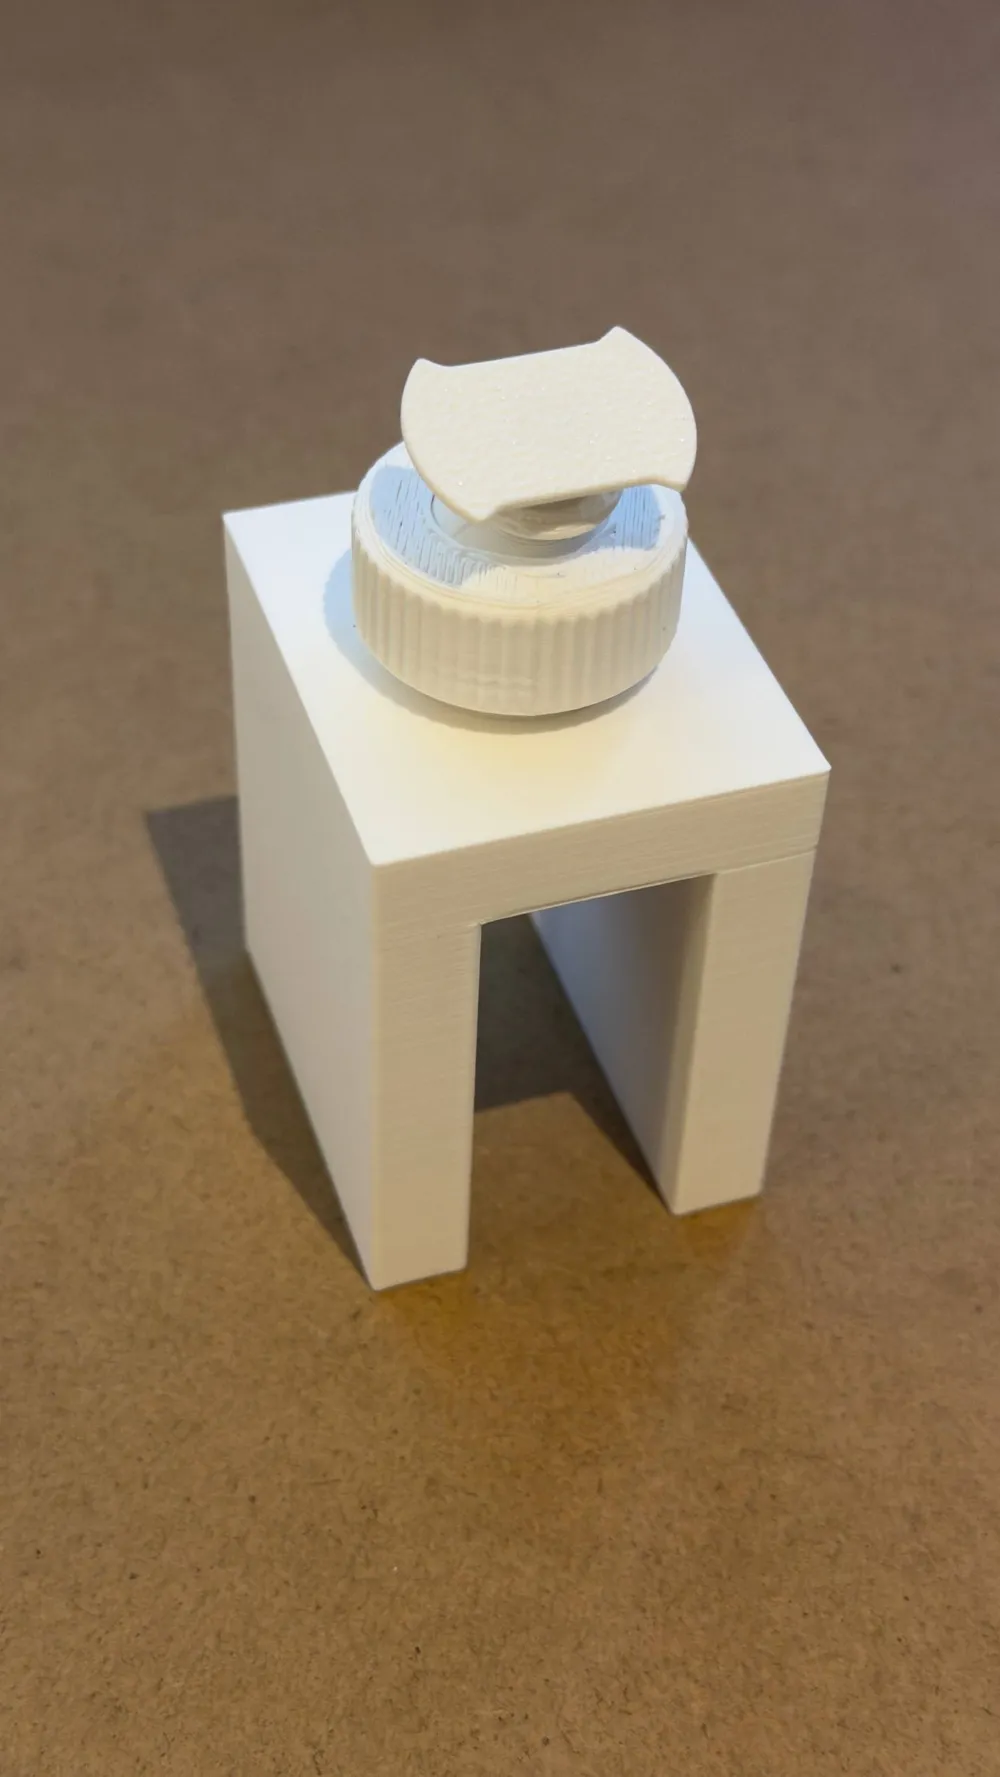
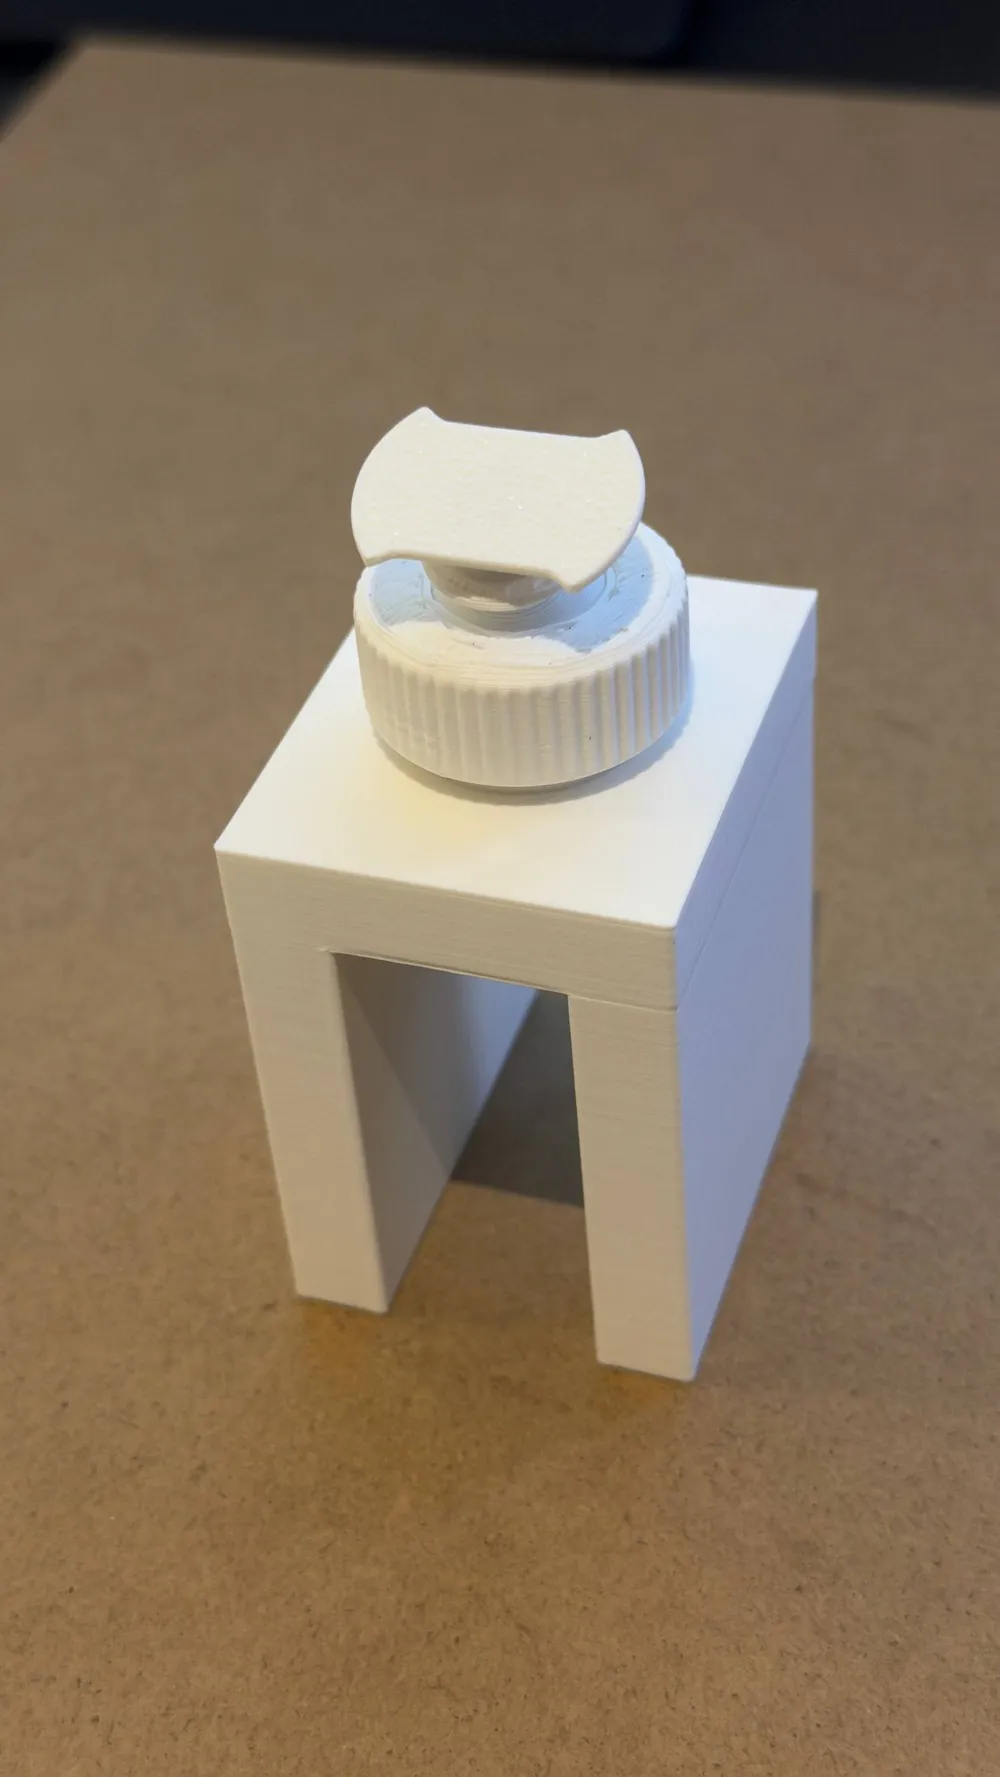
- Screw-lock ball joint — loosen the knurled ring, aim, retighten. Holds the angle under the weight of the camera.
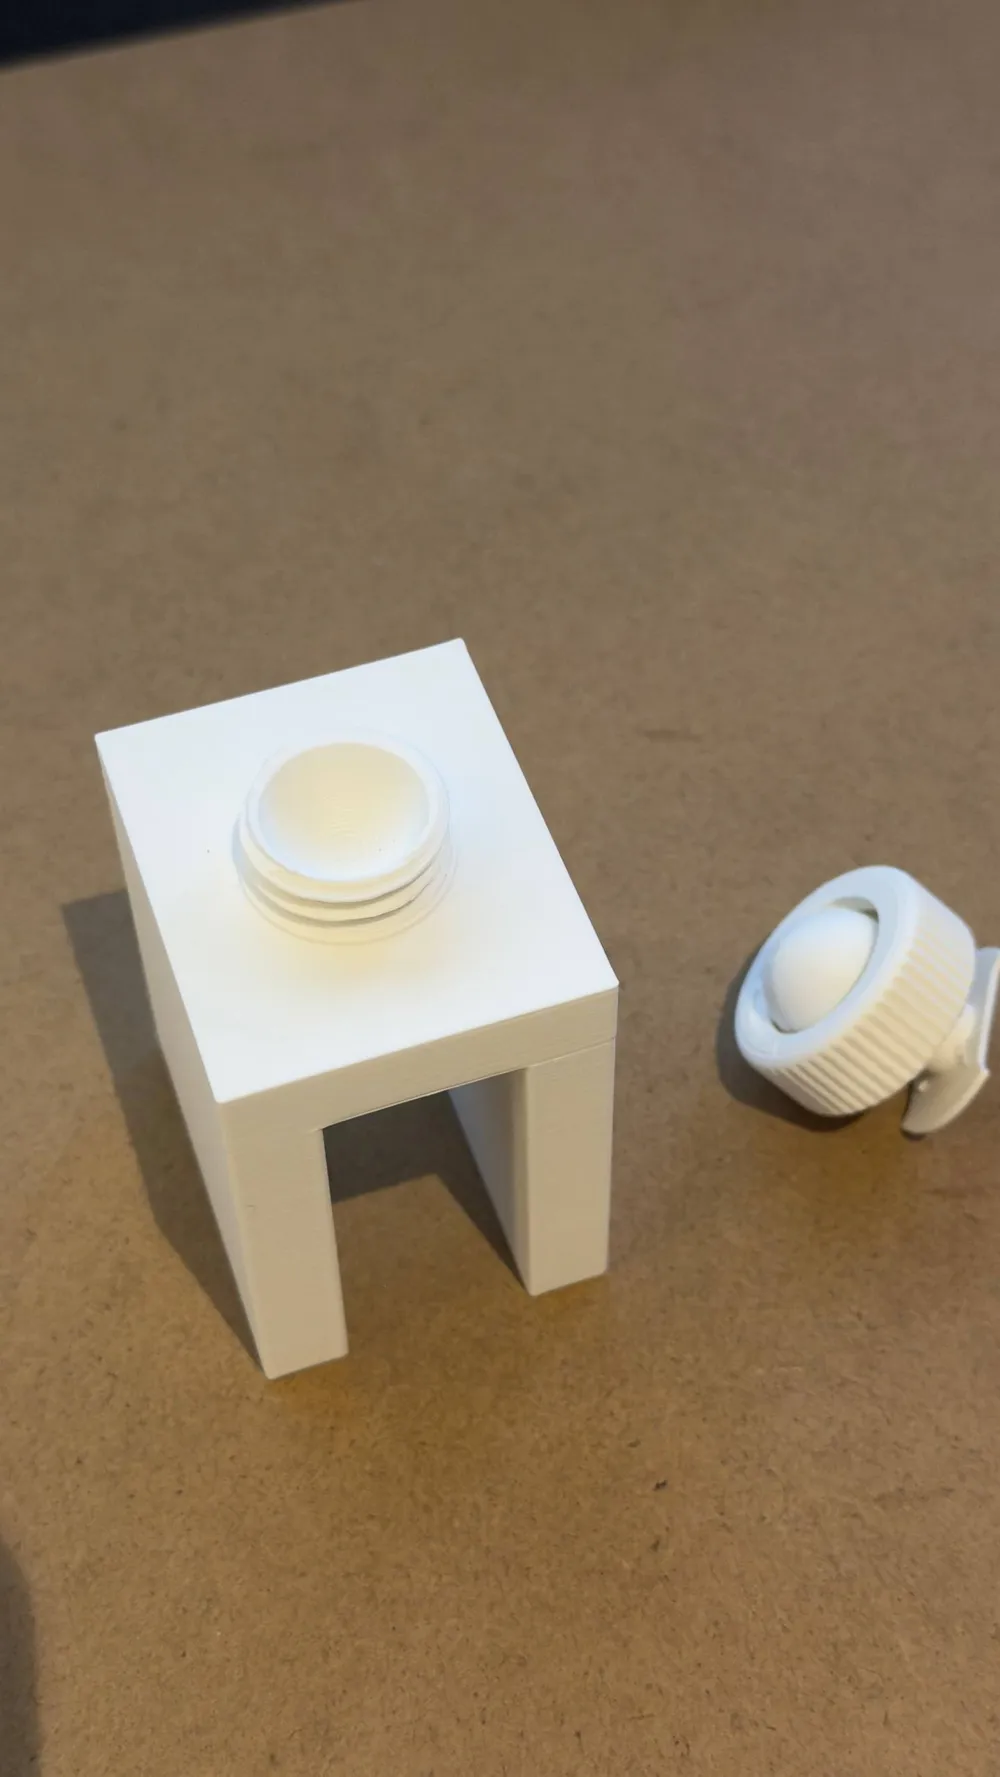
- Print-in-place threads — the ring screws onto the clamp with no nuts, screws, or heat-set inserts required.
- Prints without supports in the correct orientation.
- Cable-friendly — routes the power lead cleanly down the outside of the rail.
Fits
- Designed around the Kikka Boo [Rhen] pan/tilt baby monitor. Please check your camera's base against the model before printing — bases vary between revisions.
Parts (all 3D printed)
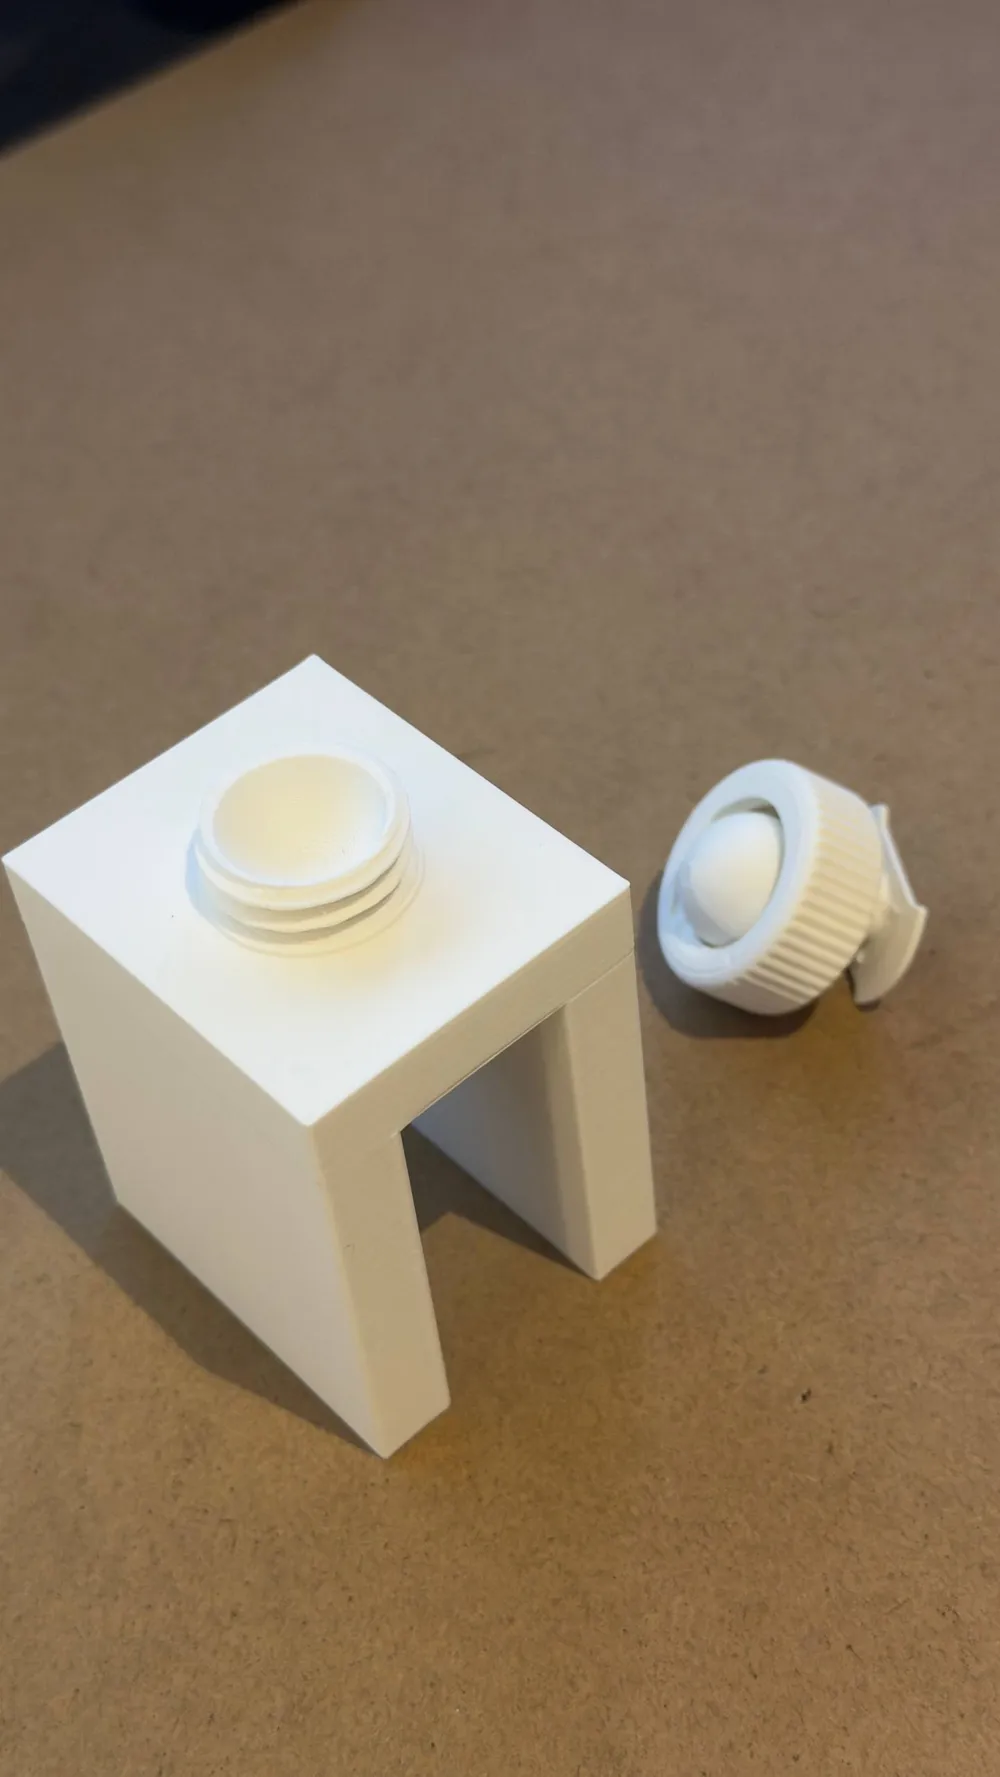
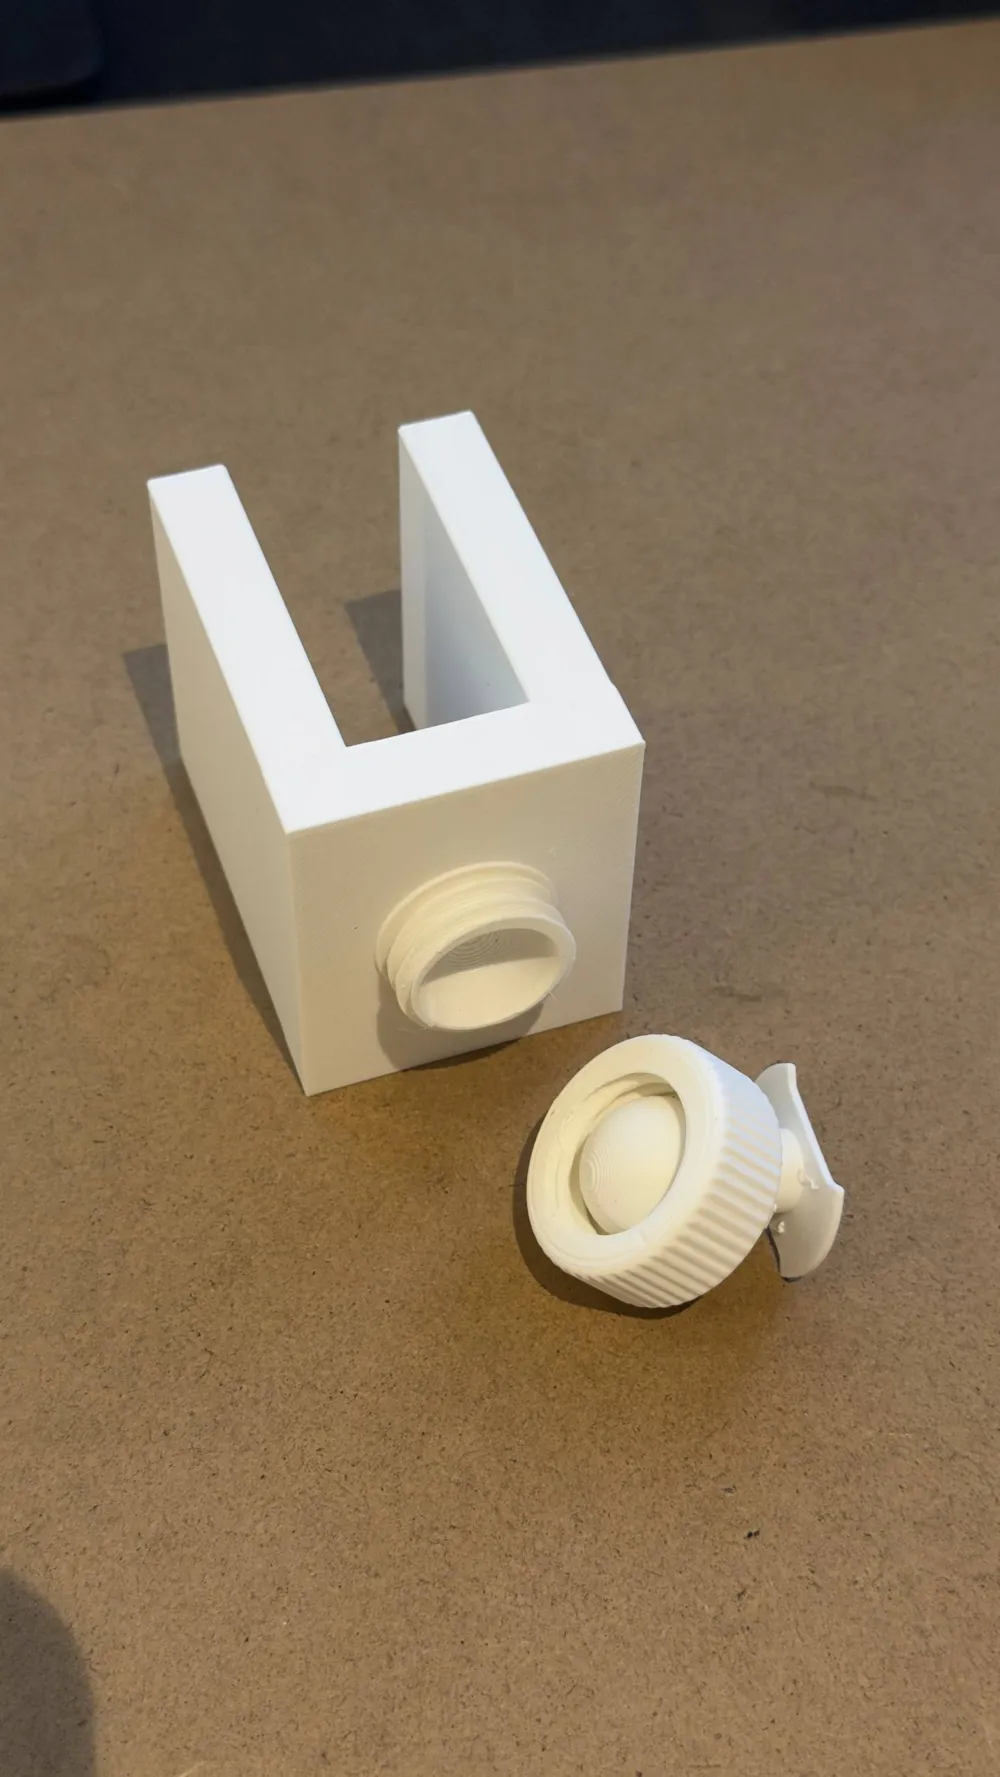
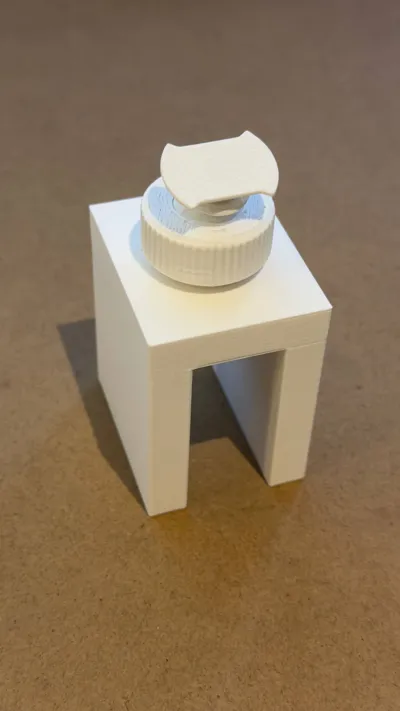
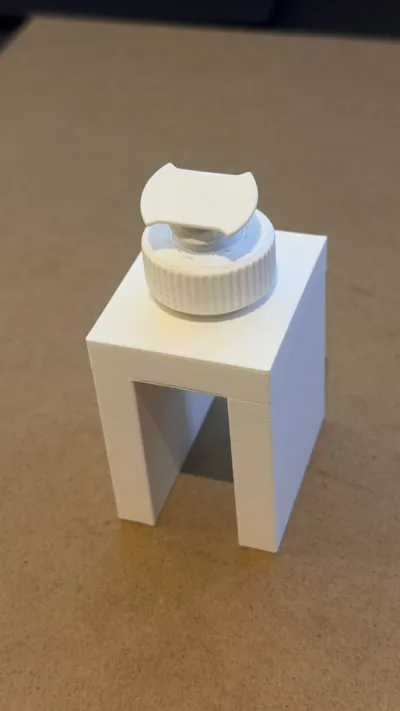
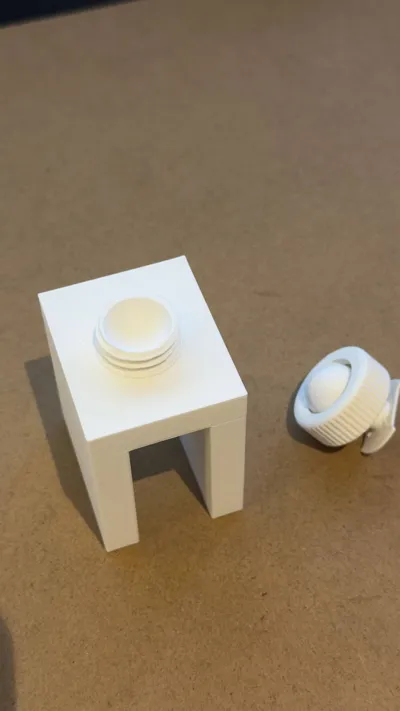
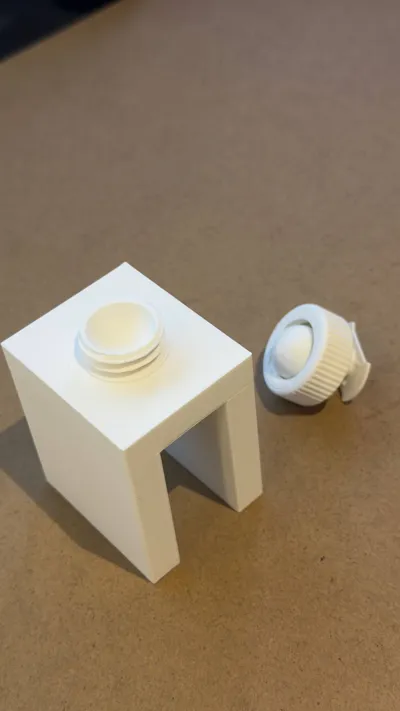
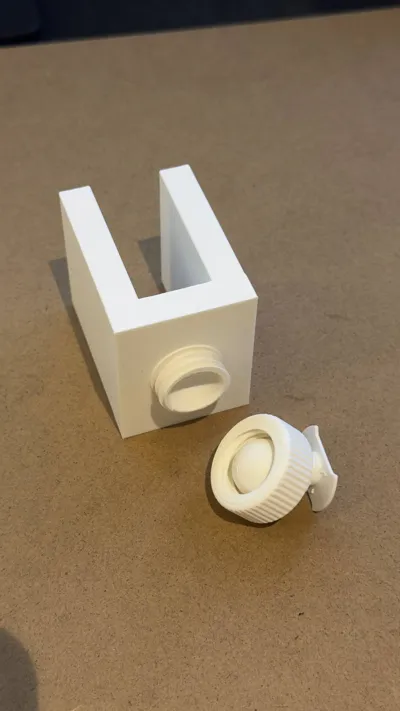
- Rail Clamp / Saddle — the U-shaped part that grips the rail; carries the external thread boss.
- Locking Ring — the knurled ring that captures the ball and screws onto the boss.
- Ball + Camera Adapter — the ball on a stem that connects to the camera base.
Recommended print settings
- Material: PLA
- Layer height: 0.2 mm
- Walls / perimeters: 2
- Infill: 15%
- Supports: YES.
- Approx. print time / filament: 1.4h / 45 g
Assembly
- Attach the ball adapter to the camera base.
- Drop the ball into the locking ring and thread the ring onto the saddle boss a few turns — leave it loose.
- Slide the saddle down over the crib rail until it's fully seated.
- Aim the camera, then tighten the ring to lock the angle.
- Route the power cable down and outside the crib.
⚠️ Safety — please read
This mount holds a camera above a sleeping child. Before each use, confirm the clamp is fully seated on the rail and the ring is tightened. Keep the power cable and any slack well outside the crib and out of the baby's reach, and follow safe-sleep guidance and your monitor manufacturer's cord-placement warnings. Print the clamp in a tough material with solid walls, and inspect it periodically. Use at your own risk.
License

You shall not share, sub-license, sell, rent, host, transfer, or distribute in any way the digital or 3D printed versions of this object, nor any other derivative work of this object in its digital or physical format (including - but not limited to - remixes of this object, and hosting on other digital platforms). The objects may not be used without permission in any way whatsoever in which you charge money, or collect fees.


Comment & Rating (0)