
MAKERTOOL — Smart, Compact, Indispensable.
Print Profile(4)

Description
⚠️ WARNING: READ THE PRINT PROFILE SECTION CAREFULLY BEFORE STARTING!
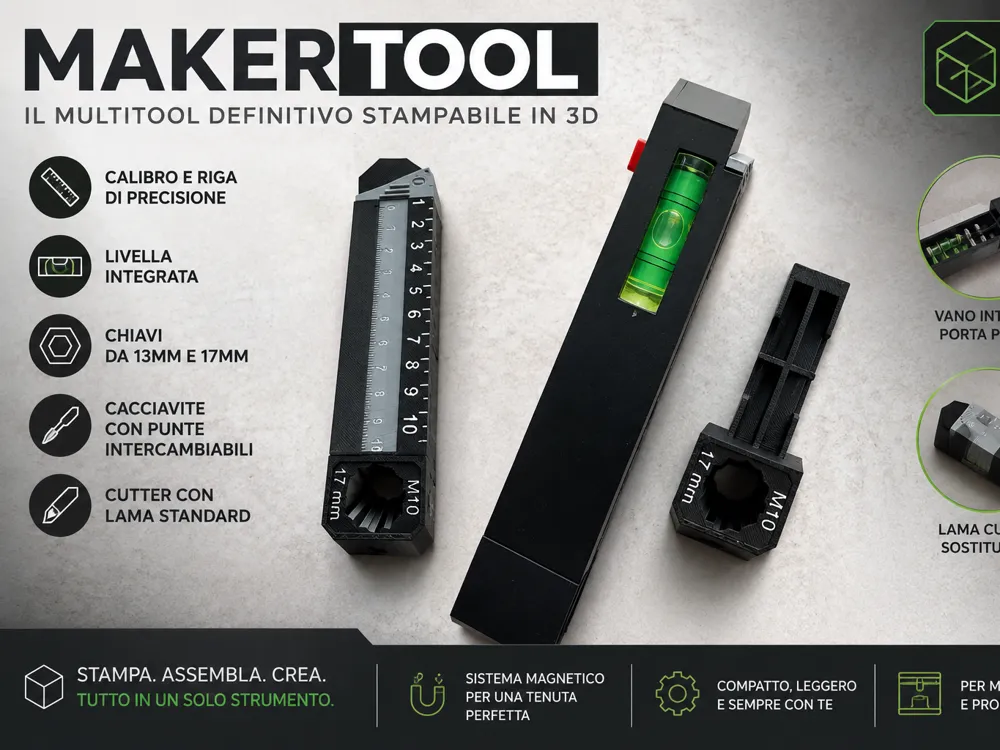
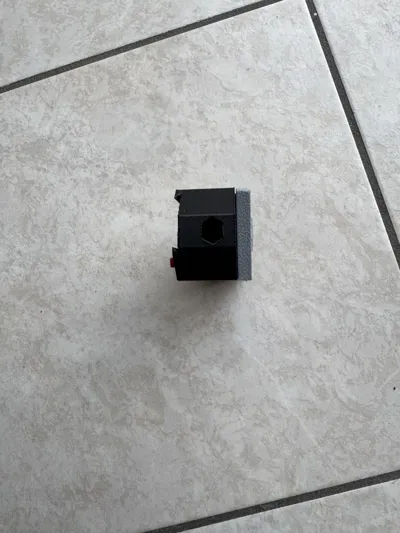
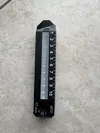
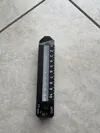
MAKERTOOL - The ultimate 3D printable multitool
The MAKERTOOL was created with a simple goal: to enclose everything needed for DIY, modeling, 3D printing, and daily maintenance into a single compact tool.
After numerous prototypes and tests, a completely 3D Printed multitool was born that integrates various functions without sacrificing practicality and robustness.
Main Functions
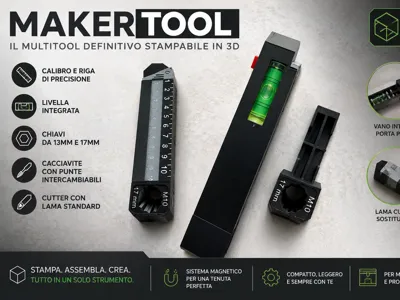
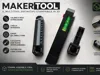
The MAKERTOOL integrates:
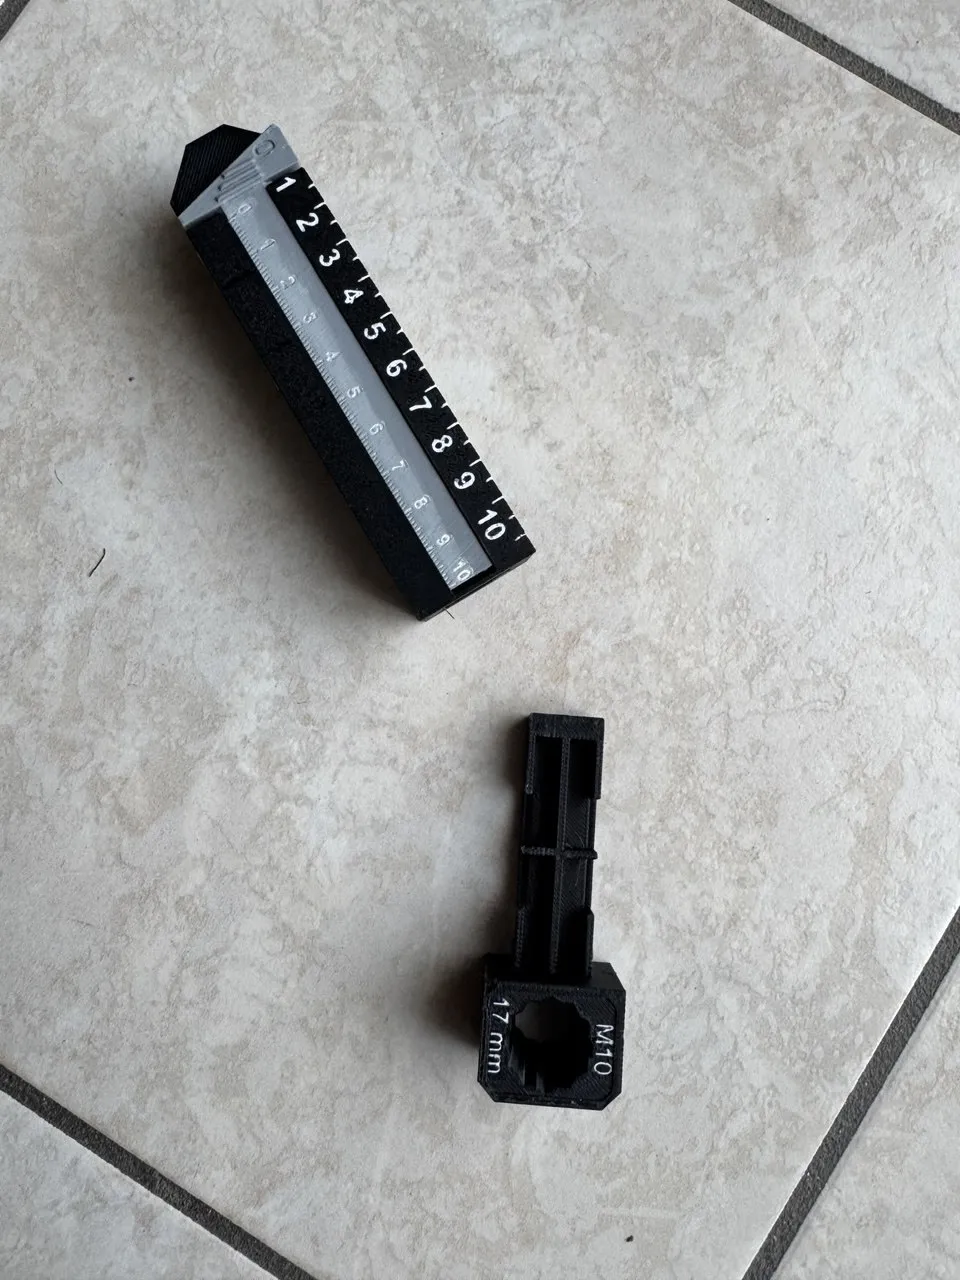
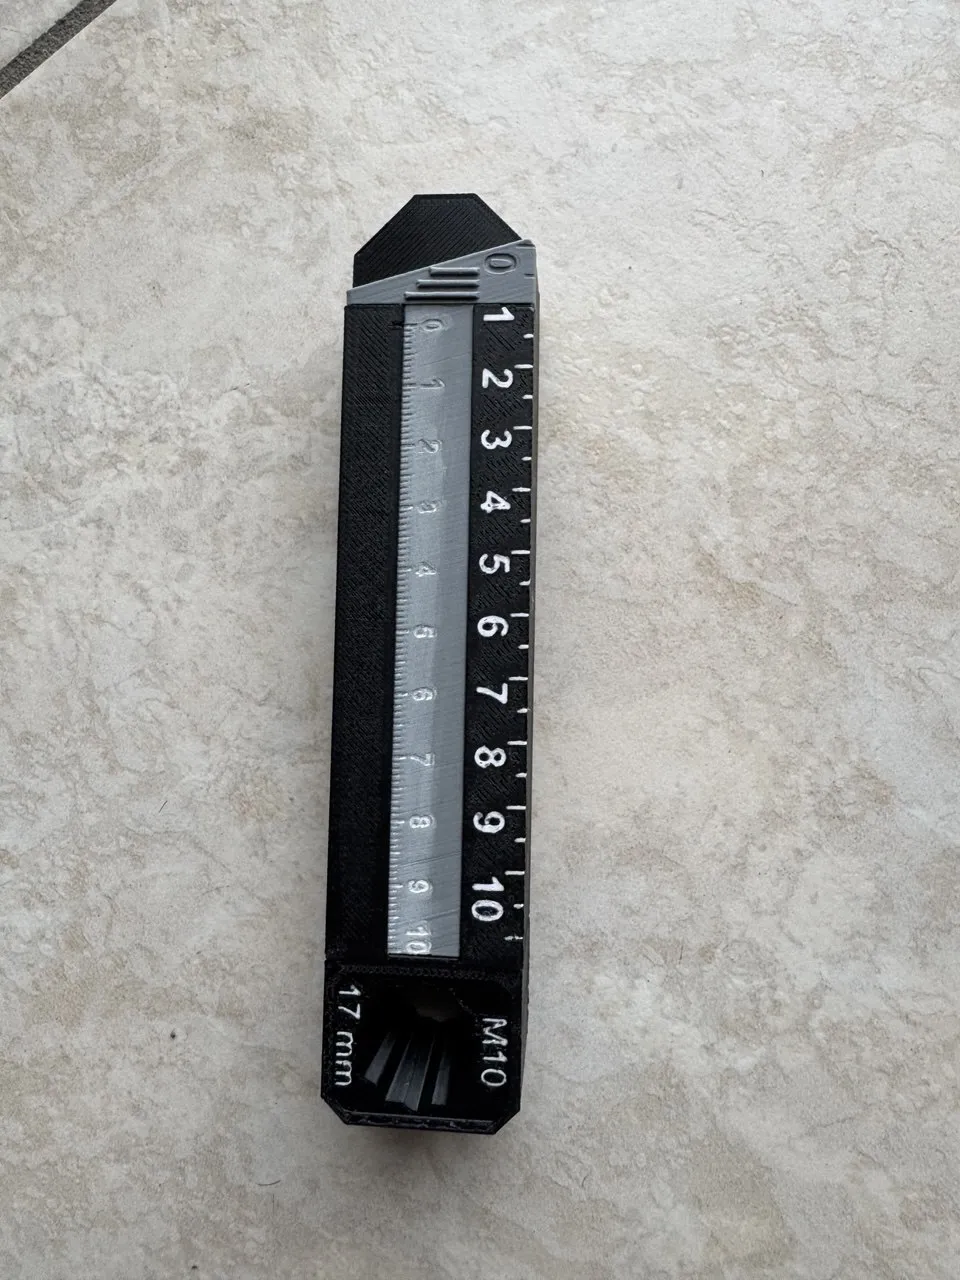
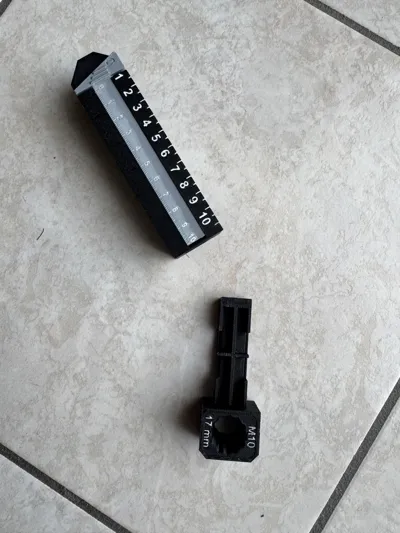
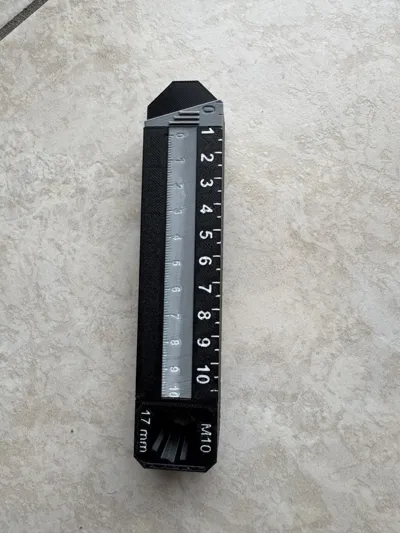
- 📏 Caliper for quick measurements
- 📐 Graduated ruler
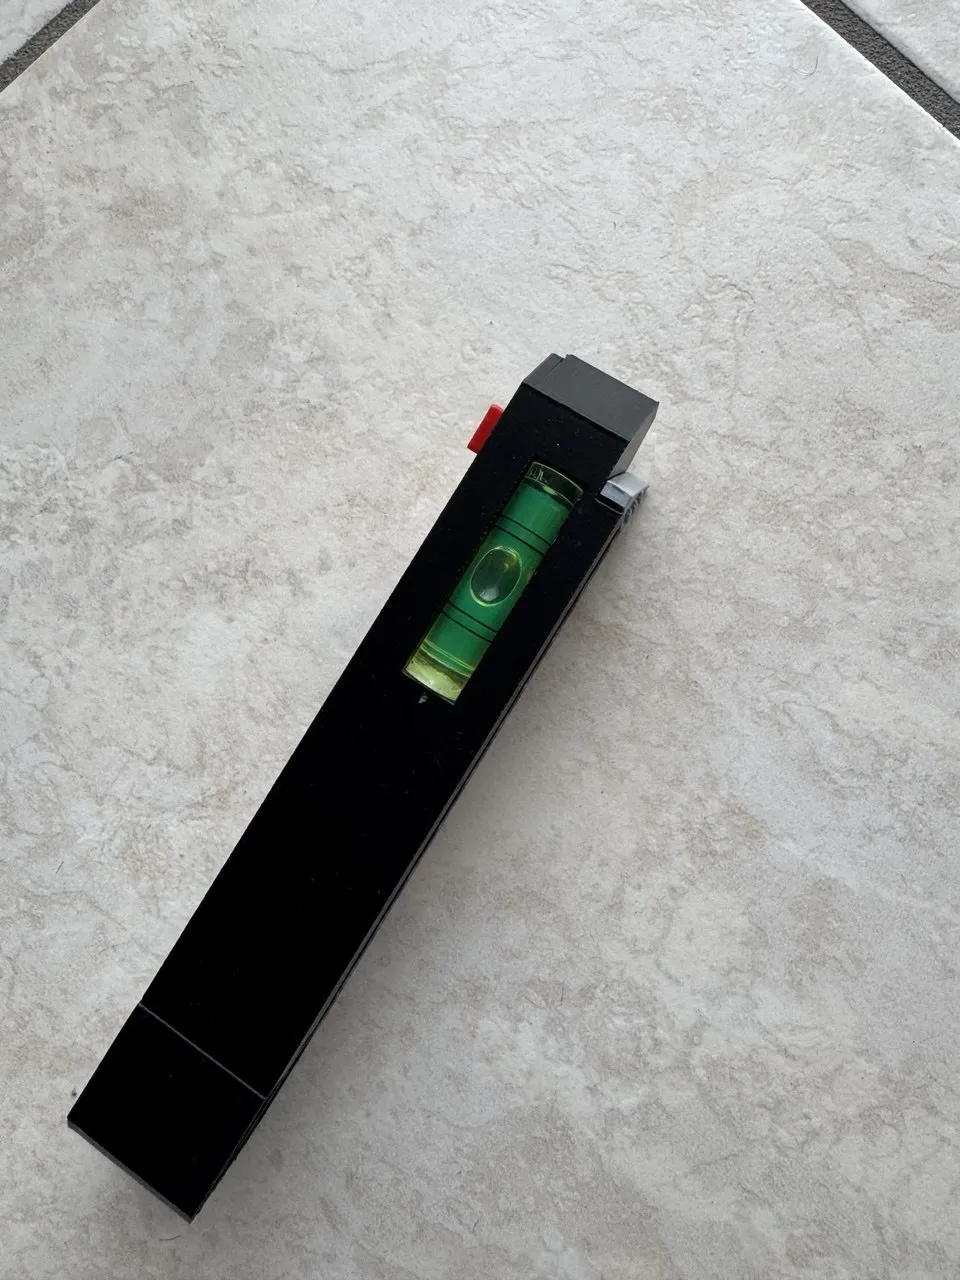
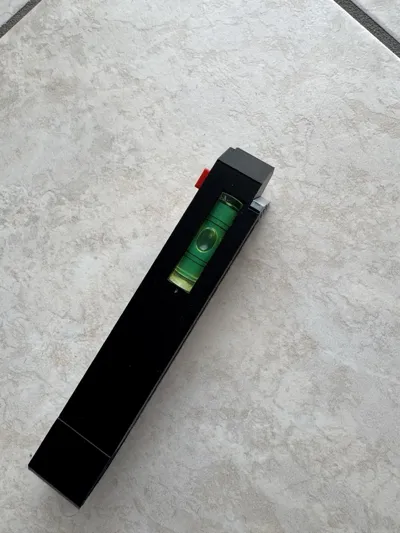
- 🫧 Bubble level
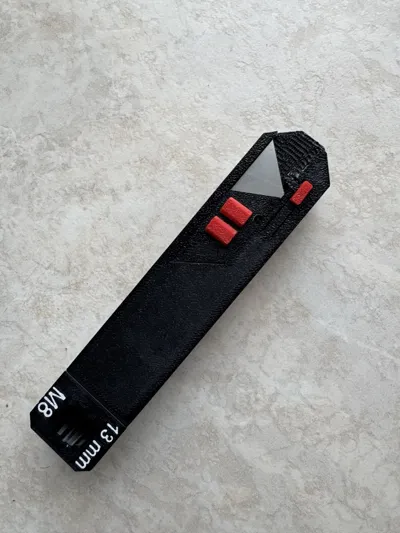
- 🔧 13 mm and 17 mm wrenches
- 🪛 Screwdriver with interchangeable bits
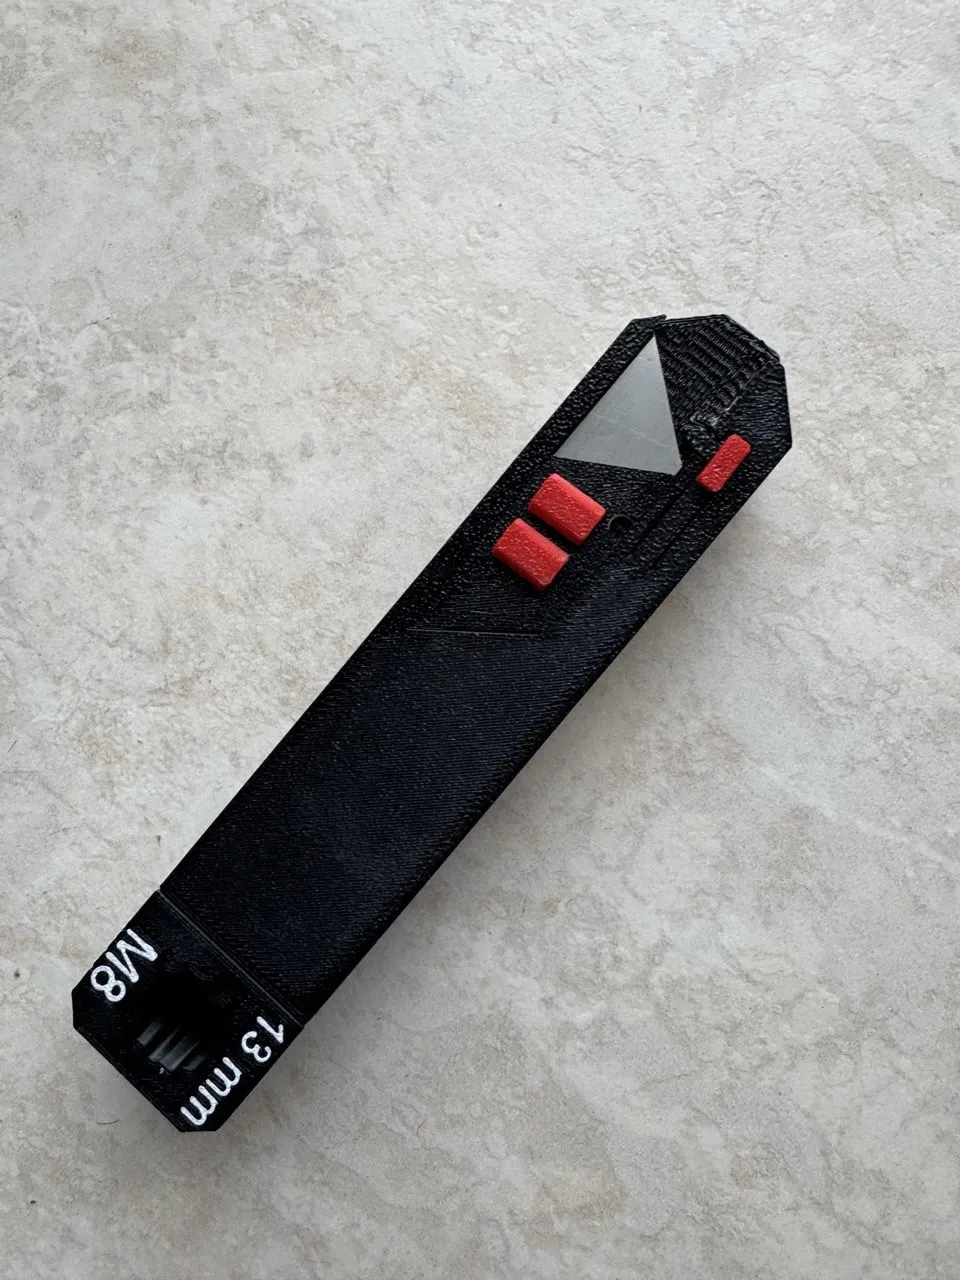
- ✂️ Cutter with replaceable standard blade
An ideal tool to always keep on your desk, in the workshop, in the lab, or next to your 3D Printer.
How it works
The MAKERTOOL is designed to be as compact as possible without sacrificing functionality.
Inside the body, there's a practical bit holder compartment that allows you to always carry the screwdriver bits with you.
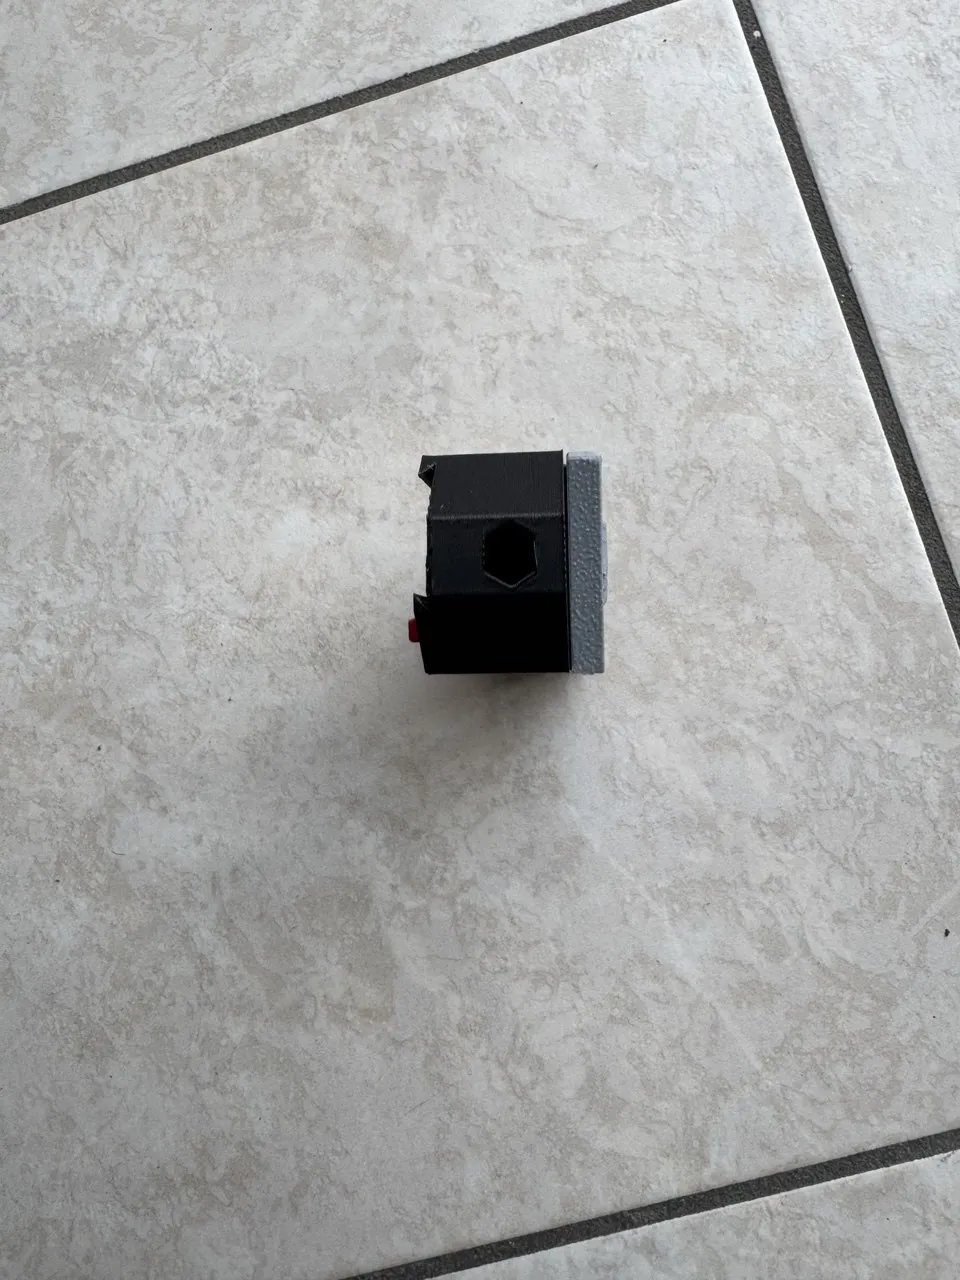
The rear part integrates 13 mm and 17 mm wrenches, always ready for use.
The cutter uses a common standard blade that is easily available and replaceable in a few seconds.
The integrated level allows for quick alignment checks during your work.
Thanks to the integrated magnets, all components remain firmly in place during use.
Required Components
To complete the MAKERTOOL, you will need:
- 4x 8×2 mm Magnets
https://it.aliexpress.com/item/1005009693150428.html?spm=a2g0o.productlist.main.2.3e7cFdQrFdQrxr&algo_pvid=0eba8011-7b77-4523-a3b4-86f9a34d1ada&algo_exp_id=0eba8011-7b77-4523-a3b4-86f9a34d1ada-1&pdp_ext_f=%7B%22order%22%3A%22103%22%2C%22eval%22%3A%221%22%2C%22fromPage%22%3A%22search%22%7D&pdp_npi=6%40dis%21EUR%2111.06%217.63%21%21%2112.30%218.49%21%402103985c17827521167351622ef750%2112000049872960936%21sea%21IT%21141832776%21X%211%210%21n_tag%3A-29919%3Bd%3Ac0a9e55d%3Bm03_new_user%3A-29895&curPageLogUid=417xFy0mKjD3&utparam-url=scene%3Asearch%7Cquery_from%3A%7Cx_object_id%3A1005009693150428%7C_p_origin_prod%3A">https://it.aliexpress.com/item/1005009693150428.html?spm=a2g0o.productlist.main.2.3e7cFdQrFdQrxr&algo_pvid=0eba8011-7b77-4523-a3b4-86f9a34d1ada&algo_exp_id=0eba8011-7b77-4523-a3b4-86f9a34d1ada-1&pdp_ext_f=%7B%22order%22%3A%22103%22%2C%22eval%22%3A%221%22%2C%22fromPage%22%3A%22search%22%7D&pdp_npi=6%40dis%21EUR%2111.06%217.63%21%21%2112.30%218.49%21%402103985c17827521167351622ef750%2112000049872960936%21sea%21IT%21141832776%21X%211%210%21n_tag%3A-29919%3Bd%3Ac0a9e55d%3Bm03_new_user%3A-29895&curPageLogUid=417xFy0mKjD3&utparam-url=scene%3Asearch%7Cquery_from%3A%7Cx_object_id%3A1005009693150428%7C_p_origin_prod%3A - 1x Bubble level vial
https://it.aliexpress.com/item/33023021109.html?spm=a2g0o.order_list.order_list_main.58.47de36964JemAq&gatewayAdapt=glo2ita - 1x Standard cutter blade
https://www.amazon.it/dp/B09NF11C8S?ref_=ppx_hzsearch_conn_dt_b_fed_asin_title_3
Assembly
Assembly is simple and takes just a few minutes.
- Glue the two buttons onto the blade cover.
- Glue the main button onto the MAKERTOOL body.
- Glue the four magnets into their respective slots on both the main body and the caliper.
- All other components are designed to interlock and require no further fastening.
Optional magnet
For those who wish to make the bit holder magnetic, you can pause the print at layer 85 and insert an additional optional magnet into the front part of the MAKERTOOL.
This way, the screwdriver bits will remain securely held by the magnet.
Print Profiles
Several print profiles are available within the project.
MAKER_TOOL_FINAL_OK
Complete version of the MAKERTOOL.
⚠️ Important: remember to print the caliper part with a layer height of 0.08 mm using the High Quality profile, to achieve better sliding and measurement precision.
NO_AMS_MAKER_TOOL
Version designed for those who do not use AMS.
The ruler numbers are printed in the same color as the body.
AMS_MAKER_TOOL
Version optimized for users with Bambu Lab AMS, with the ruler numbers printed in a different color for better readability.
MAKER_TOOL_CALIBRO_SOLO
Contains the caliper only.
The correct layer height is already set in the profile.
Tips
- Use good quality neodymium magnets.
- Check the correct orientation of the magnets before gluing.
- For smoother caliper movement, remove any small printing residue and ensure it was printed with a 0.08 mm layer height.
If you make the MAKERTOOL, please leave a rating and publish a photo of your print: it will be a pleasure to see your creations and continue to improve the project with your suggestions.
Happy printing! 🚀
License

You shall not share, sub-license, sell, rent, host, transfer, or distribute in any way the digital or 3D printed versions of this object, nor any other derivative work of this object in its digital or physical format (including - but not limited to - remixes of this object, and hosting on other digital platforms). The objects may not be used without permission in any way whatsoever in which you charge money, or collect fees.


Comment & Rating (1)