
Vex 26-27 Override Mini Field
Print Profile(1)
Description
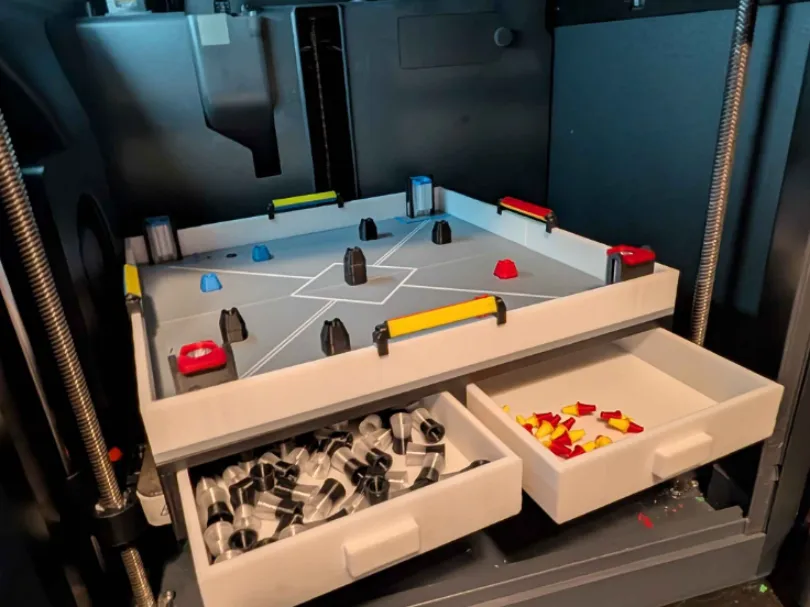
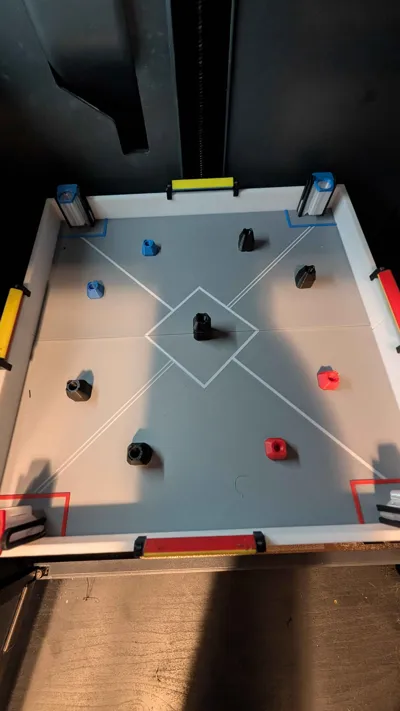
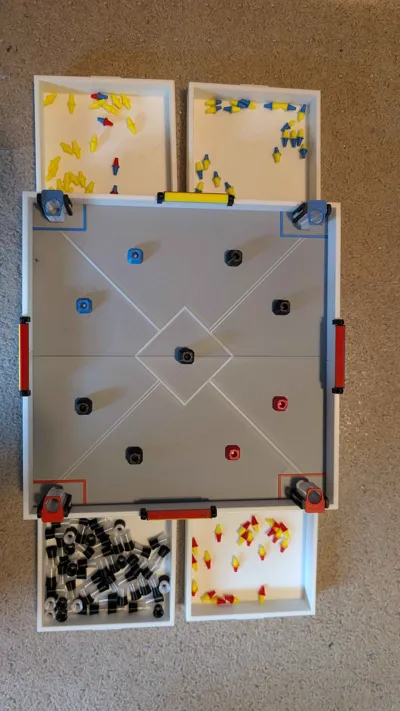
Vex Robotics 2026-2027 Override Mini Field
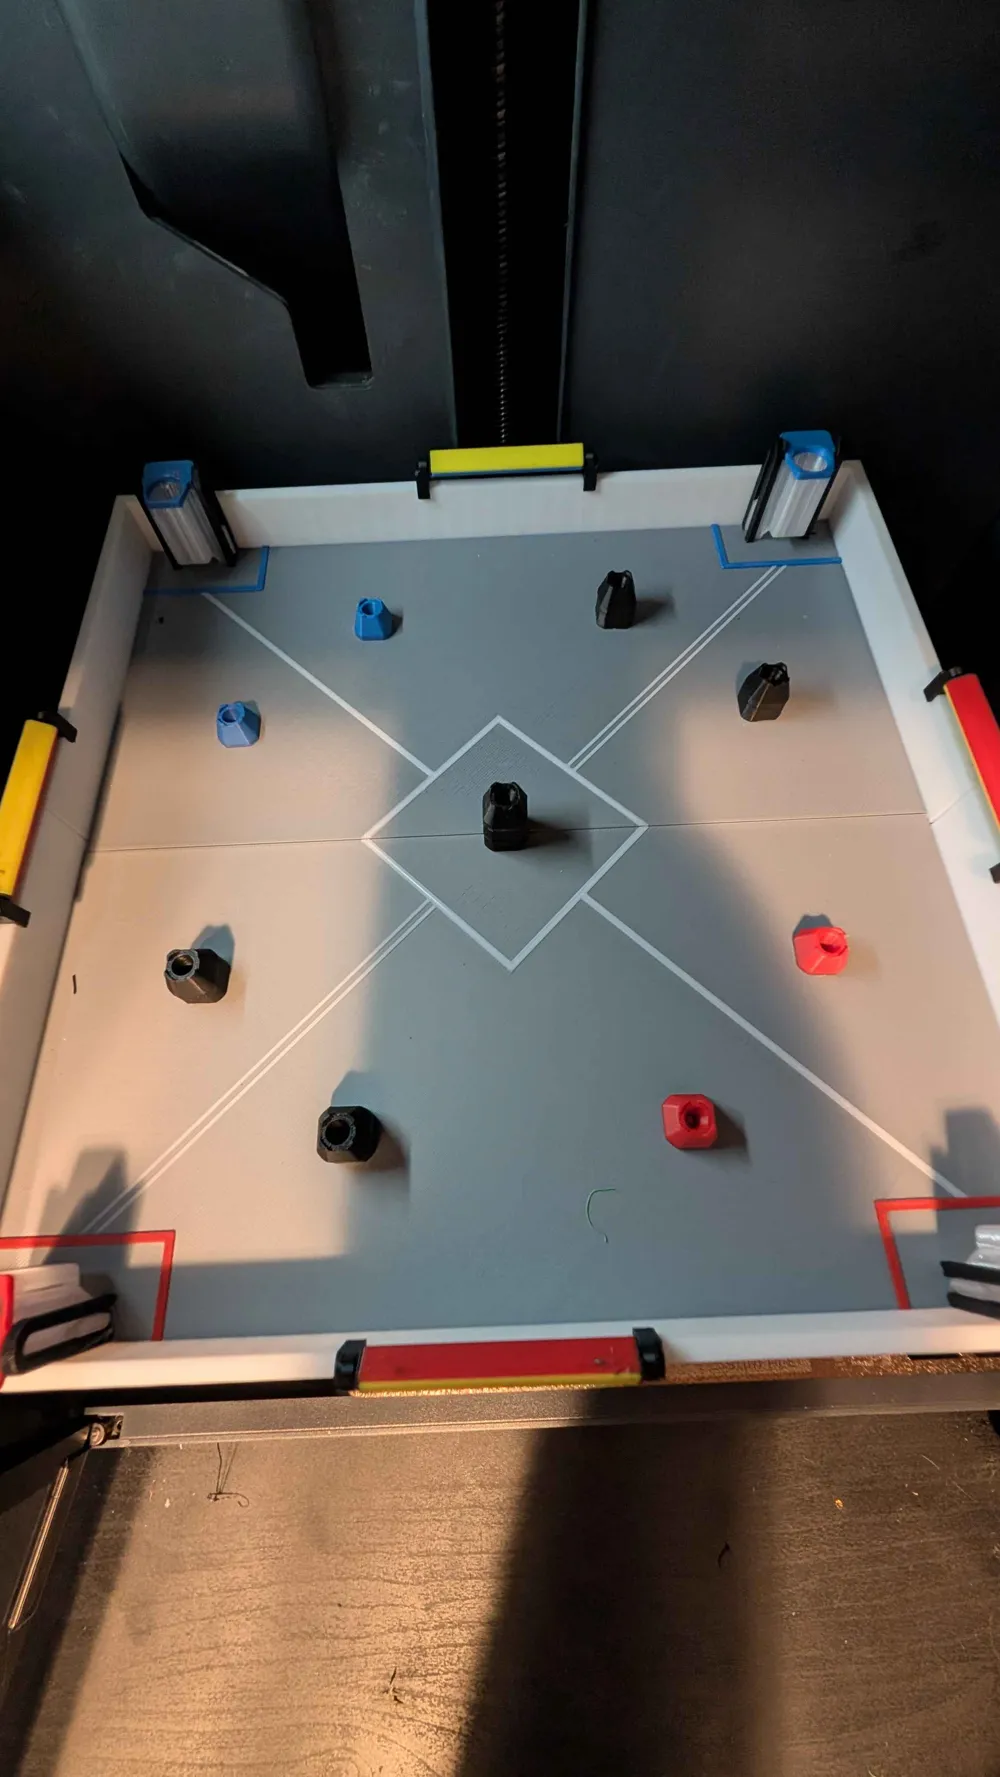
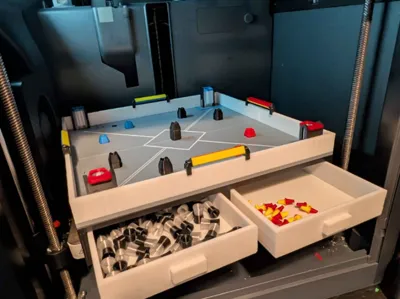
This is the 2nd Mini Field I have designed so far, this field includes:
- Working Match Loaders
- Spinning Toggles
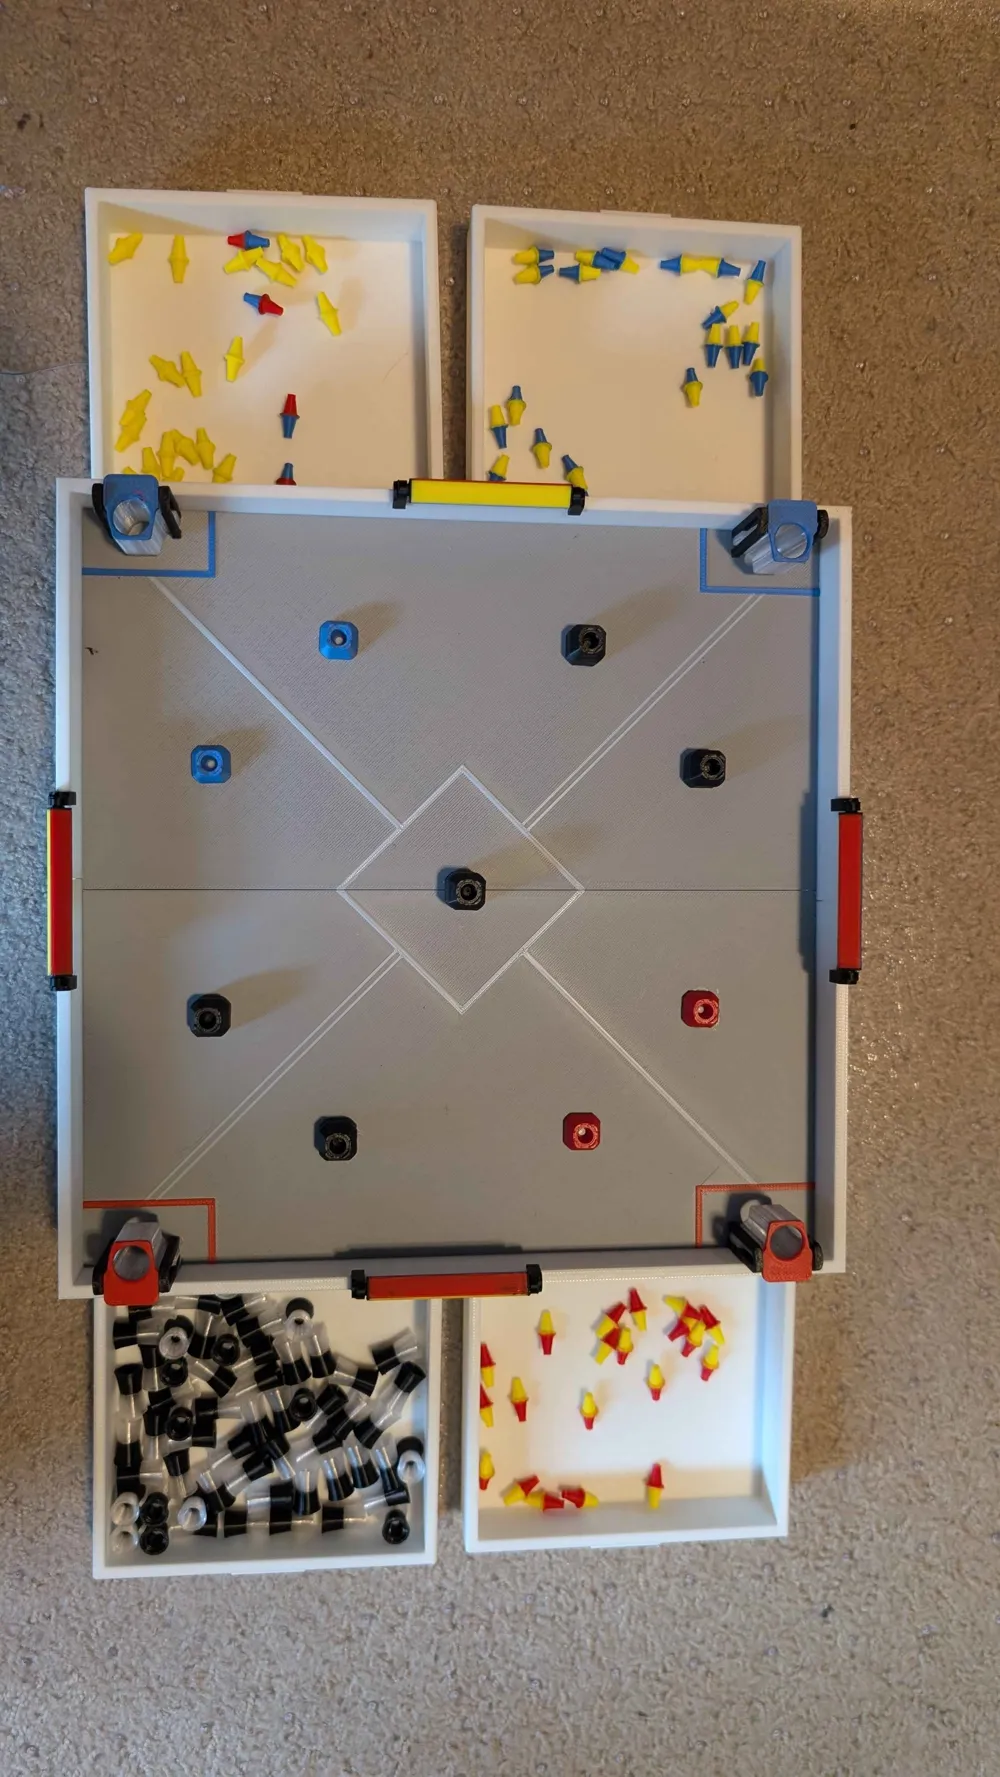
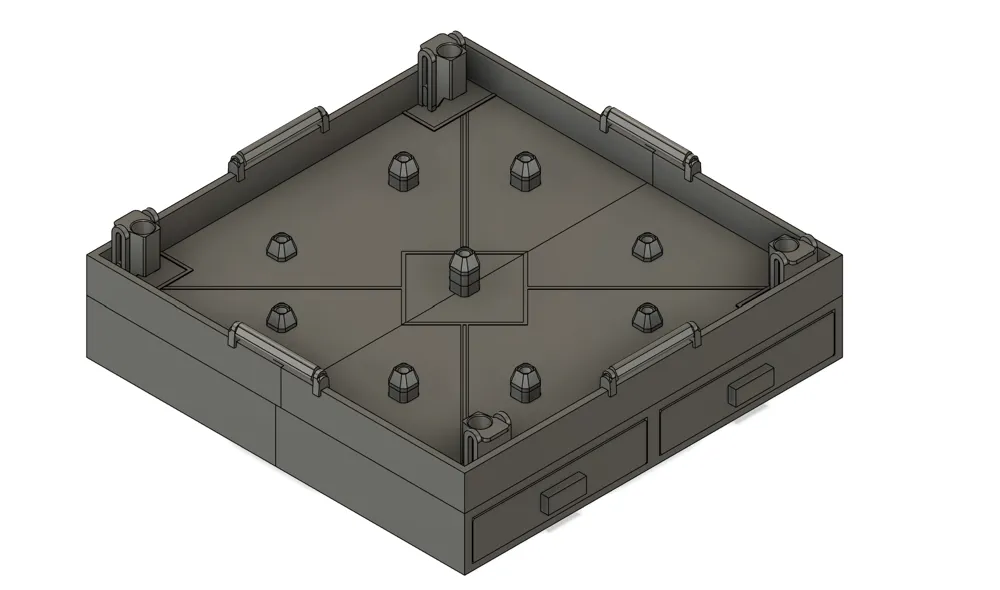
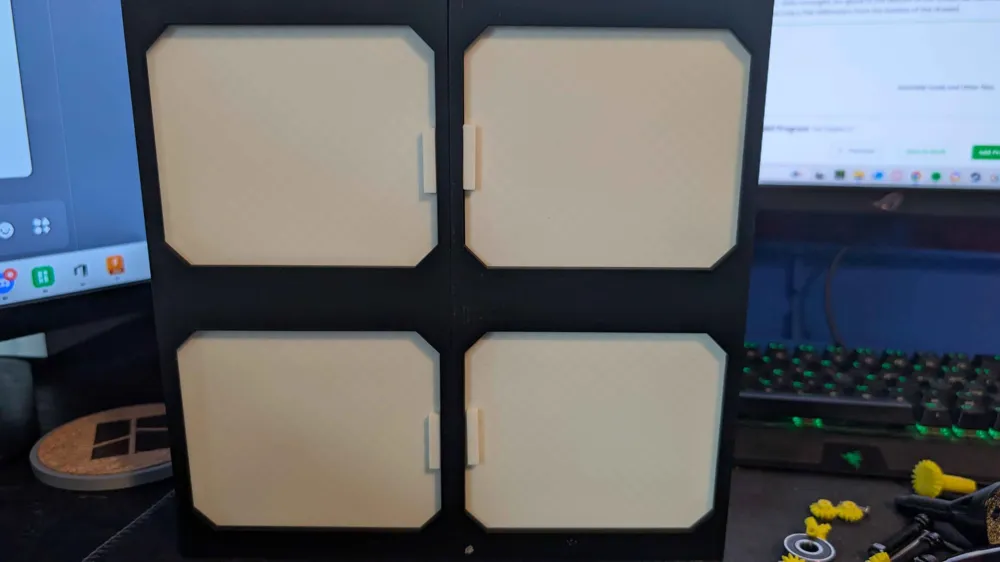
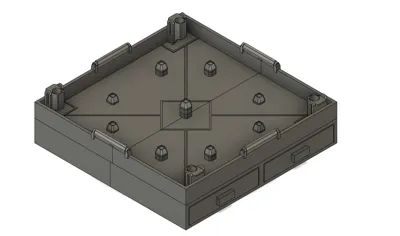
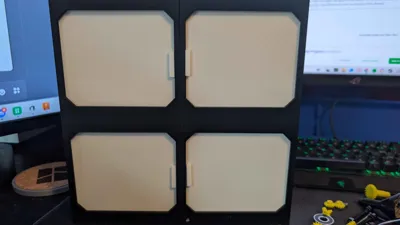
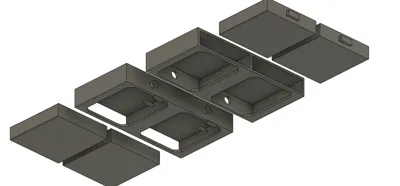
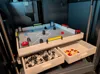
- 4 Drawers to store elements
- All the elements you will ever need
- (I plan to add mini robots later on)
ASSEMBLY INSTRUCTIONS ( SUPER GLUE REQUIRED )
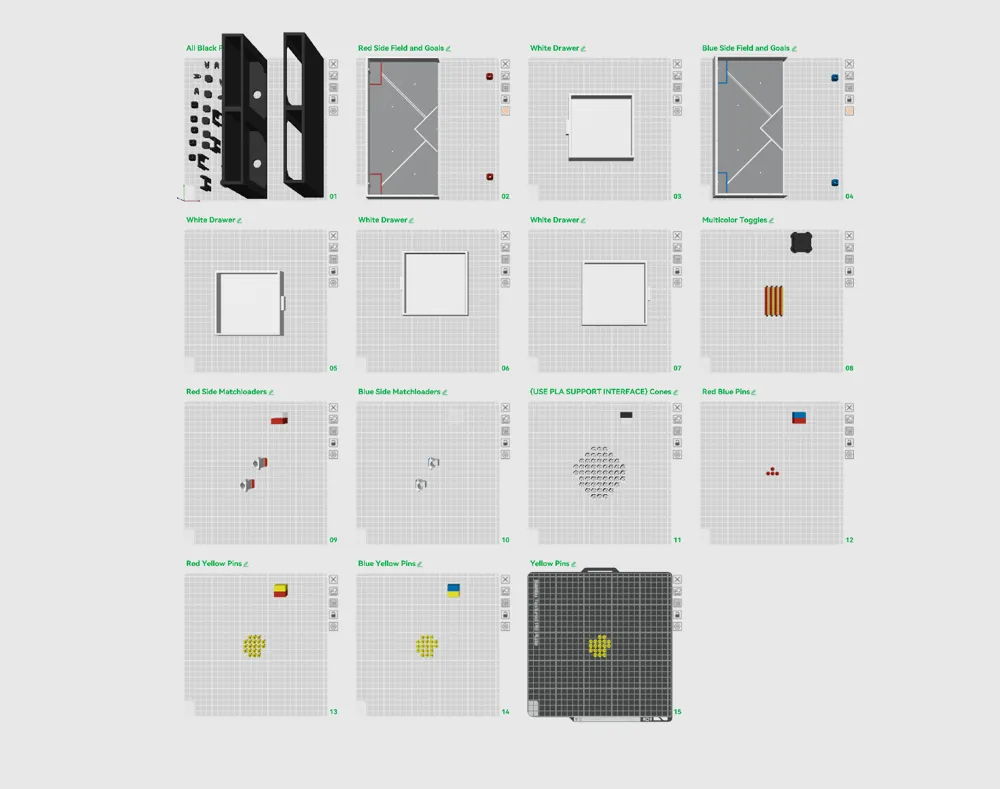
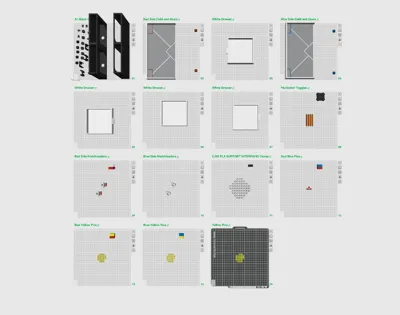
- Print ALL of the parts required for the field (everything except elements)
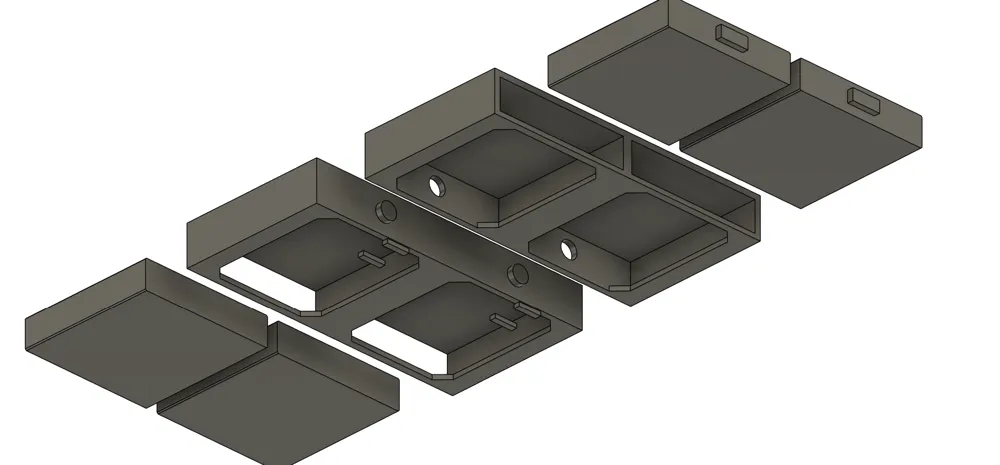
- Glue the bottom half together making sure to have the open side down. (MAKE SURE TO USE THE 2 LARGE PINS TO LOCATE THE 2 PEICES)
- Assemble the drawers, Slide the drawers into the case with the bottom side of the drawer facing the open bottom side of the casing.
- Add Drawer Lockers, little rectangles are glued to the bottom of the drawer AFTER INSTALLATION, these exist to prevent the drawers from falling out. (they should stick out only a few Millimeters from the bottom of the drawer (there is a picture of them installed for reference)
- Glue the field halves together, they should slide together with some friction, MAKE SURE TO ASSEMBLE ON FLAT SURFACE.
- Glue the Field to the drawer casings, Glue the field to the top of the drawer casings, both surfaces should be flat so that you can glue them together cleanly (MAKE SURE TO SQUARE THE ENDS TO ENSURE A GOOD-LOOKING RESULT).
- Glue the black goals together. There is 5 black goals, 4 of them require 1 block to be glued to the bottom of the actual goal piece. The center goal requires 2 Risers (The goal riser kinda looks like a brick piece)
- Glue all of the goals to the field. There should be little circles sticking out of the field, those are used to locate the goals, glue the 5 black, 2 blue, and 2 red goals just like how the pictures show.
- Assemble the Match loaders, slide the match loader piece into the guide rail just like how the picture shows, the guide rail will bend a little, but shouldn't break.
- Glue the Match Loader Guide rail to the field half, there is a piece on the wall of the field that the guide goes onto, (MAKE SURE TO GLUE THE BOTTOM LEG OF THE GUIDE).
- Assemble the Toggles, using the black toggle mounts, slide them over the ends of the toggles. (DO NOT GLUE THE ENDS OF THE TOGGLE)
Glue the toggle mounts to the field, Using the tiny pins on the top of the wall, glue the toggle mounts onto the field (once you glue the mounts in place, you cant remove or replace the toggle)
REFERENCE PHOTOS ABOVE TO HELP ASSEMBLY.
Please comment about any concerns or questions.
License

You may create derivative works based on this object, provided that all such derivative works are published exclusively on the MakerWorld platform and include proper attribution to the original creator. You may not share, upload, host, distribute, or publish this object—or any derivative work of this object—on any other digital platform, marketplace, or distribution channel. Commercial use of this object and any derivative works is strictly prohibited. This includes, but is not limited to, selling, renting, sublicensing, or using the object in any context in which you receive monetary compensation or other financial benefits.


Comment & Rating (1)