Search models, users, collections, and posts

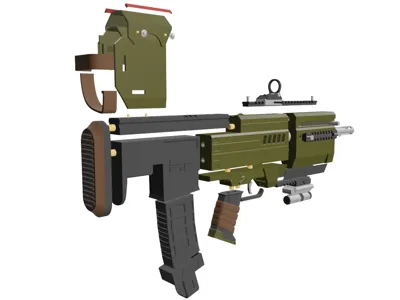
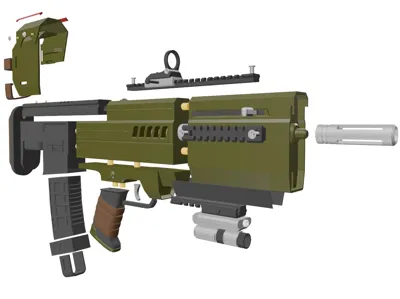
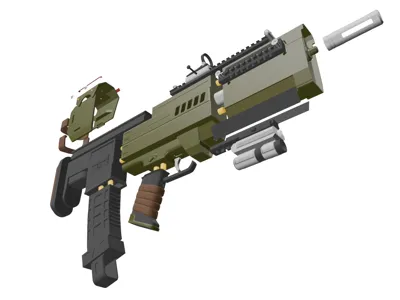
Liberator Carbine from Helldivers 2
IP Report
Print Profile(3)
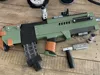
Liberator carbine main
Designer
41.6 h
26 plates
AMS Parts
Designer
17.4 h
8 plates
Accessories pack
Designer
3.9 h
5 plates
Open in Bambu Studio
Boost
17
38
4
1
9
3
Released
Description
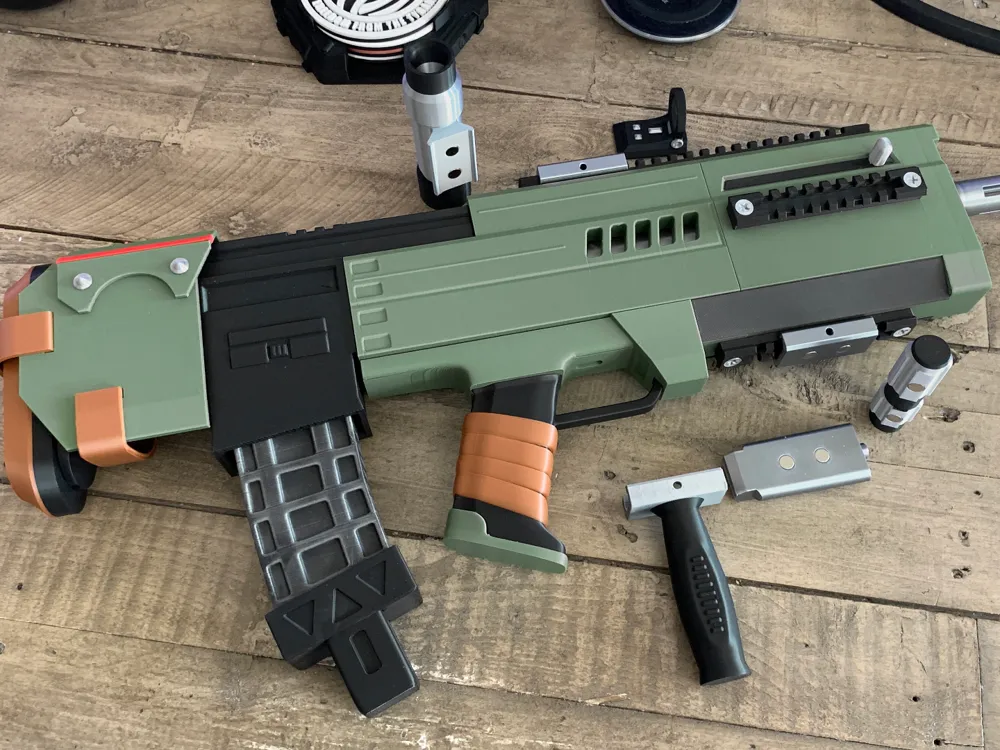
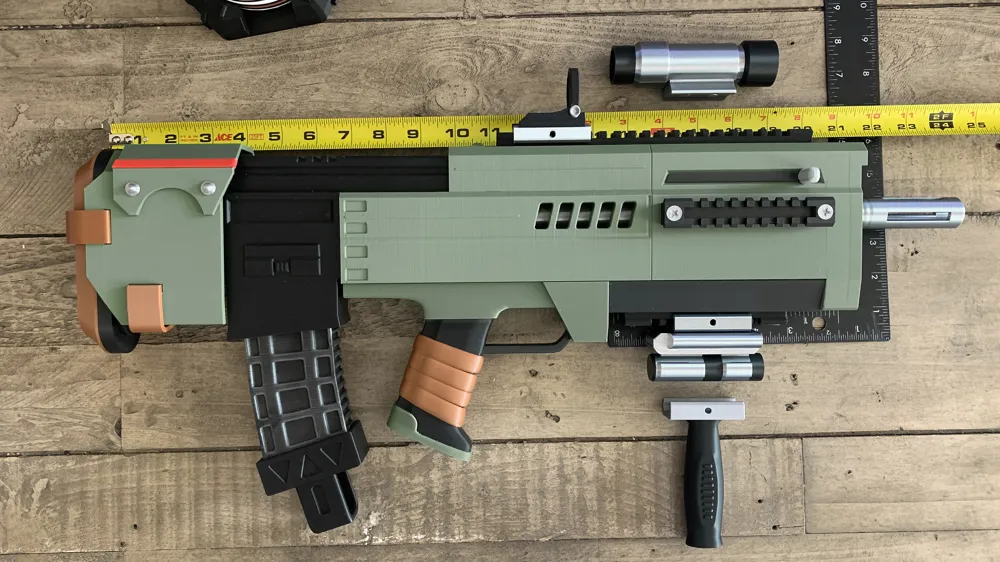
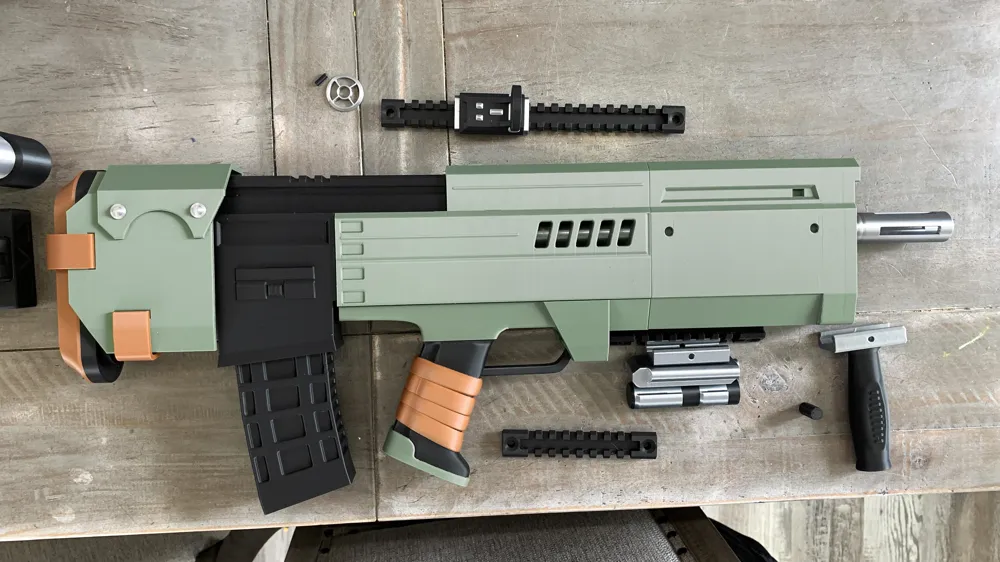
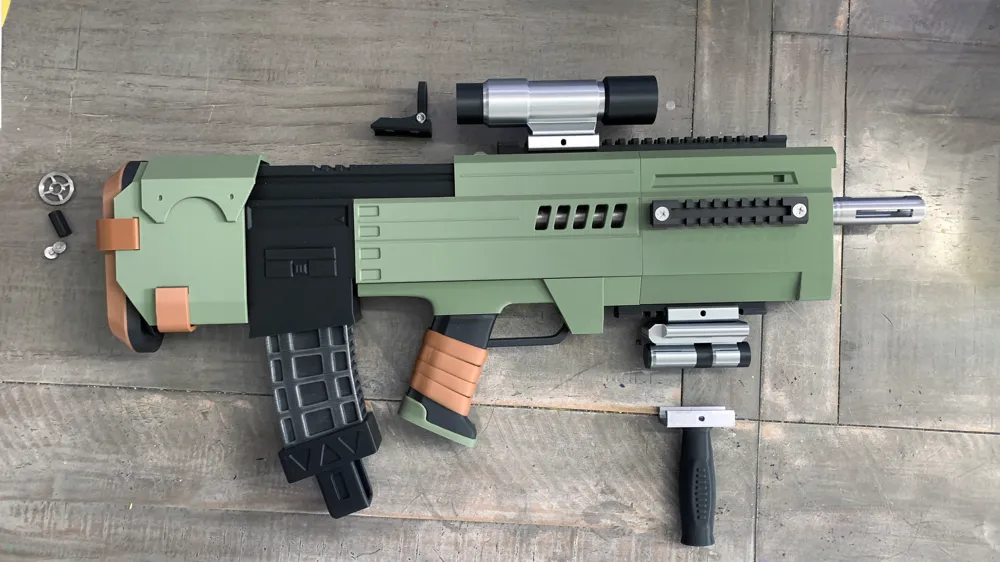
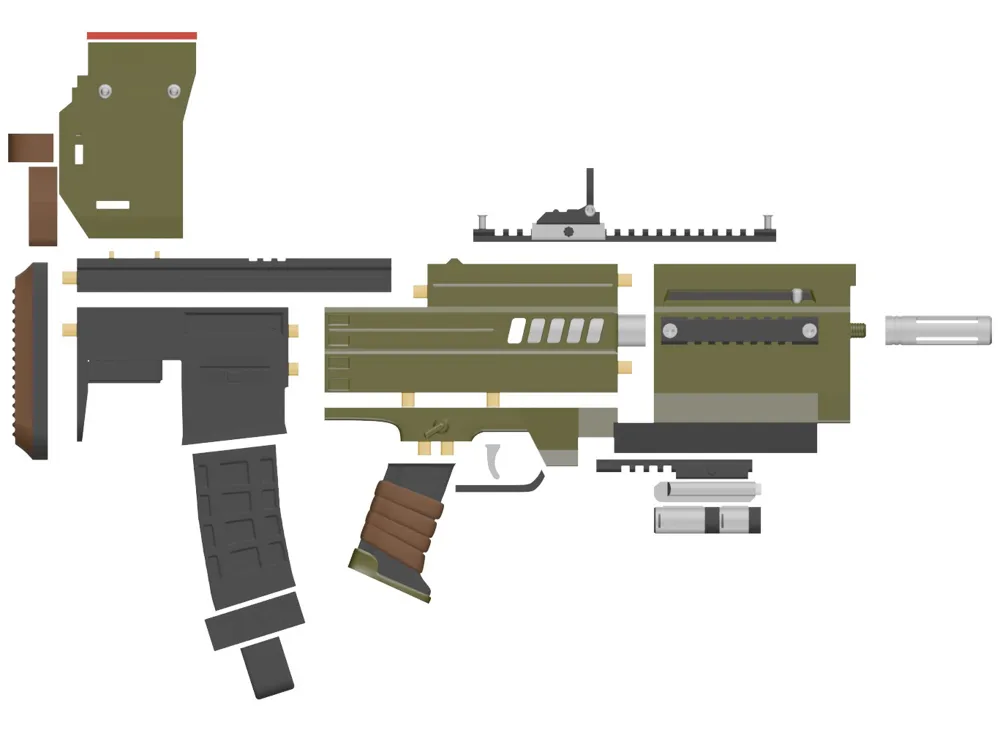
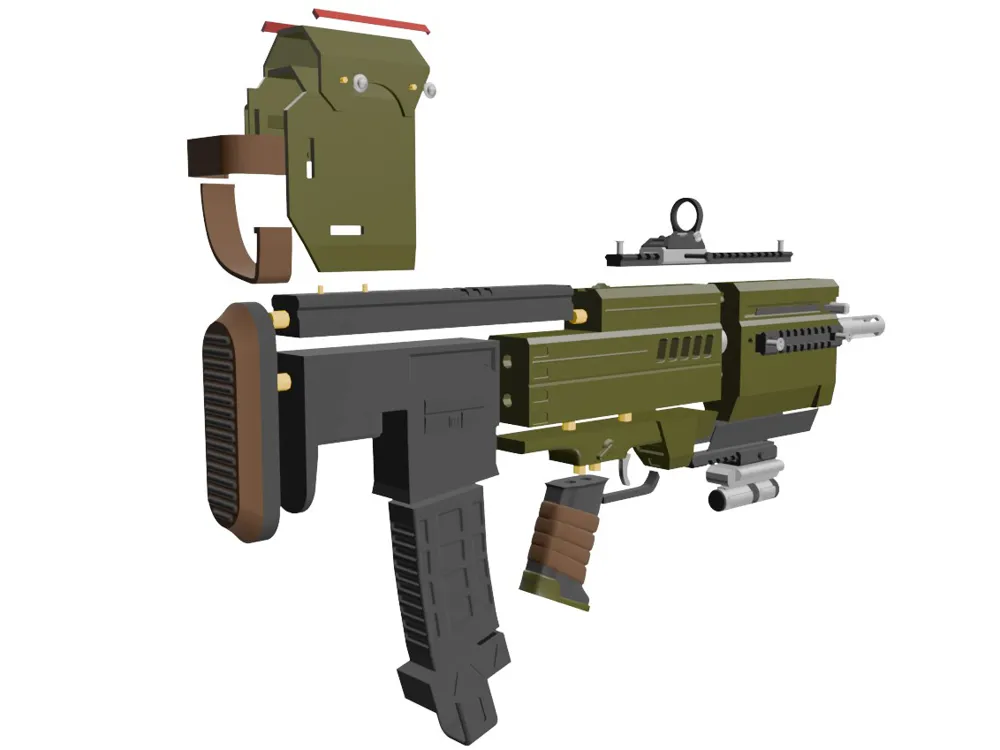
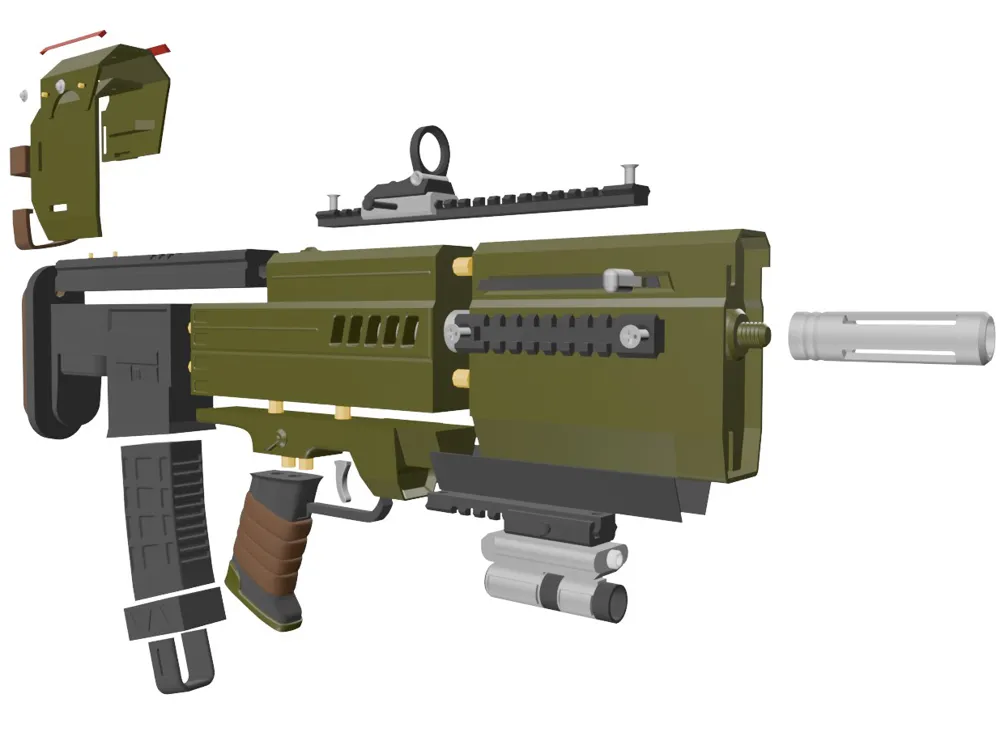
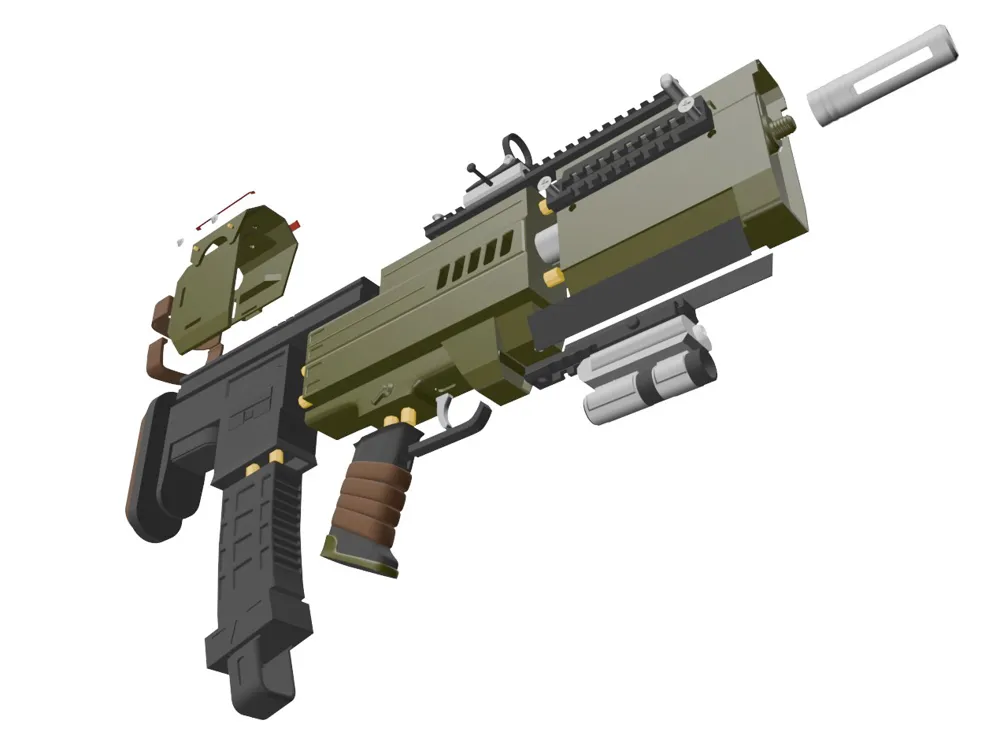
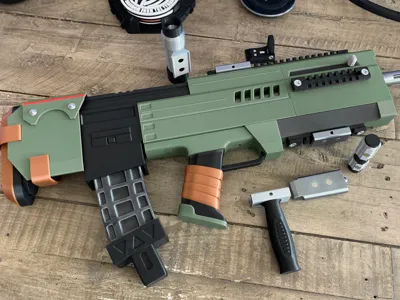
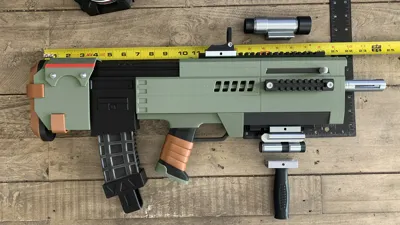
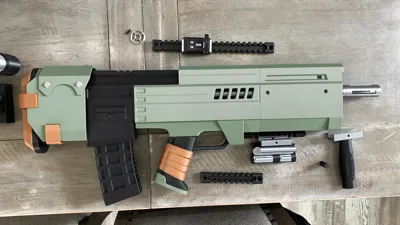
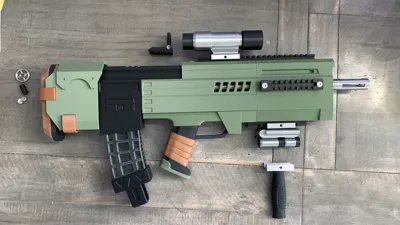
Fan made design Liberator carbine from Helldivers 2
Its pretty much all there with the exception of the pouch. Not quite good enough yet to get that part done properly.
Fully assembled it is almost 24 inches long.
Features:
- Working picatinny rail with attachments.
- Sights can be quick swapped with each other or a scope if you go with 8x2 magnets.
- 2 different threaded muzzle options
- 2 sight options
- 1 scope option
- 1 under barrel “flashlight / laser combo” (2 parts held together with magnets)
- 1 under barrel grip
- Most parts are separated out for easy color printing.
- I'll provide an AMS profile for some of the main parts & accessories if you want to go that route. (Grip, main sight, flashlight attachment & buttstock)
Assembly:
*Assembly is pretty straight forward but there are a lot of pieces.
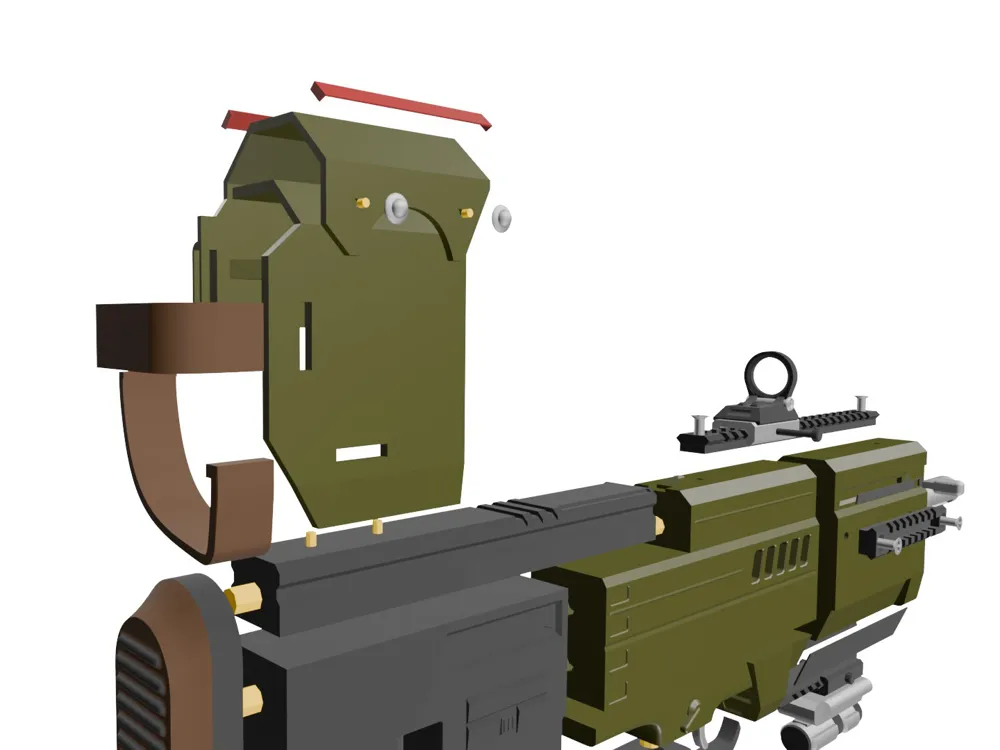
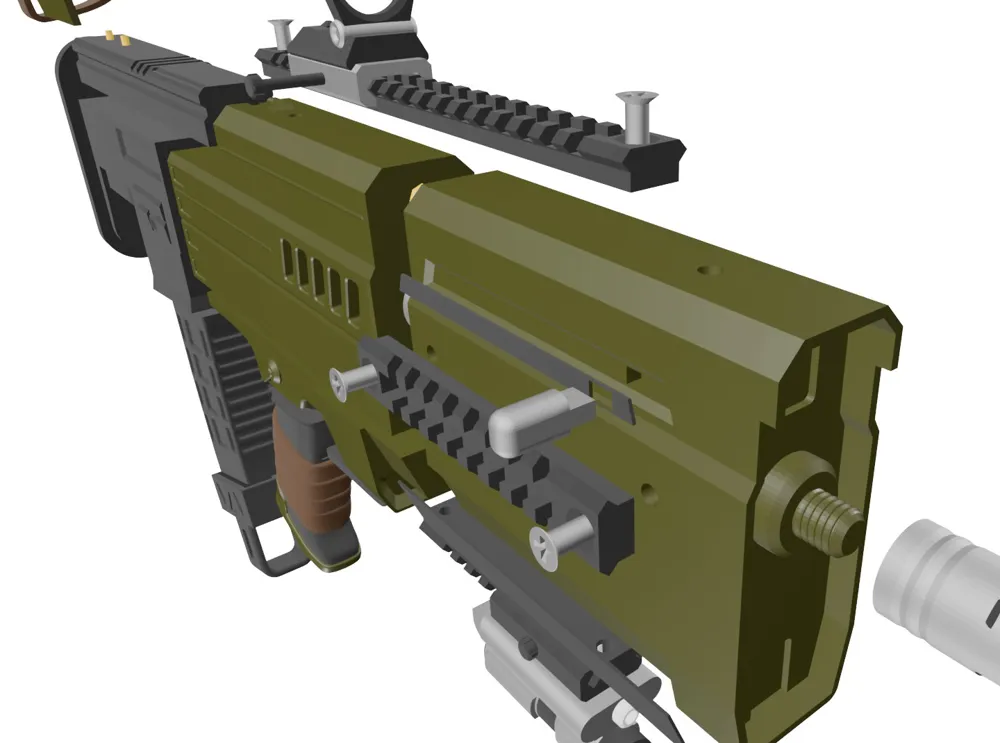
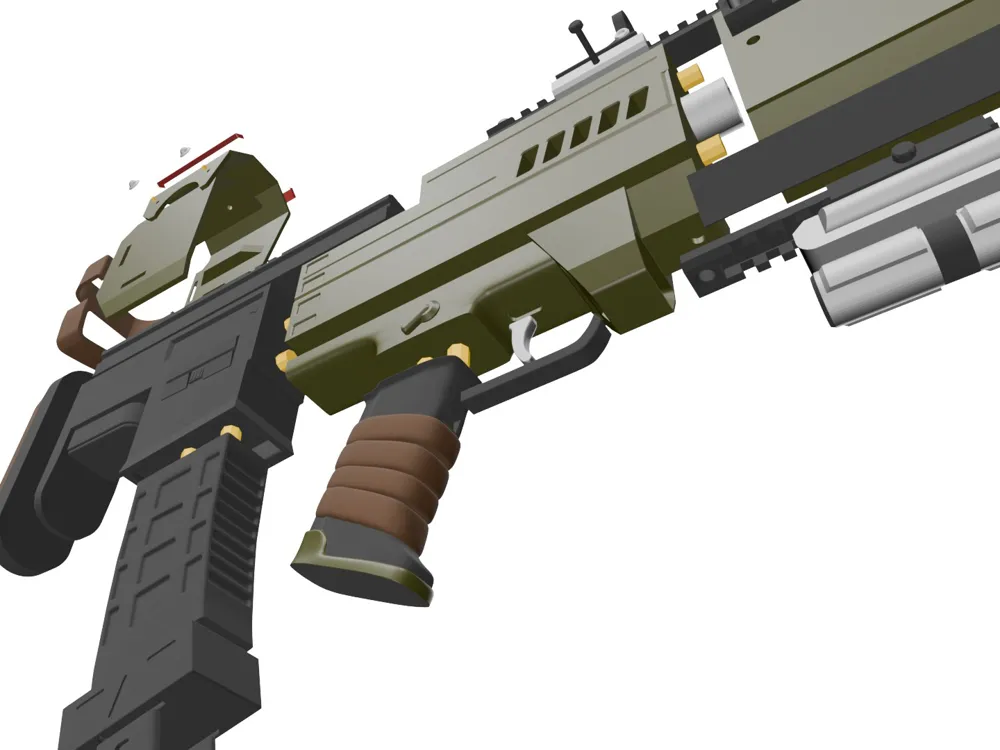
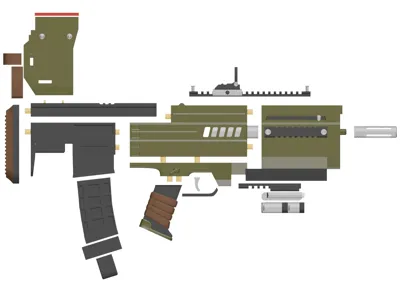
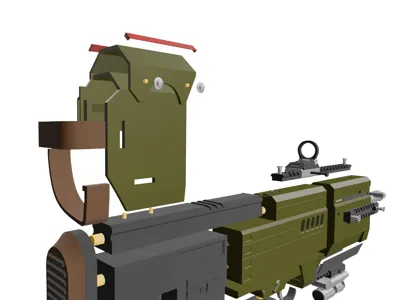
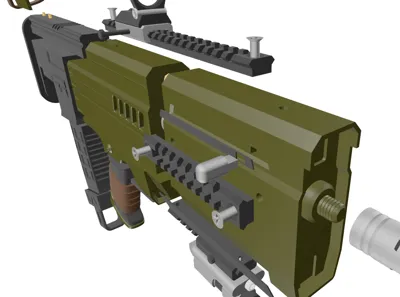
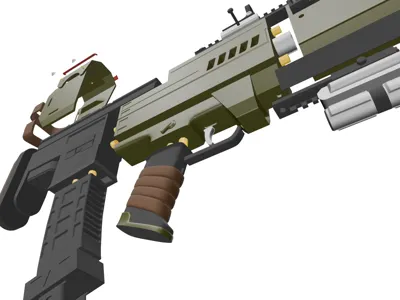
See images for the renders that show where everything goes. Yellow parts in the images are all the connecting / guide pins.
- You will want to assemble the 3 main sections first. Front, Mid, rear using the larger connecting pins.
*Be sure to remember to put in the barrel insert into the mid section prior to any gluing (if you are doing that). - Slide rear top (as I call it *on plate 4) into the mid section using connecting pin. Little holes on the top need to be towards the rear of the gun.
- Buttstock will hold the main rear and top rear sections together with connecting pins.
- Buttstock covers - There are small alignment holes for pins on the rear top. Add in pins to rear top (may be tight). Place covers onto pins. They only go on one way, see images for reference.
- Buttstock straps - These should fit snuggle into the openings on the covers. I'd start by inserting the strap on the right side of the gun fist, then push the left side up and in. Straps may need some filing. Mine fit in nice and required no gluing.
- Magazine connects to the bottom of the rear section using connecting pins.
- Magazine end cap and loop need to be glued on.
- Grips & trigger guard - There is an indent in the grip and the upper grip where the trigger guard sits. Due to the design you need to assemble these at the same time. Put 2 pins in the upper grip place it flat side down (in not already attached to mid section). Hold flat side of trigger guard in the grip with one hand while pushing the grip onto the pins guide the angle side of the trigger guard into the indent on the upper grip. Seems difficult when typing it out but its easy. Do test a test fit before gluing anything. I filled my trigger guard down a bit to get perfect fit before gluing.
- Top picatinny rail is held in my the screw pins. I added the screw pin down into the rails first, then aligned the pins above the holes & pushed them all the way into the main body of the gun. Mine were snug and required no glue.
- Bottom and side picatinny rails are all the same size & go in as descried above.
- Cover plates - These are glued on after everything is assembled. Under barrel plates hide some of the seam lines. Top 2 for the bolt area are aesthetic. If you want to use the top 2 be sure to glue them in before you glue in the bolt pin.
- Slide picatinny mount onto the rails. Add in magnets, make sure you get polarity right on the accessories for easy swapping. There are pins to secure the mount to the rails. Slide the pin in and place on the cap on the other side. You can glue them if you like, I chose not to since the mounts were snug on the rails for me. *Only 2 mounts are in the profile. Print more if you need them.
Notes:
- Most larger flat pieces have 3 walls and 10% infill. I've also slowed the outer / inner wall speeds down to 60-80mm/s to try and negate seeing lines.
- Smaller items have brims and .16 layer heights to keep the details.
- Supports are enabled on individual objects where needed.
- Magazine & magazine end cap have a ton of triangles so you will see that warning. Simplify them at your own risk.
- Screw pins - I printed them facing up because I didn't want texture to show. Feel free to rotate them 180 if you have smooth plate.
- Magnets: if you use them for all accessories you will need 16 or 20 8x2 magnets. Be sure to get your polarity correct for easy swapping. If not using magnets you can print our 8mmx4mm plugs.
- I'm probably missing something but will update notes as needed.
CLICK HERE FOR MORE HELLDIVERS SWAG o7
Boost Me (for free)
Like what you see? Please consider boosting!
License

This user content is licensed under a
Creative Commons Attribution-Noncommercial-Share Alike


Comment & Rating (4)