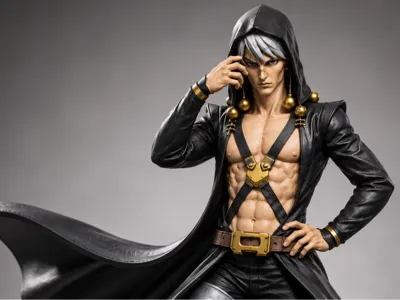
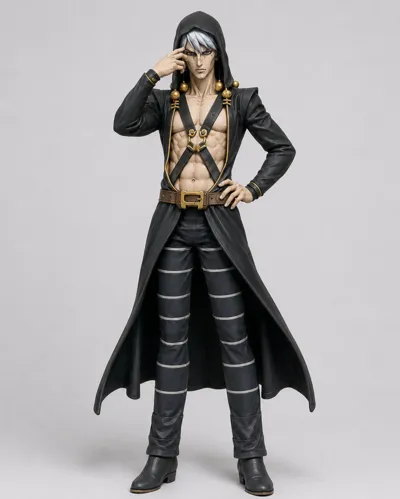
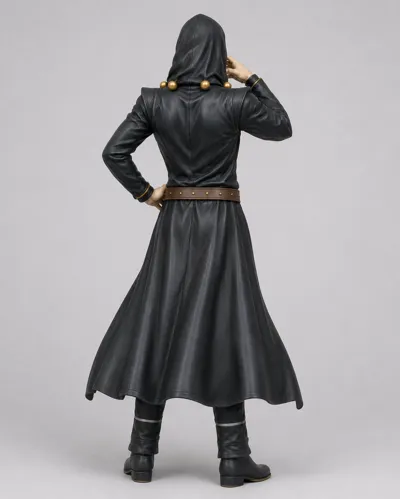
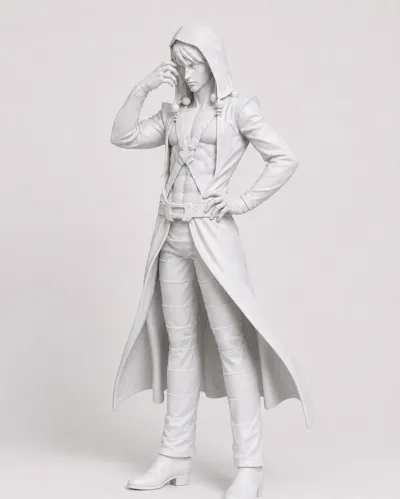
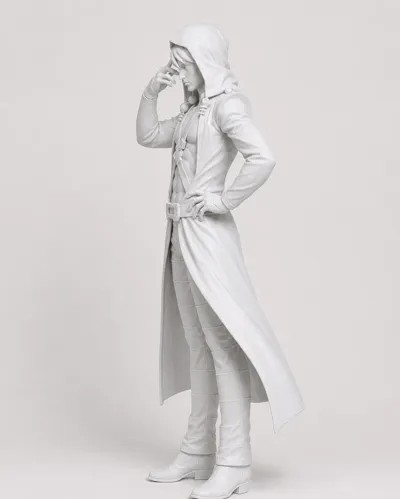
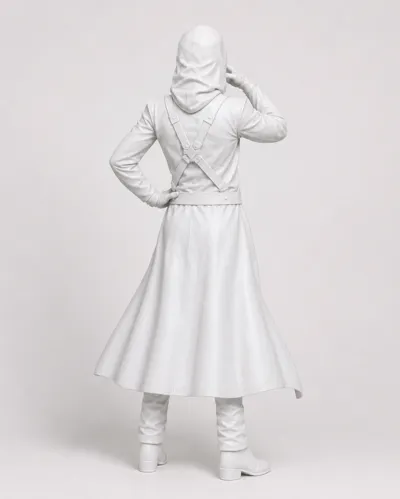
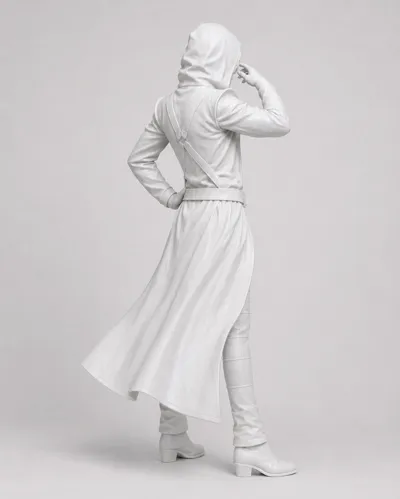
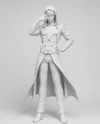
Risotto Nero – JoJo Fan Art Display Figure


Print Profile(1)
Description
Hi! Thanks for checking out my model.
This is a fan-made display figure inspired by Risotto Nero from JoJo’s Bizarre Adventure.
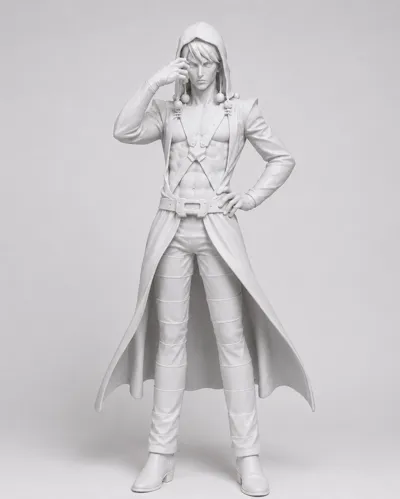
I prepared and optimized the model for FDM printing and divided it into two main sections. This makes the figure easier to print, clean, assemble and paint.
The model has been successfully test-printed in white filament at the original scale. I plan to fully paint my printed version.
PRINT PROFILE
The included print profile uses:
• 0.20 mm layer height
• 2 wall loops
• 5% Grid infill
• Tree Auto supports
• Tree Slim support style
• 30° support threshold
• Supports from the build plate only
• Small unnecessary overhang supports removed
• No brim
The 5% general infill keeps the print time and material usage reasonable. Local modifier objects have been added around the connecting sections of the model. These areas are printed with increased infill so that the joints are stronger than the rest of the figure.
The yellow objects visible inside the slicer are modifier volumes. They are not part of the finished model and will not appear on the printed figure.
BED ADHESION
The included profile uses no brim because the model printed successfully this way during my test.
However, every printer and build plate is different. If you have weaker bed adhesion, I recommend adding a small brim, especially around the lower body section.
SCALING
You can scale the figure up or down depending on the size you want.
Important: Select and scale both sections by exactly the same percentage. Do not scale the upper and lower body separately, otherwise the connecting parts will no longer fit correctly.
Scaling the model up will usually improve the appearance of smaller details and make thin areas such as the fingers and clothing stronger.
When scaling the model down significantly, check the preview carefully. Very small details, fingers, clothing edges and the connectors may become more fragile. Connector tolerances may also change slightly depending on your printer.
For major size changes, I recommend printing a small connector test before starting the complete model.
ASSEMBLY
The upper and lower body are connected using the integrated alignment system.
Before applying glue, test-fit both parts carefully. If the connection is slightly tight, lightly sand the contact surfaces. If it is loose, a small amount of suitable model glue can be used.
Do not force the pieces together, as this could damage the connector or the surrounding details.
SUPPORT REMOVAL
Remove the Tree Slim supports slowly, especially around:
• The fingers
• The face
• The arms
• The clothing details
• The coat edges
Small pliers and a precision knife can help, but please work carefully around thin areas.
FINISHING AND PAINTING
The figure can be displayed directly after printing or prepared for painting.
For the best painted result:
1. Carefully remove the supports.
2. Apply a suitable primer.
3. Paint the figure using acrylic paints or your preferred method.
If you print this model, I would really like to see your result. Feel free to upload a photo or leave feedback about your experience.
If you enjoyed the model, a like, rating or Boost helps me continue creating and sharing free models.
Thank you and happy printing!
License
You shall not share, sub-license, sell, rent, host, transfer, or distribute in any way the digital or 3D printed versions of this object, nor any other derivative work of this object in its digital or physical format (including - but not limited to - remixes of this object, and hosting on other digital platforms). The objects may not be used without permission in any way whatsoever in which you charge money, or collect fees.
Comment & Rating (0)