
Pop-Up Toaster Toy - Real Spring Pop
Print Profile(0)
Description
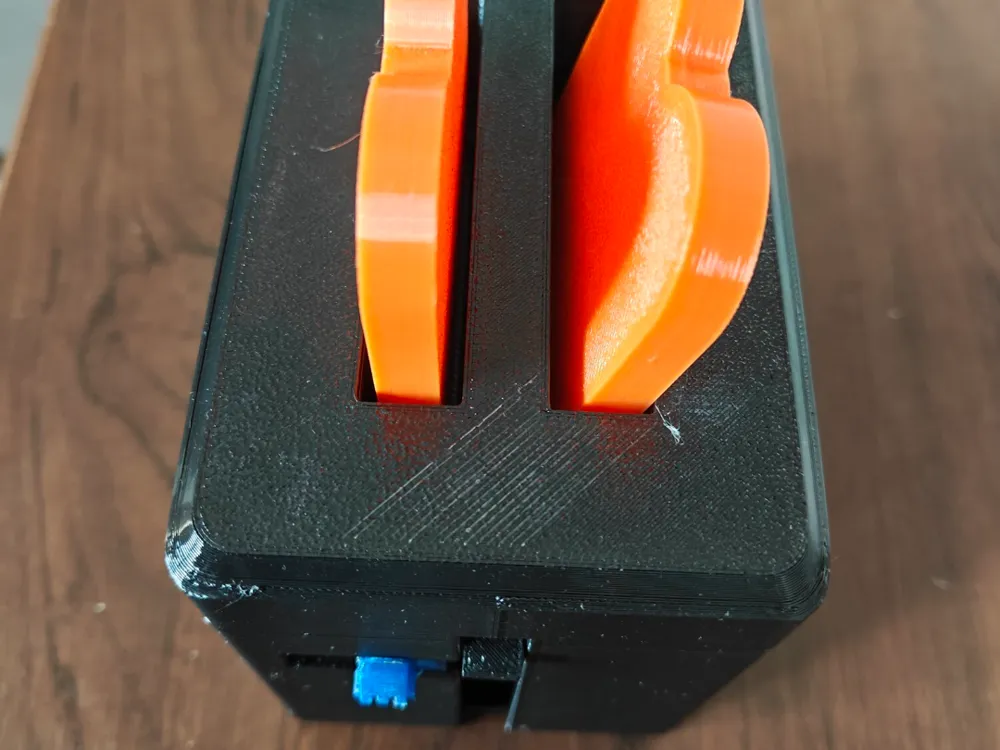
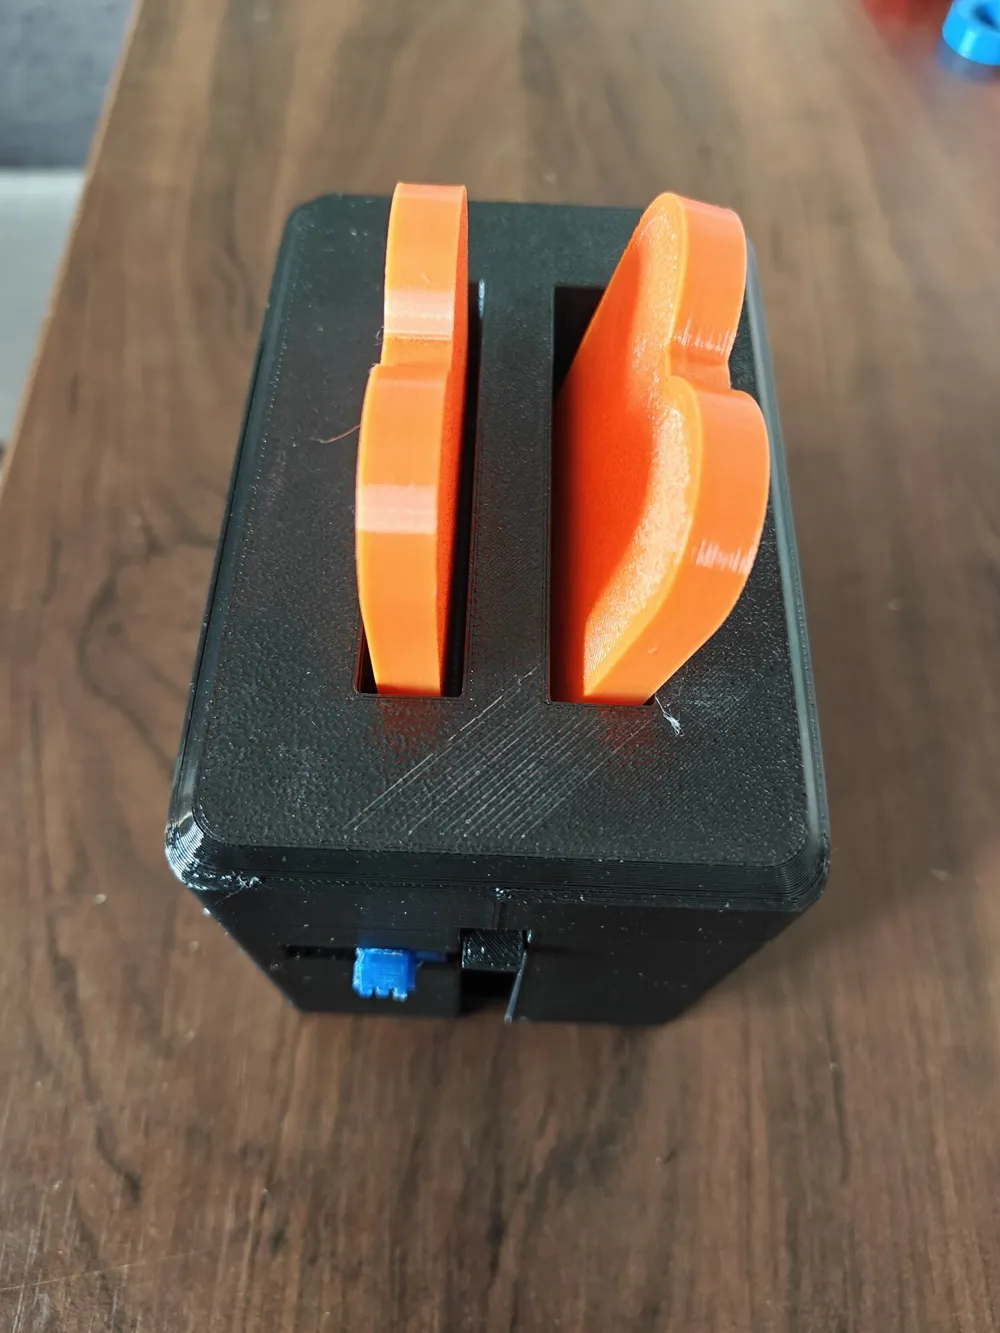
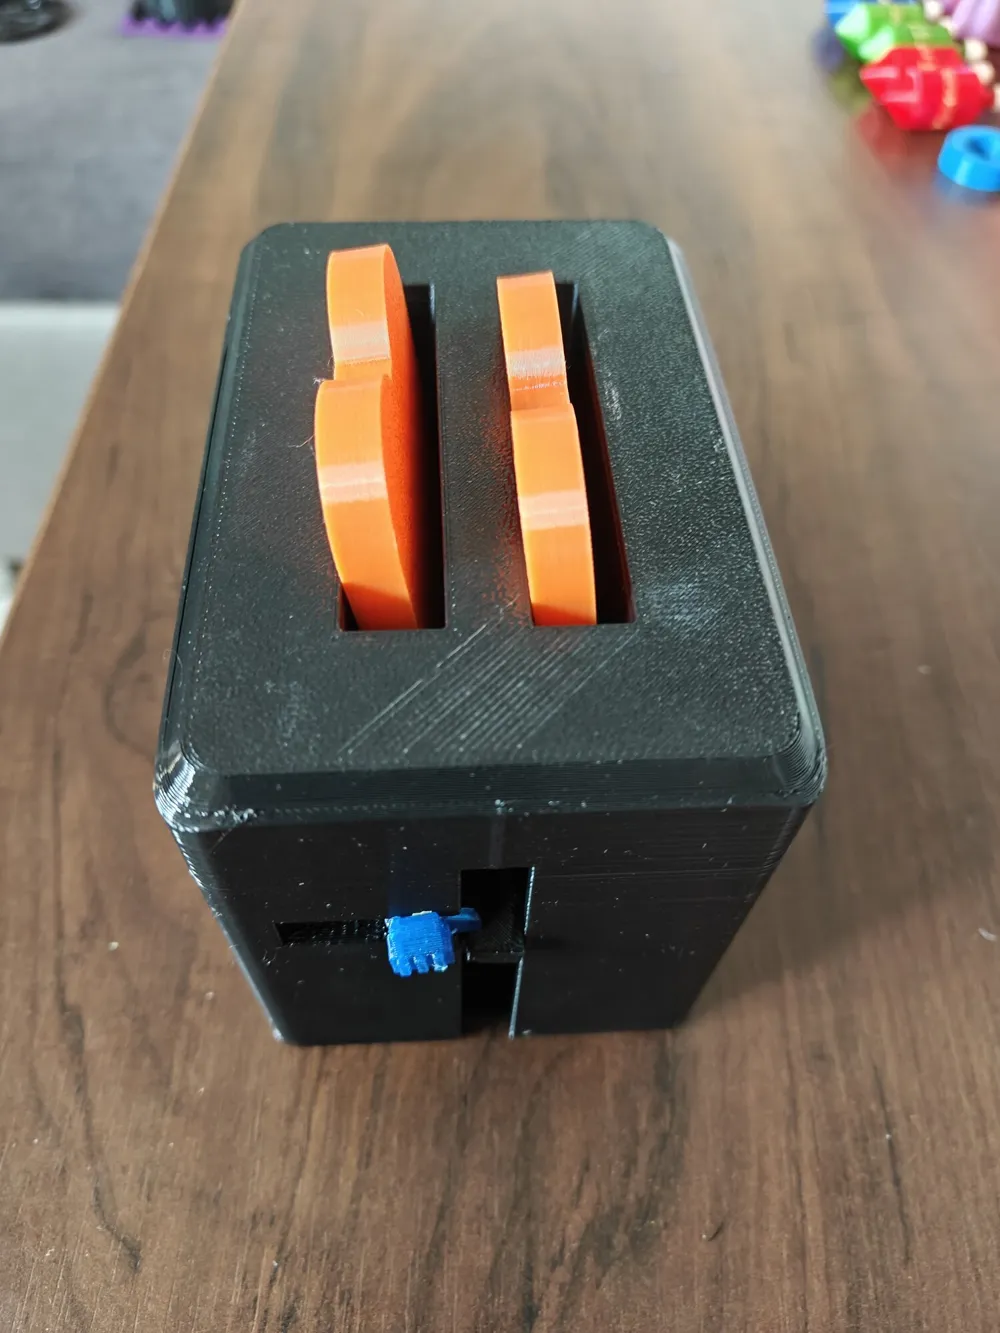
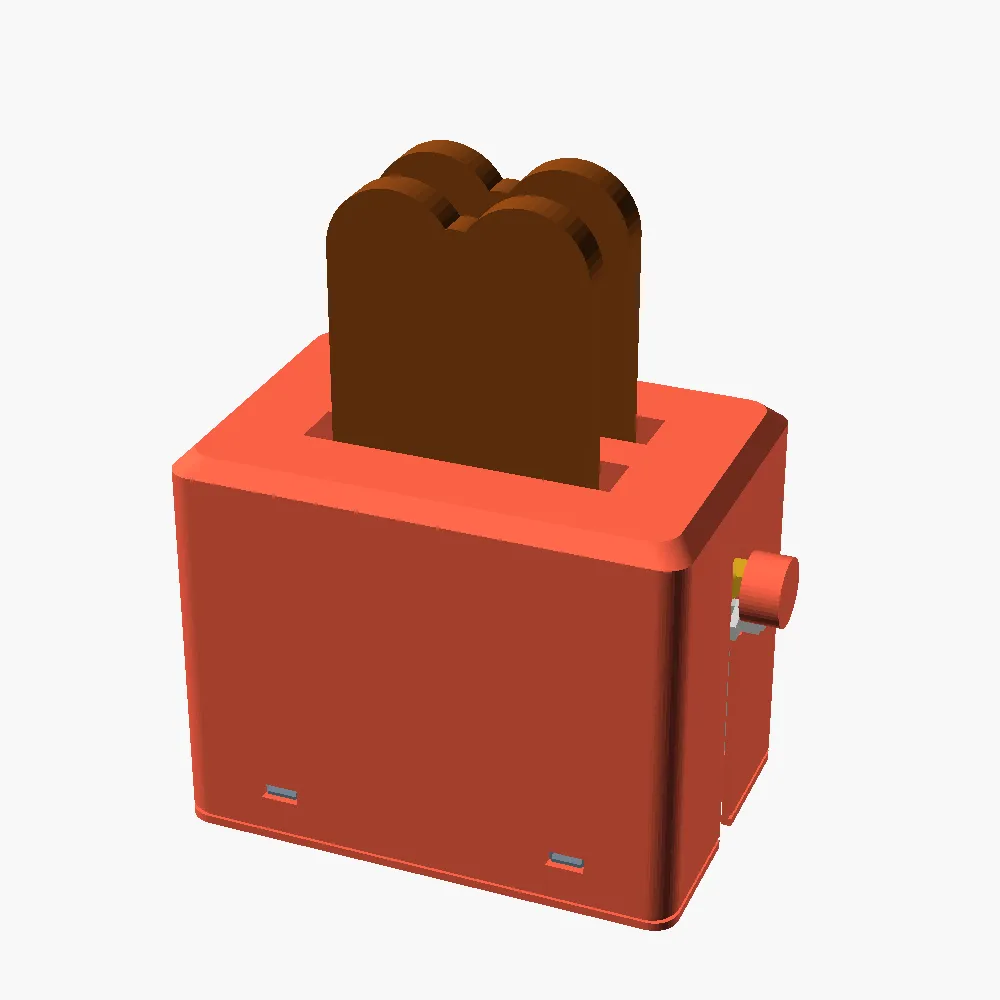
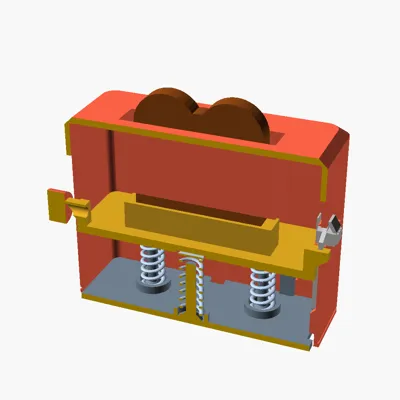
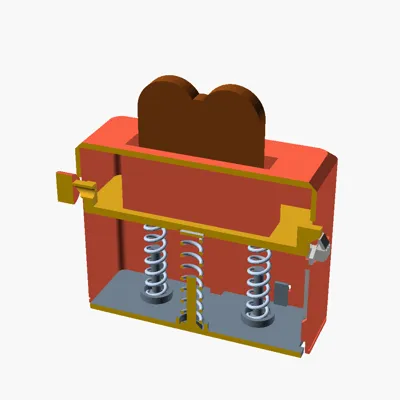
A pretend-play toaster that ACTUALLY pops. It is not a static prop - it has the real mechanism inside.
How you play:
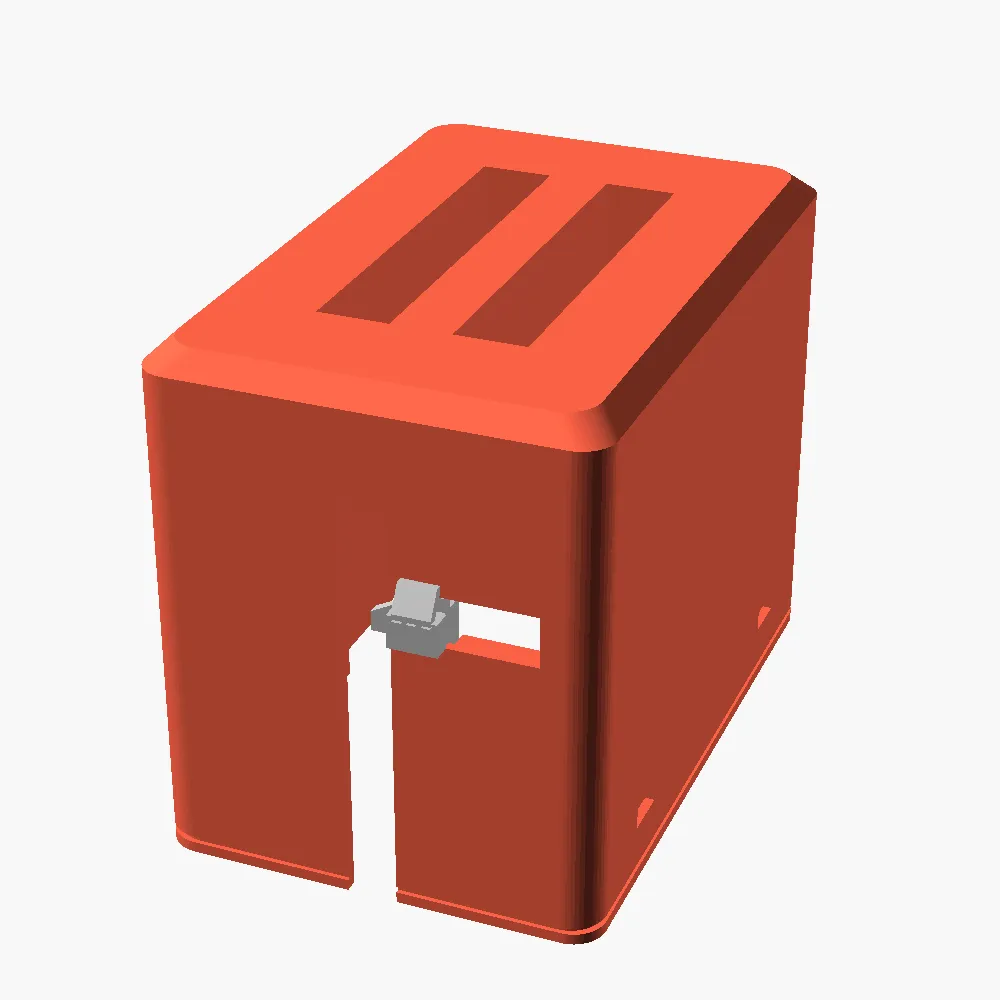
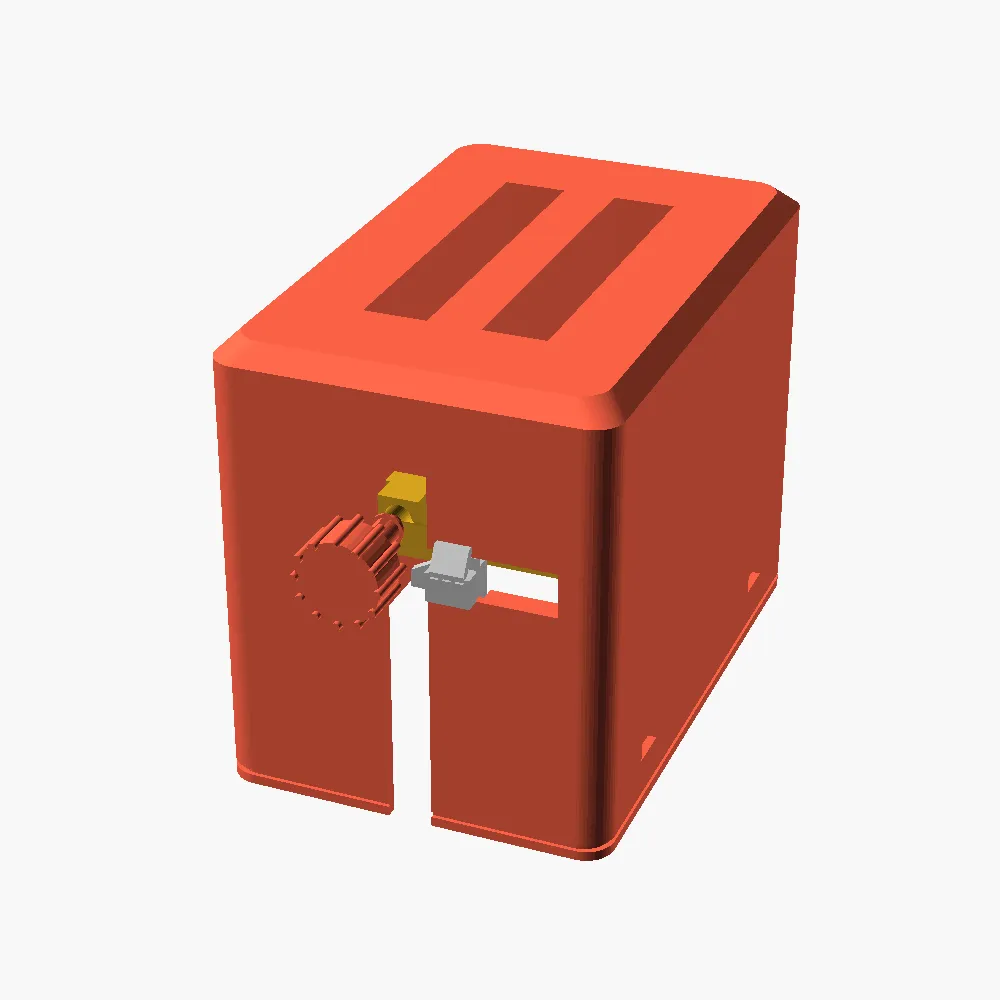
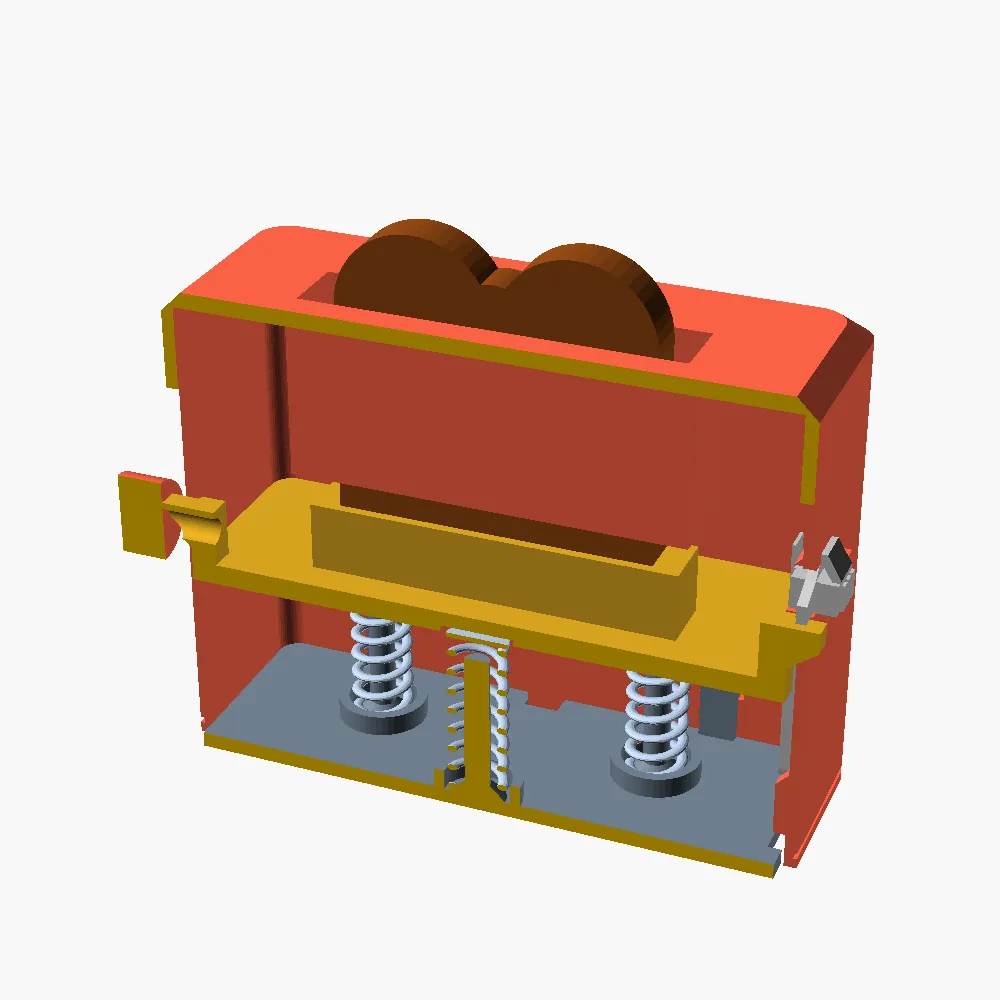
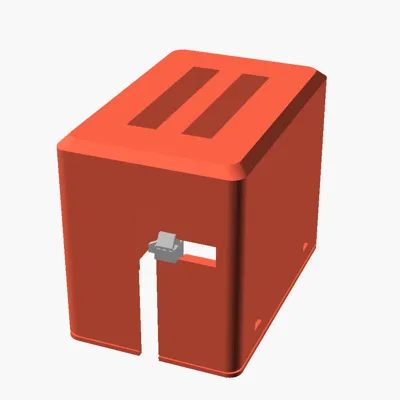
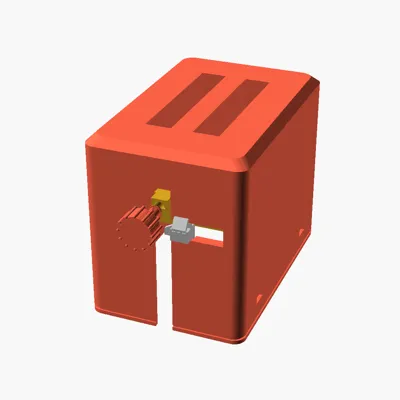
1. Press the side lever knob DOWN, firmly, all the way to the stop. The toast carriage sinks, compressing the printed coil springs, and CLICKS into the latch - it stays down, just like loading a real toaster.
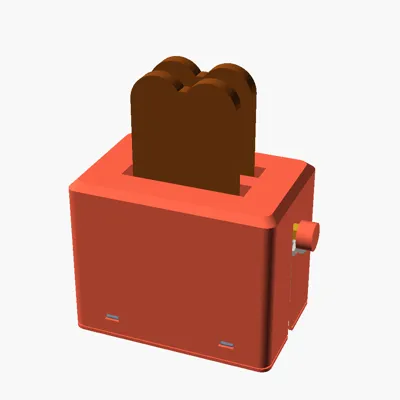
2. Push the side EJECT buttons - POP! - both toast slices spring up and jump out of the slots.
How it works (the real bit):
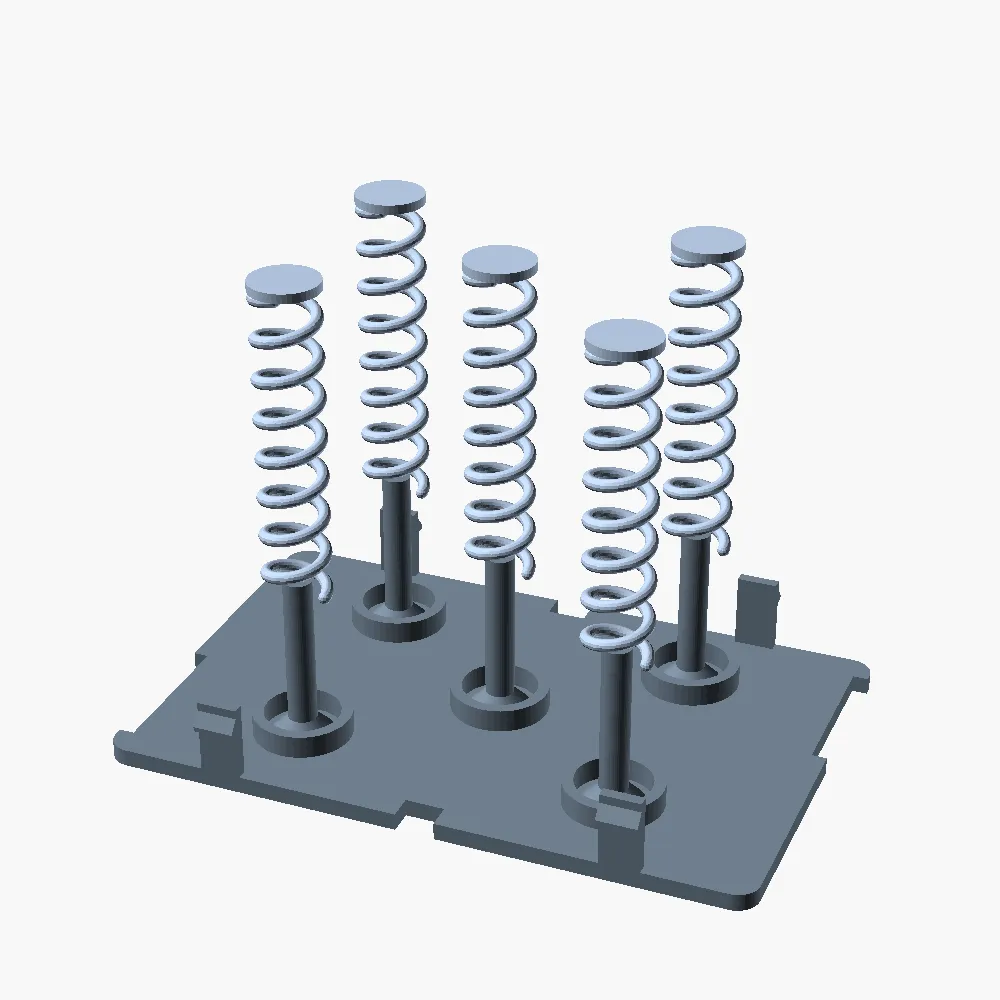
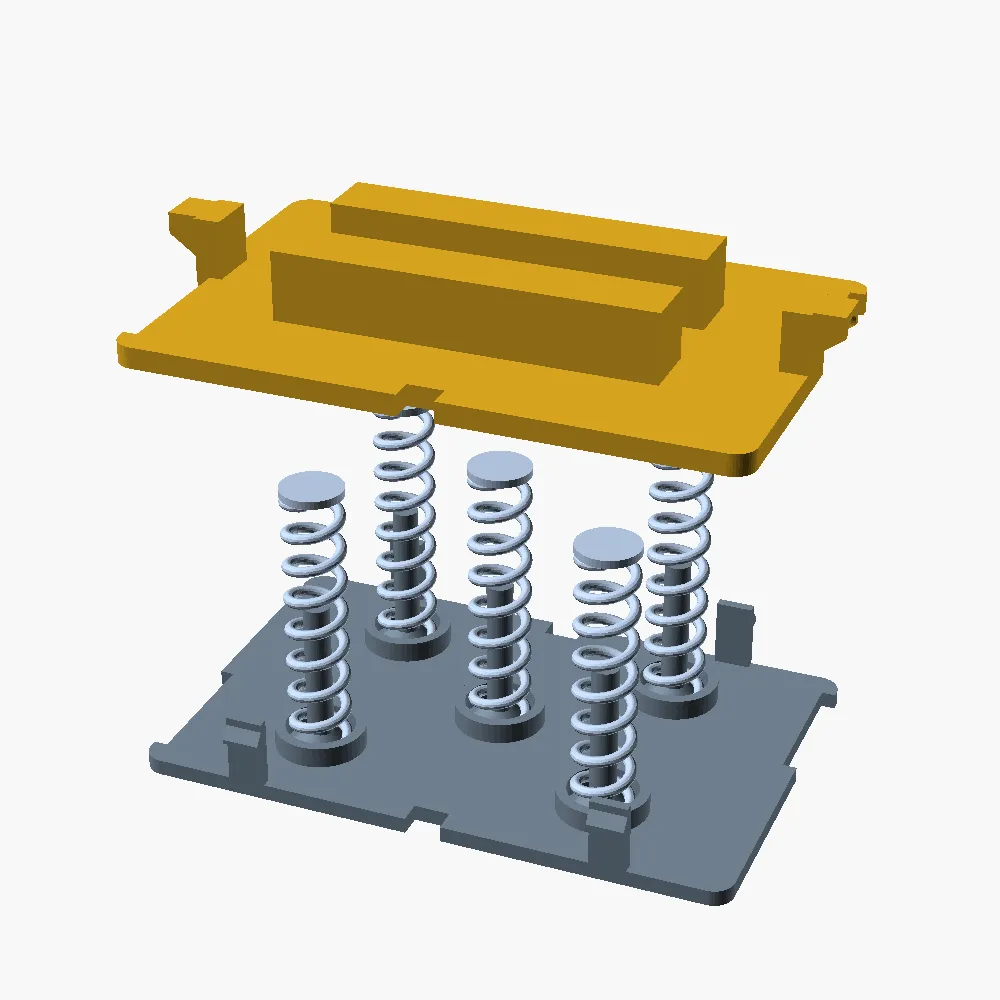
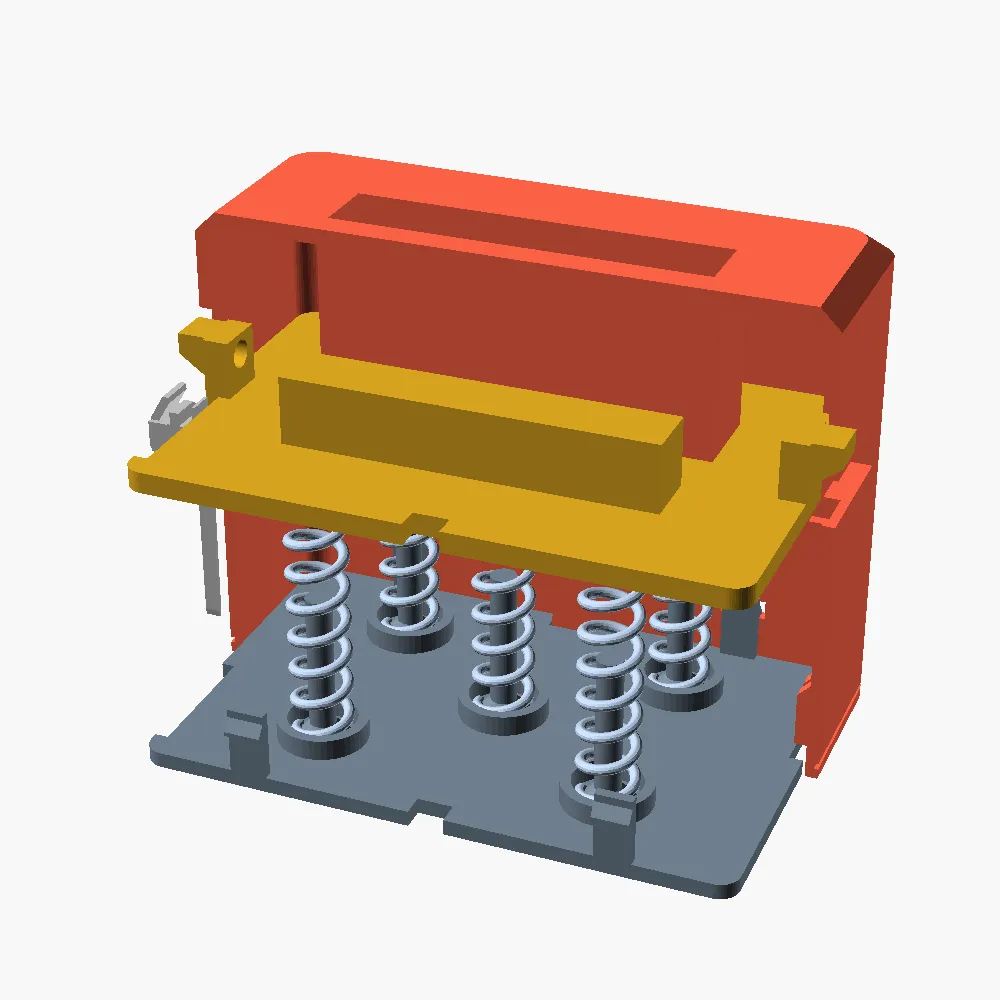
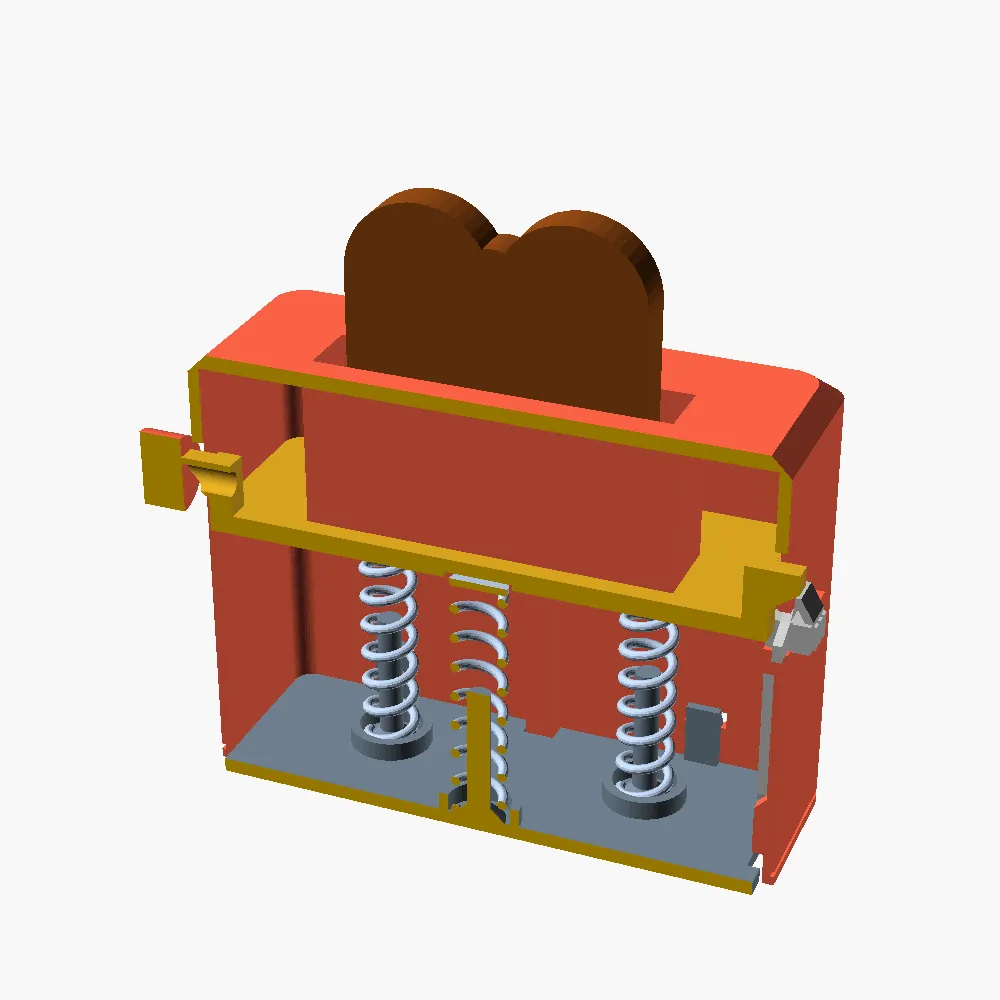
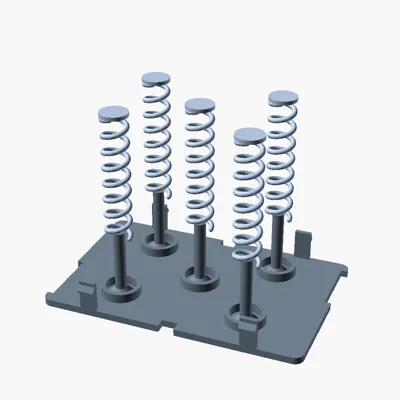
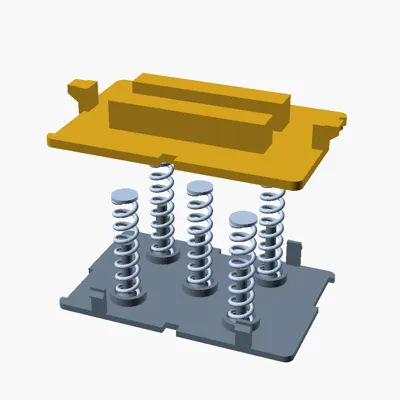
- Five printed helical coil springs sit under the carriage and store the pop energy. They are separate, replaceable parts - print them in PETG so they do not take a set while the toaster sits loaded.
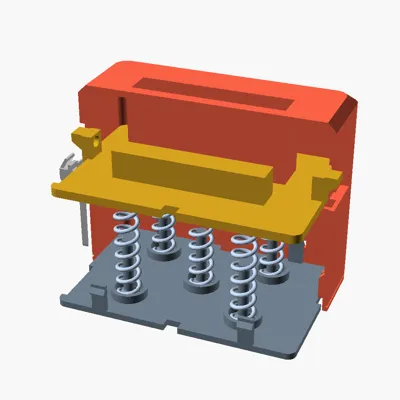
- A self-engaging sear latch on each side wall catches the carriage at the bottom of travel. Pressing down cams the latch aside and over-travels so it snaps under and holds - the same trick a 1950s toaster uses.
- The eject buttons move only the light latch (a couple of newtons) while the springs supply the launch. That force-decoupling is why a gentle push releases a strong pop.
- Snap-together, no glue: the base clicks into the shell, the ejectors snap into their wall slots, and the knob is a slotted snap-rivet.
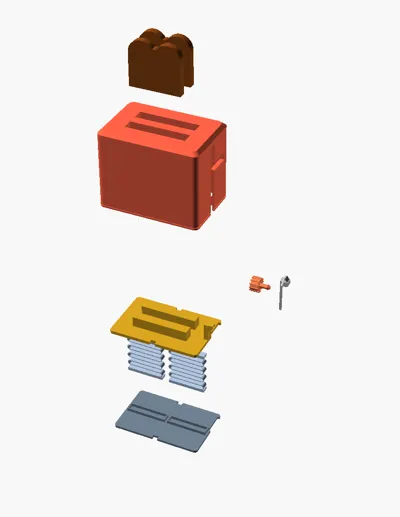
Parts (10 printed pieces):
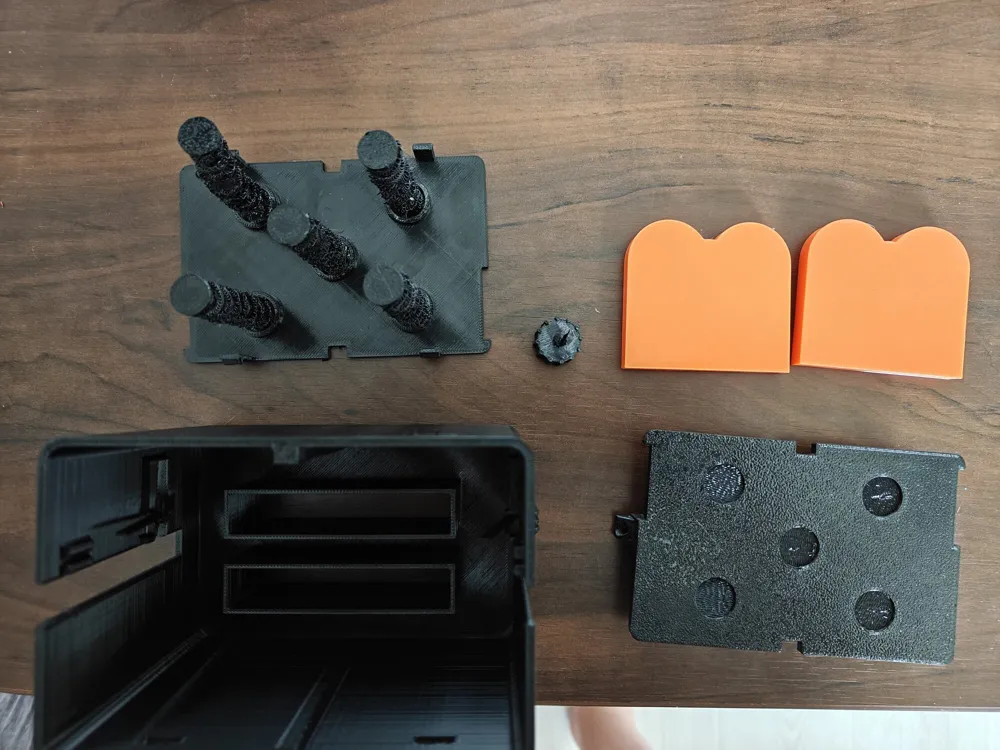
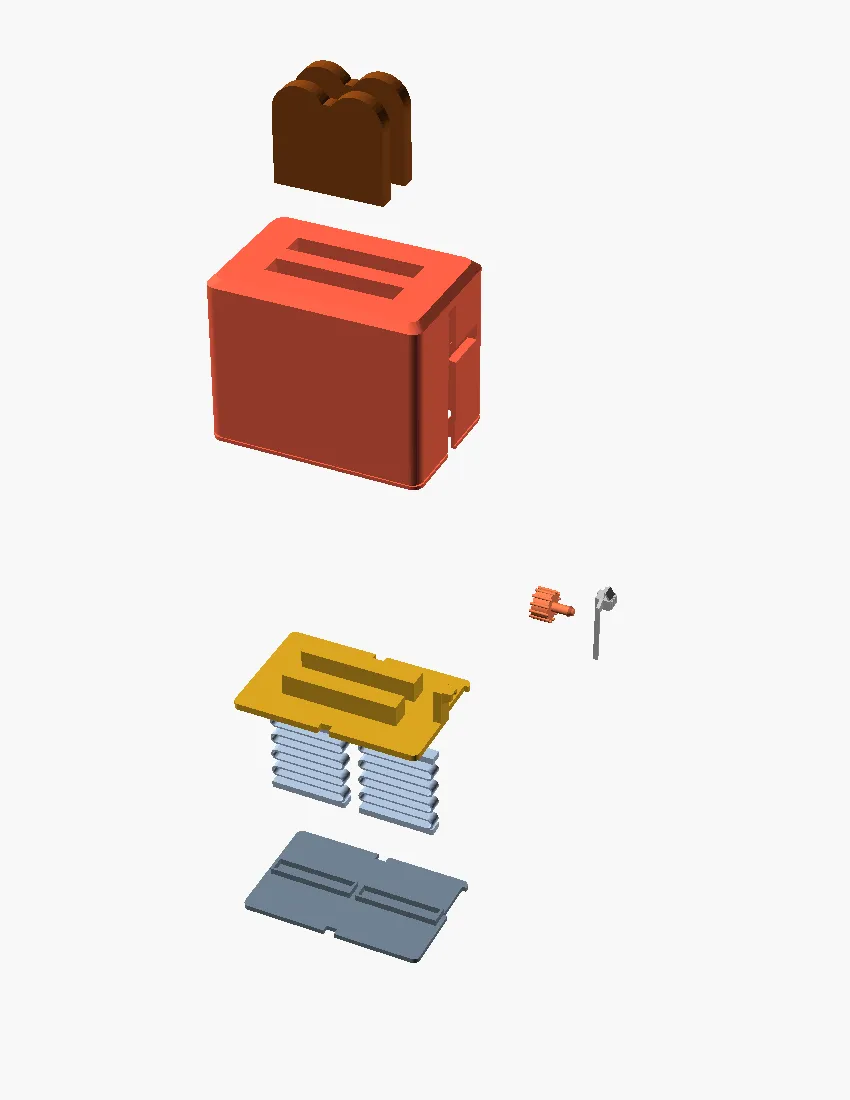
- toaster_shell x1, toaster_base x1, toaster_carriage x1, toaster_knob x1 - PLA
- toaster_spring x5 - PETG (PLA creeps and the pop dies)
- toaster_ejector x1 + toaster_ejector_left x1 - PETG
- toast: toaster_toast x2 (single colour) or the AMS pair toaster_toast_bread + toaster_toast_crust x2 (two-colour)
Assembly - one picture per step (see the gallery images, in order). No glue anywhere. Work with the shell upside-down, toast slots on the bench, and build into the open bottom.
1. Ejectors into both walls (PETG). From inside the cavity, push each button out through its wall slot until the barb clicks over the top edge. The long leaf drops between the two inner posts. Do both walls.
2. Five springs onto the base - stand one coil over each guide rod, four corners plus one centre. They just sit on.
3. Carriage onto the springs - toast platforms UP, the two latch stubs to the side walls. The spring top pads tuck into the carriage seats.
4. Drop the stack into the shell, then press the base up until its four snap-fingers click into the wall windows. Now it is captive and picks up as one piece.
5. Knob on the outside - push its slotted snap-rivet pin through the lever groove into the stub bore until it clicks. Hand-press, no glue.
6. Toast in. Done. Press the knob down to load, push the side buttons to pop.
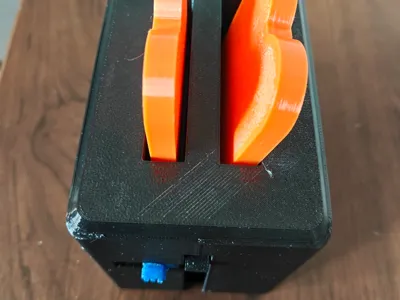
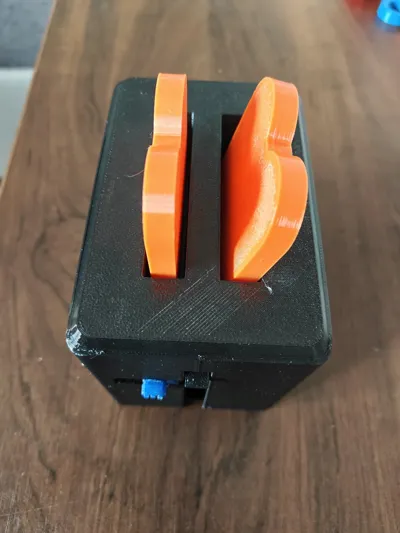
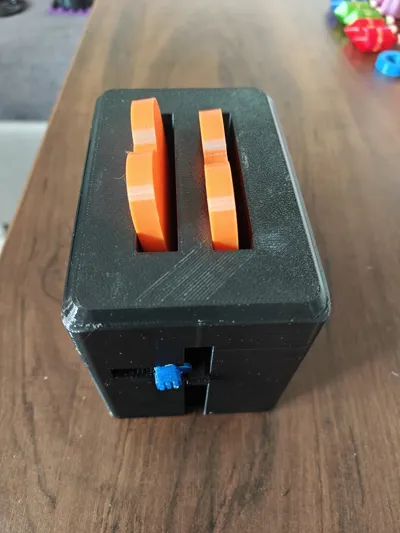
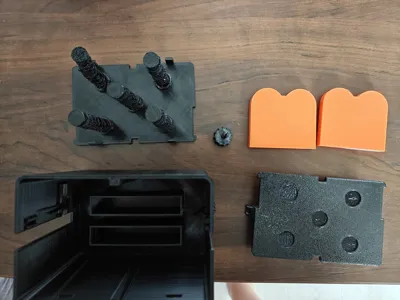
The gallery follows this order: exploded view, then step 1 to step 6, then the loaded and popped states, then real printed photos.
Safety: launch energy is about 7 mJ per slice - roughly 11x under the CPSC toy projectile limit. The toast slices are larger than the small-parts choke gauge. No sharp edges. Print springs and ejectors in PETG. Supervise small children with any spring toy.
License

You shall not share, sub-license, sell, rent, host, transfer, or distribute in any way the digital or 3D printed versions of this object, nor any other derivative work of this object in its digital or physical format (including - but not limited to - remixes of this object, and hosting on other digital platforms). The objects may not be used without permission in any way whatsoever in which you charge money, or collect fees.


Comment & Rating (0)