
Space Wall Art — Bubble Style Kids Room Decor
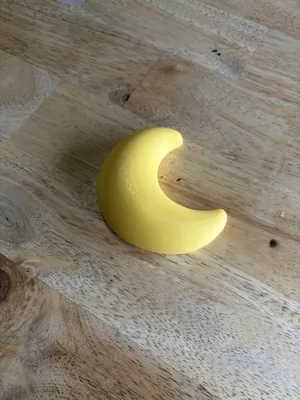
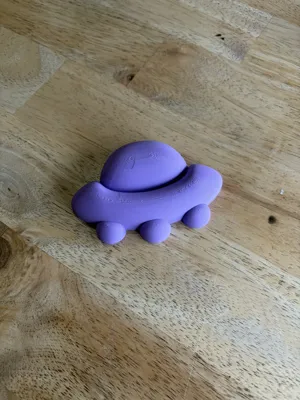
Print Profile(1)



Description
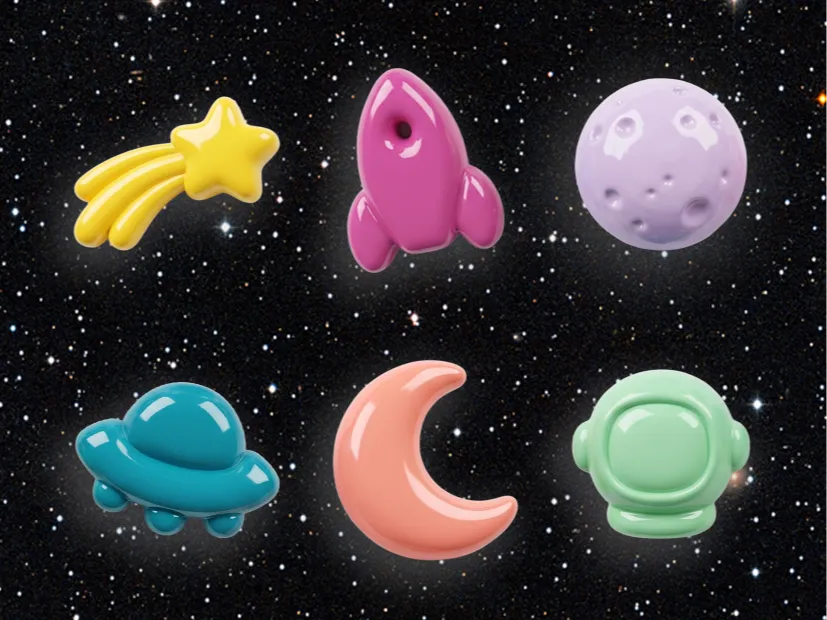
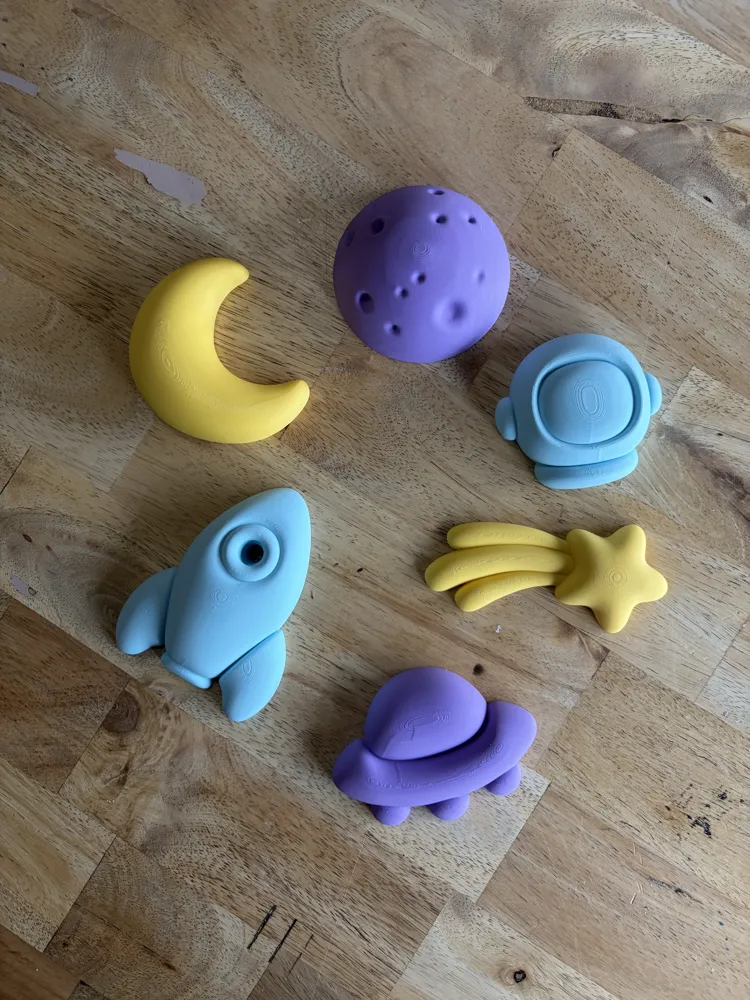
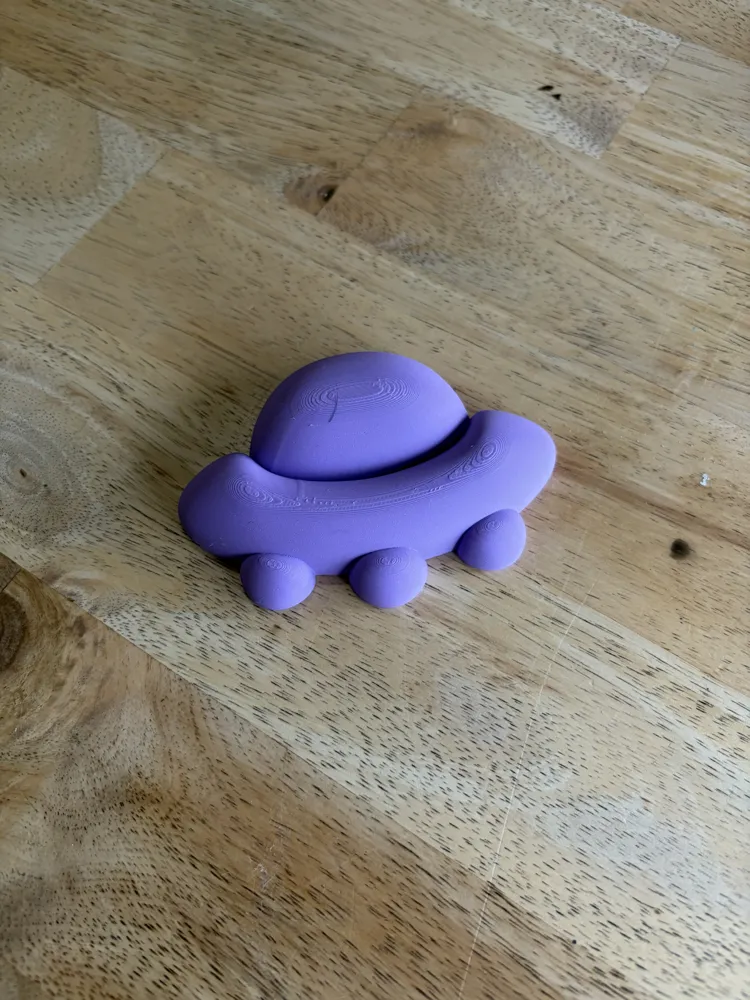
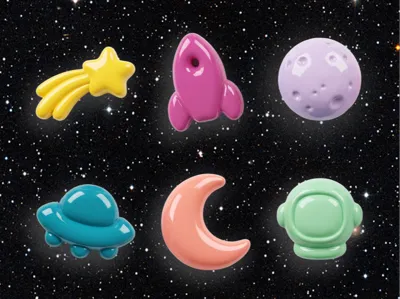
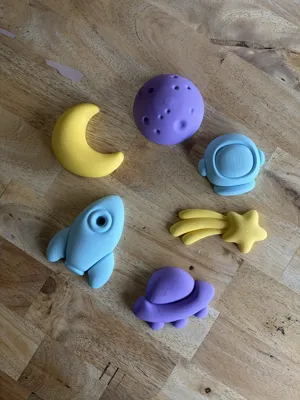
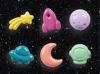
Blast off into a galaxy of cuteness! This set brings my signature bubble style to a space theme — perfect for nurseries, kids rooms, playrooms, and themed birthday parties. 🌙✨
Each piece prints flat with no supports and looks great in any color. Mix and match them across a wall, pair them with name letters to personalize a room, or print them as party favors and decor. However you use them, they’re designed to be simple, satisfying prints with that smooth, rounded, ceramic-look finish. Unlike ceramic though, these are cheaper, lighter, more durable, and easier to hang, which makes them an even better option for kid's and baby's rooms!
🛍️ Want to sell prints of my models?
These designs are free to download and print for personal use. If you’d like to sell prints commercially — on Etsy, at markets, in your own shop — a commercial license is available through my Patreon.
✨ 2 Exclusive Models on Patreon ✨
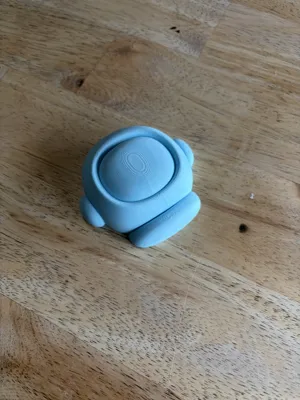
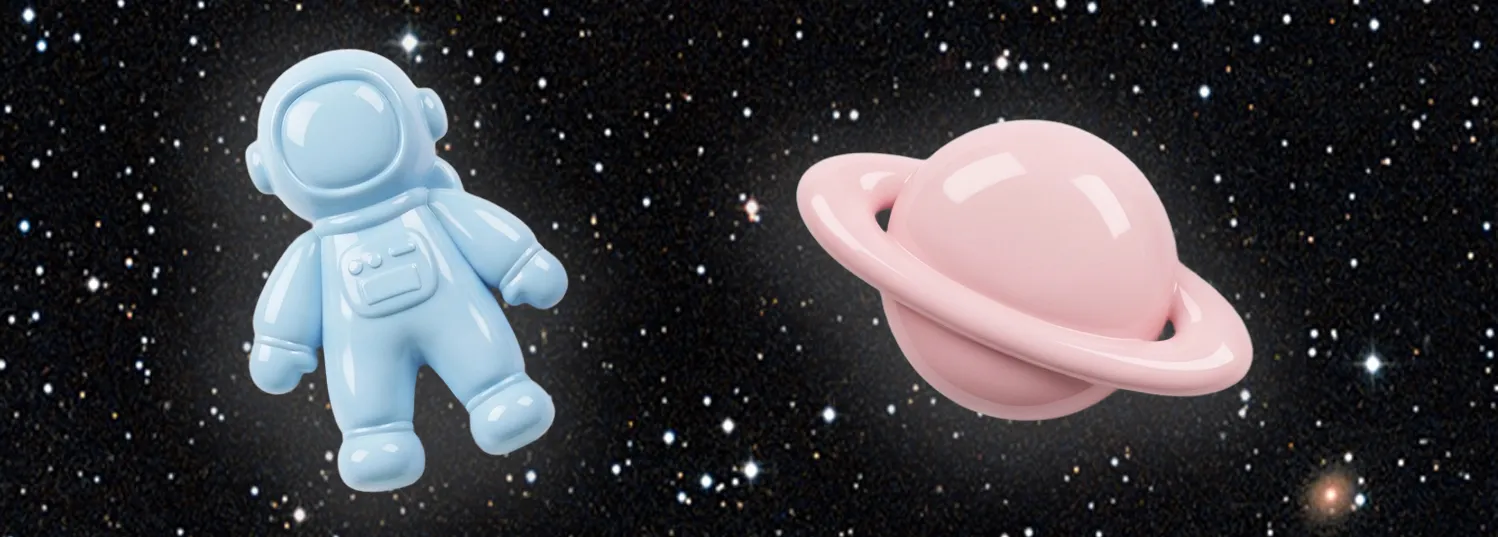
There are actually 8 pieces in the full Space collection! The two showpieces — a full Astronaut and a Ringed Planet — are available exclusively to my Pro-Tier Patreon members, along with the commercial license to sell prints of everything I make.
Print Instructions
Because these models feature smooth, rounded tops, I highly recommend using the "Adaptive Layer Height" feature in Bambu Studio to get the smoothest possible curves..
- Open the file in Bambu Studio.
- Delete the models you do not need.
- Select all of the remaining models and resize them as needed. (If resizing, you'll need to select adaptive layer height again. I set “Speed/Quality” to 0 and “Radius” to 10, click adaptive, then smooth)
- Use the “Arrange All Objects” function to rearrange the remaining pieces for printing.
- Slice and Print!
Paint & Finishing Instructions
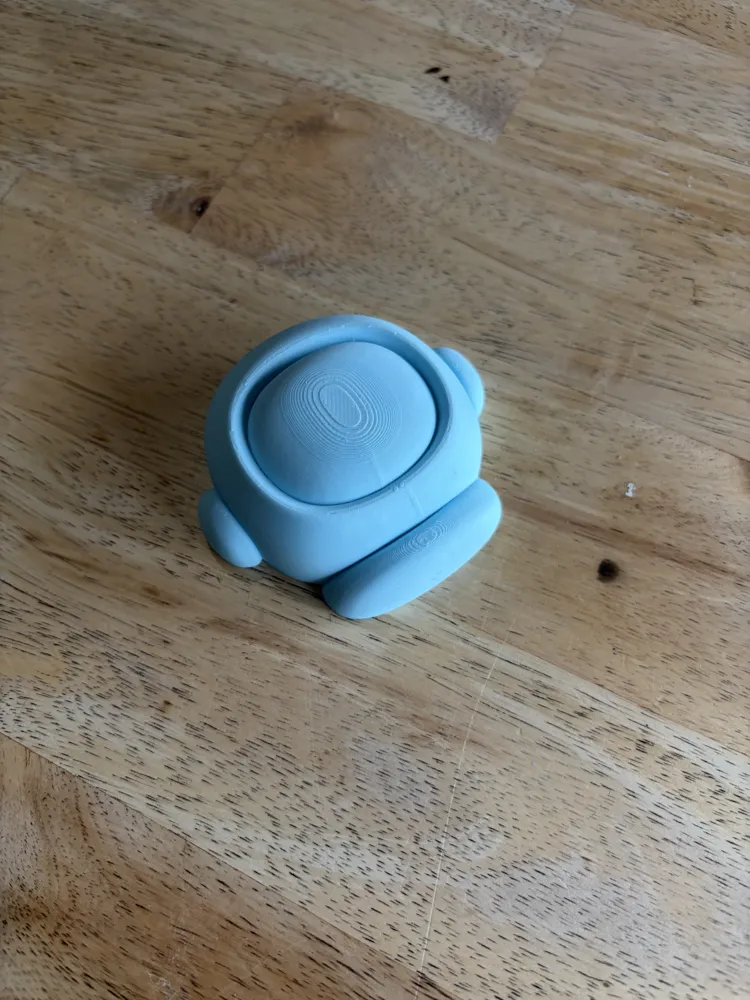
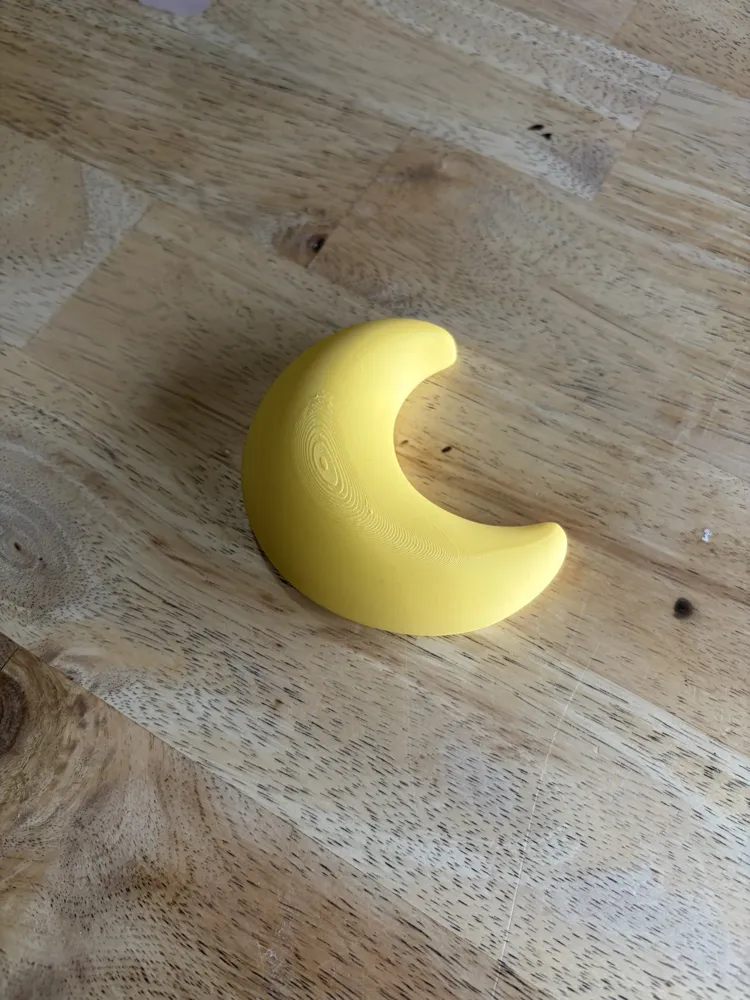
You can easily print these in their respective colored PLAs, (matte or silk filaments look great straight off the build plate). However, if you want to achieve a glossy, high-end "ceramic" look, here is the finishing process I use:
- After printing, sand the curved surfaces with sandpaper progressing from low grit to high grit. (I use 100-180-220).
- Clean thoroughly to remove all plastic dust.
- Paint with Primer (I used Rustoleum 2-in-1 Automotive Primer).
- After the primer is completely dry, sand again lightly with 400 grit sandpaper for a glass-smooth surface.
- Clean thoroughly again.
- Paint with 3-4 light coats of your preferred spray paint.
- Finish with 3-4 coats of clear coat (I highly recommend Rustoleum 2X in Gloss to get that shiny ceramic look!).
License

You shall not share, sub-license, sell, rent, host, transfer, or distribute in any way the digital or 3D printed versions of this object, nor any other derivative work of this object in its digital or physical format (including - but not limited to - remixes of this object, and hosting on other digital platforms). The objects may not be used without permission in any way whatsoever in which you charge money, or collect fees.


Comment & Rating (0)