


Print Profile(4)
Bill of Materials


Description
Boost Me (for free)
Thank you for inspiring me to create more excellent models!
If you like my design, feel free to click the “Buy Now” button (if available) on this page to support me. I may earn a small commission, which helps me keep creating more models. Thanks and have fun!
Introduction
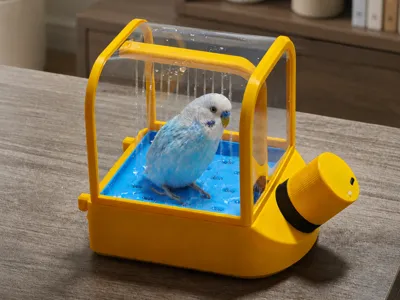
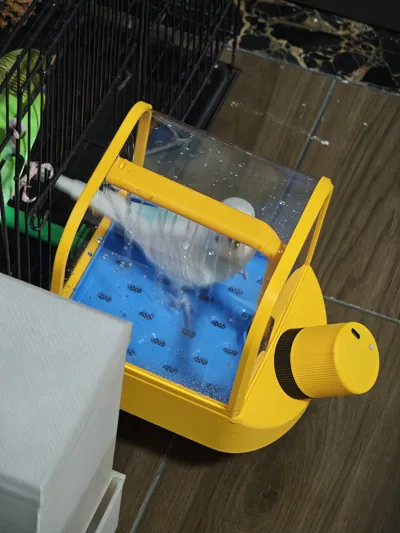
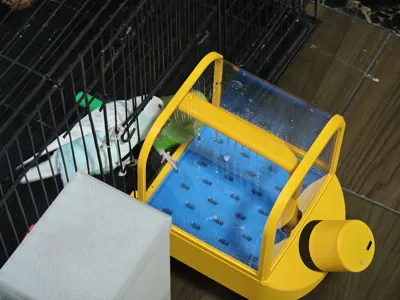
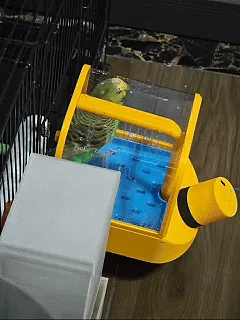
A bird circulating shower device using the ZC003 rechargeable power kit, designed for budgerigars or similarly sized birds.
Similar projects typically use wired-powered finished water pumps, which must be placed near a power source, and routing cables is inconvenient when used in a birdcage. Most also do not provide mounting solutions.
The main goal of this project is a more flexible and convenient user experience, free from cable restrictions, allowing it to be placed inside or outside the cage, or mounted
Highlights
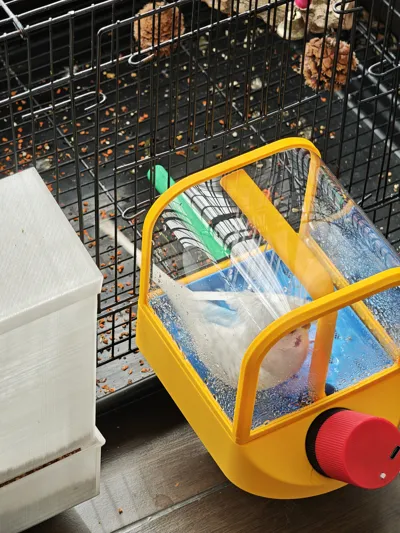
- Flexible to use. It can be placed anywhere, or hung inside or outside the birdcage.
- Quick-release power module. The power module and centrifugal pump are magnetically coupled, solving sealing issues while also allowing the power module to be removed at any time, making charging or cleaning the water basin more convenient.
- Transparent viewing cover. Used for external mounting, it can be easily disassembled and assembled.
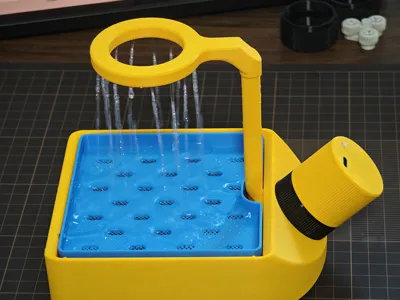
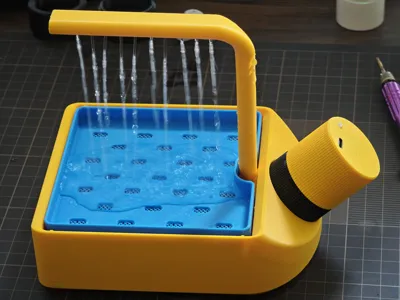
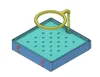
- Water filtration platform. Provides a standing point for parrots, while filtering large particles of impurities, reducing the likelihood of clogging the water pump and shower.
- Quick-release shower head. Initially available in two variants: straight and circular.
- Sufficient battery life. Tested to last 3-4 hours, enough for daily use.


Update
2026/07/13
Due to requests from some people, the Mega version has been released!

Since I only have an A1 mini printer, I can't print it. Let me know if you encounter any problems or have any feedback. However, I printed a super-sized shower head, and it turned out pretty well 😂

Tips
- Birds may not always be willing to bathe, so don't be impatient if they don't immediately interact after the shower is placed.
- Budgerigars are more willing to clean themselves in warm, sunny environments. The opposite is true in cold, gloomy weather.
- When the shower is not in use, it can be left in place. Give the birds some time to get familiar with this small device, and they will lower their guard and be more likely to bathe later.
Precautions
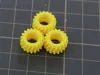
- Noise: Printing gear rings with flexible materials can significantly reduce noise, but it still exists. My budgerigars did not get scared after getting used to it in actual use.
- Lubrication: If the printer accuracy and filament condition are good, there is no need to lubricate the gears. If lubrication is needed, it is recommended to use low-viscosity lubricating oil instead of grease, as the latter will significantly reduce the output speed and affect the pump's performance.
- Filament:
- The main body can be made of PLA/PETG. If the water basin leaks, it is mainly due to insufficient extrusion and excessive gaps between printed lines. Try increasing the flow rate.
- The gear ring part uses flexible material. Tested with TPU 95A or TPU 90A, the performance difference between the two is small, but both are significantly better than PLA/PETG. It must be thoroughly dried before printing or printed while drying.
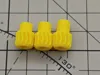
- Magnets:
Arrange the magnets as shown in the figure, with adjacent magnets having opposite polarities.

- Use pause printing for embedding; a pause G-code has been added to plate 1, so resume printing after placing the magnets.
- Using magnets with different strengths will affect the magnetic coupling effect. Too strong a magnetic force will create greater impeller rotation resistance, leading to weakened water flow; too weak a magnetic force will cause decoupling slippage. This can be adjusted by increasing or decreasing the spacing. If your magnet isn't strong enough, you can try a center gear with a longer shaft; you may need to do some testing to find the best version.
- Storage: Place the power module where it is not easily accidentally touched. The power module can be adsorbed onto some iron products, strong adsorption force can impede the motor shaft's rotation. If you accidentally press the switch, the current might continuously generate heat and damage the motor.
- Charging: Use 5V-1A input Unattended charging is not recommended.
- Escaping risk: The transparent cover is intended to help reduce the chance of escape but cannot guarantee complete safety. I just realize that budgies may still squeeze through gaps or find other ways to escape. Always supervise your bird and use this product at your own risk.
AIGC
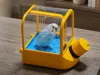
For a cleaner visual effect, the cover image was AI-modified; all other photos are original real shots.
BOM
| Name | Number | Notes |
| Rechargeable Power Kit - ZC003 | 1 | |
| D6x2 mm Round Magnets | 8 | |
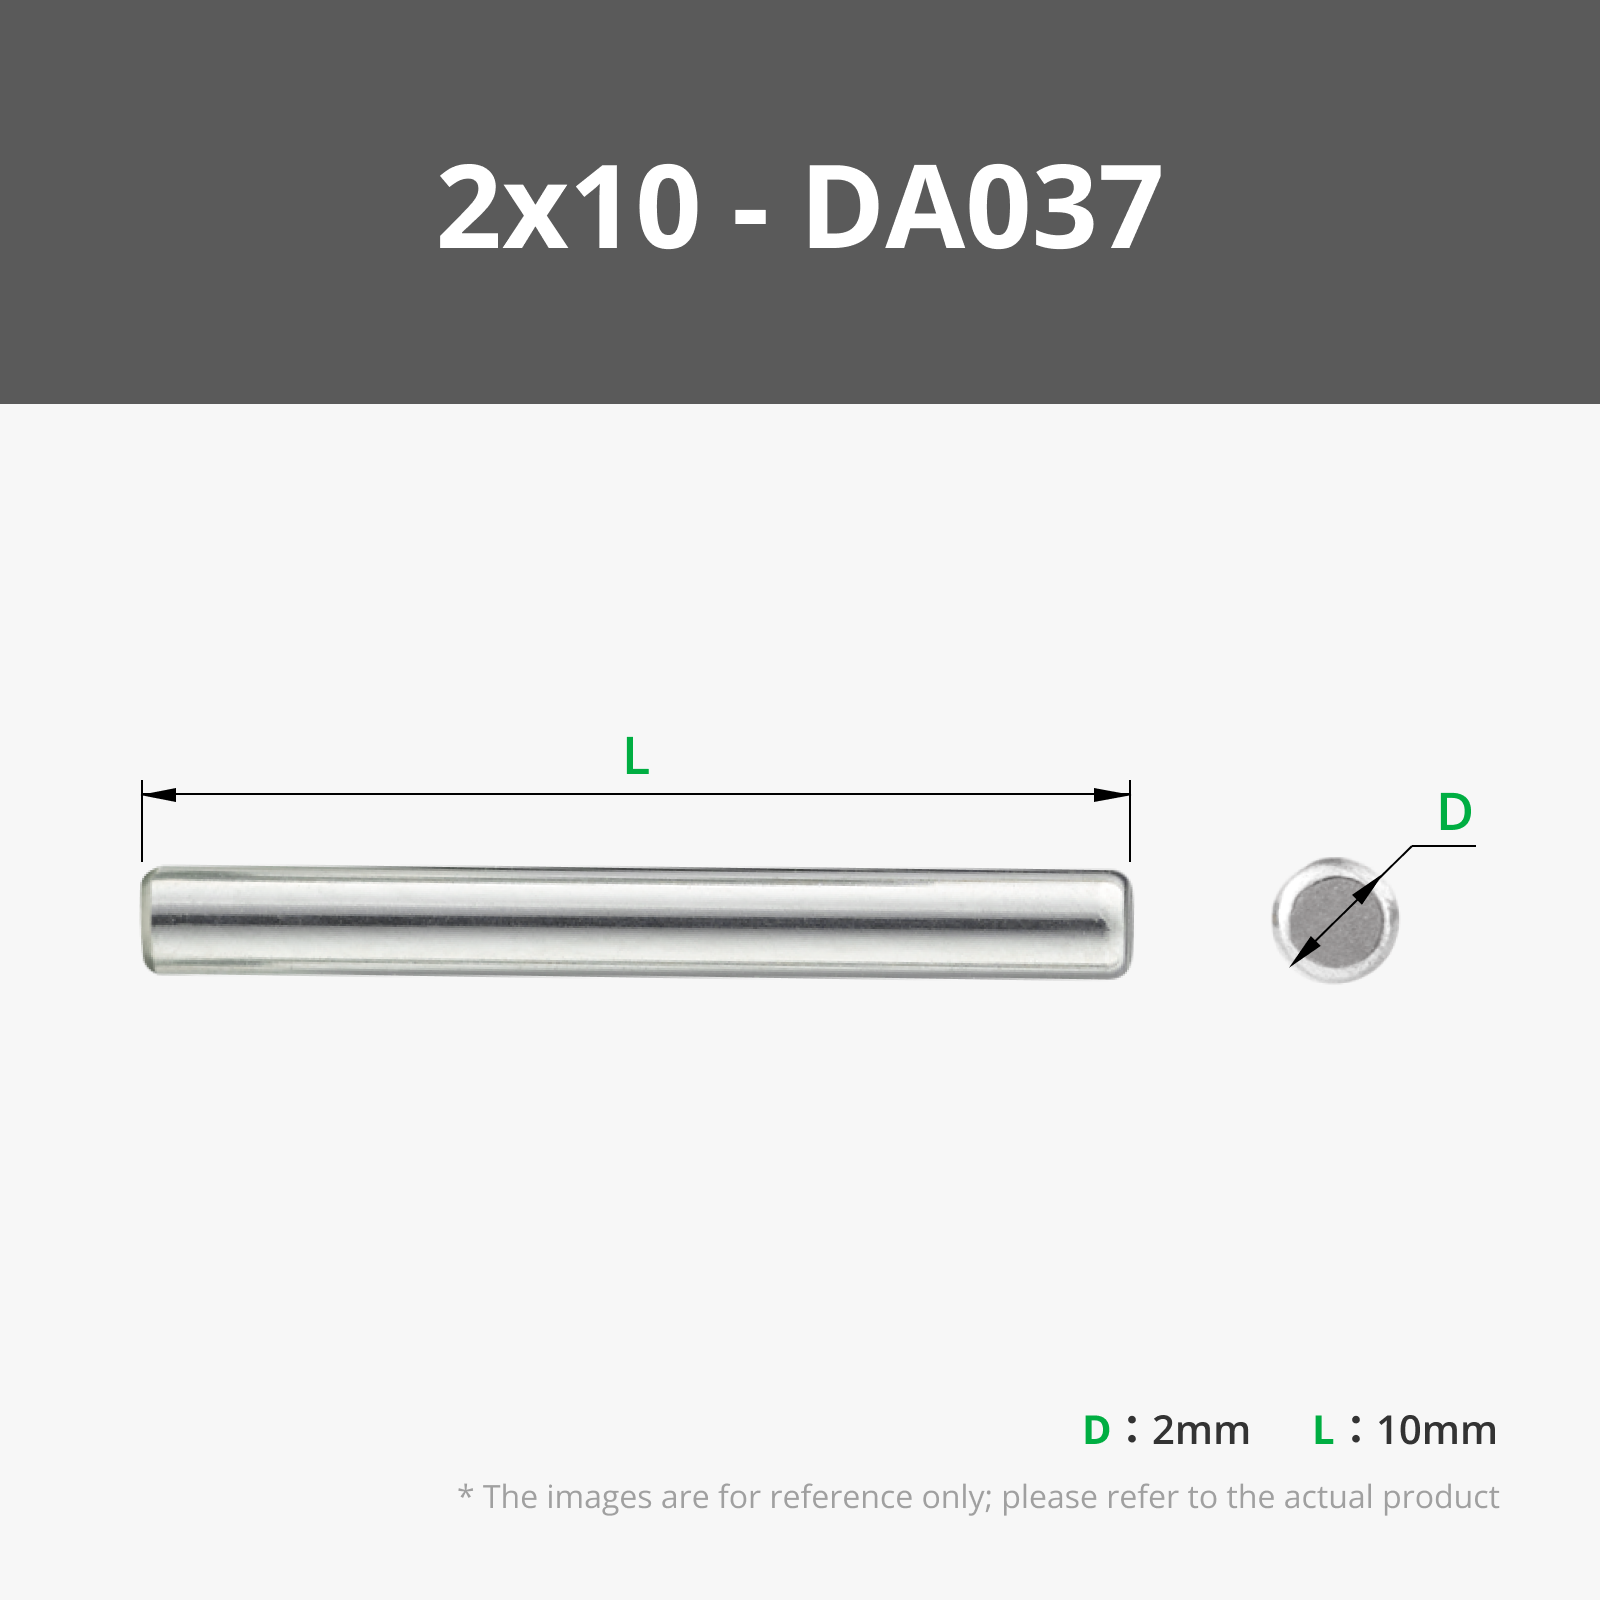
| D2 x 10mm Stainless Steel Dowel Pin | 1 | |
| 0.3-0.5mm transparent PVC sheet | 1 | >290x230mm. If you don't need the cover, just skip this. |
Assembly Guide
Tools Required

- Phillips screwdriver
- Pliers
- Utility knife or other cutting tool
Assembly
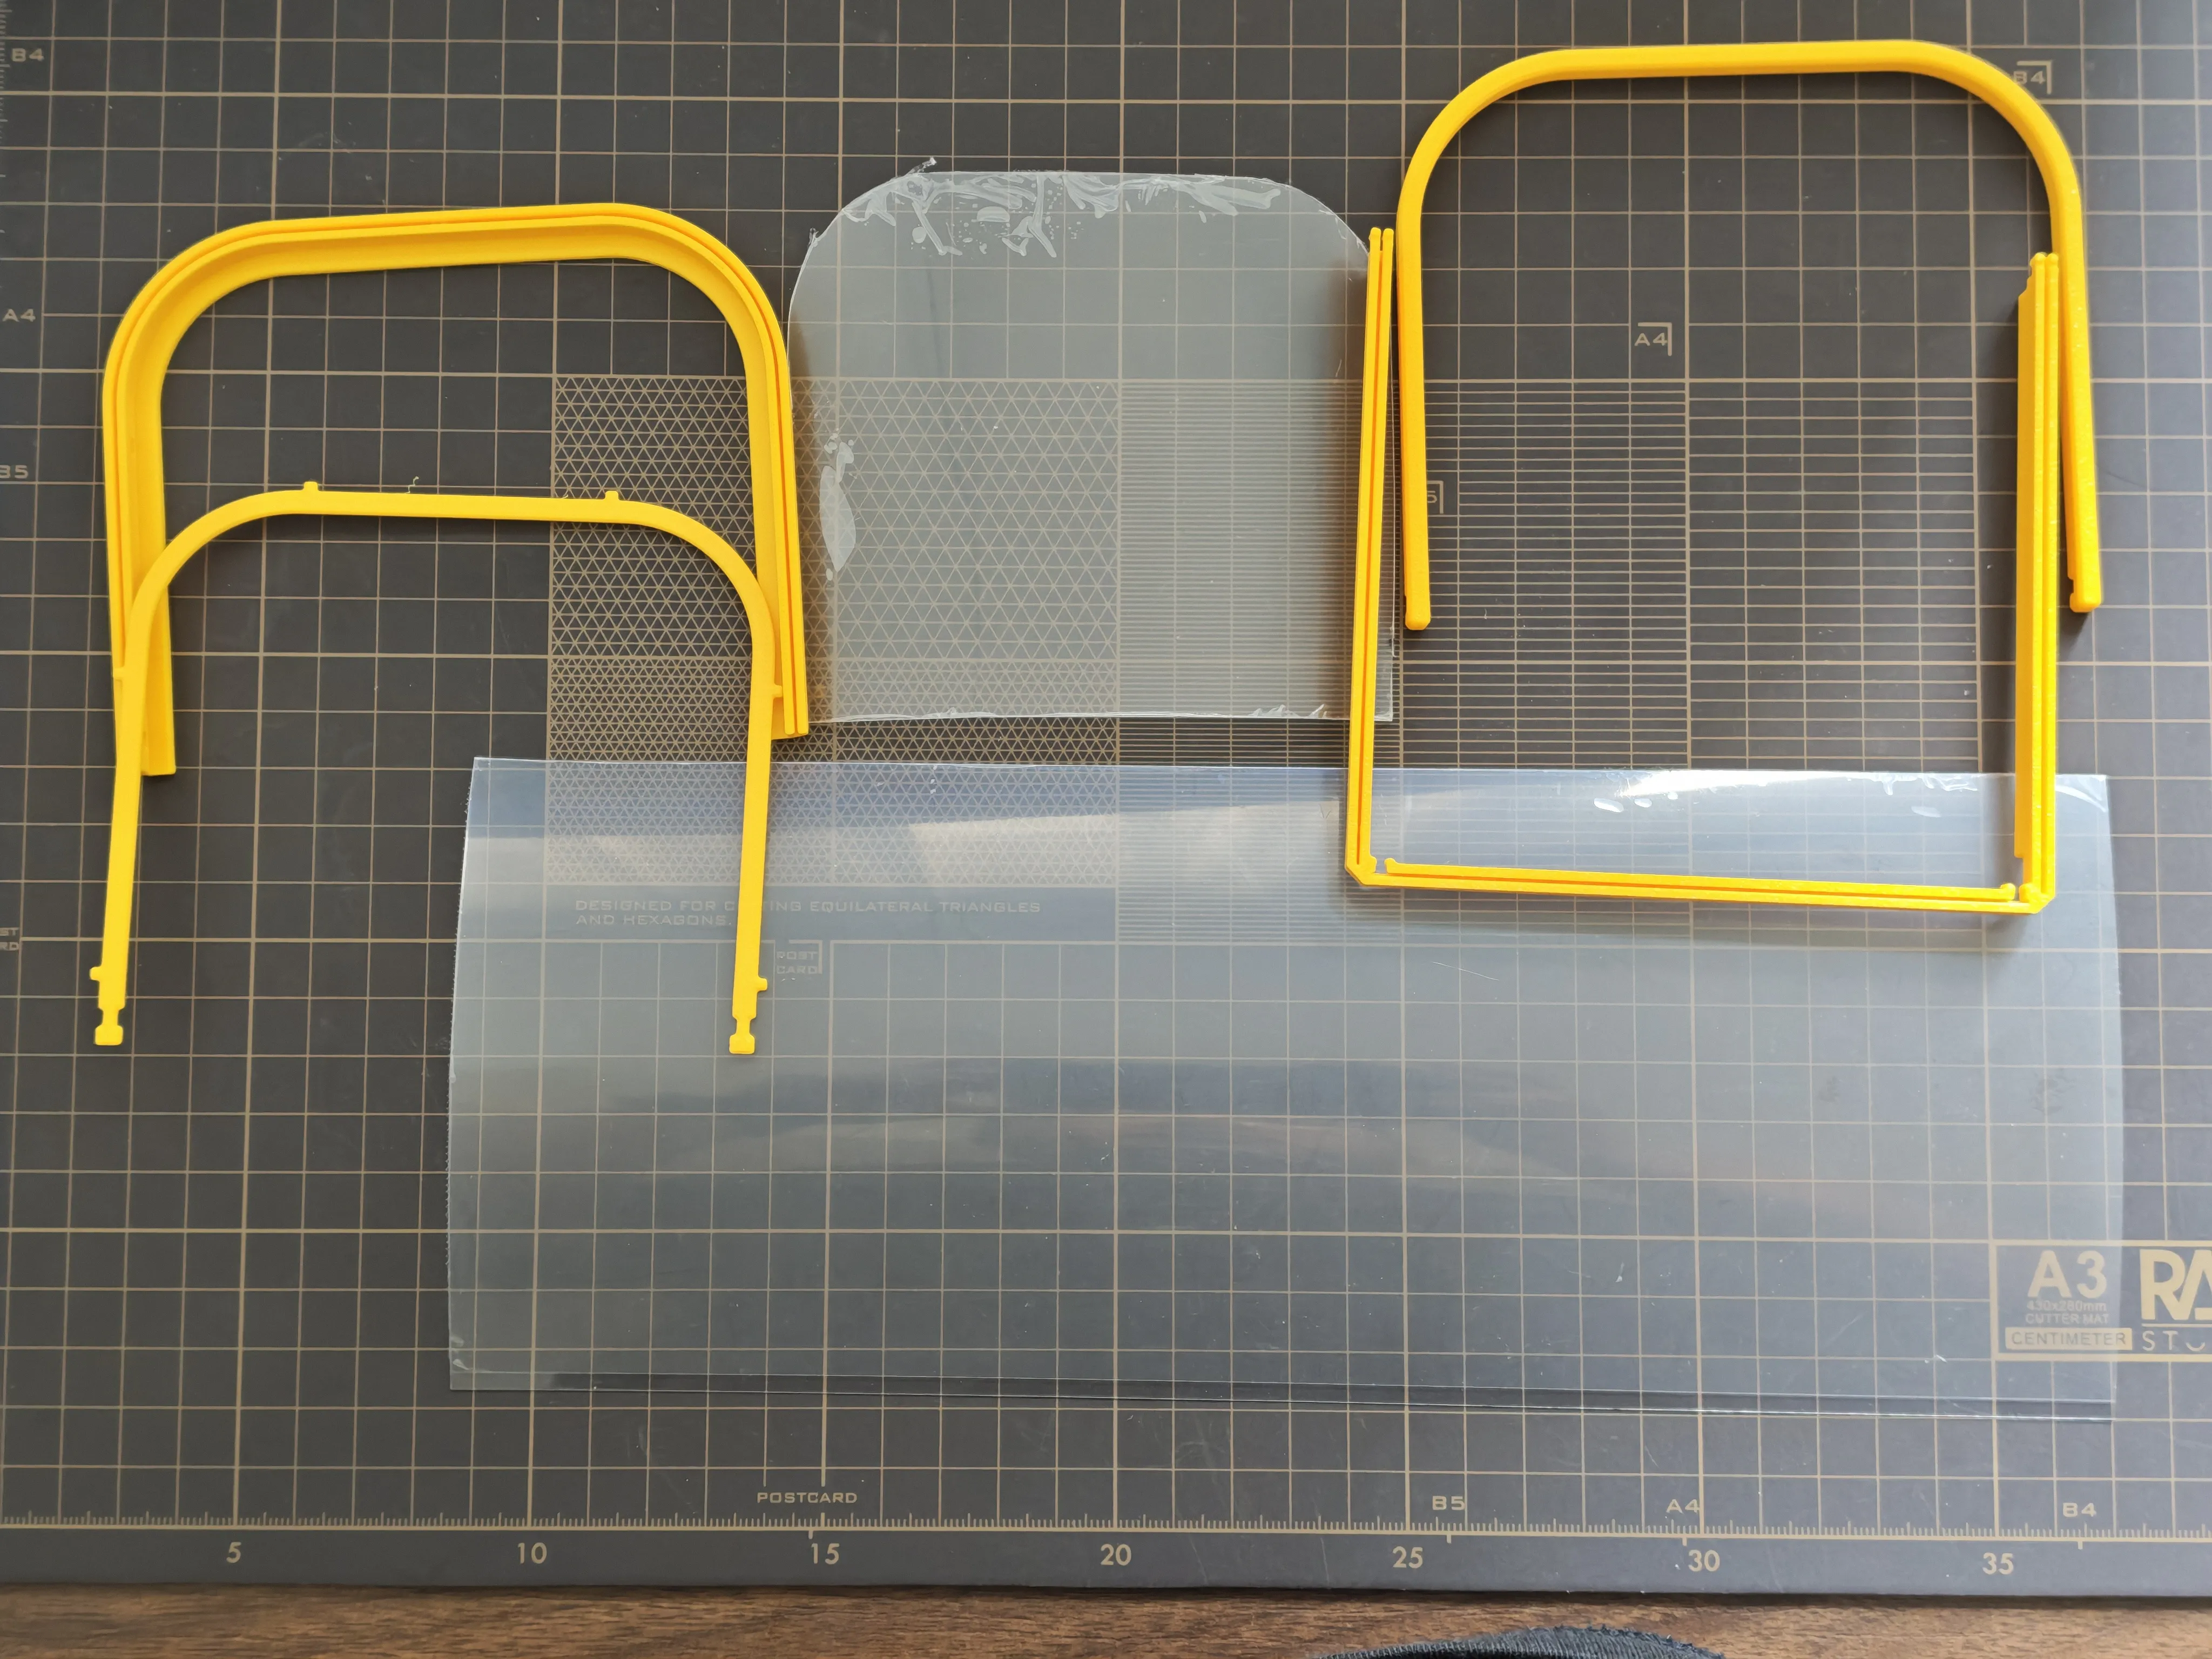
Cut plastic sheet A: 283mm x 112mm

Cut plastic sheet B, you can score and cut along the outer edge of this part
Plastic sheets usually have a protective film, remember to remove it
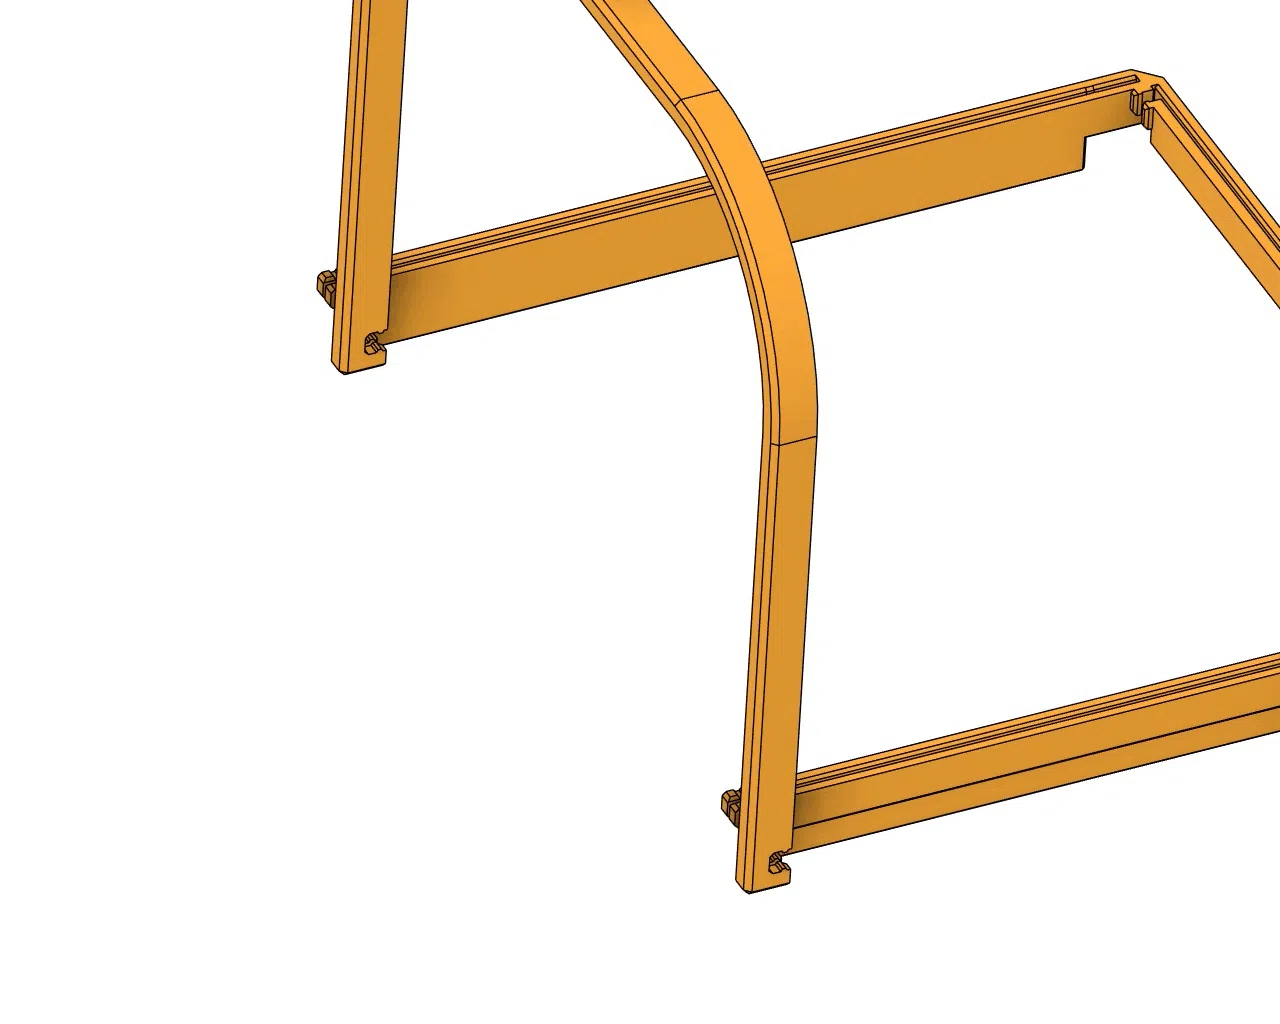

Use pliers to press in and fix the buckles on both sides

D2 x 10mm straight shaft


Screw in the screws included with the charging power kit here to secure the magnetic coupling and gear


Ensure to press firmly into place during installation
Assembly complete!
Membership
License
You may create derivative works based on this object, provided that all such derivative works are published exclusively on the MakerWorld platform and include proper attribution to the original creator. You may not share, upload, host, distribute, or publish this object—or any derivative work of this object—on any other digital platform, marketplace, or distribution channel. Commercial use of this object and any derivative works is strictly prohibited. This includes, but is not limited to, selling, renting, sublicensing, or using the object in any context in which you receive monetary compensation or other financial benefits.
Comment & Rating (130)