
Print Profile(1)
Bill of Materials
- None x 1:
Description
Looking for a clean, basic business card layout that is incredibly easy to print and entirely customizable to your needs? This is it!
This model prints flat, finishes in about 30 minutes on a P1S, and is designed to let you quickly change the details right inside the slicer.
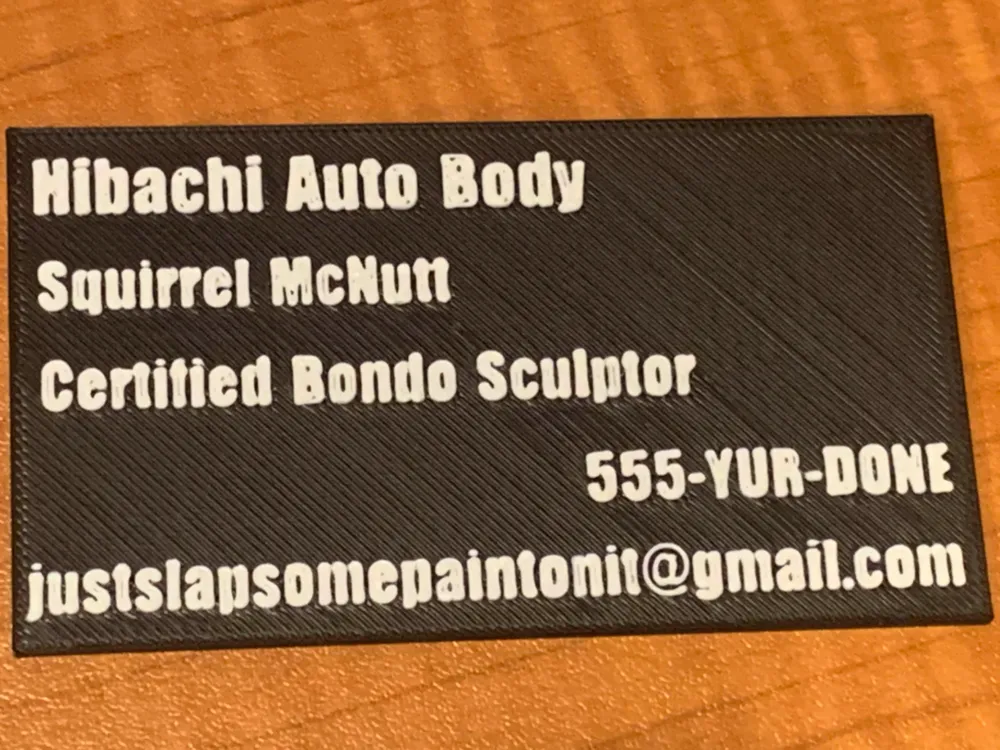
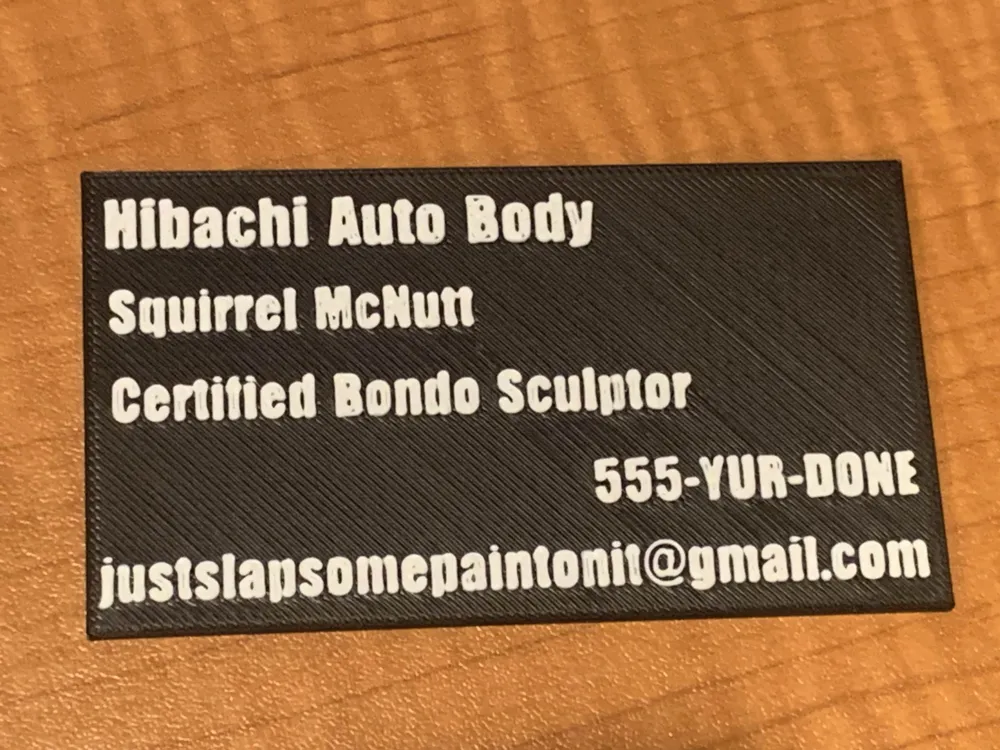
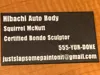
For the display model, I put together a Hibachi Auto Body & Paint edition featuring Squirrel McNutt for a quick laugh.
📋 Card Layout (Top to Bottom):
Line 1: Company Name
Line 2: Full Name
Line 3 Professional Title
Line 4: Phone Number
Line 5: Email Address
✏️ How to Customize This Card for Yourself
You don't need any 3D modeling software to change the text! Just follow these quick steps inside Bambu Studio:
1. Open the project file and make sure you are in the **Prepare** tab.
2. In the left-hand panel, switch from **Global** to **Objects** view.
3. Locate the text layers (e.g., "Squirrel McNutt").
4. Right-click the text object you want to change, and select **Text Shape** (or click the **Text Tool 'T'** icon on the top toolbar).
5. Type in your own info!
Pro-Tip for Moving Text: If you use your keyboard arrow keys to nudge your text into place, it will jump in 10mm blocks. **Hold down the `Shift` key while pressing the arrow keys** to drop the movement speed down to micro 1mm steps for perfect, precise alignment!
🖨️ Recommended Print Settings for Crispy Text
Wall Generator: Switch from *Classic* to **Arachne** (Found under *Global -> Quality -> Advanced*). This ensures the slicer doesn't leave gaps or hollowed-out loops in small font curves.
Ironing: Turn on **Ironing for Top Surfaces** (*Global -> Quality -> Ironing*). This runs the hot nozzle back over the flat card surface at the end, melting away the layer lines for a perfectly smooth, professional finish.
Colors: High contrast works best! The default profile is set up for a clean, dual-color swap using the AMS.
License



Comment & Rating (0)