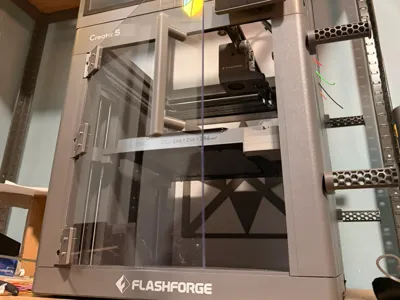
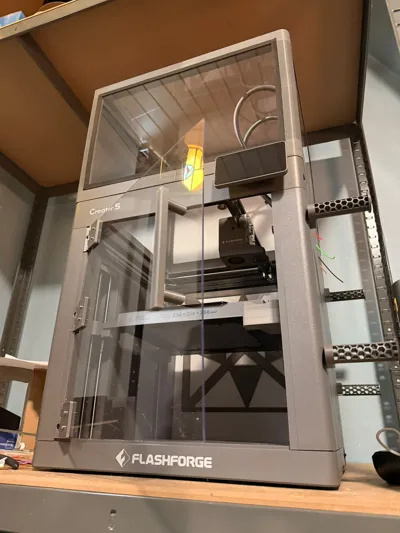
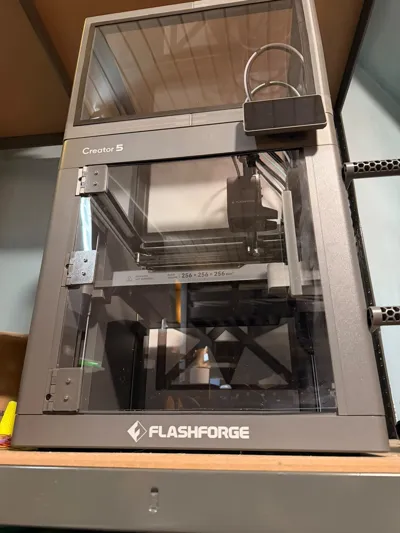
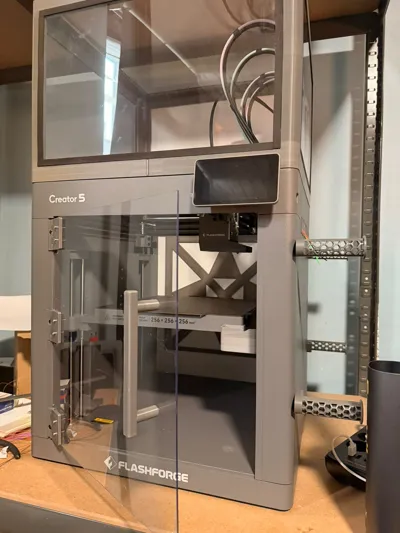
Flashforge Creator 5 Front & Rear Enclosure Panels


Print Profile(1)
Description
Flashforge Creator 5 Front & Rear Enclosure Panels NO DRILLING & (FREE)
Complete your Flashforge Creator 5 enclosure setup with these custom-designed front and rear panels.
After releasing the Creator 5 TopHat, many people asked if a full enclosure solution would be possible. After extensive testing, design revisions, and real-world use, I'm happy to finally share the missing pieces.
These front and rear panels are designed to work alongside the previously released TopHat, transforming the open Creator 5 into a much more enclosed machine. The result is improved heat retention, reduced drafts around the print area, and a cleaner overall appearance.
Features
✅ Designed specifically for the Flashforge Creator 5
✅ Complements the previously released Creator 5 TopHat
✅ Front and rear enclosure panels
✅ Improved chamber heat retention
✅ Helps create a more stable printing environment
✅ Easy to assemble
✅ No permanent modifications required
✅ Free for personal use
Installation Notes
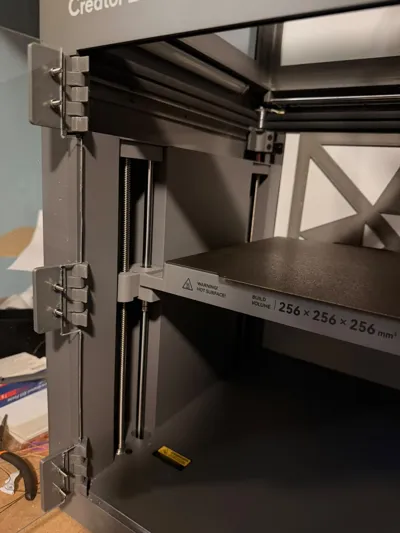
Rear Panel Mounting
The rear panel uses a hybrid mounting method.
Part of the panel is supported by the 3D printed mounting components, while the remaining support is provided using strong double-sided tape. This approach was chosen after testing and provides a secure fit without requiring permanent modifications to the printer.
For best results, use a high-quality double-sided adhesive tape designed for long-term use.
Unscrew the left sides top , middle and bottom screws halfway, then push the printed part in. Tighten the screws back up but do not overtighten!
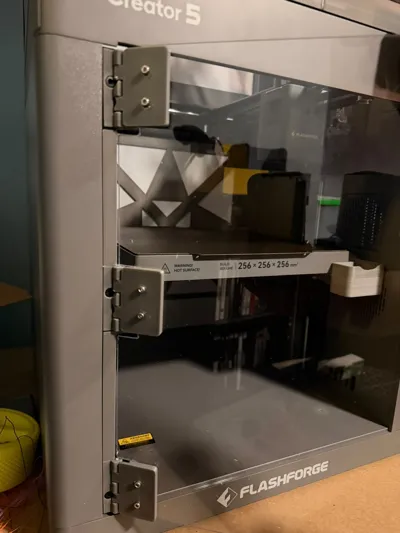
Front Panel Installation
To install the front panel, you will need to remove the left front trim/shim piece from the Creator 5 to gain access to the mounting screws.
- The middle and bottom screws can be reused from the original printer.
- The top M4 screw must be replaced with a longer screw.
- A 14 mm long M4 screw is required for the top mounting point.
Please take care during assembly and avoid overtightening the screws.
Special Thanks
A very special thank you goes to ROBO (Rob) for collaborating with me on this project.
This enclosure solution would not have been possible without his help, ideas, testing, and support throughout the development process. It was truly a team effort, and I'm incredibly grateful for his contribution.
Please show him some appreciation in the comments and makes section if you decide to build this project!
Printing Recommendations
- PETG, ABS, or ASA are recommended for the printed components.
- PLA is not recommended if you intend to operate the printer at elevated chamber temperatures.
- Use sufficient wall count and infill to ensure structural rigidity.
Panels
Back: 33.1CM x 36.5cm (I do not take responsibility if it's not 100% accurate, please double check)
Front: 35.9CM x 33.3CM (NEED TEMPLATE PRINT TO CUT) or use DXF (I do not take responsibility if it's not 100% accurate, please double check)
Disclaimer
This is an unofficial community-made modification and is not affiliated with or endorsed by Flashforge.
Install and use at your own risk. Always monitor enclosure temperatures and ensure adequate cooling for electronics when operating the printer in an enclosed configuration.
Feedback
If you build this enclosure, I'd love to see your makes and hear about your experience. Feel free to share photos, suggestions, and improvements with the community.
Enjoy, and happy printing!
— aim6mac
BOM
- 3M VHB double-sided tape, width 10mm
- Foam tape thickness 1mm, width 10mm
- 8x 12MM 3M bolts
- 8x 3M nuts
- 1x 14MM 4M bolt
License
You shall not share, sub-license, sell, rent, host, transfer, or distribute in any way the digital or 3D printed versions of this object, nor any other derivative work of this object in its digital or physical format (including - but not limited to - remixes of this object, and hosting on other digital platforms). The objects may not be used without permission in any way whatsoever in which you charge money, or collect fees.
Comment & Rating (28)