
ESPHome ESP32 DIN-Rail Case (parametric)
Print Profile(2)
Description
Boost Me (for free)
Boost appreciated 🚀 — If this design saved you time or you'd like to see more parametric, function-first models like it, a Boost helps it reach other makers. Thank you!
Description
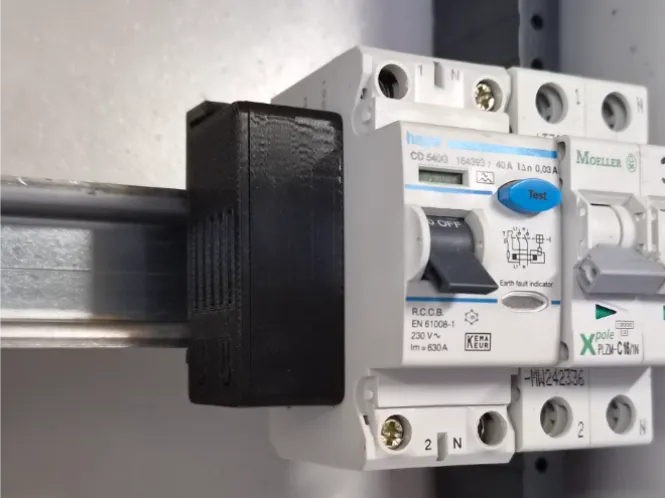
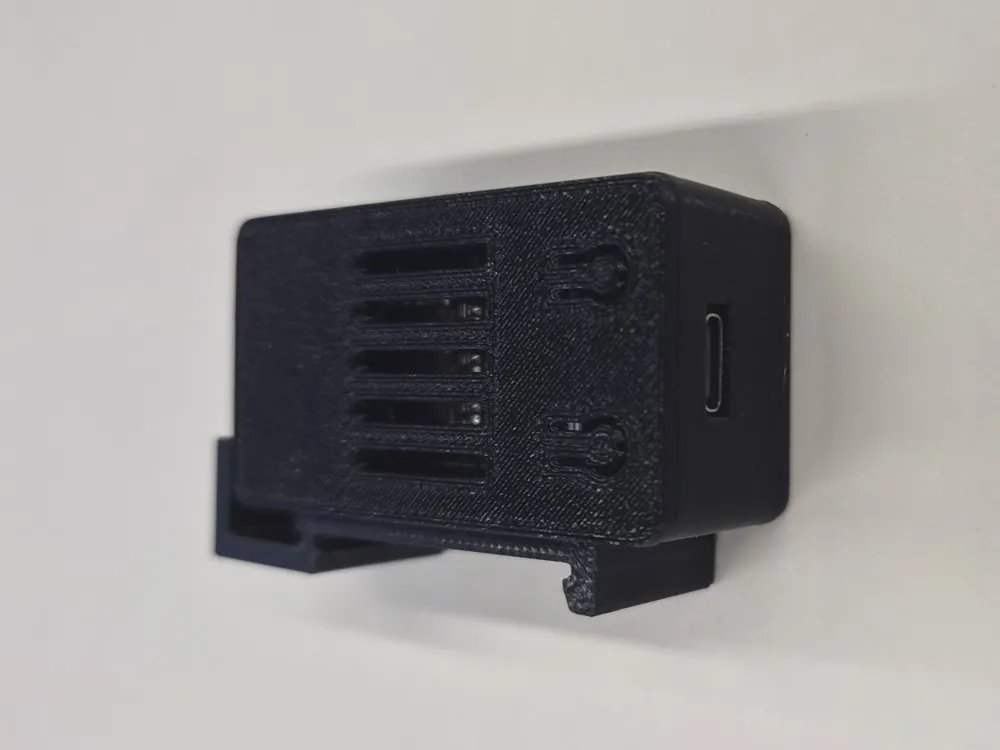
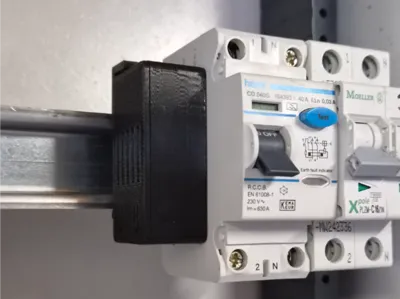
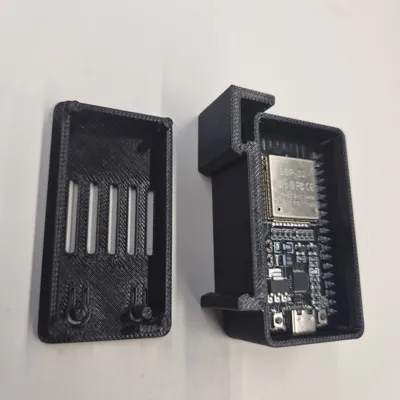
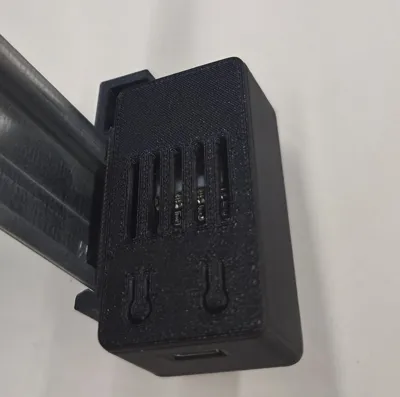
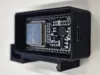
A clean, slim enclosure that lets you mount an ESP32-DevKitC (38-pin) straight onto a standard 35 mm DIN rail (TS35) — perfect for home automation cabinets, fuse boxes, control panels, or a tidy maker bench.
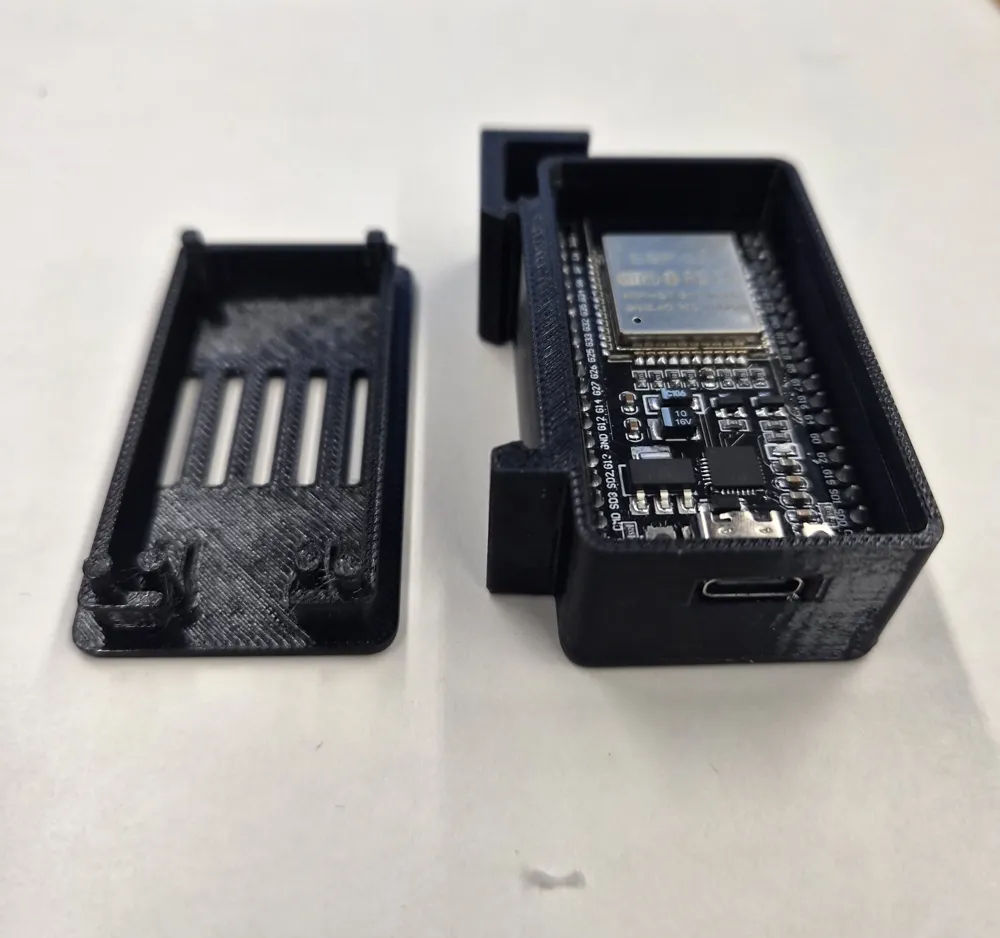
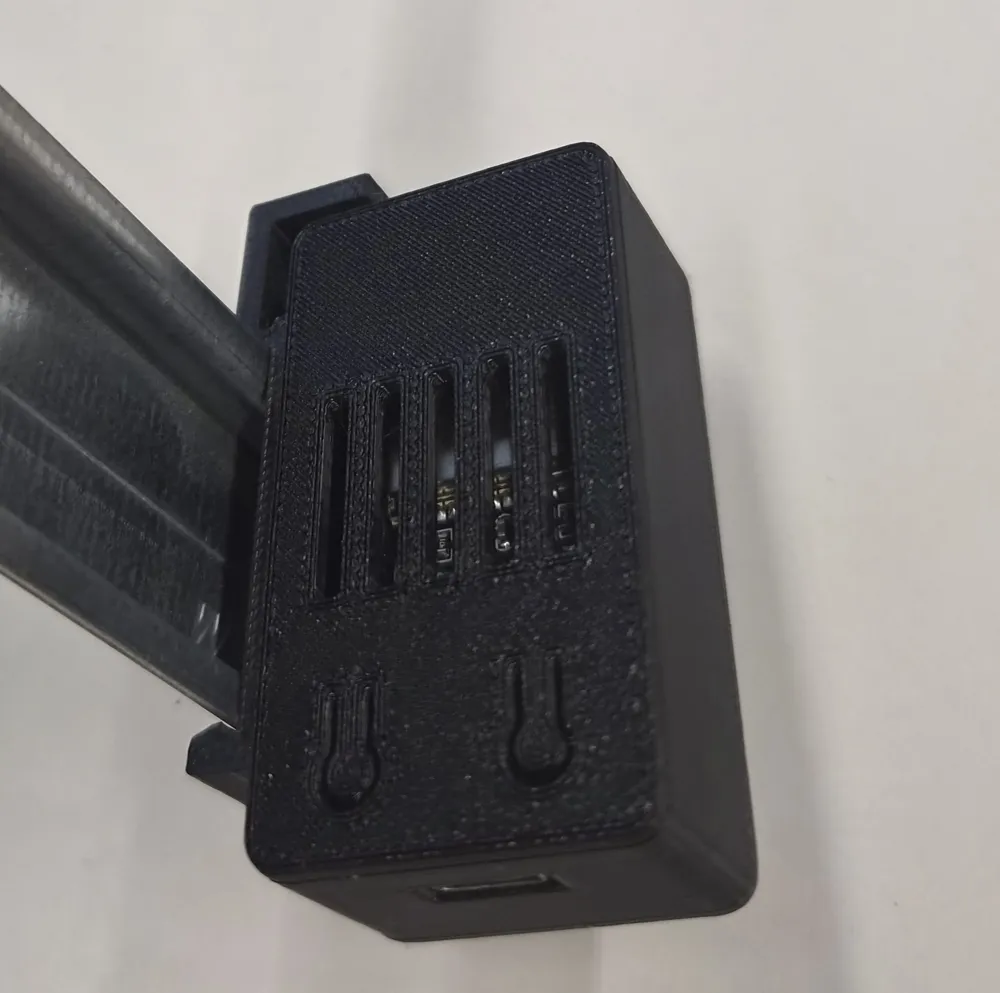
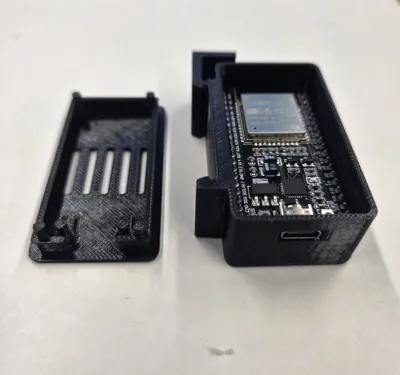
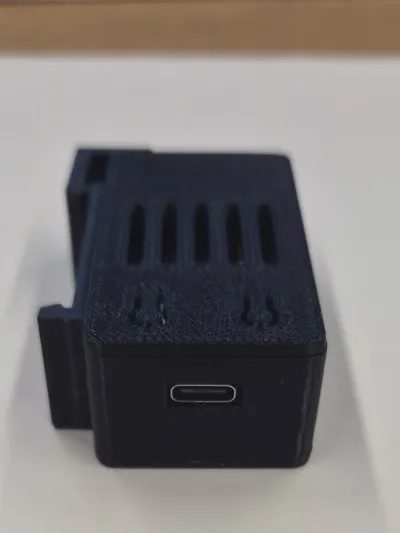
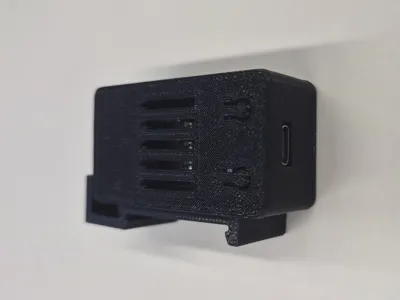
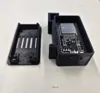
The case hangs upright and narrow on the rail, so it takes up minimal rail width while still leaving full access to the USB-C port at the bottom for power and flashing. The lid snaps onto the large side face and carries two print-in-place push buttons (no springs, no extra parts) that you can align with the on-board EN/BOOT switches or your own tactile buttons. Angled ventilation slots keep the module cool under Wi-Fi load.
Everything is driven from a single parametric OpenSCAD file, so you can adapt it to a different board, change clearances, retune the rail grip, or move the buttons — all from a clean config block at the top.
Features
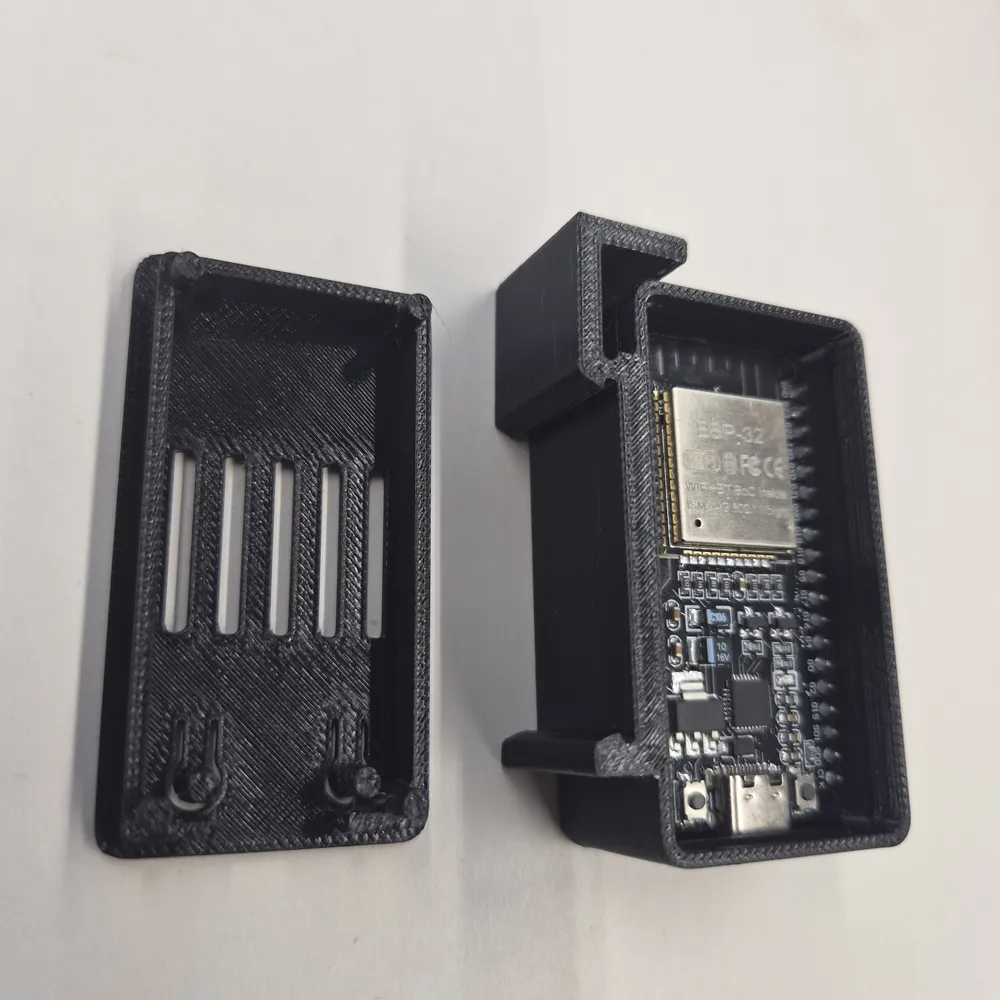
- Fits the ESP32-DevKitC 38-pin, including room for downward-facing male header pins (~8 mm).
- TS35 DIN-rail mount with a fixed hook and a tool-free spring clip.
- Pull-up release tab on top — lift it to take the module off the rail.
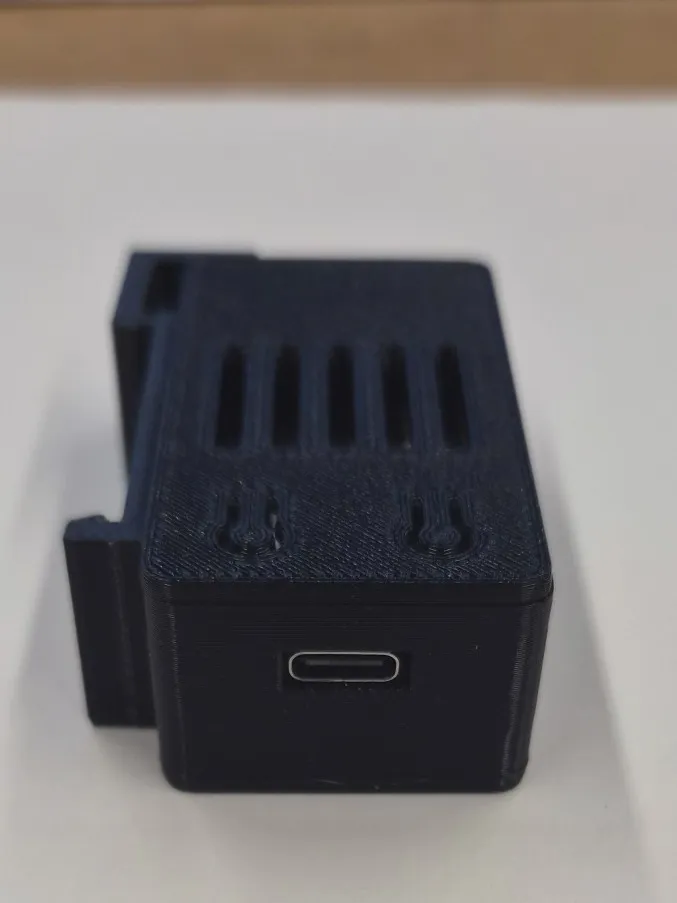
- USB-C cutout on the bottom edge; cable runs straight down.
- Snap-fit lid on the large side face — no screws.
- Two print-in-place buttons on a flexible bridge, with plungers underneath.
- Angled ventilation slots for passive cooling.
- Fully parametric OpenSCAD source — easy to tune.
Recommended print settings
| Setting | Value |
|---|---|
| Material | PLA (PETG recommended for the lid if buttons are used often) |
| Nozzle | 0.4 mm |
| Layer height | 0.2 mm |
| Walls / perimeters | 2 |
| Top/bottom layers | 4 |
| Infill | 15–20% |
| Supports | Not needed if oriented as below |
Orientation
- Lid: print with the top face on the bed (button side down). The buttons and their slots print in place; the plungers point up.
Tip: print a quick test of just the clip first and check the fit on a real piece of rail before printing the whole case.
Assembly & use
- Drop the ESP32-DevKitC into the base — it rests on the four corner posts, pins hanging down into the clearance below.
- Press the lid onto the large side face until the snap lip clicks under the internal bead.
- Mounting on the rail: hook the fixed (bottom) clip under the lower rail edge, then push the top against the rail until the spring clip snaps over the upper edge.
- Removing from the rail: pull the top release tab up and outward to release the spring clip, then lift the module off.
Customizing (OpenSCAD)
Open the .scad file in OpenSCAD (desktop) or the free online OpenSCAD Playground — all parameters appear in the Customizer. Key knobs in the config block at the top:
- board_l, board_w, pcb_t — board dimensions (swap in another board here).
- clr_below — space under the PCB for header pins. Measure your pin length and set this to +1 mm. Use a small value for a bare board without headers.
- grip_depth — how tightly the case clamps the rail. Smaller = tighter. This is the knob for rail fit.
- clip_h — length of the spring arm (larger = softer spring). Leave alone for rail fit.
- usb_center_above_board — vertical position of the USB-C cutout; nudge it until the connector sits centered.
- button_pos — X/Y of each button. Set these over your actual switches.
- plunger_len — length of the button plungers; tune so they just rest on the switch.
- btn_gap — slot width around the buttons (print-in-place clearance). Increase to 0.8 mm for larger nozzles.
- tol — general fit tolerance for the lid (~0.3–0.4 mm for a 0.4 mm nozzle).
Notes & tips
- The DIN-rail clip arms are slightly wider than the case body — that's normal, the rail is wider than the box.
- Print-in-place buttons on a thin bridge can fatigue after very many presses in PLA; use PETG for the lid if you'll press them daily.
- If the case rattles on the rail, lower grip_depth by 0.1–0.2 mm; if it's too hard to clip on, raise it.
License

You shall not share, sub-license, sell, rent, host, transfer, or distribute in any way the digital or 3D printed versions of this object, nor any other derivative work of this object in its digital or physical format (including - but not limited to - remixes of this object, and hosting on other digital platforms). The objects may not be used without permission in any way whatsoever in which you charge money, or collect fees.


Comment & Rating (1)