


Print Profile(2)

Bill of Materials

Description
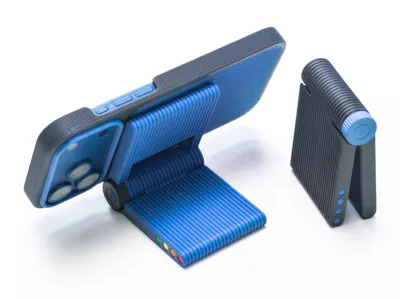
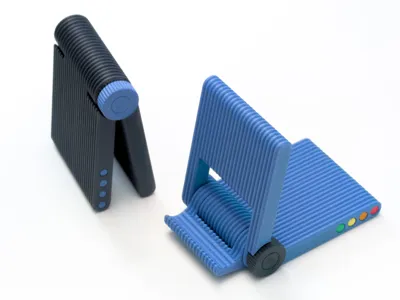
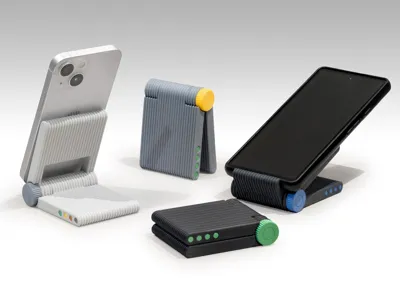
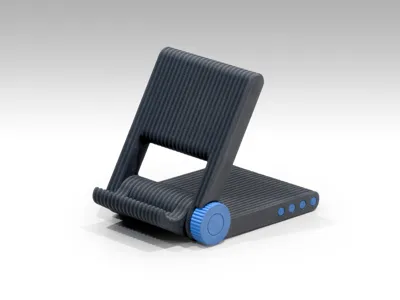
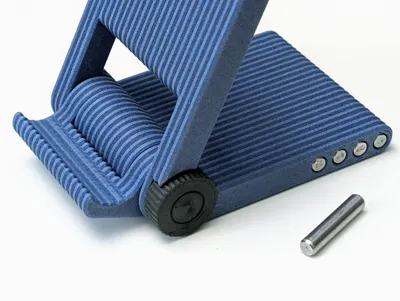
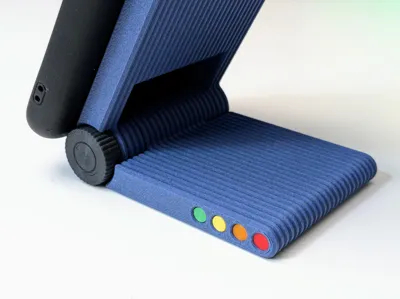
Adjustable Phone Stand: Print-in-Place
A stable, adjustable viewing angle is essential for any desk setup. Unfortunately, many 3D printed phone stands either lack these basic features or overcompensate with complex designs. I wanted to create a solution that delivers that functionality while keeping the design clean, stripped back, and highly printable.
Key Features:
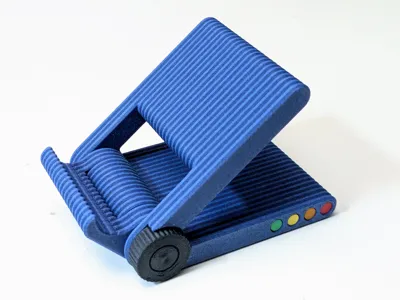
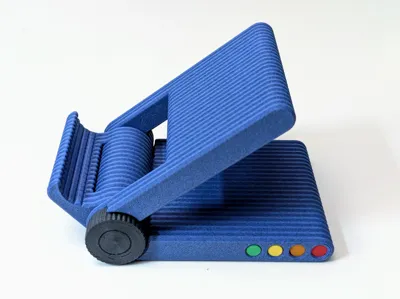
- Print-in-Place Locking Hinge: The hinge features a built-in locking function that engages when clamping pressure is applied, holding firm at your desired viewing angle.
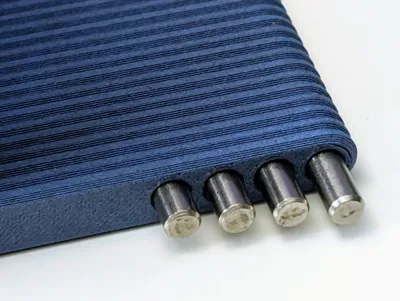
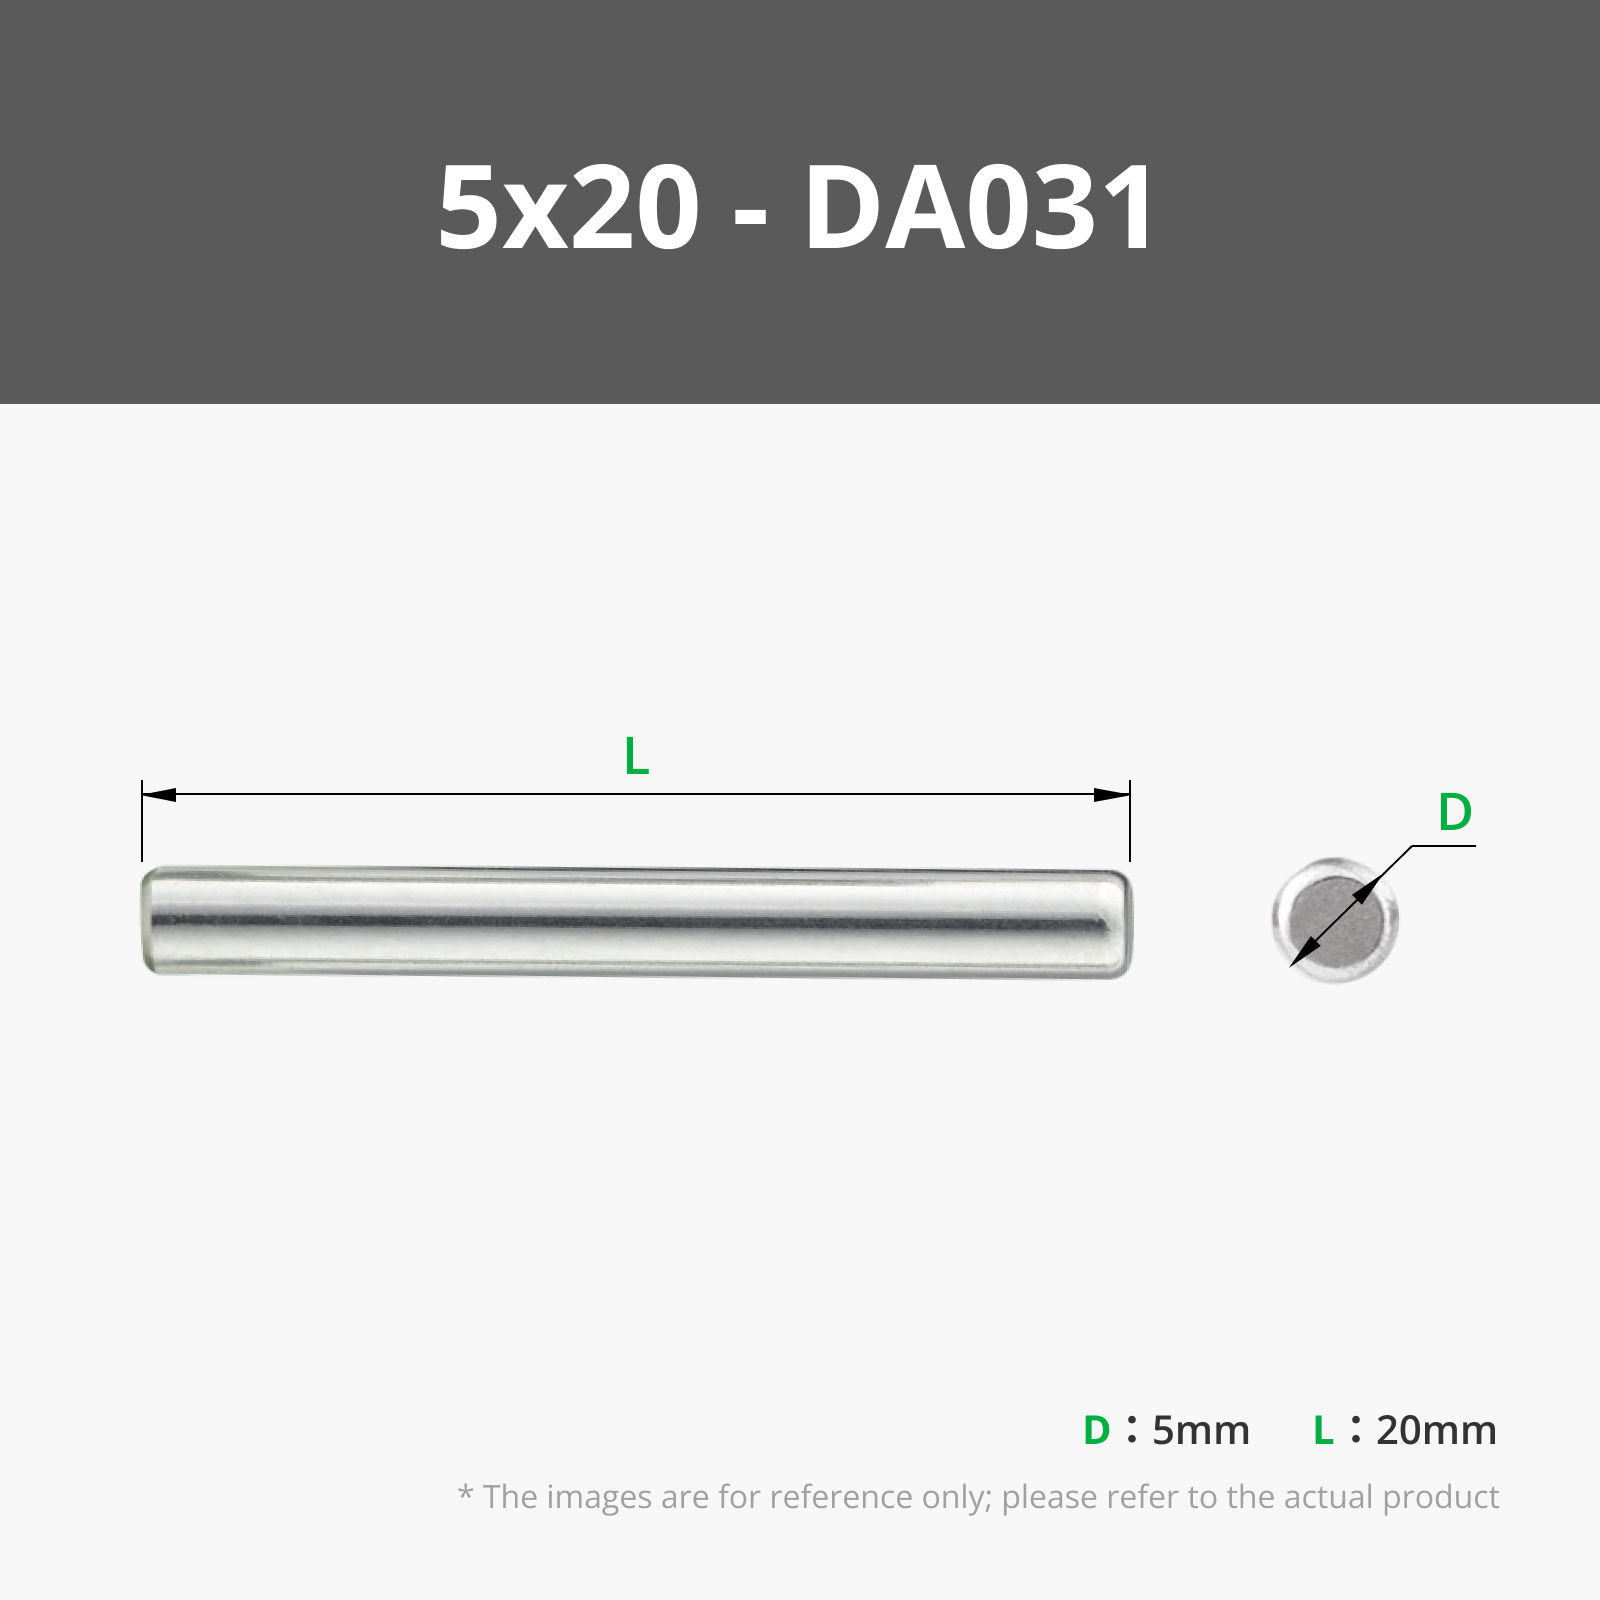
- Weighted Base (Optional): The base includes internal cavities designed for metal counterweights (fits 8 x M5x20mm dowel pins). While they are not strictly necessary, the extra weight does improve stability and gives the stand a premium feel.
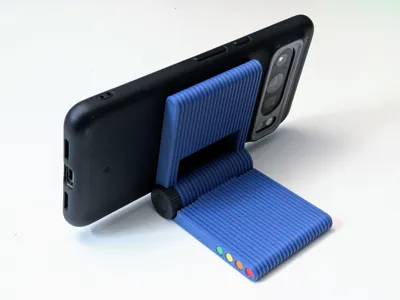
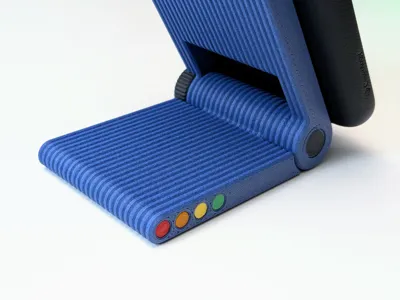
- Case-Friendly Cradle: Tested with a Pixel 8 Pro (both with and without a case). It is specifically designed with cases in mind, rounded-edge cases will sit more securely, allowing the stand to support more acute viewing angles.

Assembly Guide
- Freeing the Hinge: The print-in-place tolerances are tight. Breaking the hinge free requires a little force so please take care and try to distribute the pressure evenly so you don't stress a small area. If it is stubborn, gently use a pry tool between the joints.
- Adding the Weights (Optional): Turn the base over and insert your metal dowel pins into the cylindrical cavities. Press-fit the printed caps over the holes to lock the pins safely inside.
- Assembling the Clamp: Bring the two halves of the threaded pin together and screw them tightly into the knob. Push this assembly through the hole in the phone cradle until it stops. Once you have set your desired angle, simply turn the knob clockwise to increase the clamping pressure and lock the hinge.

Technical Printability
Because this model features functioning print-in-place hinges and threads, tuning your filament tolerances will yield the smoothest results. Some of the internal walls get as close as 0.1mm, so a precision printer is required. Note: I printed mine on a Bambu Lab P1S and slowed most of the speed settings down to ensure accuracy.
- Layer Height: Use 0.20mm for the main body and 0.10mm for the threaded pin to ensure the threads operate smoothly.
- Walls & Infill: Use 3 wall loops for added structural strength and 15% infill.
- Material Recommendations: I highly recommend Bambu PLA-CF or PLA Matte for a clean, premium finish. Ensure you are using a well-tuned profile and dry filament to prevent the hinges from fusing.
I went through a lot of prototyping fine-tuning the clearances to ensure the hinges break free cleanly while remaining strong. If you run into any issues with tolerances or fitment, please let me know in the comments!

I'm continuously creating new models so follow @moss3d to be notified when I upload new models.
Boost Me (for free)
If this model helped you, please support my work by giving me a boost. Thank you!
_______________________________________________


License
You shall not share, sub-license, sell, rent, host, transfer, or distribute in any way the digital or 3D printed versions of this object, nor any other derivative work of this object in its digital or physical format (including - but not limited to - remixes of this object, and hosting on other digital platforms). The objects may not be used without permission in any way whatsoever in which you charge money, or collect fees.
Comment & Rating (16)