
Powerful Fullshot Rubber Band Gun
Print Profile(1)
Description
Boost Me (for free)
Thank you for taking the time to download and print my model. Every download, rating, comment, and Boost means a lot to me and motivates me to keep creating new designs for the community. If you enjoyed this print and would like to support my work, please consider giving it a Boost. Your support genuinely makes a difference. Thank you!
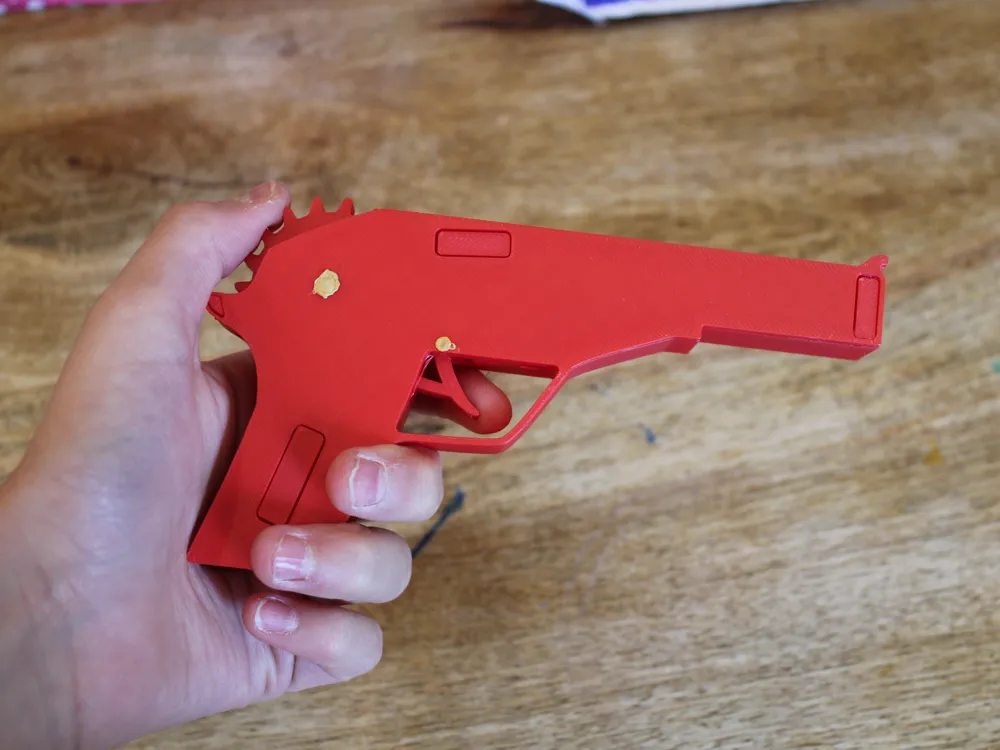
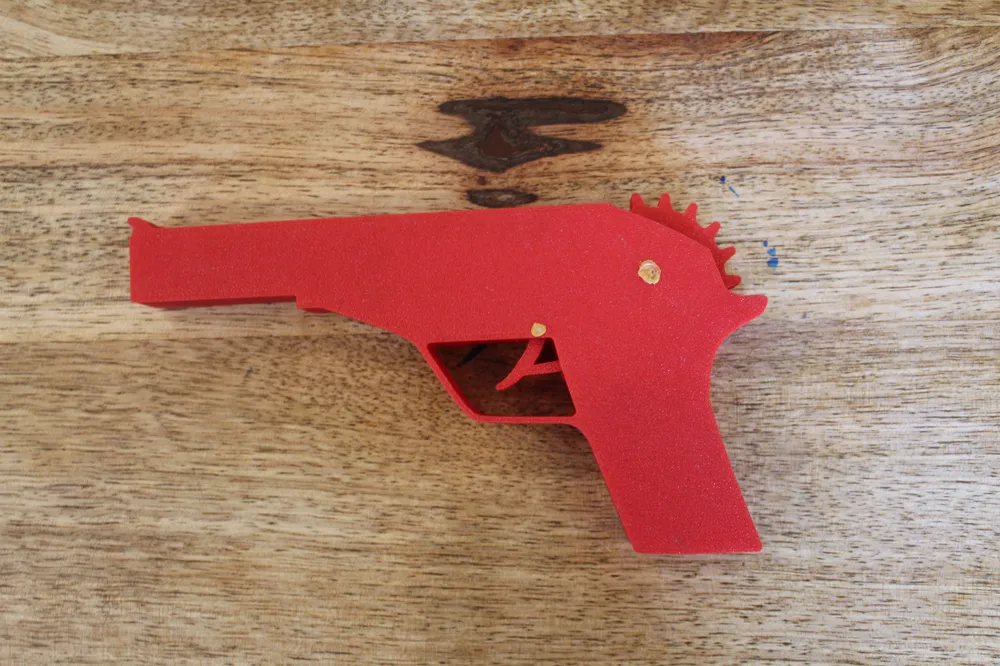
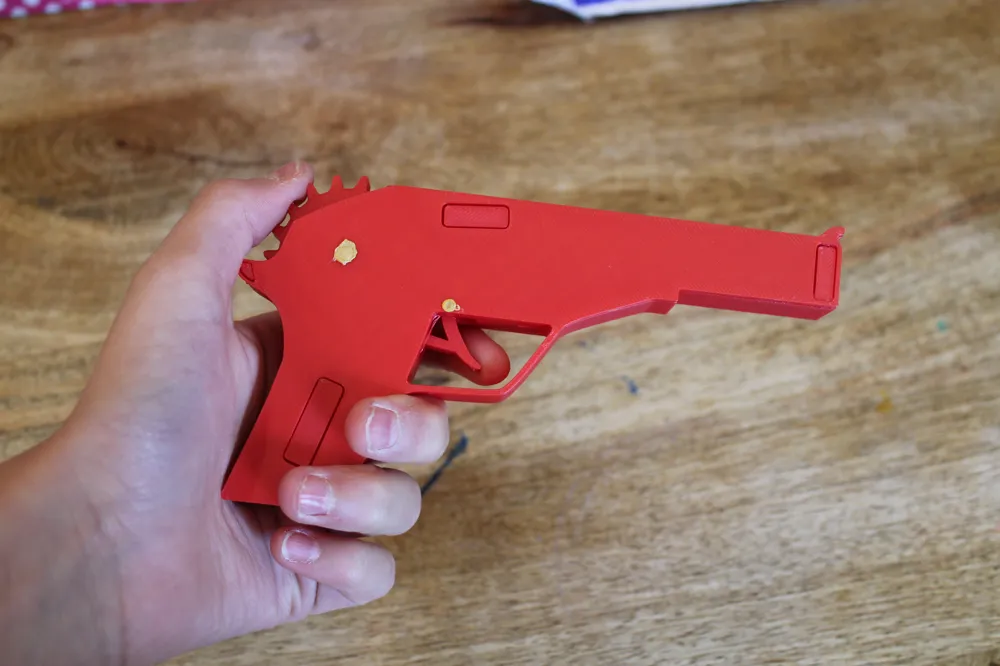
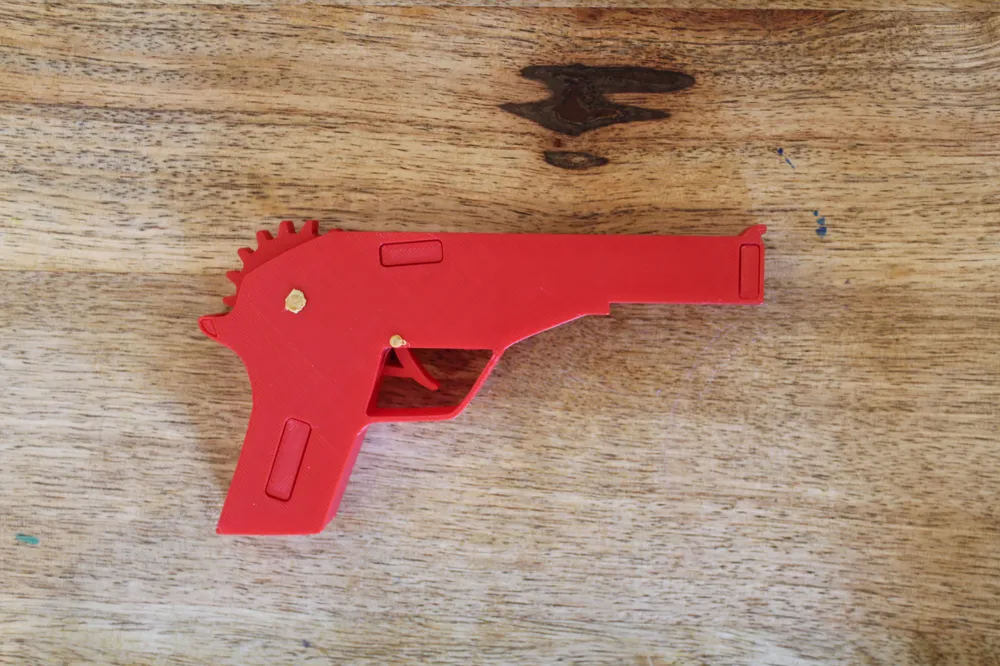
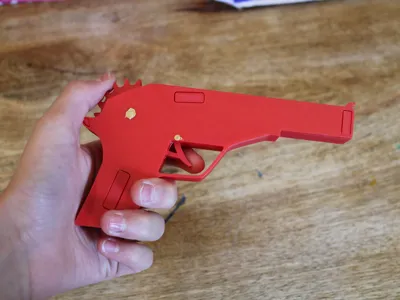
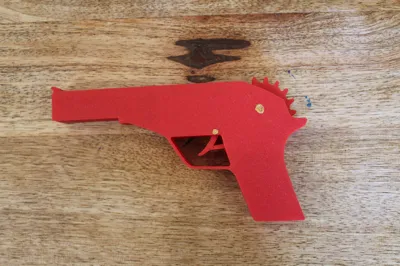
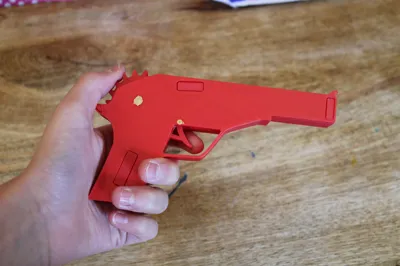
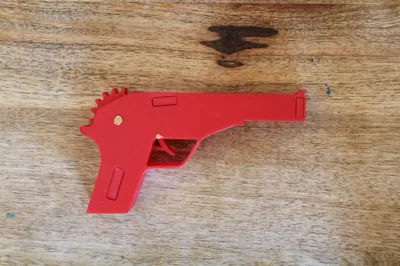
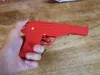
Rubber Band Gun (Single Shot)
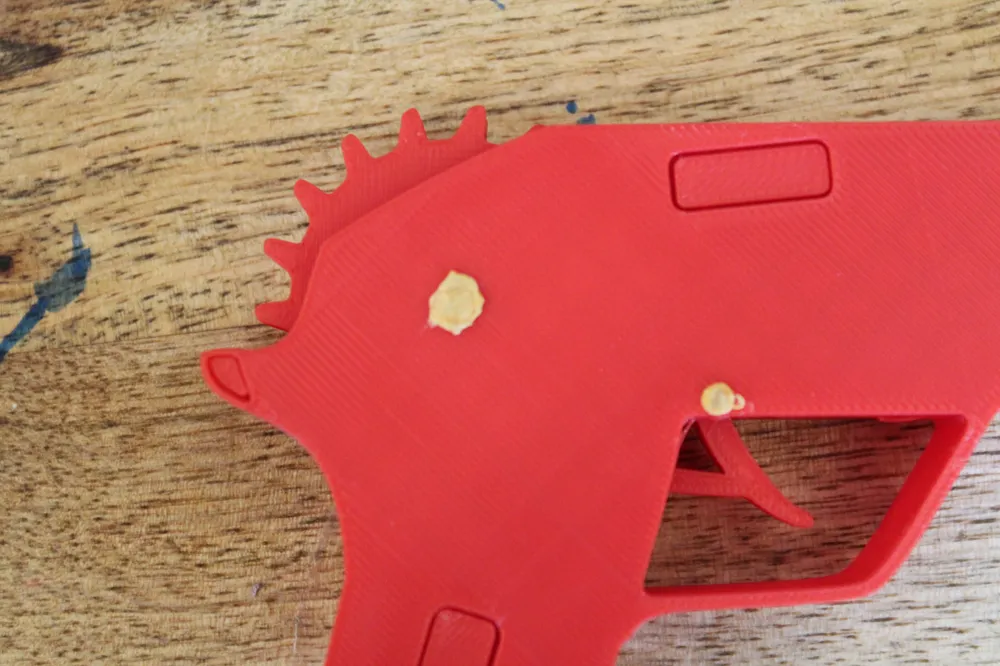
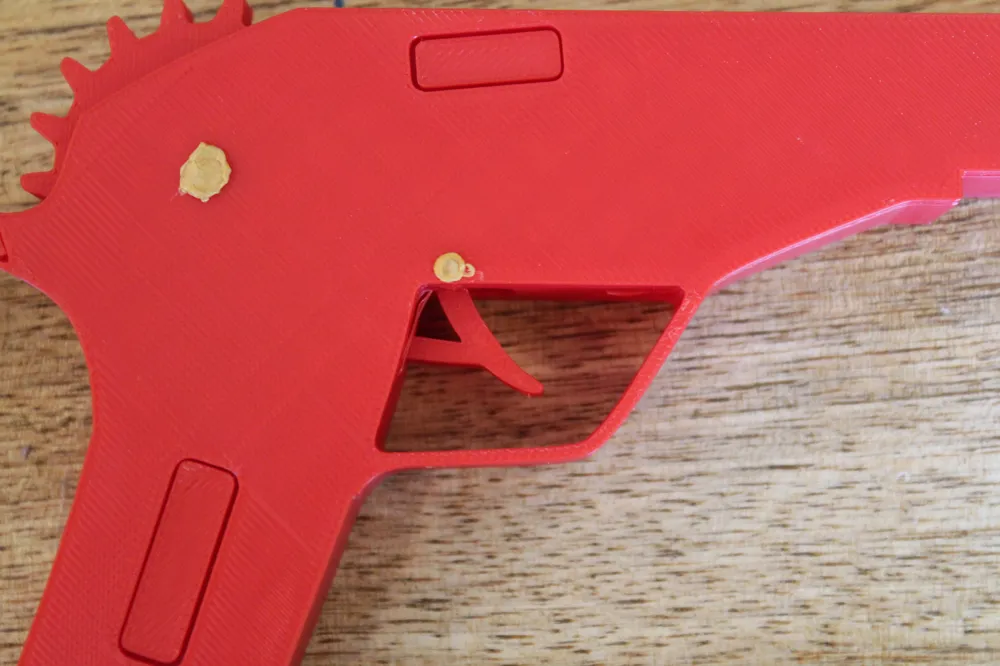
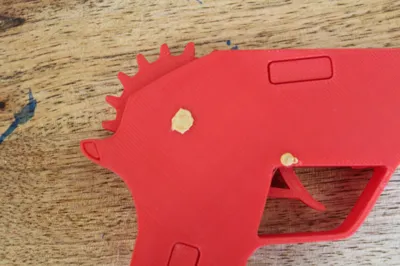
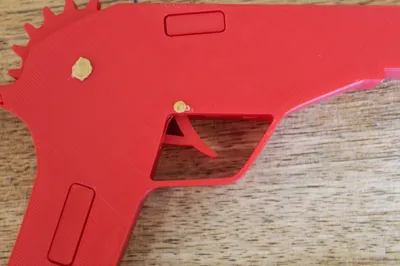
A simple and fun 3D-printable rubber band launcher that uses a ratcheting gear and spring-loaded trigger mechanism. The design prints in separate parts for easy assembly and uses short pieces of 1.75 mm filament as pins.
No screws, nuts, or glue required.
Features
- Easy assembly
- Uses standard rubber bands
- No hardware required
- Compact pocket-sized design
- Fun mechanical ratchet action
- Prints quickly with minimal material
Required Parts
Print:
- 1x Main Body
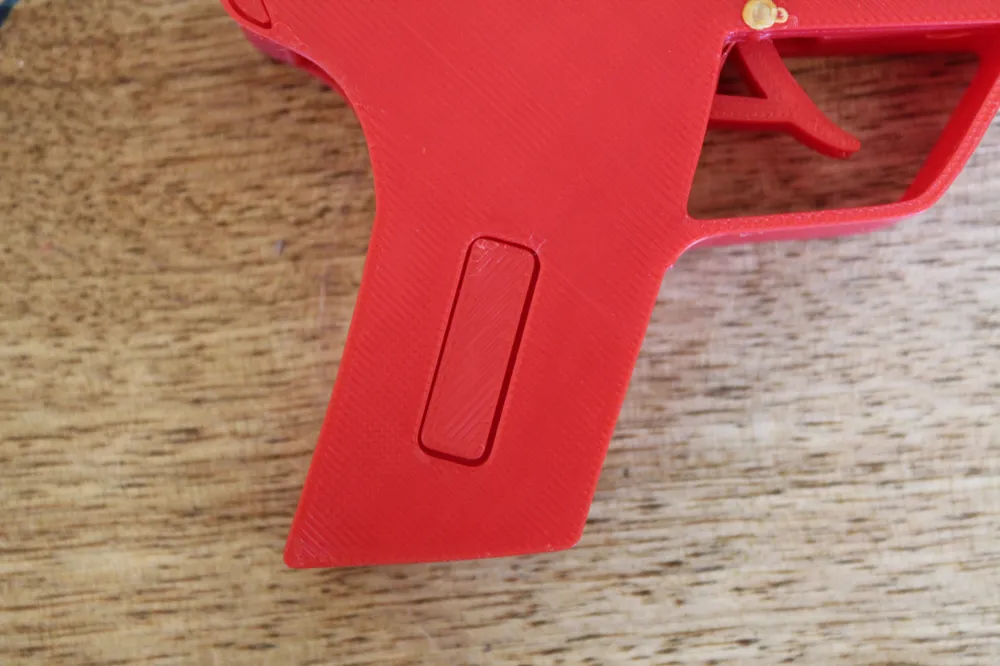
- 1x Cover
- 1x Gear
- 1x Trigger
- 1x Spring
Additional materials:
- Two short pieces of 1.75 mm filament (used as pins)
- Rubber bands for launching
Assembly Instructions
Step 1
Slide the trigger into the trigger slot from the side of the main body.
Step 2
Insert a short piece of 1.75 mm filament through the trigger pivot hole to secure the trigger in place.
Step 3
Place the gear into the rear compartment and secure it with another short piece of 1.75 mm filament through the gear axle hole.
Step 4
Install the spring behind the gear.
Important: Place the flat end of the spring facing toward the gear.
Step 5
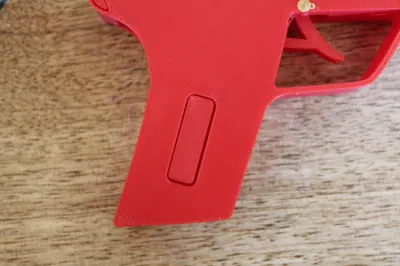
Place the cover onto the launcher body and press it into position.
Your launcher is now assembled.
Loading & Firing
- Rotate the gear backward until the launcher is cocked.
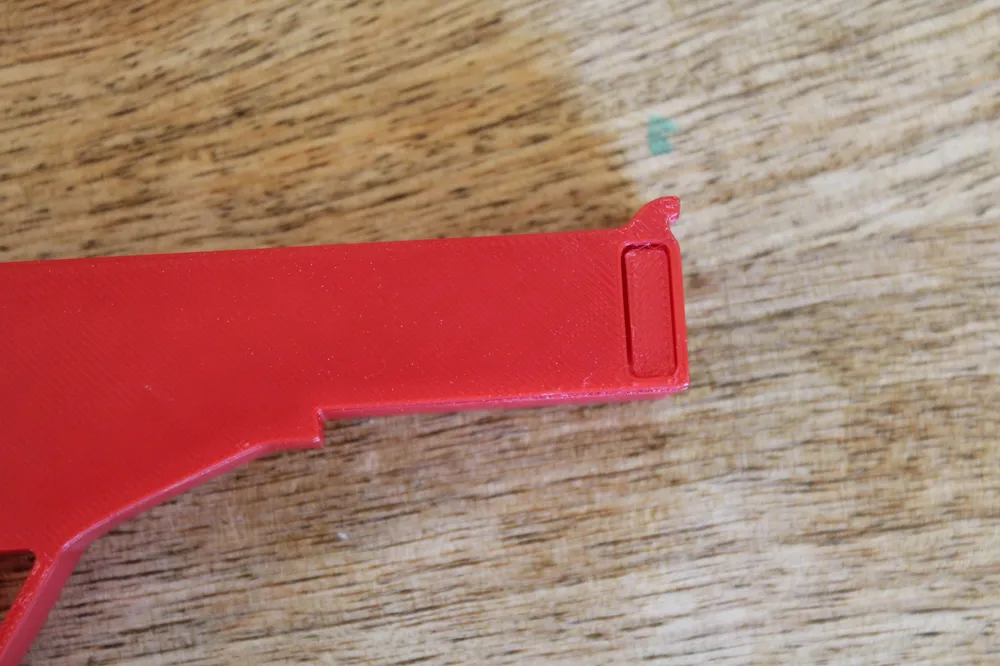
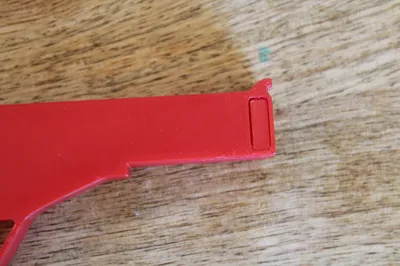
- Hook a rubber band around the front notch.
- Stretch the rubber band over the gear teeth.
- Pull the trigger to release the gear and launch the rubber band.
Print Recommendations
- Layer Height: 0.20 mm
- Infill: 15–20%
- Supports: Not required
- Material: PLA recommended
- Brim: Optional
Safety
This is a toy intended for safe recreational use. Do not aim at faces, eyes, animals, or anyone who does not wish to participate.
License

You may create derivative works based on this object, provided that all such derivative works are published exclusively on the MakerWorld platform and include proper attribution to the original creator. You may not share, upload, host, distribute, or publish this object—or any derivative work of this object—on any other digital platform, marketplace, or distribution channel. Commercial use of this object and any derivative works is strictly prohibited. This includes, but is not limited to, selling, renting, sublicensing, or using the object in any context in which you receive monetary compensation or other financial benefits.


Comment & Rating (0)