
Modular 1/64 Scale Diecast Display System
Print Profile(1)
Bill of Materials


Description
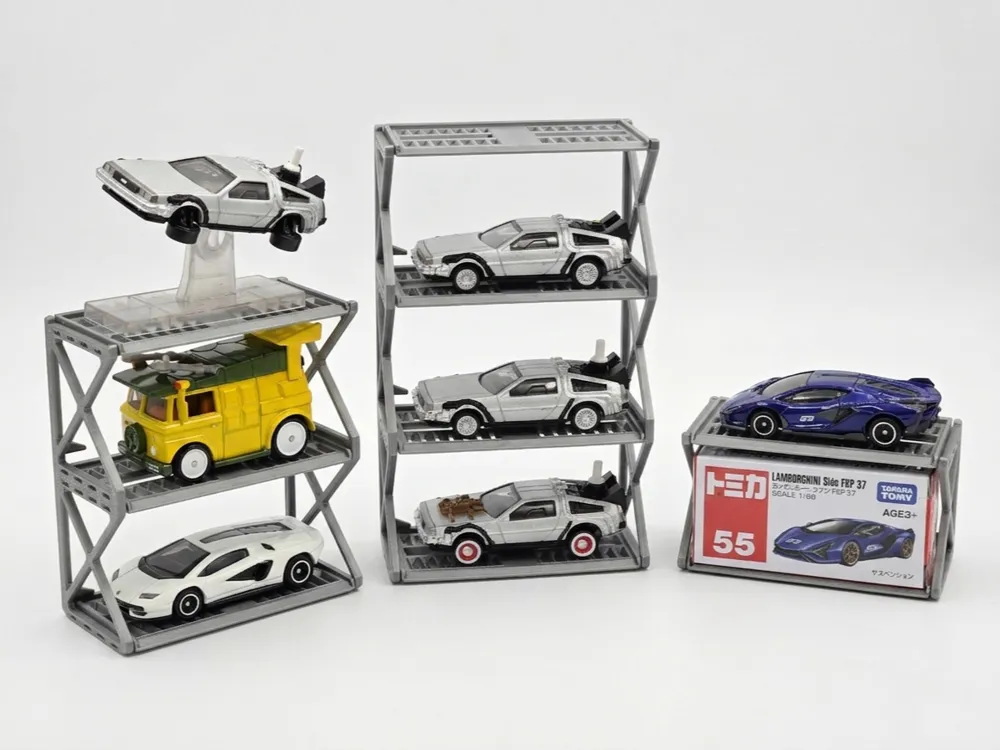
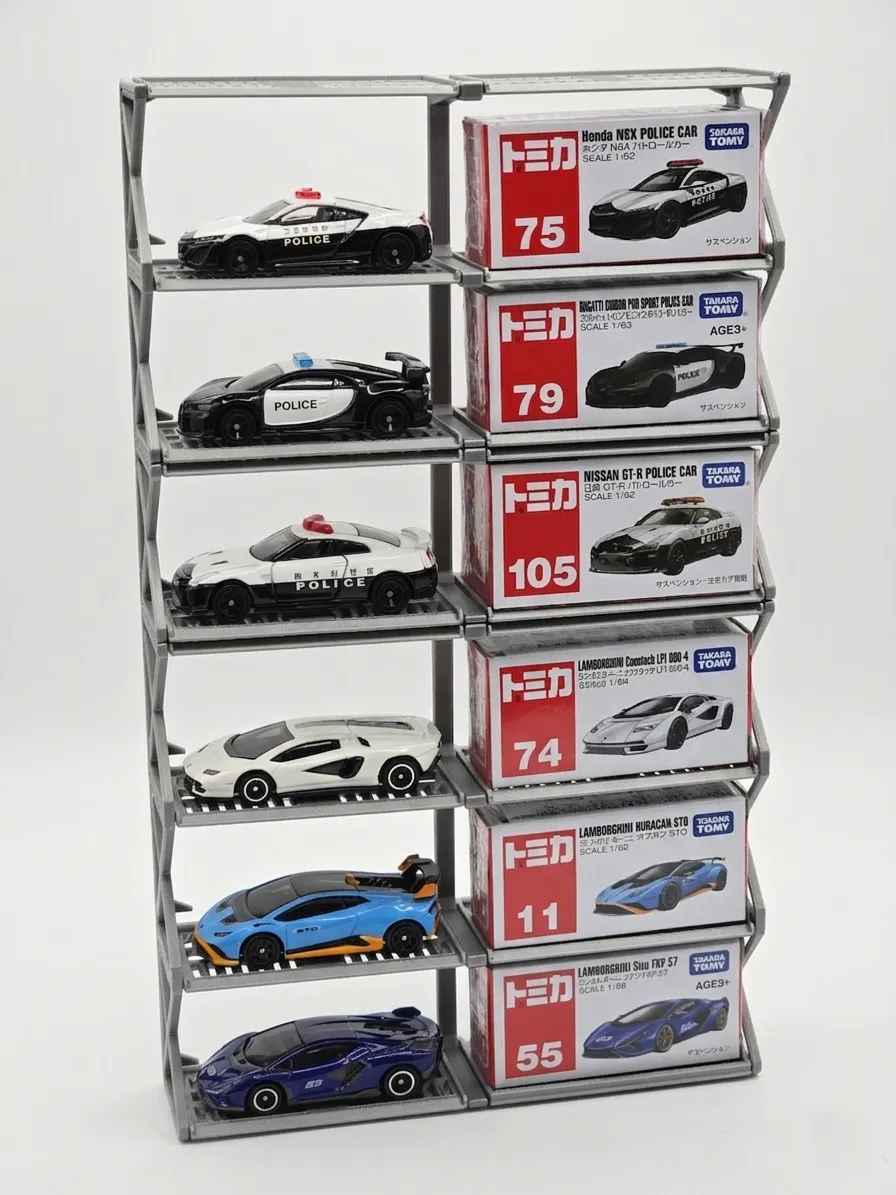
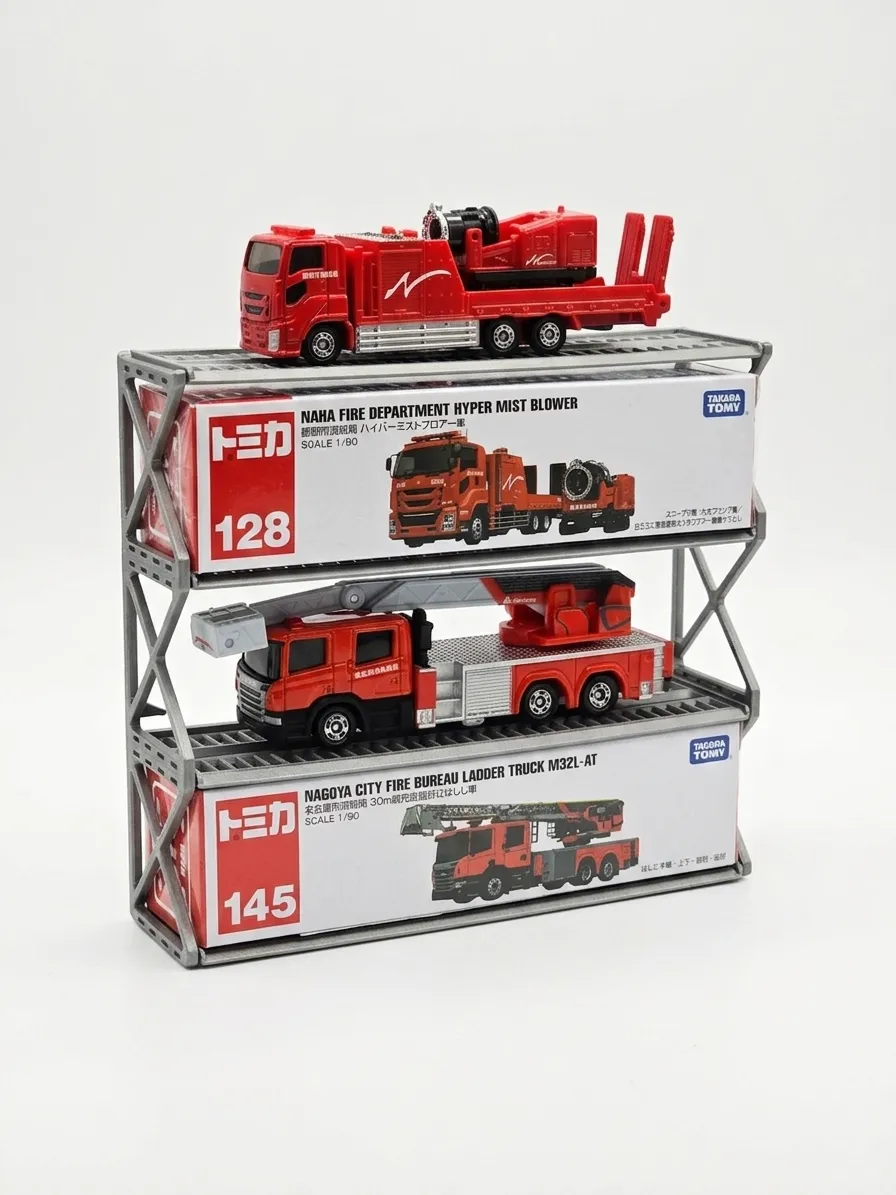
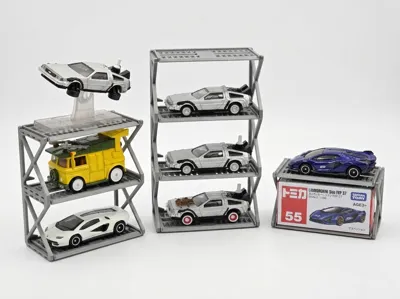
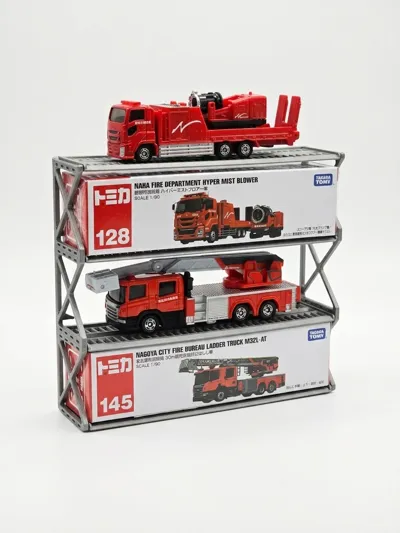
For displaying 1/64 model cars (Hot Wheels / Tomica), I often encounter a few small problems: typical display stands usually have fixed dimensions, often unable to accommodate longer special car models; or beautiful packaging boxes have to be stored in a box, unable to be showcased alongside the beloved car. To address these pain points, I tried designing a simple Modular Diecast Display System using 3D printing
This shelving system has the following features:
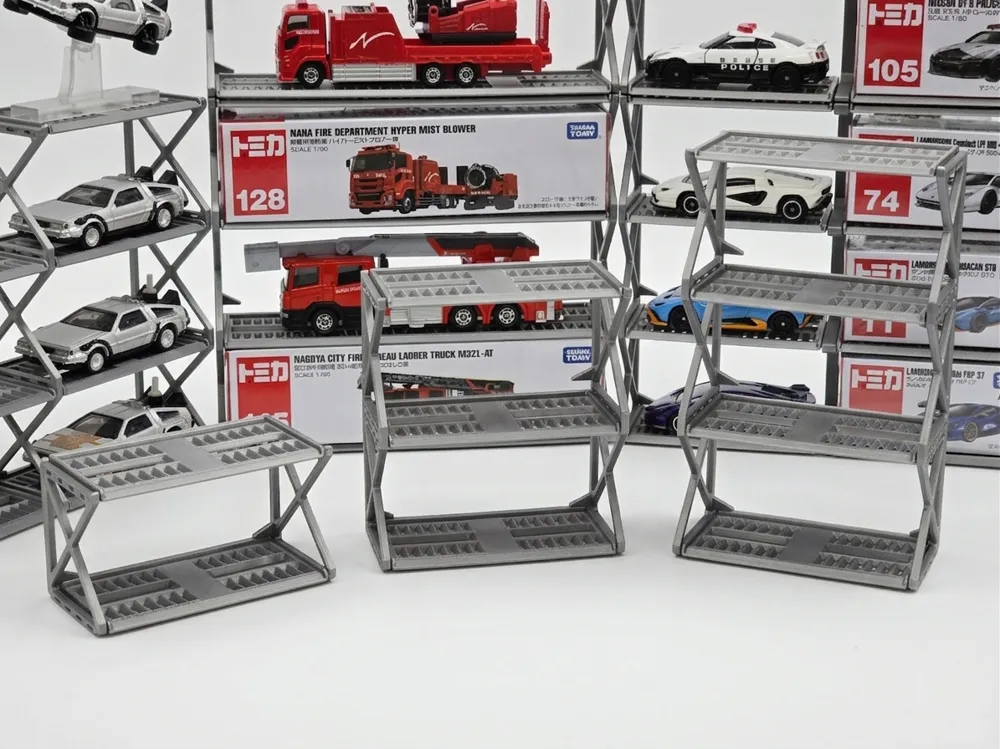
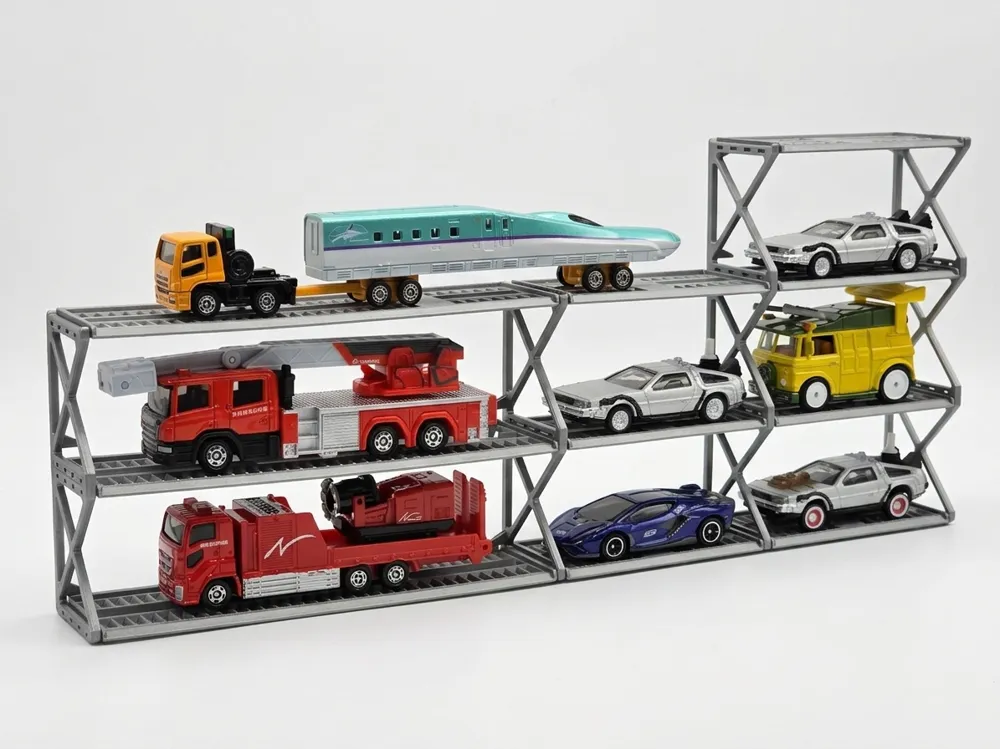
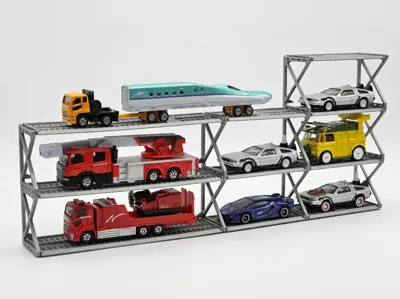
🔸 Adjustable Length: Accommodates vehicles of different lengths by choosing different sizes of plates, and if the length is still insufficient, space can be increased by connecting more plates
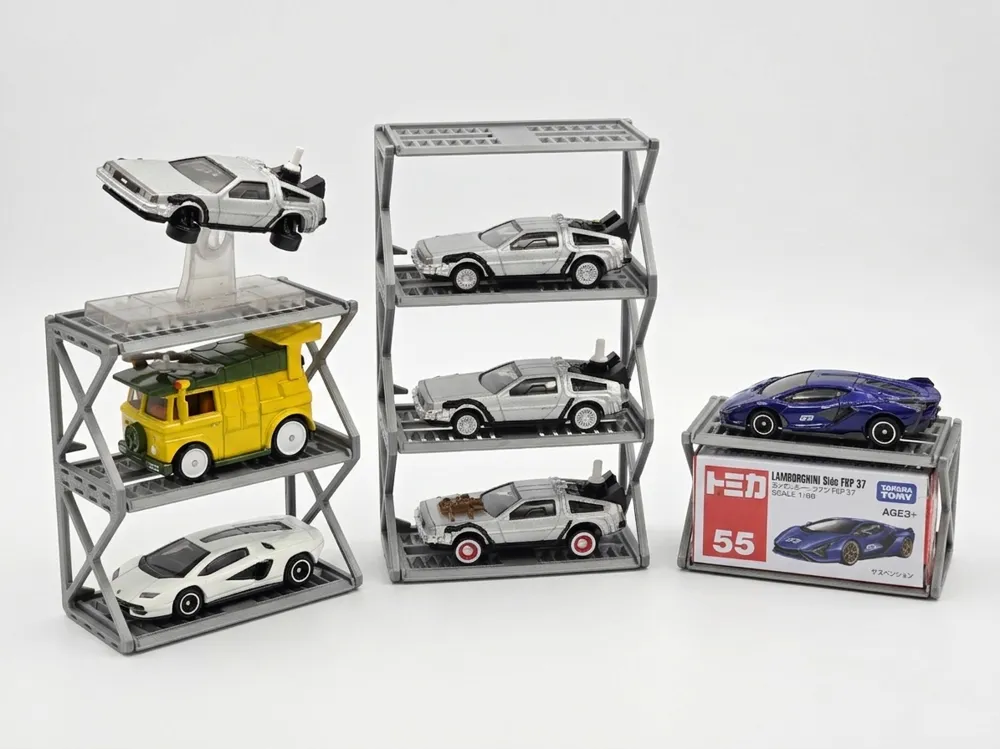
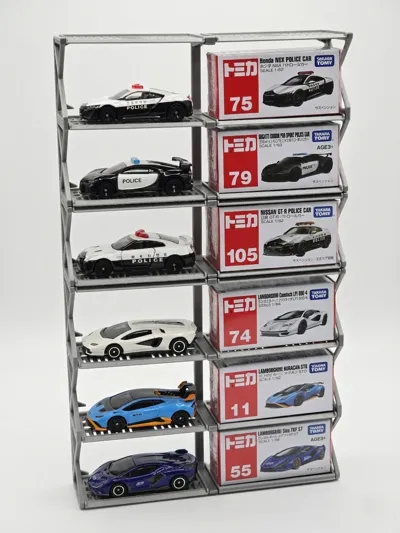
🔸 Car and Box Together: Increased space ensures both the vehicle and its packaging box can be displayed simultaneously, making the collection's presentation more complete
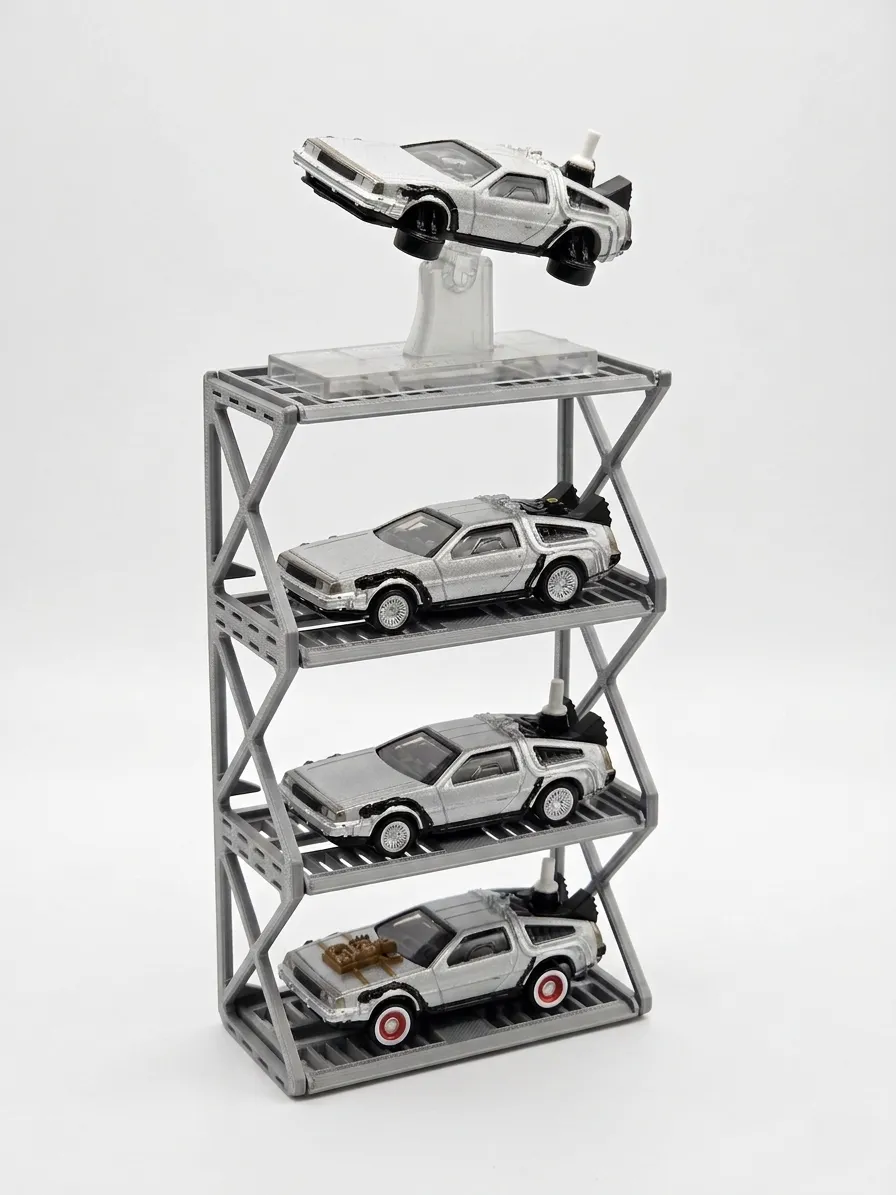
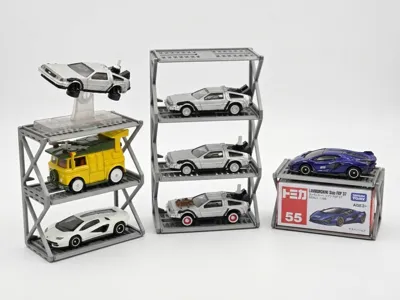
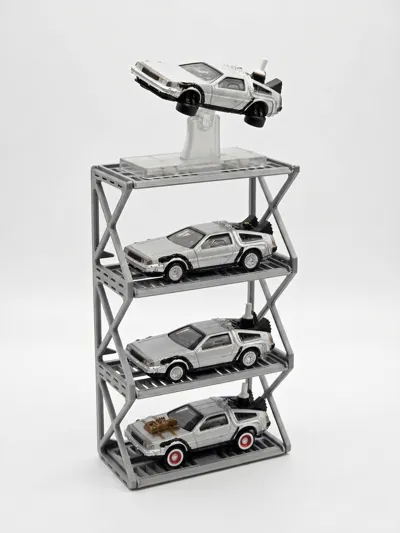
🔸 Space Adaptation: Designed with modular connectors that allow for stackable height and horizontal extension, enabling adjustments to fit display cabinets or desktop spaces
Printing Recommendations and Notes
- The parts for this shelving system were designed with printing difficulty in mind, and can be easily printed using a 0.4mm nozzle with a 0.2mm layer height
- Important: Please thoroughly clean the build plate before printing to ensure the bottom surface of the parts adheres stably and prevent warping from affecting subsequent assembly
System Parts and Assembly Guide
I. Parts List
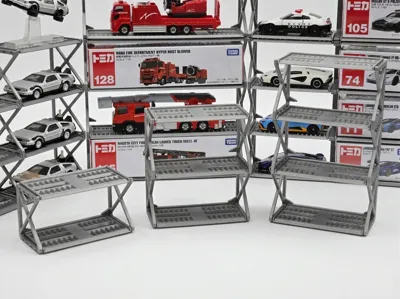
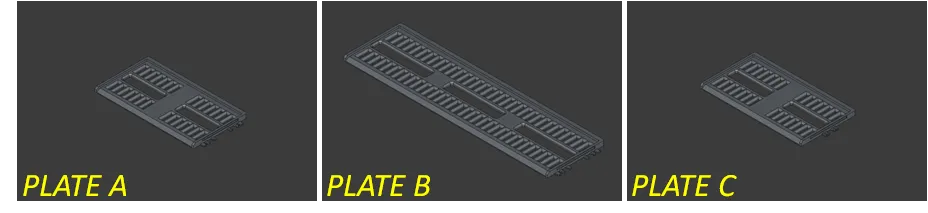
Main Plate (Plate A / Plate B): Available in two sizes to accommodate model vehicles of different lengths
Connecting Plate (Plate C): Used for horizontal bridging between two sets of shelves, allowing flexible extension of display space without adding side frames
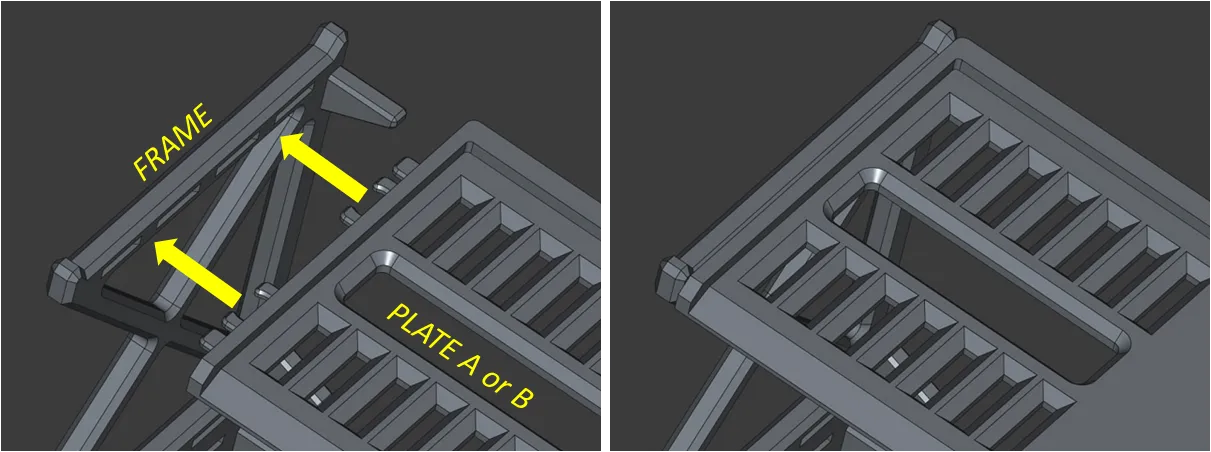
Side Frame: The main structural support. When assembling, ensure the concave side faces up, the raised side faces down, and the triangular protrusion on the side faces inward towards the plate
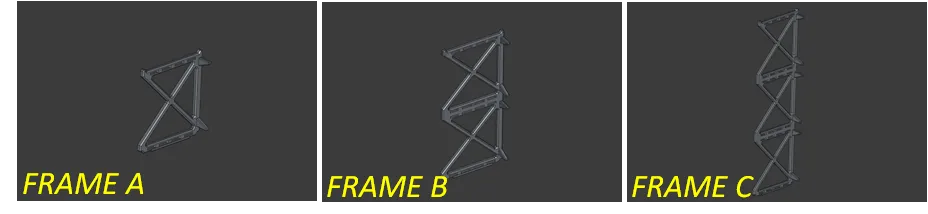
Center Support Post: Large span reinforcement part. Used to connect multiple plates to prevent structural sagging when longer extensions are needed
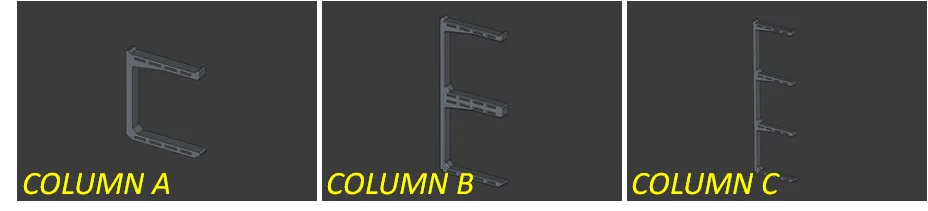
II. Assembly and Expansion Steps (Assembly Steps)
Basic Assembly: Select the appropriate plate (Plate A or B) based on the length of the display vehicle, and combine it with the corresponding side frames
Length Extension: If further extension of the display width is needed, install a "Center Support Post" at the plate joint for extension
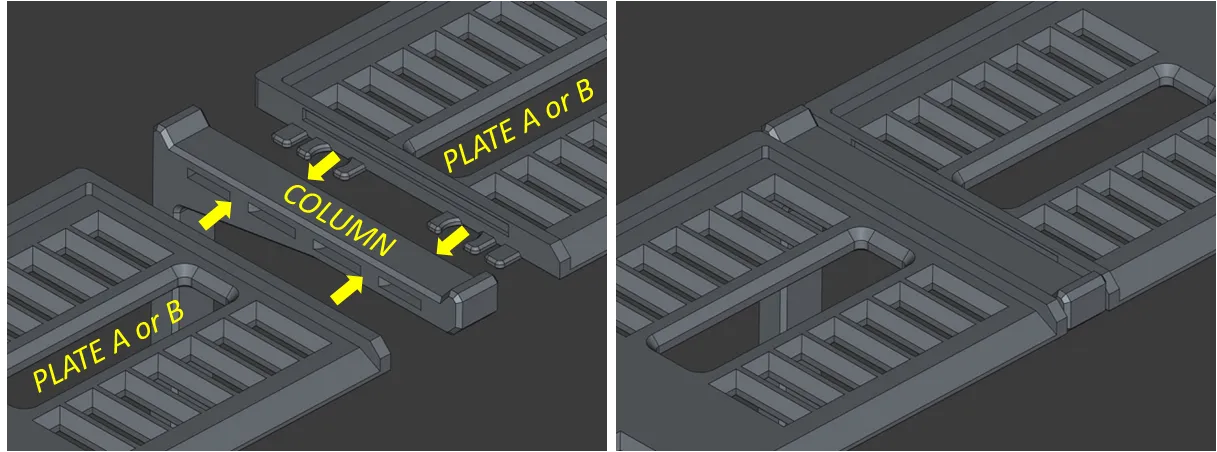
Frameless Horizontal Expansion: Use the "Connecting Plate (Plate C)" to interlock and splice two independent shelving units, maximizing the display area without needing additional side frames
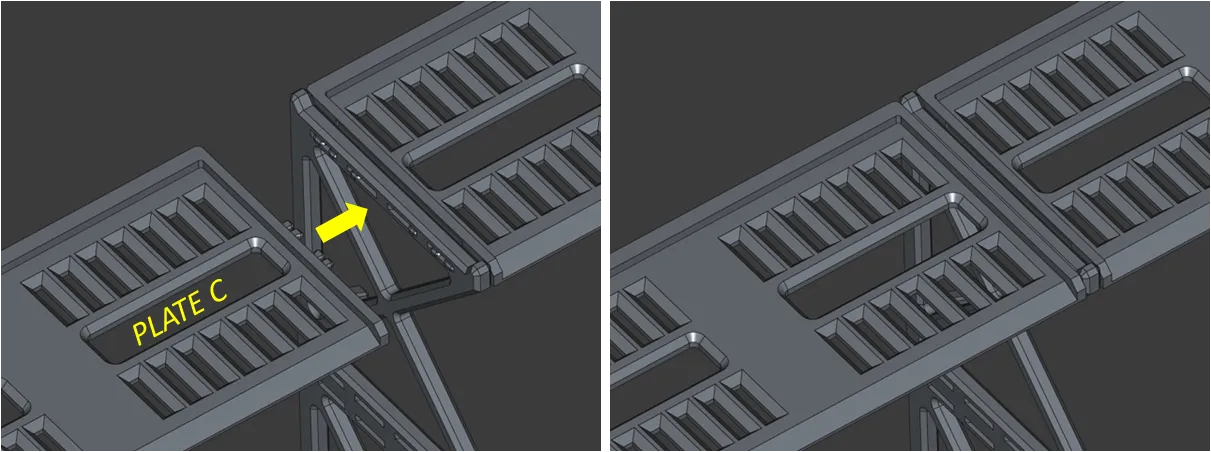
Vertical Stacking Notes: This system supports vertical stacking. When stacking, please ensure that the tabs between the bottom of the upper side frame and the lower plate are securely engaged to ensure the overall structural stability
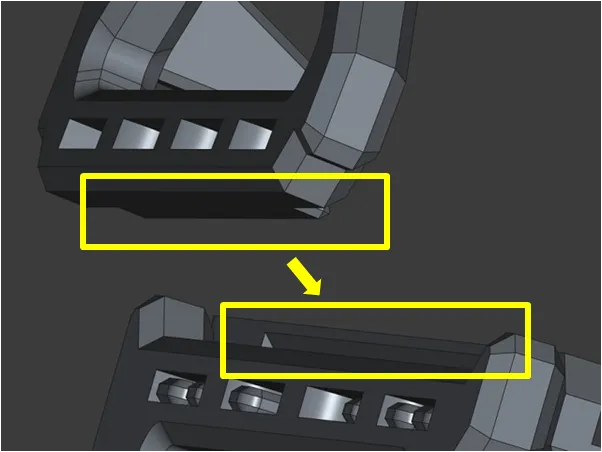
This model is a preliminary concept design, and the structure is still quite stable when stacked up to six layers. However, because my own collection is limited, some special car models' dimensions may not have been fully considered during design. If there are other display needs for different sizes, lengths, or special packaging, everyone is welcome to leave comments for discussion
License

You shall not share, sub-license, sell, rent, host, transfer, or distribute in any way the digital or 3D printed versions of this object, nor any other derivative work of this object in its digital or physical format (including - but not limited to - remixes of this object, and hosting on other digital platforms). The objects may not be used without permission in any way whatsoever in which you charge money, or collect fees.


Comment & Rating (6)