
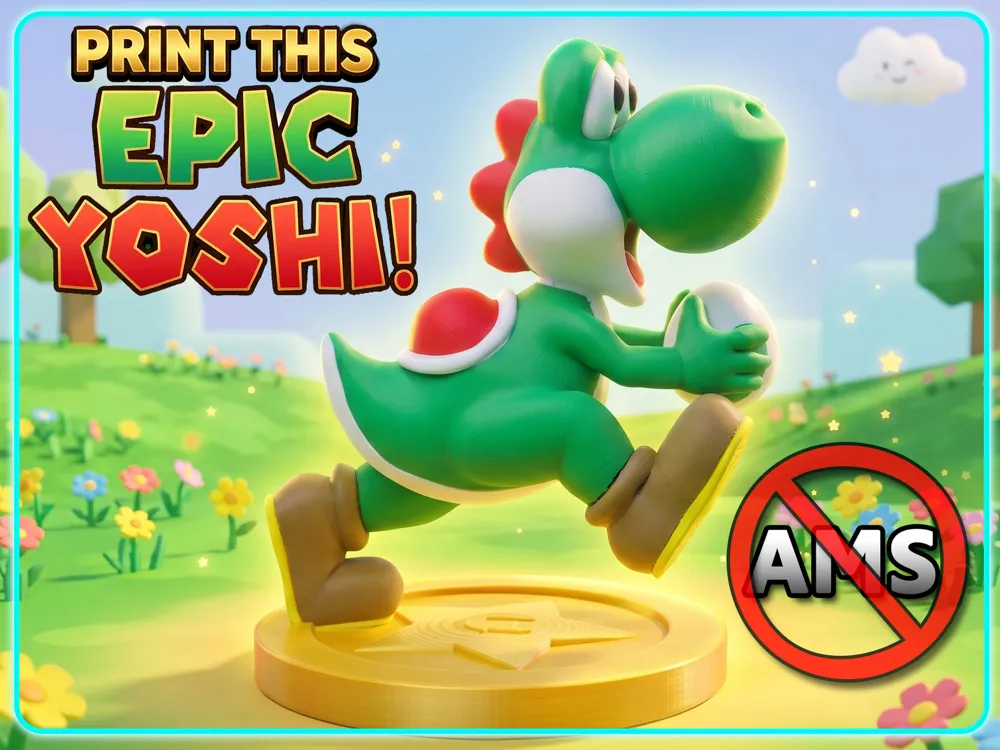
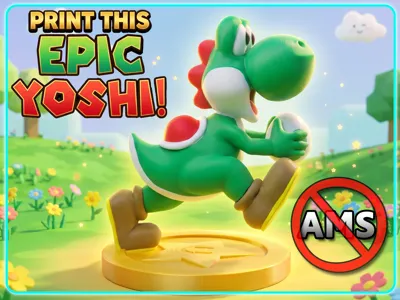
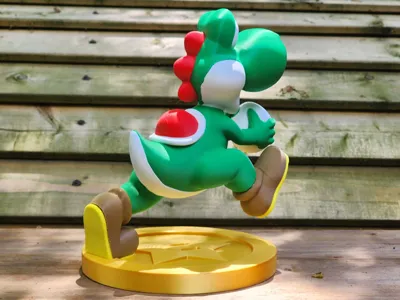
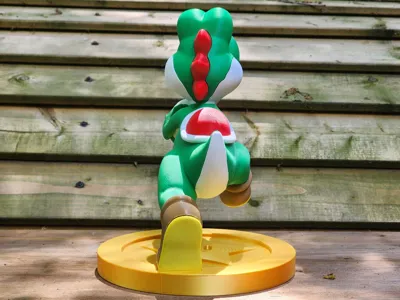
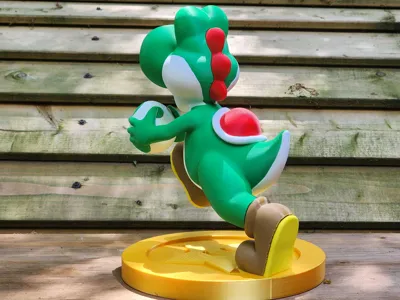
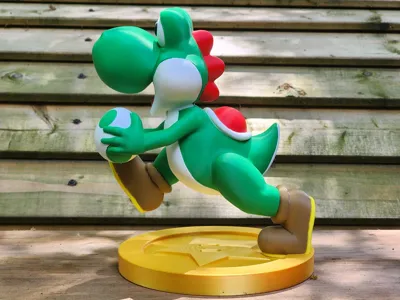
Running Yoshi with Egg - No AMS, glue required
Print Profile(2)

Bill of Materials











Description
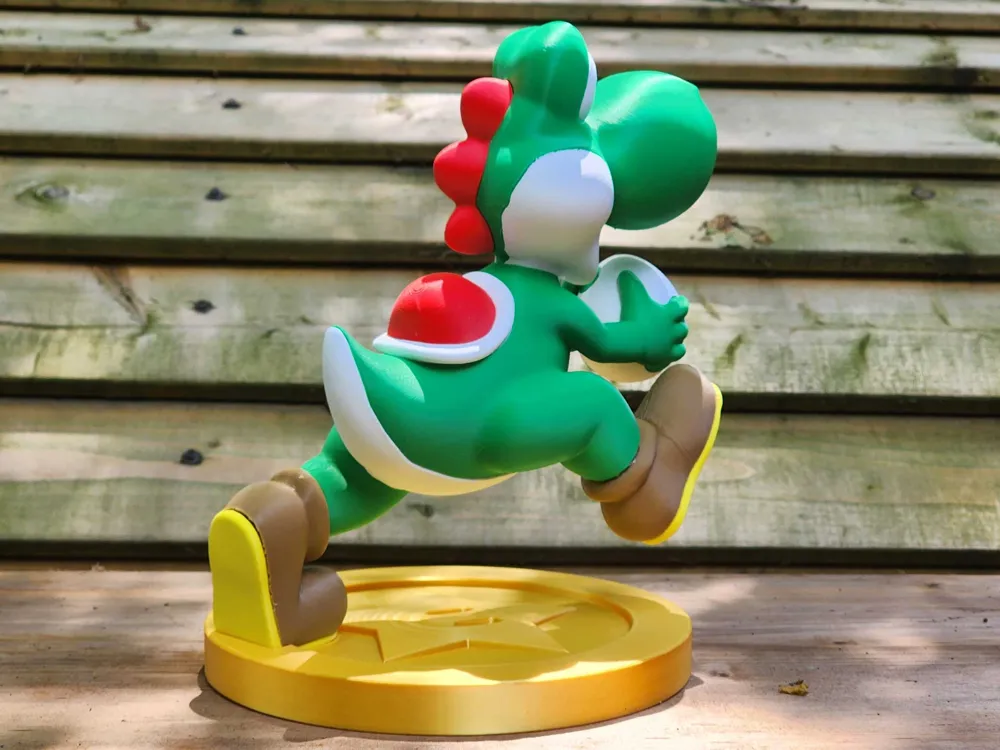
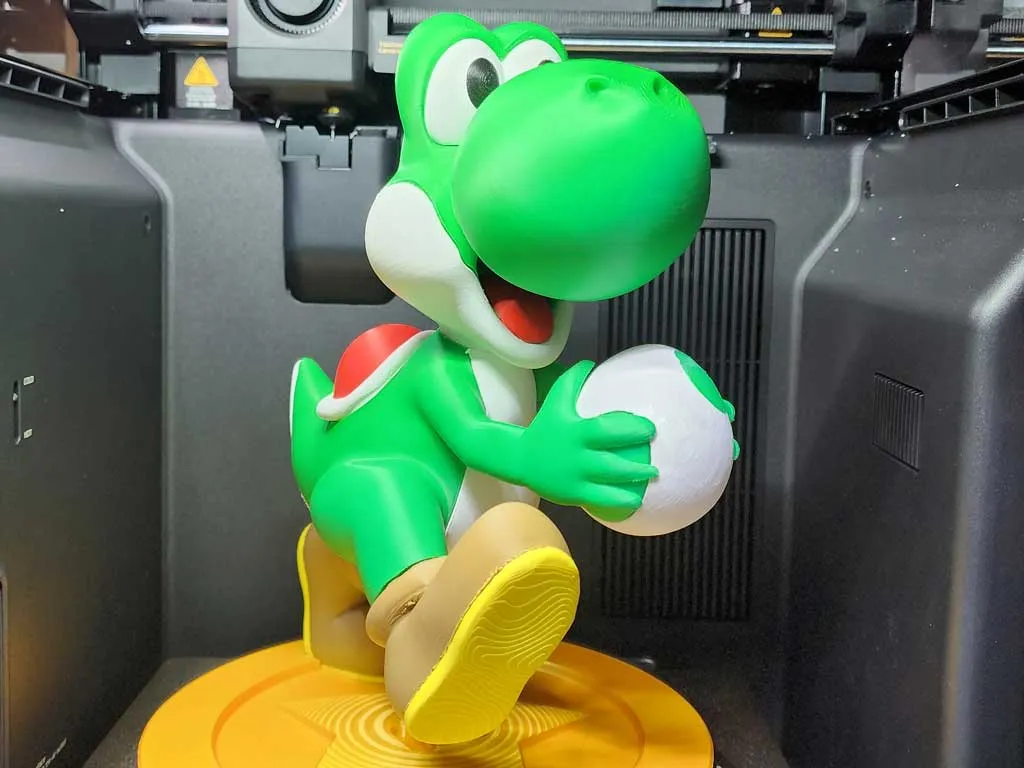
Ready for an adventure that feels straight out of the Mushroom Kingdom?
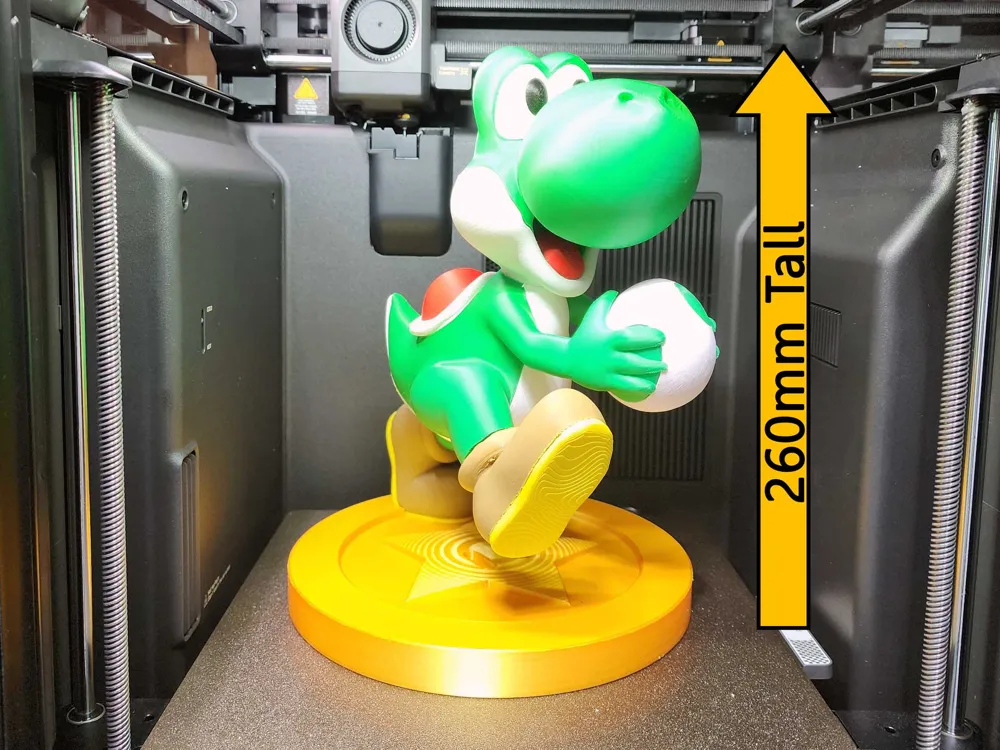
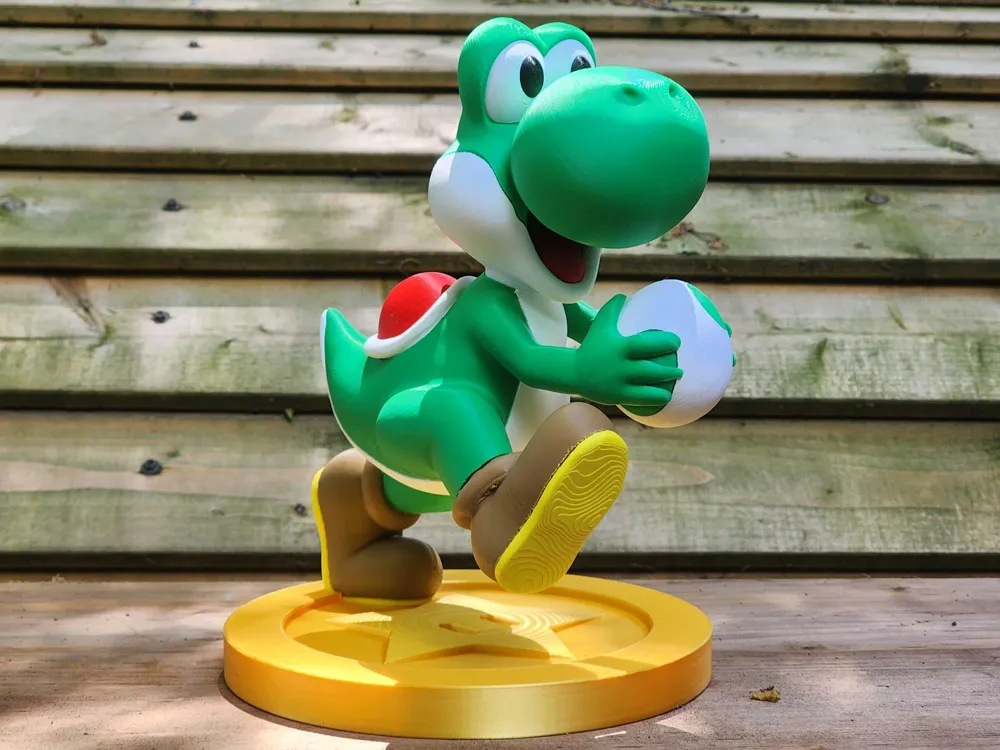
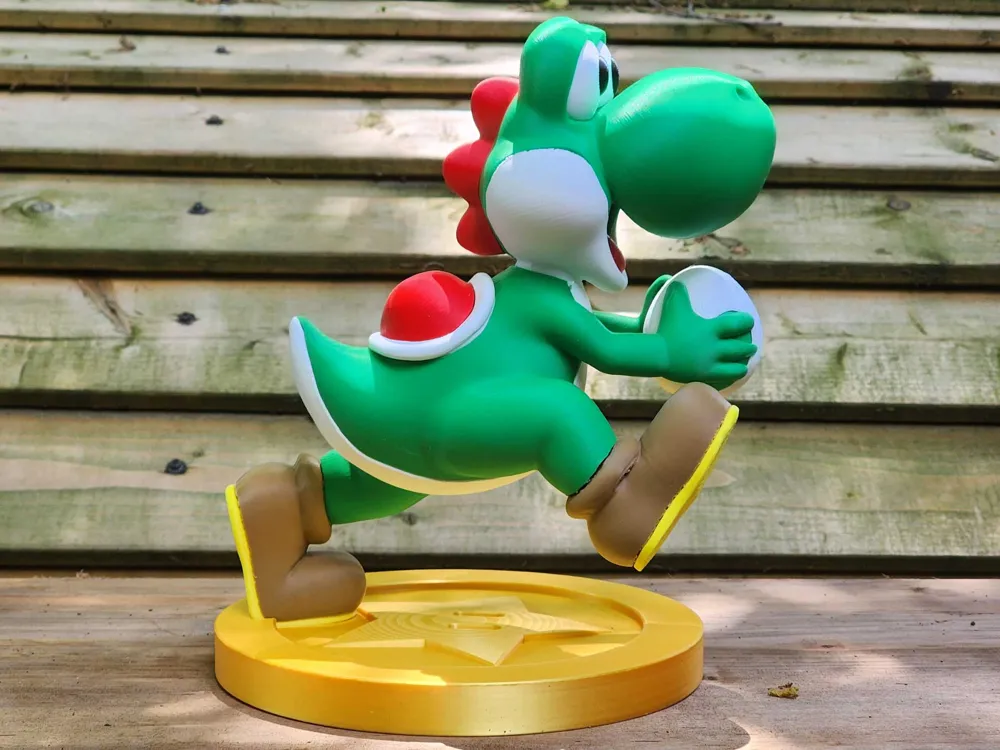
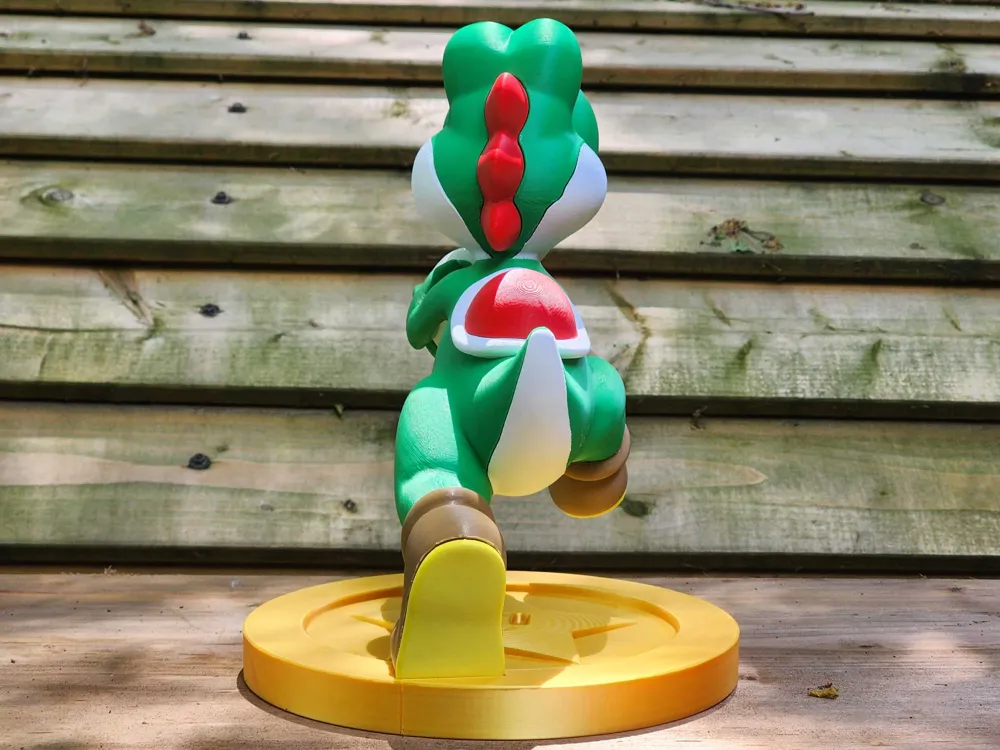
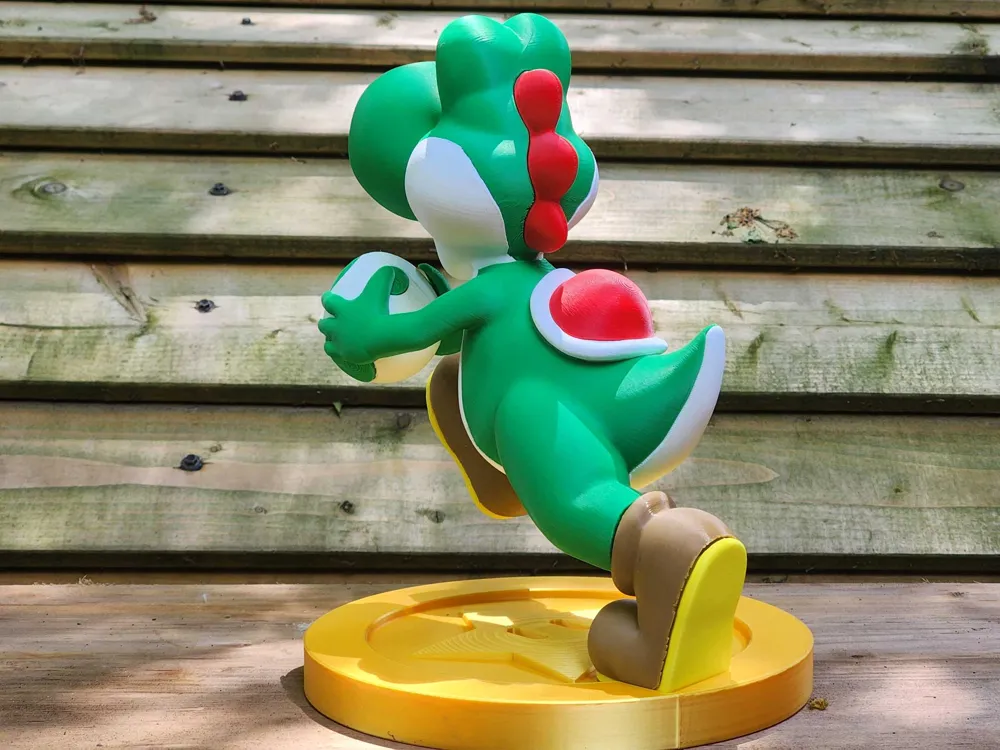
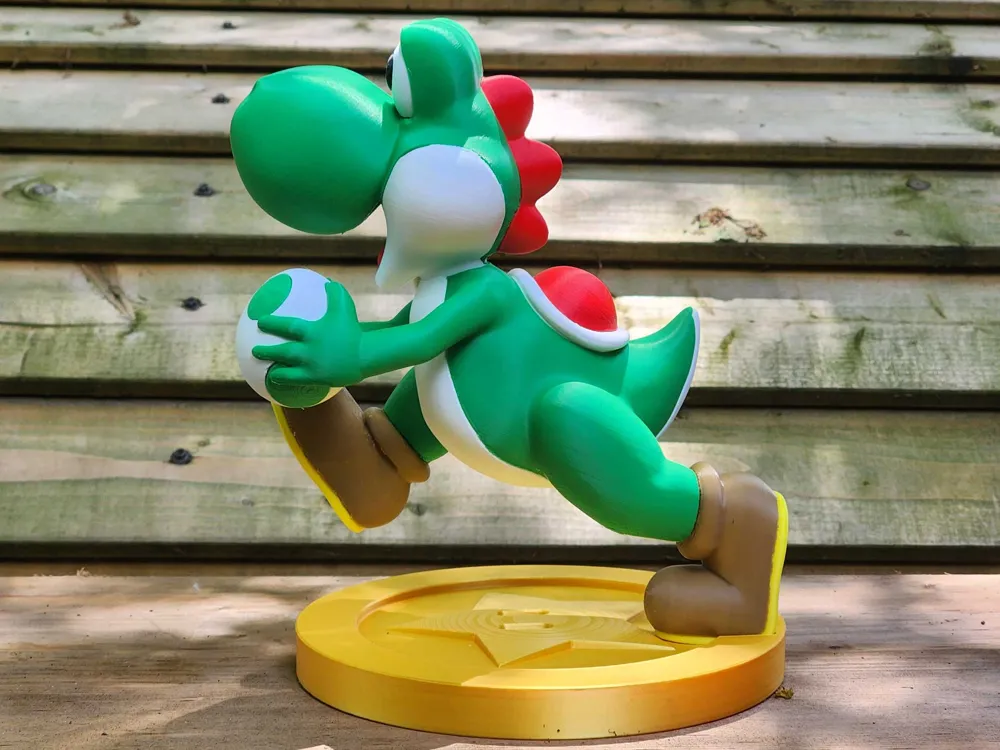
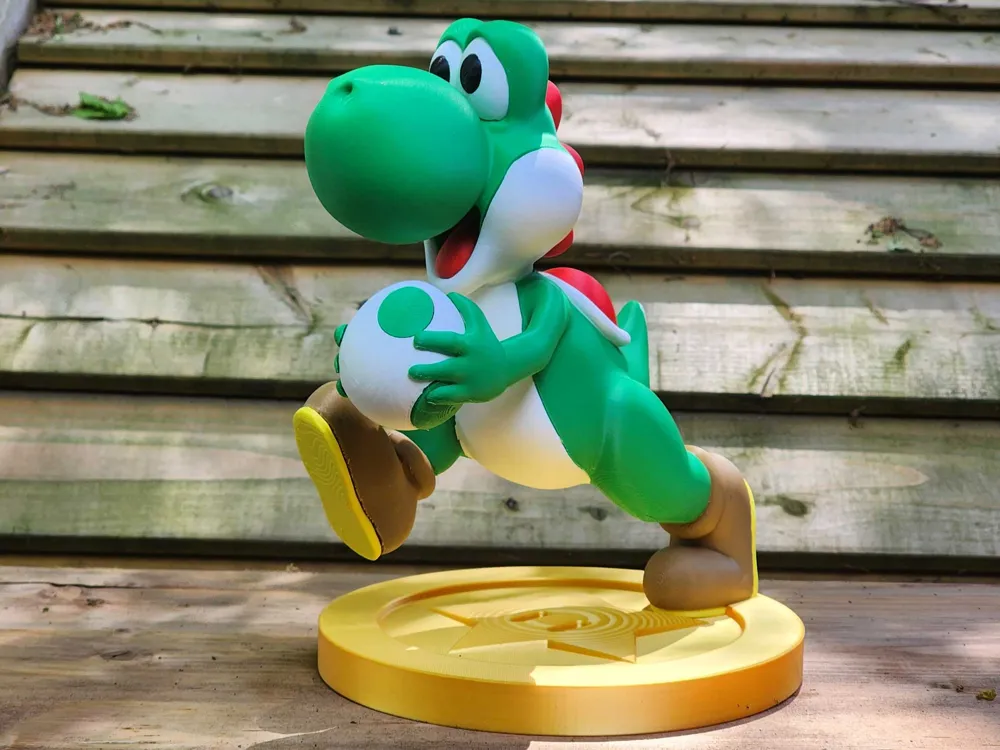
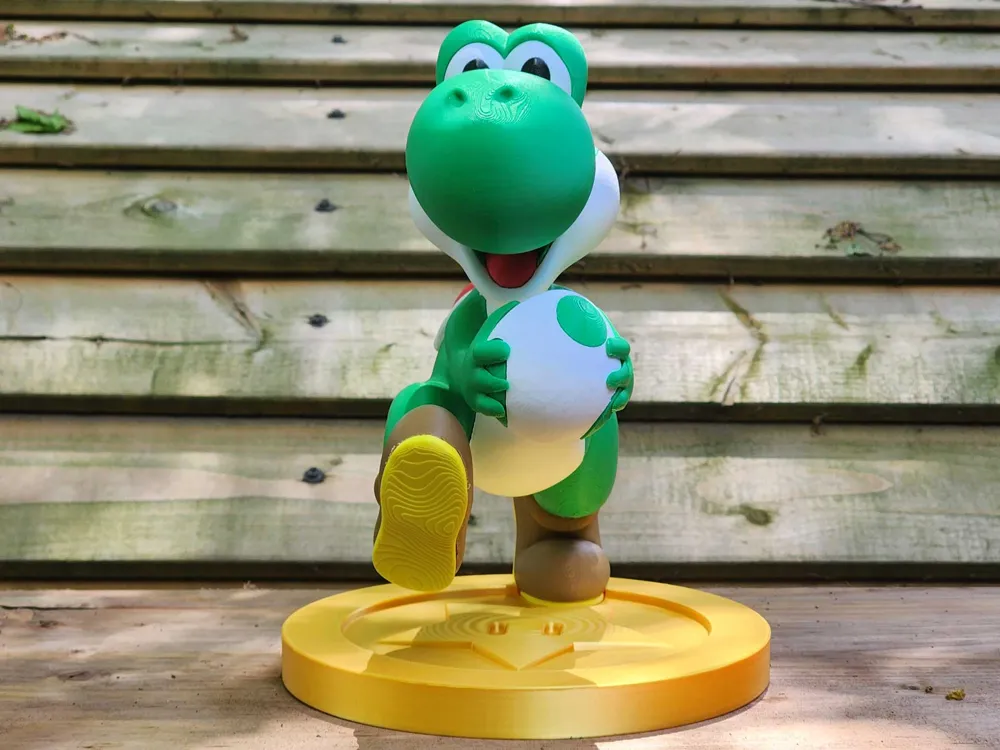
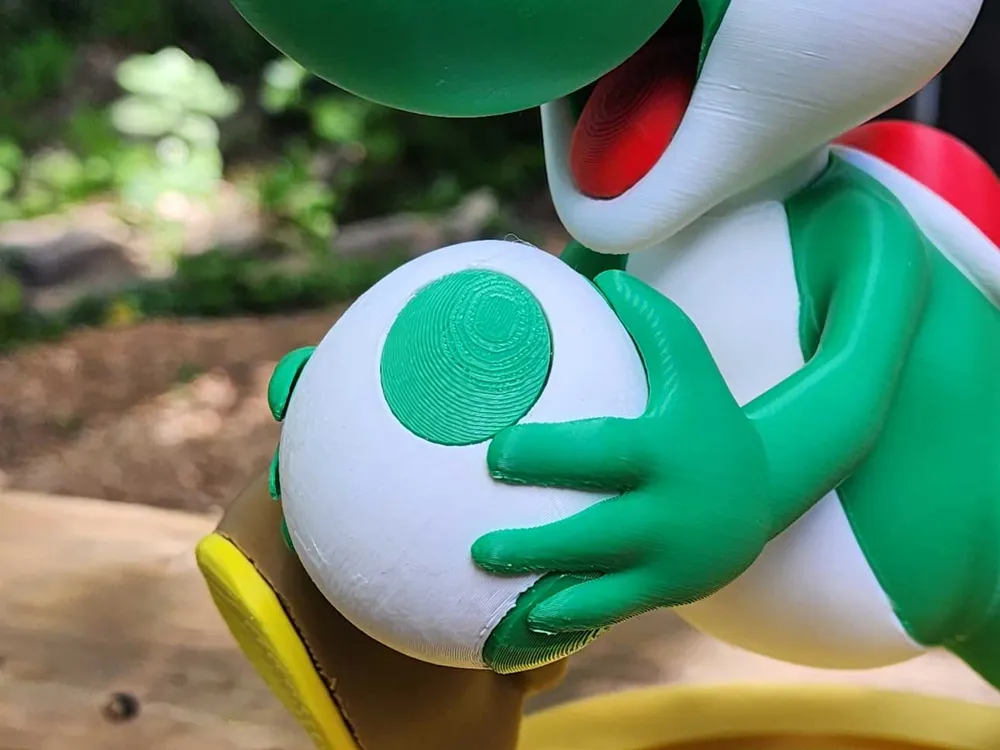
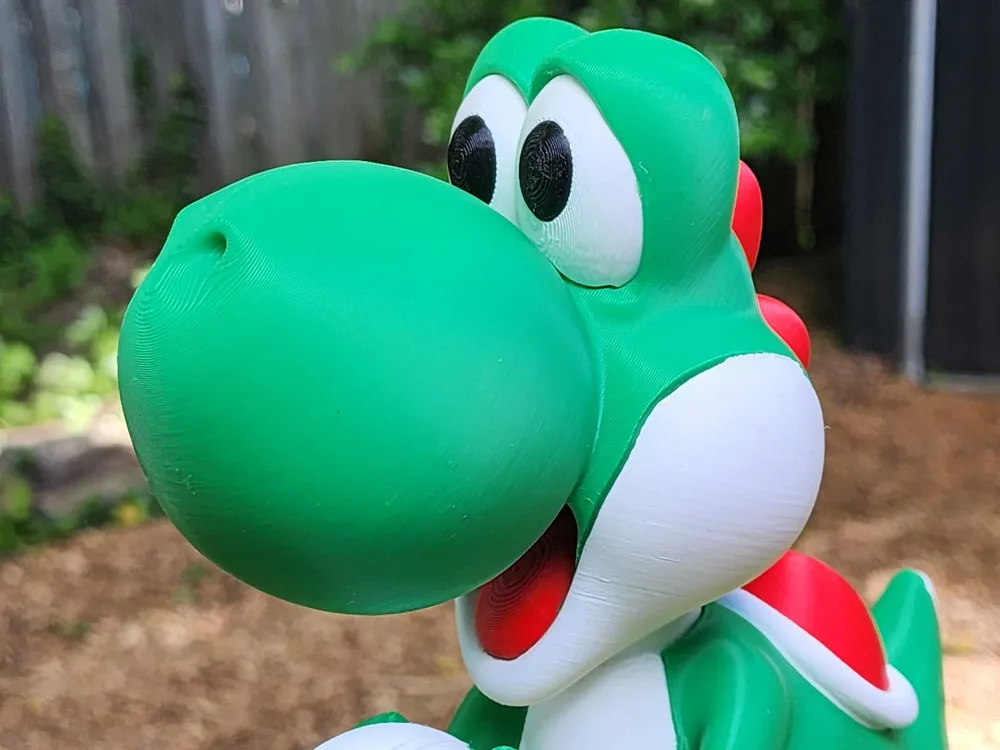
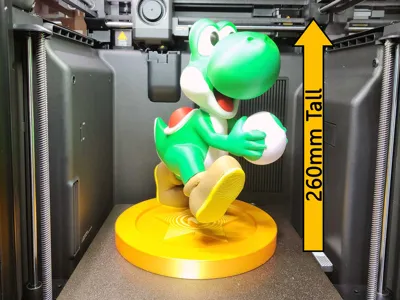
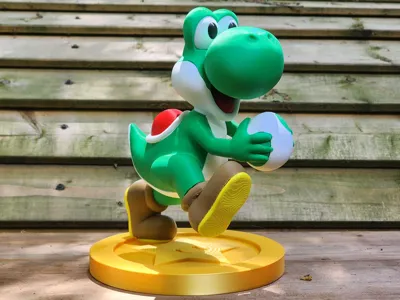
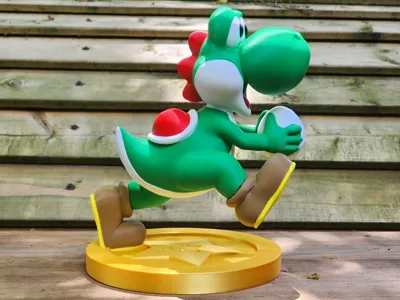
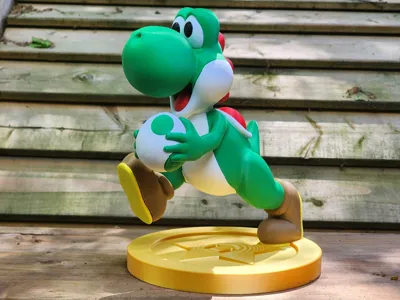
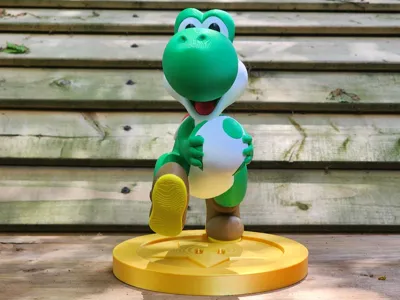
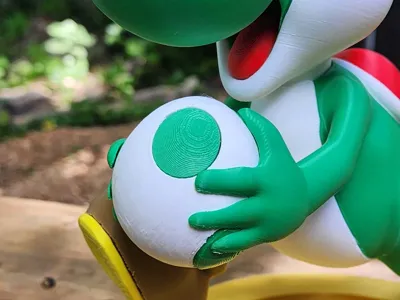
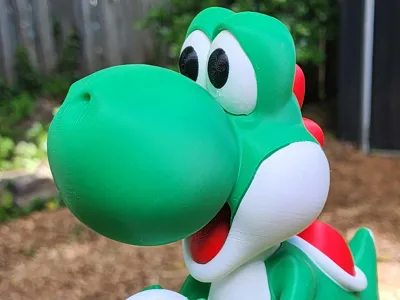
This action-packed display model captures Yoshi in mid stride, racing with an egg in hand and a determined smile on his face. Inspired by the fun, energy, and larger-than-life adventures that have made Mario and friends beloved for generations, this model looks right at home alongside your favorite gaming collectibles.
Whether you imagine Yoshi sprinting through grassy kingdoms, soaring between distant galaxies, or helping Mario save the day once again, this pose brings that classic Nintendo magic to your display shelf.
✨ Features
- Dynamic running pose full of motion and personality
- Yoshi carrying his iconic egg
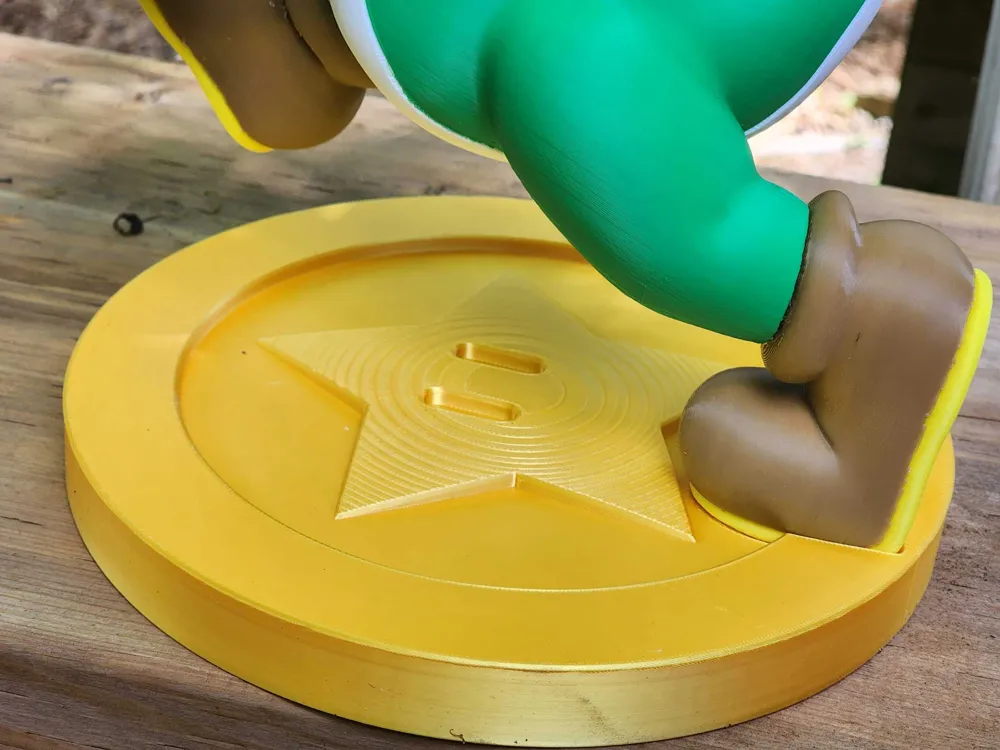
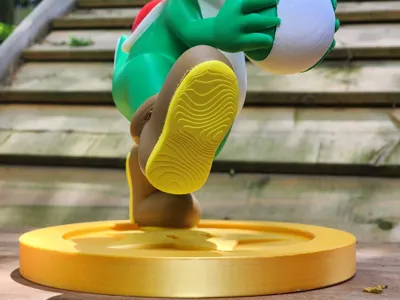
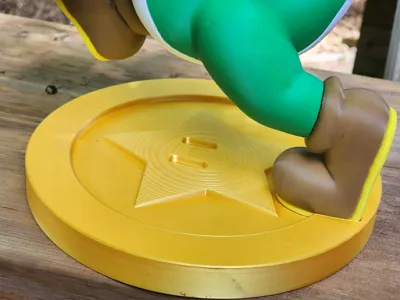
- Star coin display stand inspired by classic Mario collectibles
- Great for gaming rooms, desks, shelves, and display cases
- Perfect for painting or displaying as-is
Printing Recommendations
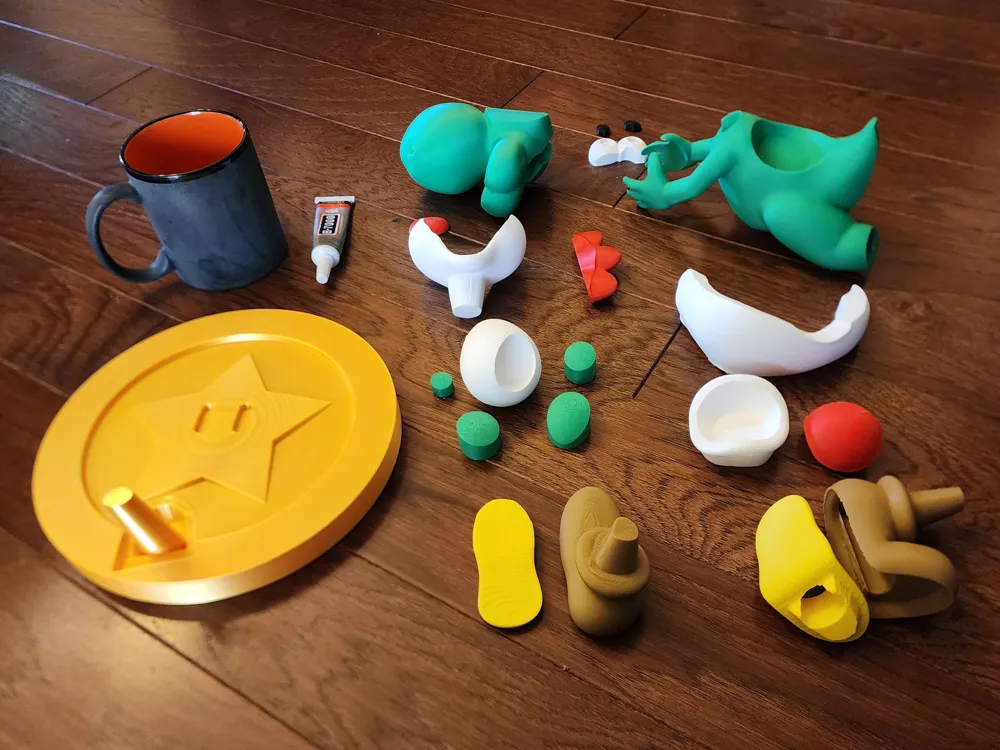
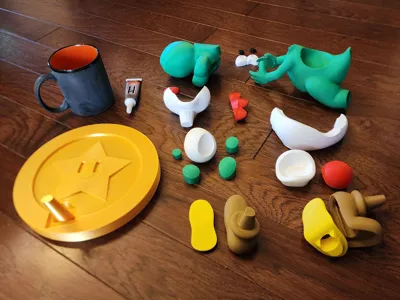
- All parts are separated by color on 8 build plates
- Use supports as set in the print profile
- Strongly recommend printing in PLA and using PETG for supports (good) OR Support for PLA filament (best). To change from one to the other go to the Supports section and toggle the Support/raft interface option as shown in the image below
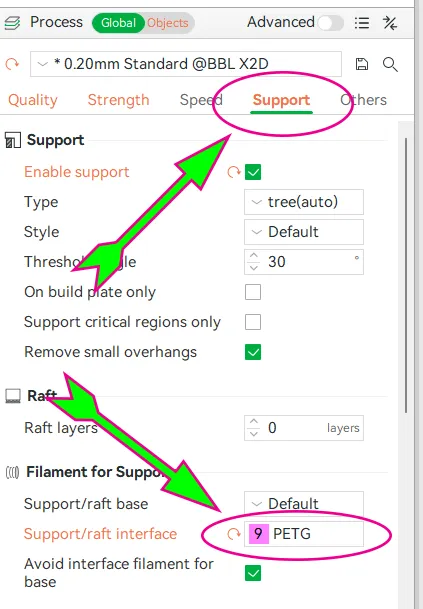
- If you don't have PETG or Support for PLA then use the PLA support print profile
- Warning the surface may have scaring when you remove the supports
🎮 Perfect For
- Nintendo fans
- Mario and Yoshi collectors
- Gaming room displays
- Gifts for retro and modern gamers
- Painting and customization enthusiasts
If this model brings a smile to your face, please consider leaving a like, rating, or photograph of your print below in the comments. I'd love to see Yoshi's next adventure in your collection!
Let's-a-go!
Glue Assembly Instructions
I started by gluing the black pupils to the white eyeballs.
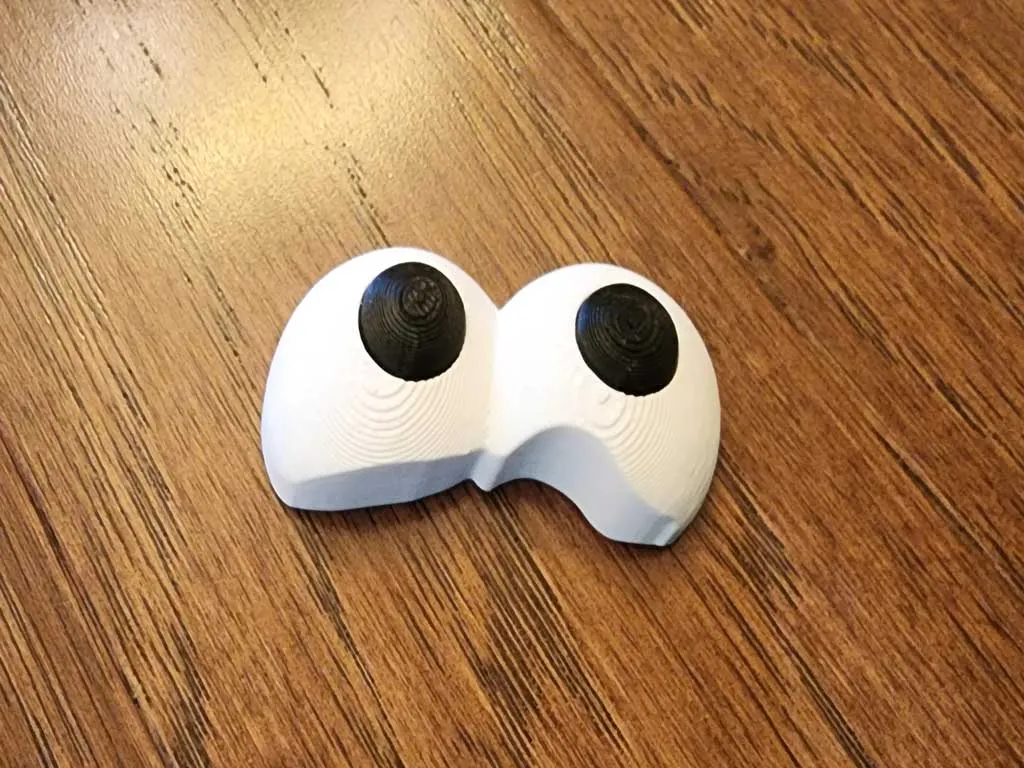
I then glued the Eyes to the Head
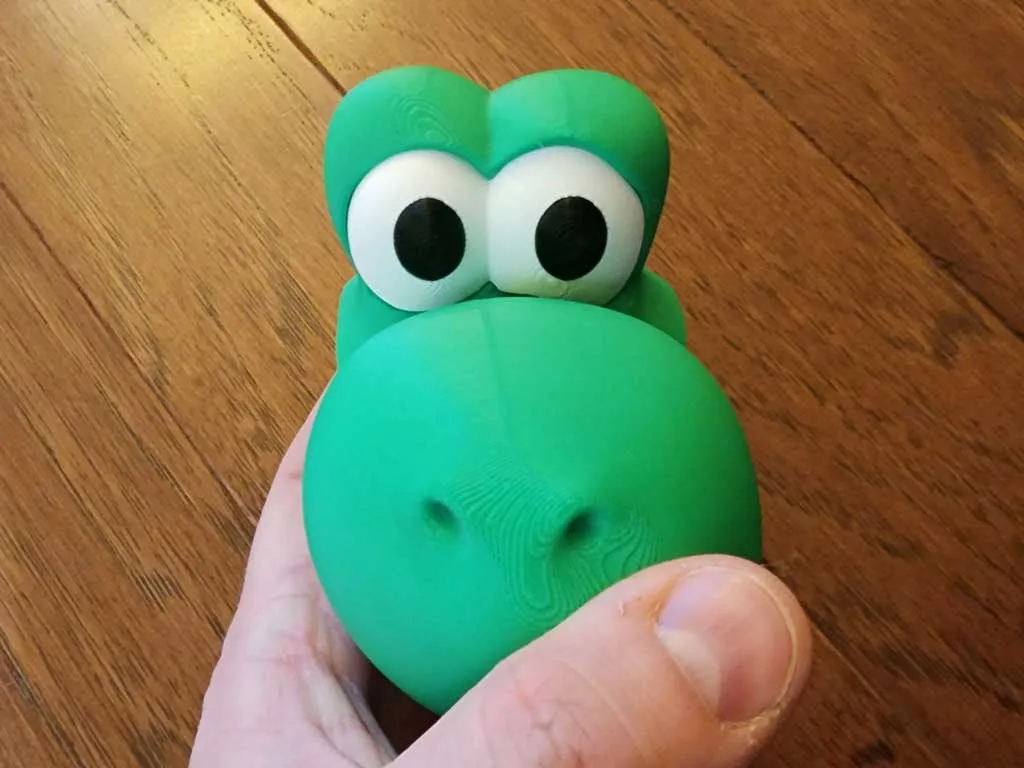
Then I glued the tongue inside Yoshi's mouth
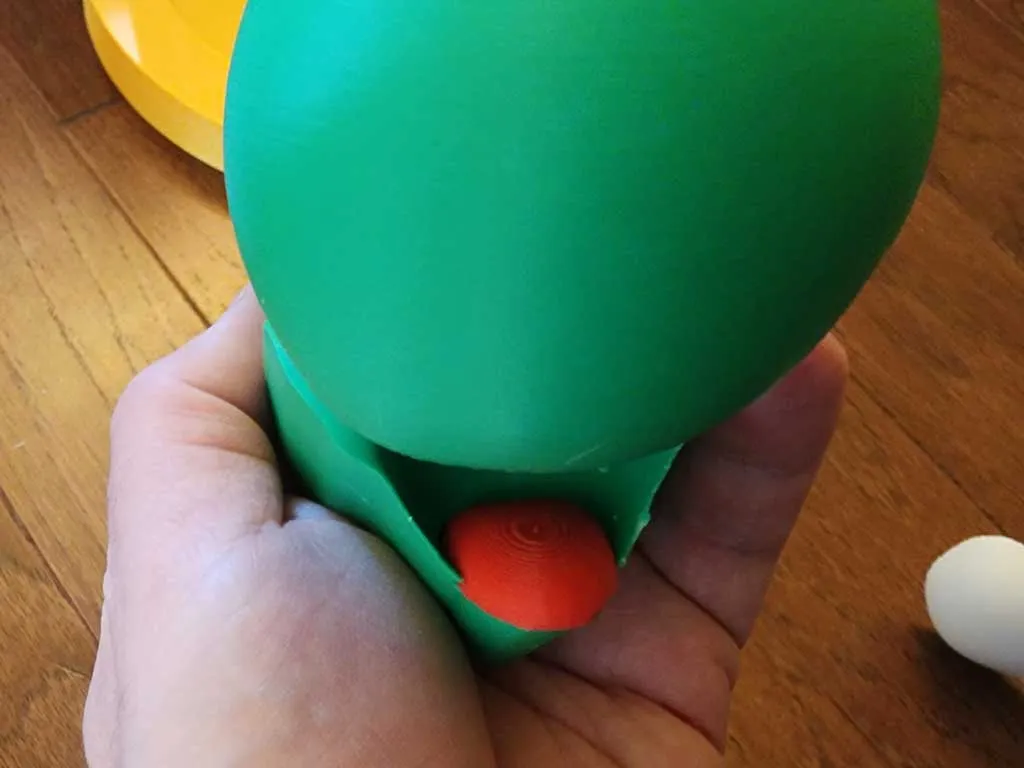
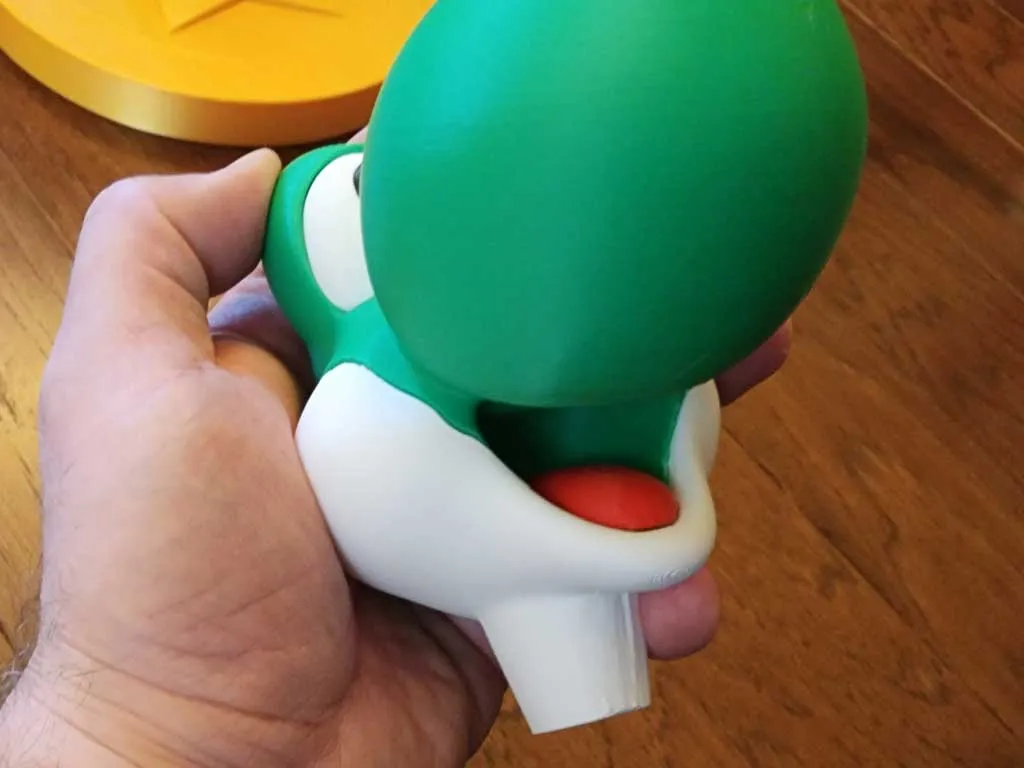
Next I glued the white cheeks and chin to the head.
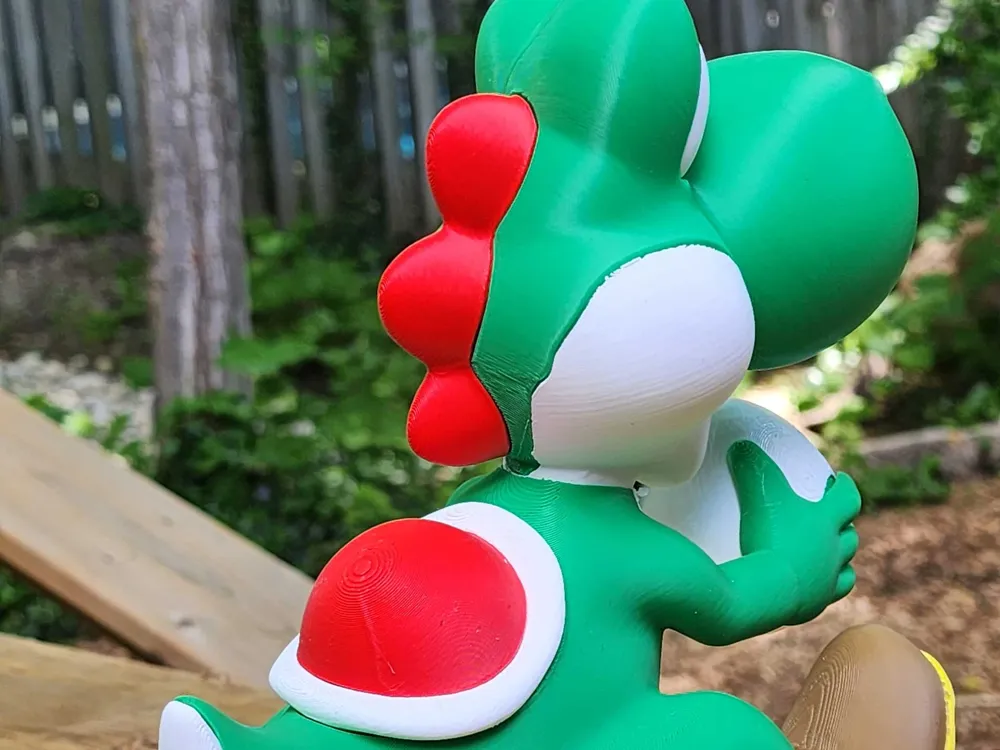
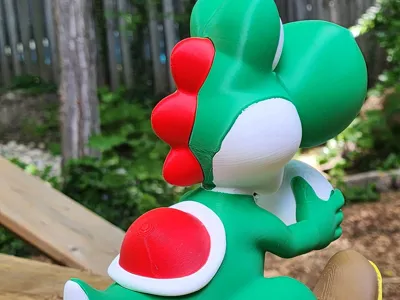
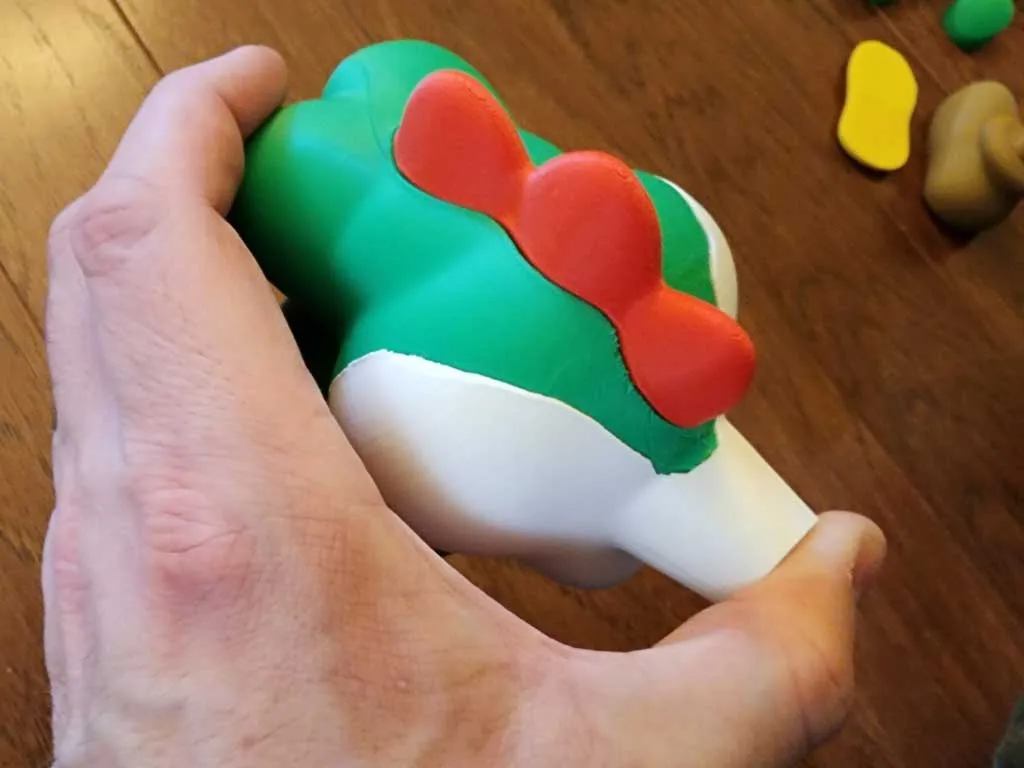
Then I glued the hair to the back of the head
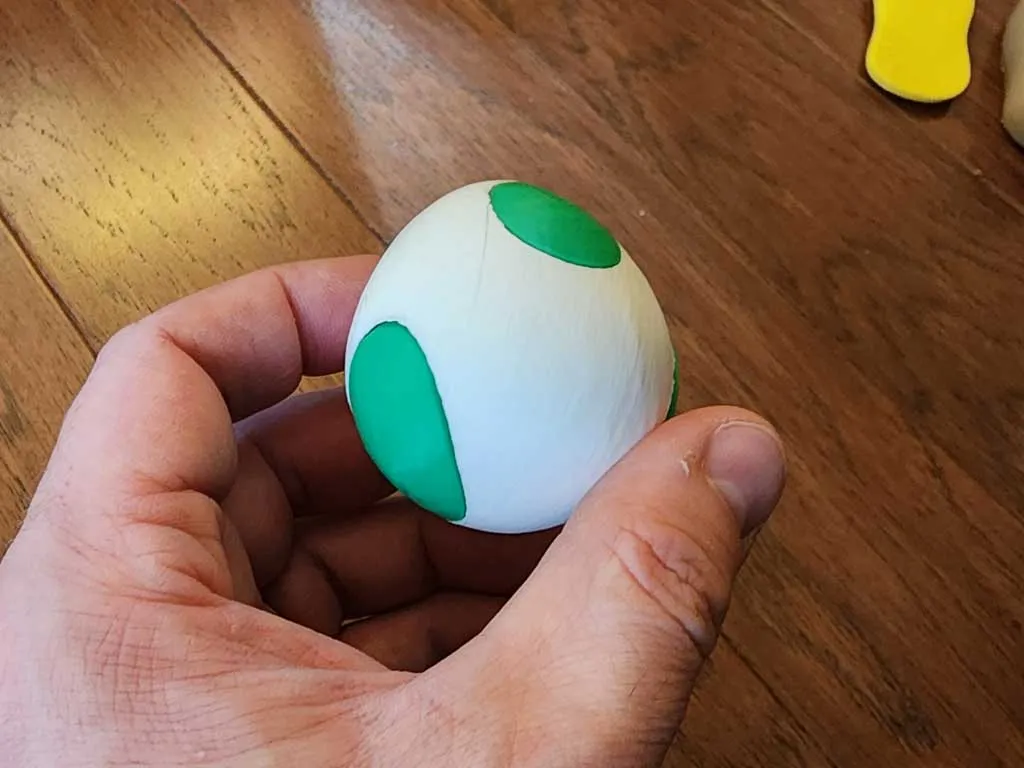
Now that the head is done, put it aside and grab the 5 egg parts. The white egg has 4 holes of different sizes that the green spots slide into.
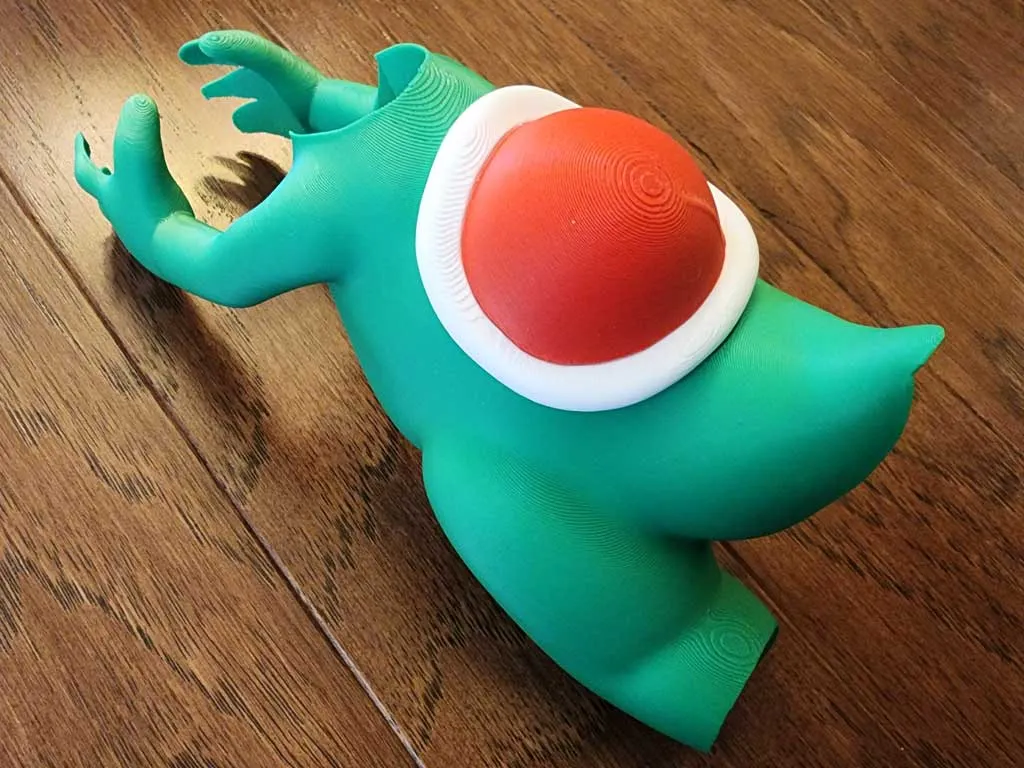
Place the completed egg to the side and now lets work on the body. First I glued the red shell to the white shell outside, and then attached shell to Yoshi's back.
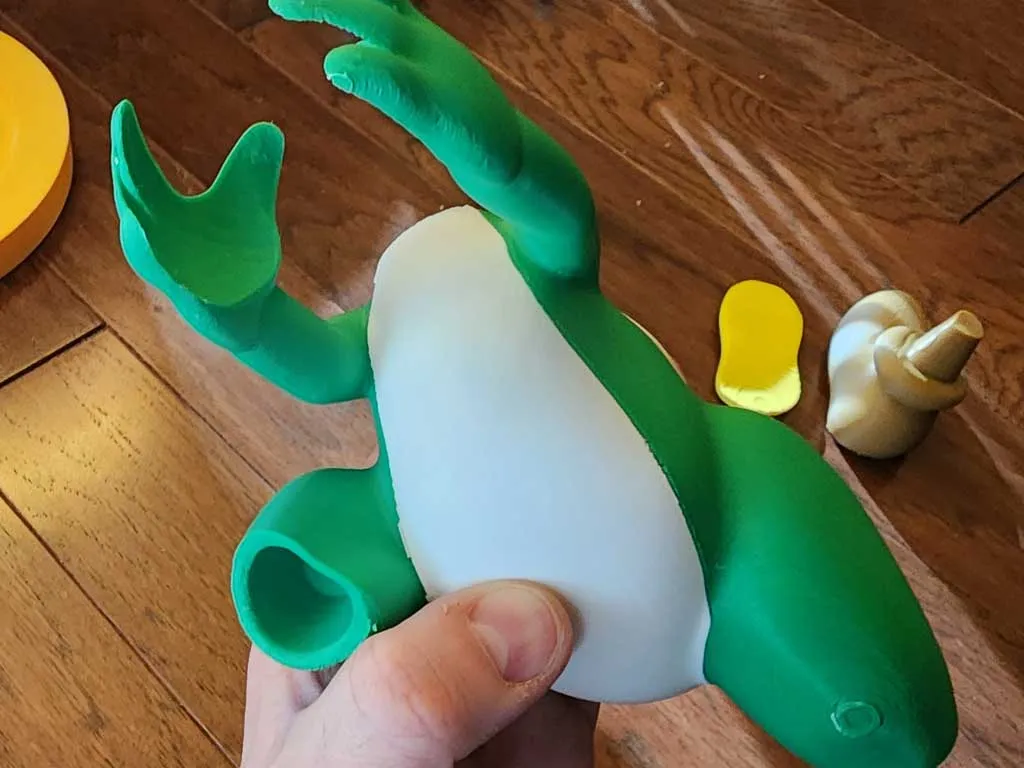
Flip the body over and glue the curved white belly piece to the front.
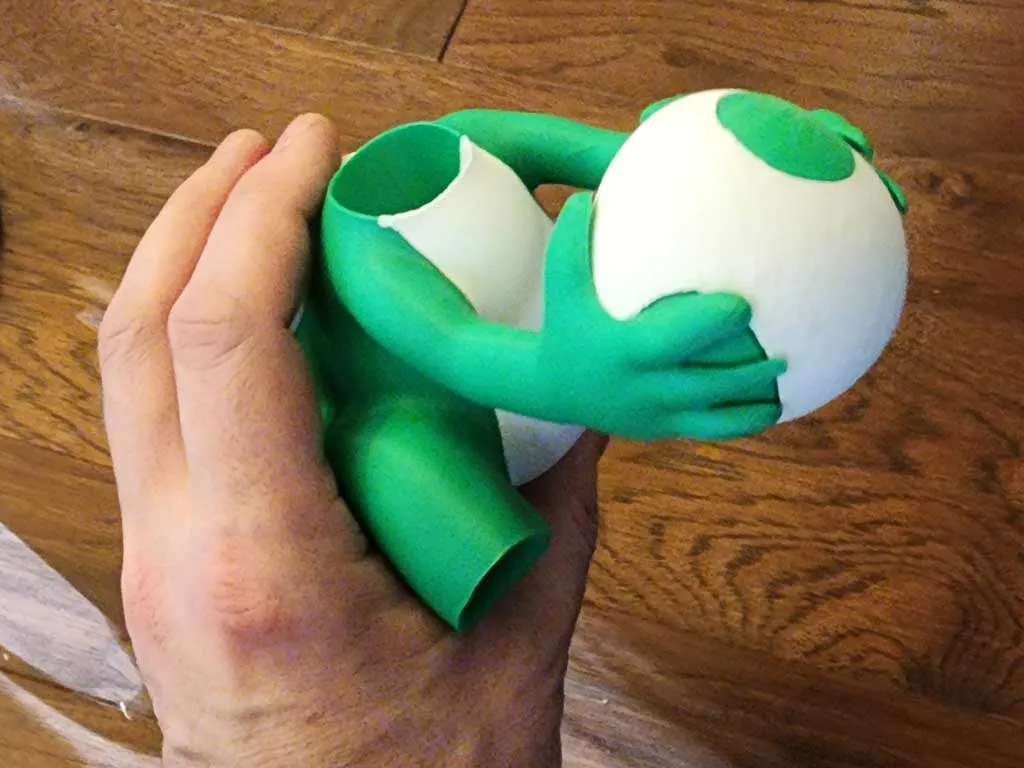
Now gently slide the egg into Yoshi's hand from below. The smaller end of the egg should be pointing up. You can rotate the egg in his hands to the desired position.
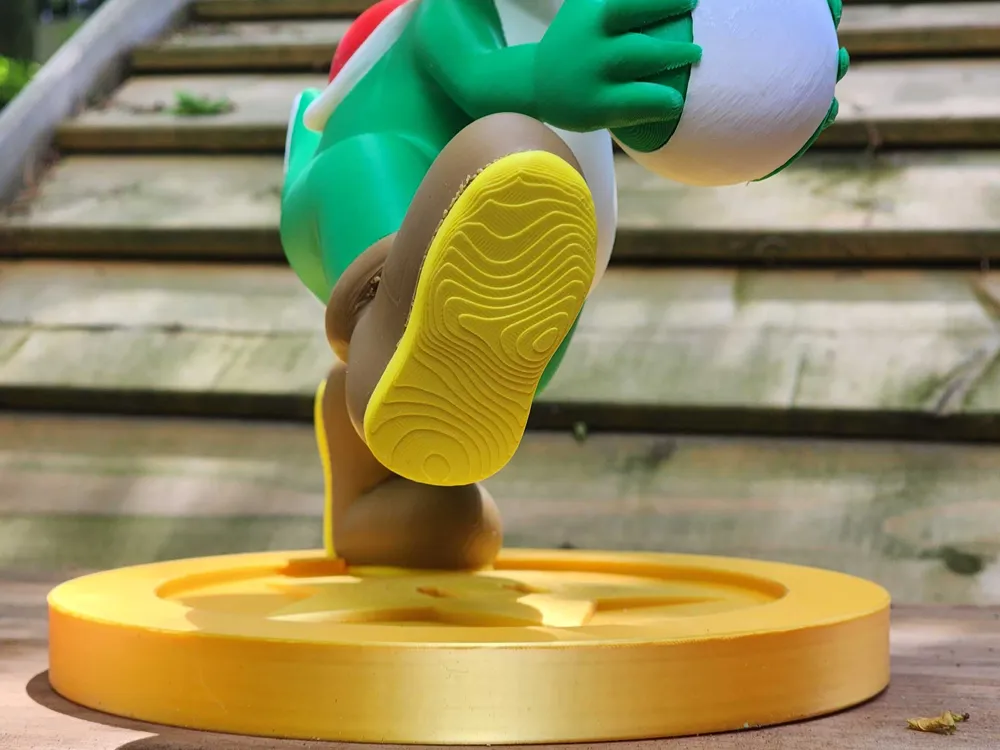
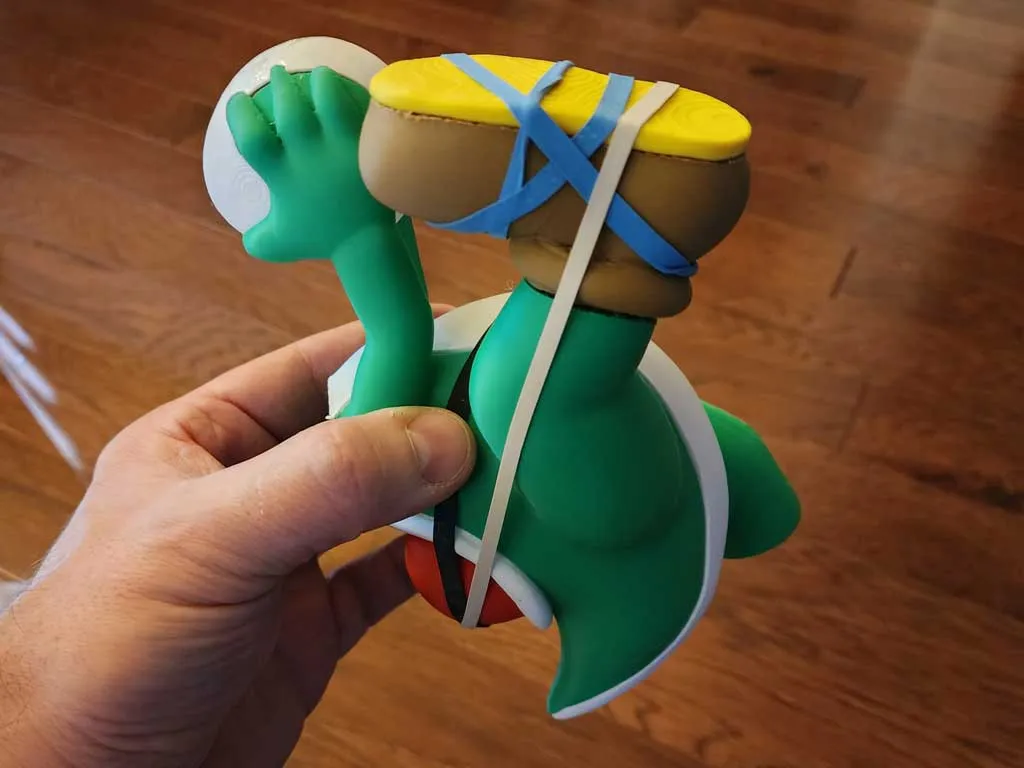
Next I attached Yoshi's right boot sole to his boot, and then glued the boot to his body. I used elastics to hold everything in place while the super glue dried.
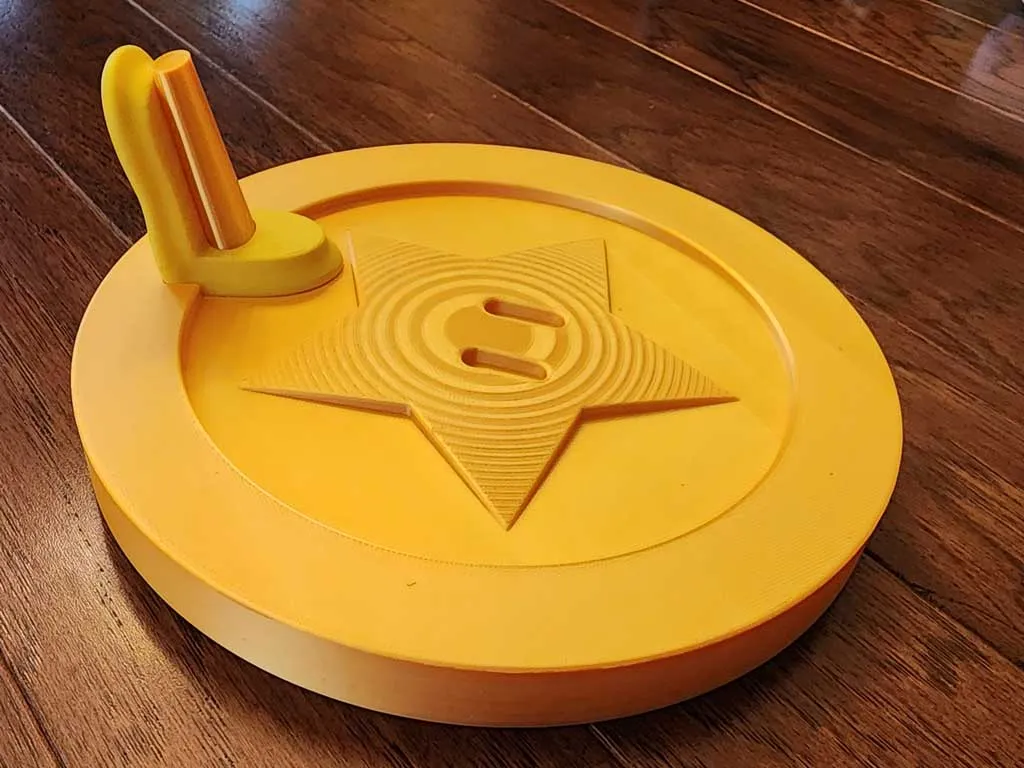
Now we can grab the star base stand and attach the other boot sole to the peg that is sticking up.
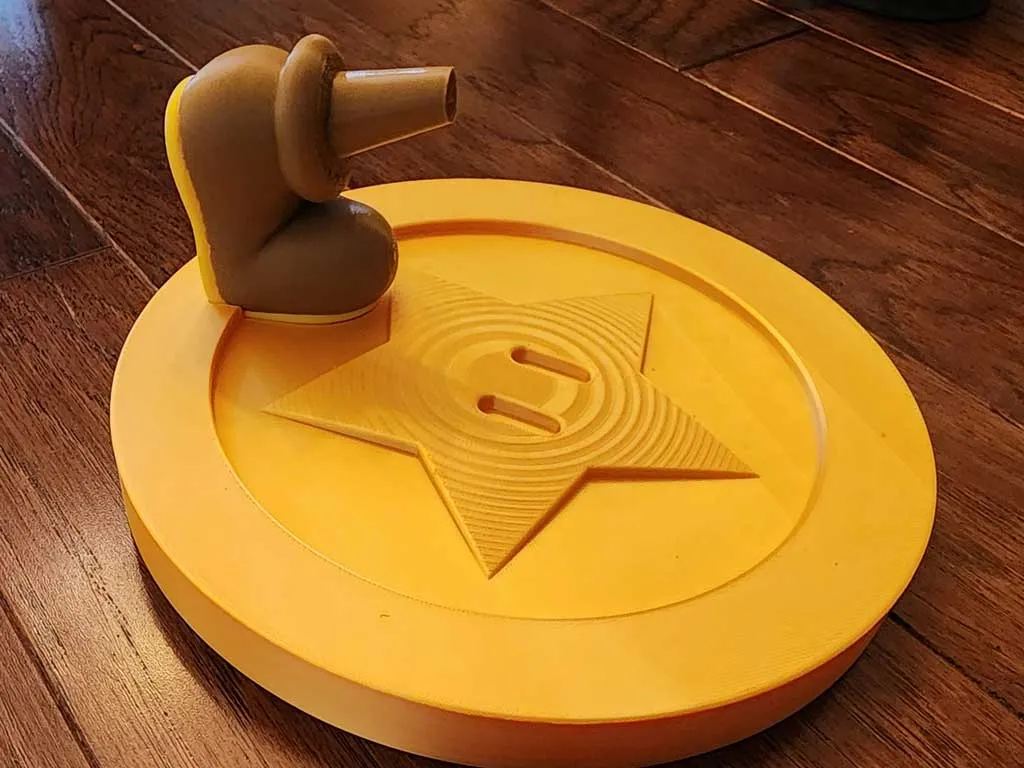
Now glue and slide the boot down onto the peg.
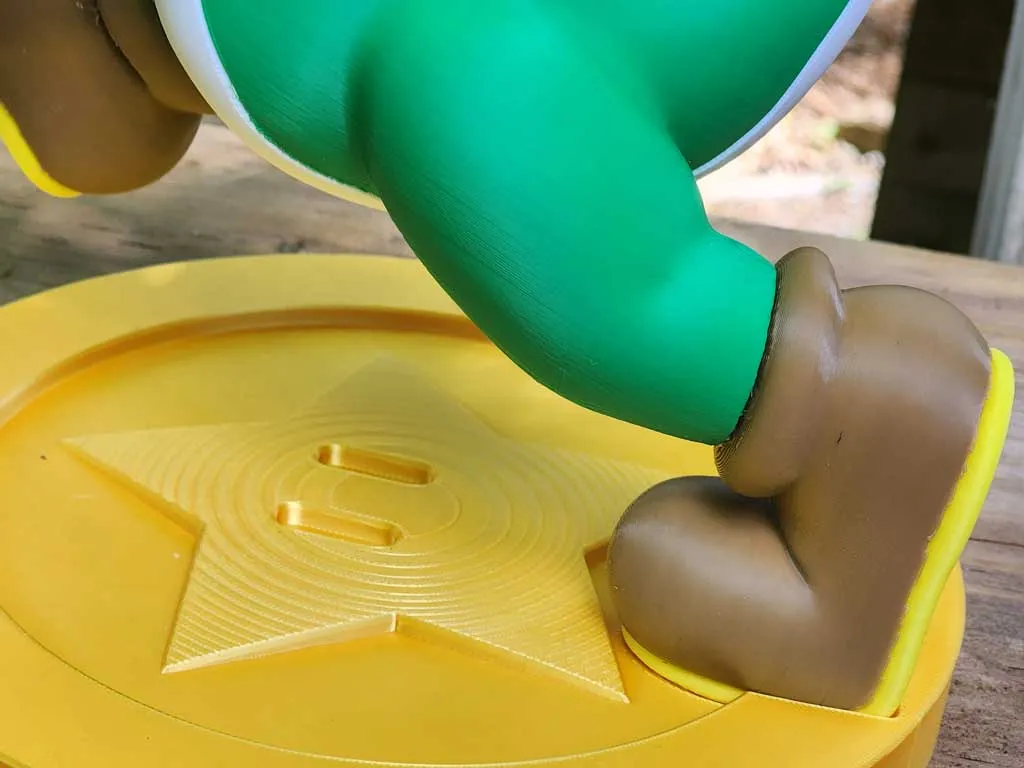
You can now glue Yoshi's body to his boot on the stand.
And to finish everything off, glue the head to the body.
License

You shall not share, sub-license, sell, rent, host, transfer, or distribute in any way the digital or 3D printed versions of this object, nor any other derivative work of this object in its digital or physical format (including - but not limited to - remixes of this object, and hosting on other digital platforms). The objects may not be used without permission in any way whatsoever in which you charge money, or collect fees.


Comment & Rating (2)