Search models, users, collections, and posts
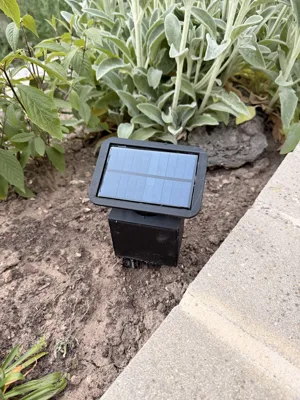
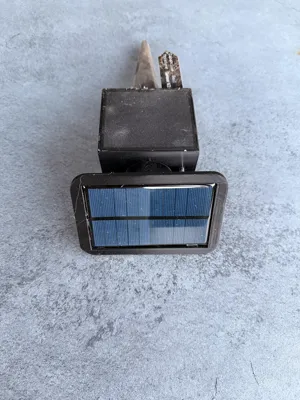
Smart Wifi Soil Moisture Sensor
IP Report


Print Profile(1)
0.2mm layer, 4 walls, 15% infill
Designer
7.2 h
1 plate
Open in Bambu Studio
Boost
2
4
0
0
2
0
Released
Bill of Materials
List other parts
- PETG Filament x 1:
- Heisskleber x 1: zur Abdichtung
- Wago Klemme 4-polig x 1: fuer GND Verteiler
- Wago Klemme 3-polig x 1: fuer 3.3V Verteiler
- 4,7k Ohm Widerstand x 1: fuer DS18B20 Pull-Up
- Solarpanel x 1: 5V 250mA, mit Kabel
- 18650 Akkuhalter x 1: Einzelzelle, mit Kabel
- 18650 Akku x 1: LG INR18650 MJ1, 3500mAh
- TP4056 Ladeplatine x 1: Type-C, mit Schutzschaltung, 1A
- DS18B20 Temperatursensor x 1: Wasserdicht, 1m Kabe
- Capacitive Soil Moisture Sensor x 1: v2.0, kapazitiv, korrosionsbestaendig
- ESP32 WROOM-32 x 1: Development Board, Type-C, WiFi+BT
Description
Content has been automatically translated.
Regarding the housing – I admit it's not my best work. But it serves its purpose, and those who aren't too picky will be happy with it.
Assembled with hot glue, yes, I know – the downside is that you can't access it later. That's just how it is. 😄
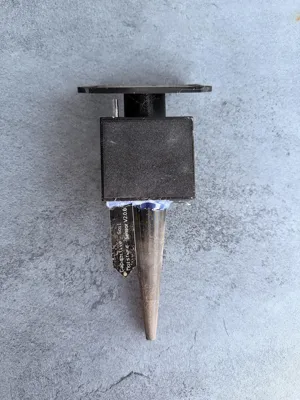
Another tip: The ground stake turned out a bit too large, so you'll need plenty of hot glue to secure it.
Components used:
- 18650 battery
- ESP32
- Temperature sensor
- TP4056 charging board for the battery
- Small PV panel (solar cell)
All parts are listed again in the enclosed instructions.
Note: The instructions were originally intended for a slightly different device – but you'll manage. 😊
If you have any questions, just ask!
Documentation (1)
Assembly Guide (1)
Bodenfeuchtigkeitssensor_Dokumentation.pdf
License
This user content is licensed under a
Creative Commons Attribution-Noncommercial-Share Alike
Comment & Rating (0)