
Print Profile(2)
Description
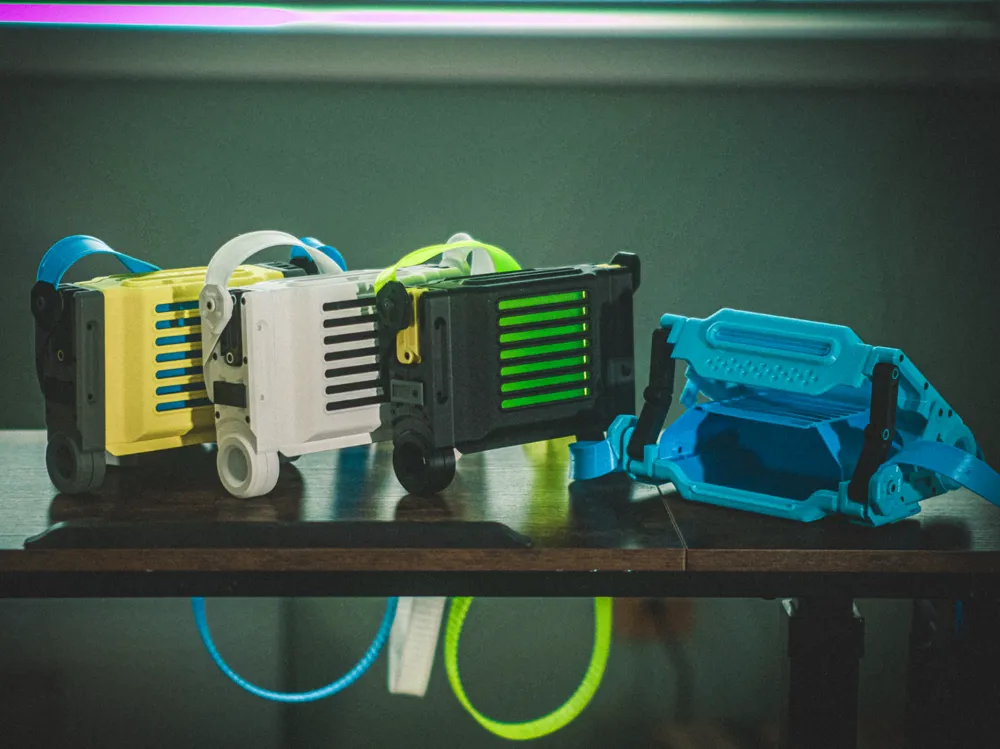
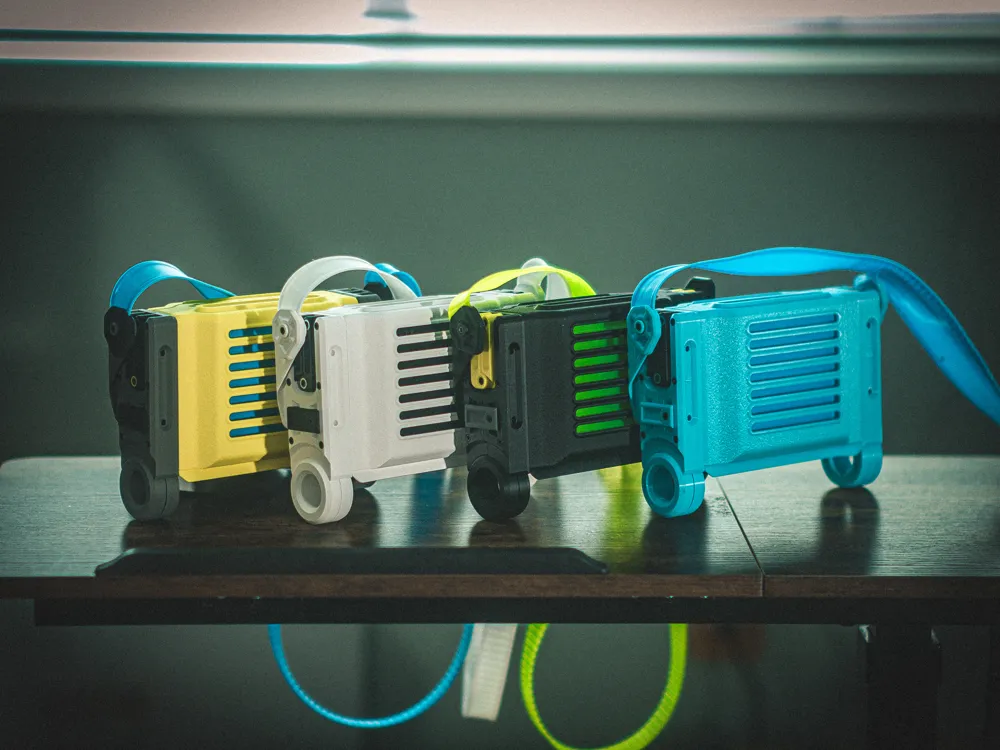
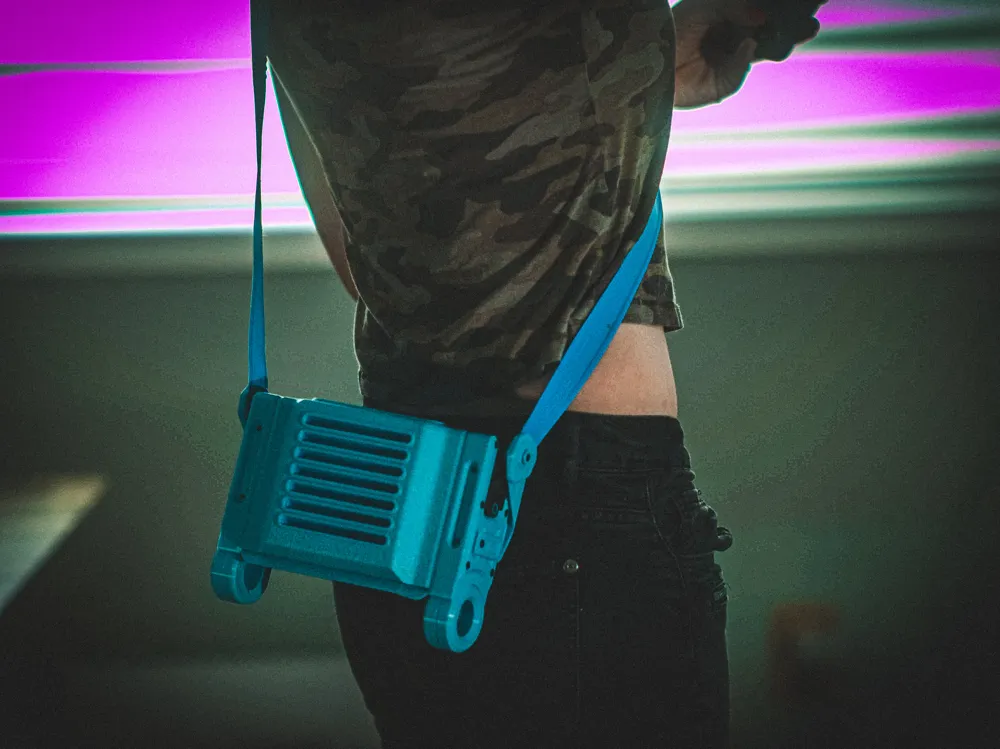
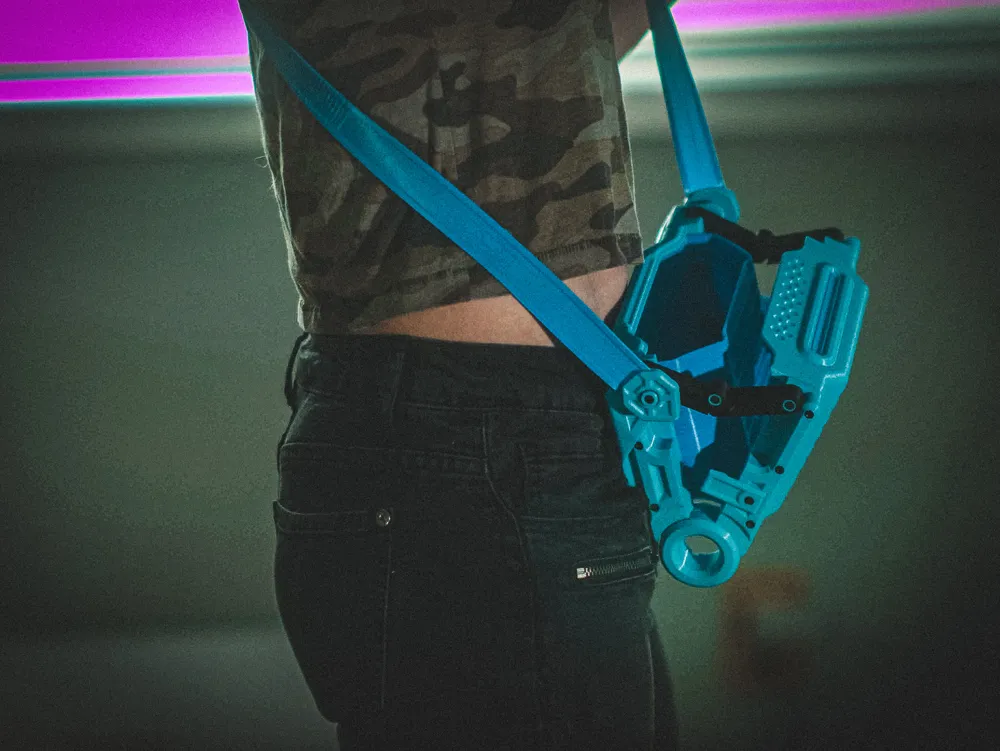
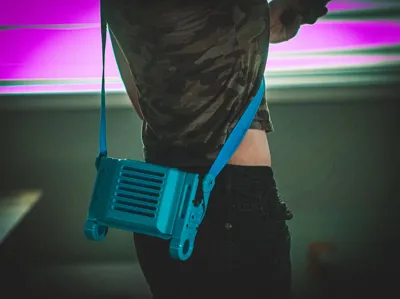
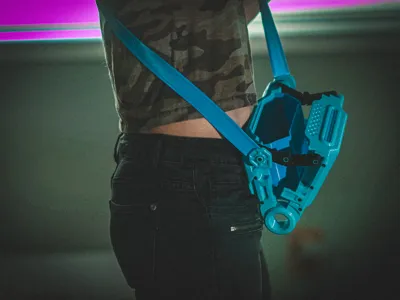
A compact hard-shell carry system designed for the overlap between cyberpunk aesthetics and real-world functionality.
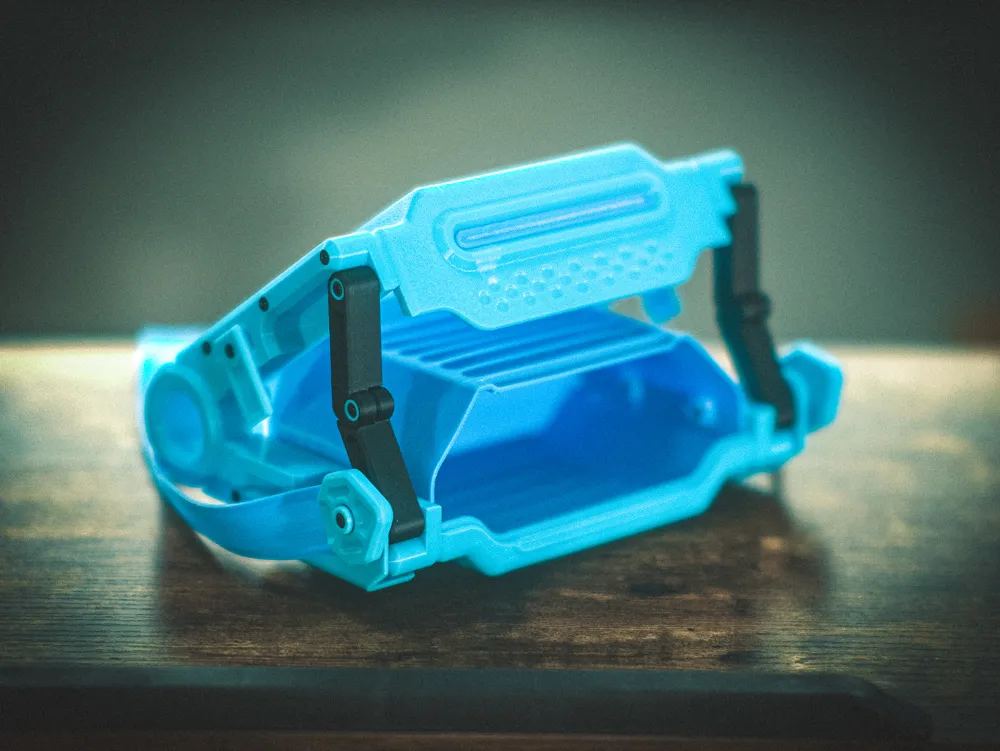
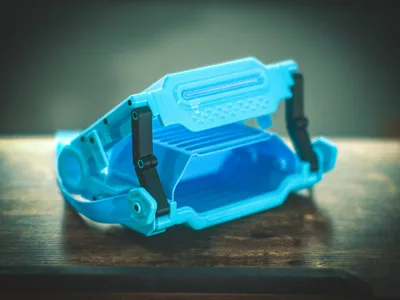
The CUCU156 was built from the ground up specifically for FDM 3D printing, with every panel sized to fit smaller printers like the A1 Mini while still assembling into a rigid, premium-feeling container. The shell uses print-in-place hinges with integrated strut arms that control opening motion and prevent the lid from flopping backward. Embedded magnets hold the case open with just enough force to feel satisfying while remaining easy to close.
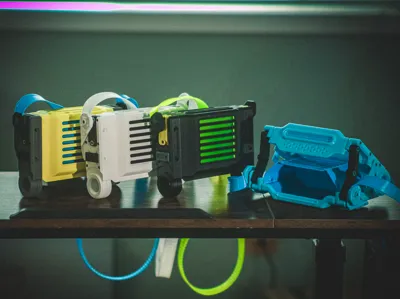
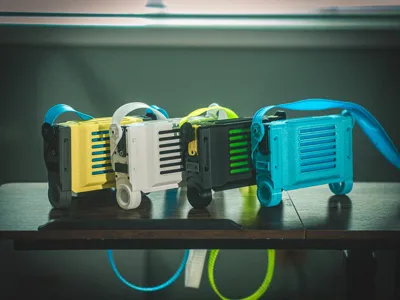
The outer shell is rigid and protective, while the TPU inner liner dampens noise, protects contents, and adds customizable color accents visible through the vented side slots. Different filament combinations completely change the personality of the bag — from clean industrial minimalism to full neon cyberpunk energy.
Features:
- Print-in-place articulated hinges
- Integrated opening limit struts
- Magnetic closure + magnetic open retention
- TPU liner system for impact/noise damping
- Modular multi-part construction optimized for small printers
- Clean exterior surfaces designed for customization, decals, paint, or embossed text
- Designed in Fusion 360
The name “CUCU156” stands for: Compact Urban Container Unit - 156mm
Less like a purse and more like equipment.
This project took months of iteration, prototyping, failed prints, redesigns, and tuning to get the mechanisms feeling right. The goal was to create something that looks futuristic and stylized without sacrificing practicality or printability.If you build one, I would genuinely love to see your color combinations and modifications. Push it further. Make it yours.
Parts List and Instructions
- Qty:4 - 6x2mm Magnets (optional for soft hold-open feature)
- Strut plate print will pause midway for magnet insertion.
- Put the magnets in the two struts on the left in the same orientation.
- Flip the magnet stack, and insert them into the two struts on the right.
- Qty: 34 - M3 Threaded Inserts (I use the ruthex m3 inserts from Amazon)
- Install into the small holes on the case sides and hinge sides.
- Use a flush installation tool or lightly sand the surface after installation for a good fitup.
- Qty: 12 - M3x25mm socket head cap bolts
- Bolt case top and case bottom to the inside faces of the hinges.
- Qty: 4 - M3x4mm socket head cap bolts
- Bolt the liner to the inside faces of the hinges.
- Press the flat tpu liner into the opening in the case top, no hardware needed.
- Qty: 6 - M3x8mm socket head cap bolts
- Bolt the latches to hinge sides.
- Bolt the strut arms together using the printed short bushings.
- Cut the strap with scissors to desired length and insert into strap end until holes align. bolt the strap pivot thru the strap end/strap to the strap strut.
- Qty: 4 - M3x16mm socket head cap bolts
- Bolt the strut arms to the hinges using the printed long bushings.
License

You may create derivative works based on this object, provided that all such derivative works are published exclusively on the MakerWorld platform and include proper attribution to the original creator. You may not share, upload, host, distribute, or publish this object—or any derivative work of this object—on any other digital platform, marketplace, or distribution channel. Commercial use of this object and any derivative works is strictly prohibited. This includes, but is not limited to, selling, renting, sublicensing, or using the object in any context in which you receive monetary compensation or other financial benefits.


Comment & Rating (0)