Laser Target – Interlocking & Modular Target Stand


Print Profile(3)

Description
Boost Me (for free)
Boost me!
Laser Target – Interlocking & Modular Target Stand
Looking for a fun, durable, and highly visible target to practice your aim? Whether you are zeroing in a laser training pistol, running airsoft drills, firing Nerf darts, or just playing target games with the kids, the Laser Target is the perfect addition to your range setup.
Designed with simplicity and functionality in mind, this target features a smart, toolless assembly that prints beautifully and stands rock-solid.
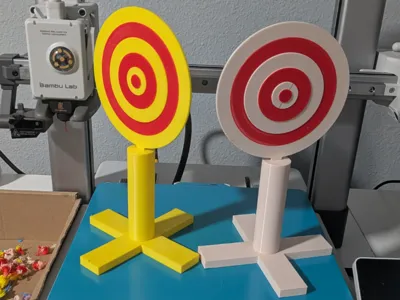
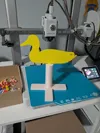
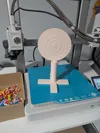
There are three designs! The first is AMS of a target. The second is No-AMS of a target. The third is No-AMS of a duck!
Key Design Features
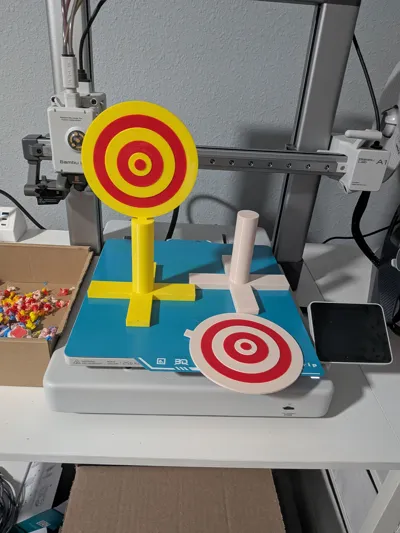
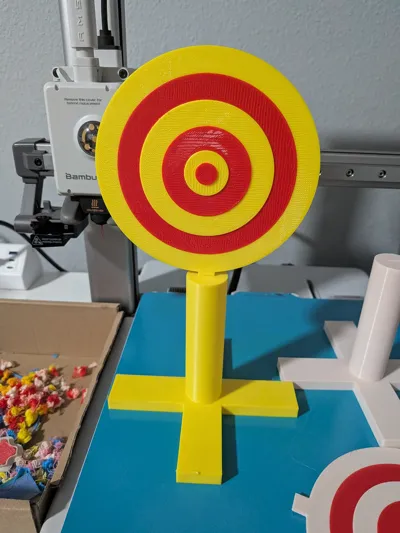
- Two-Piece Interlocking Design: The target face has a connector tab that slides into the matching slot on the cross-base stand. It securely locks into place for steady practice but easily detaches for flat-pack storage and transport.
- High-Visibility Bullseye: The concentric ring pattern is designed to catch your eye instantly from a distance, making it incredibly satisfying to sight in your target.
- Excellent Stability: The wide, low-profile cross base ensures the target remains upright on flat surfaces.
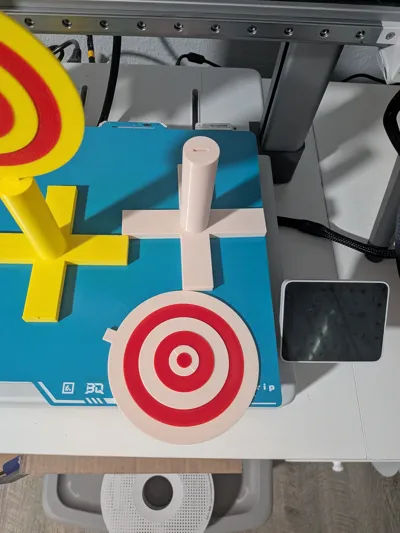
- Zero Supports Required: Optimized strictly for 3D printing. Both components are oriented to print completely flat on the build plate without needing a single gram of wasted support material.
Print Settings & Recommendations
- Printer: Optimized for multi-color systems (like the Bambu Lab A1 or X1/P1 series with AMS).
- Filament Type: PLA works perfectly for lasers, and general display. If you plan to use this for higher-velocity airsoft or outdoor practice, PETG is recommended for added impact resistance and UV durability.
- Supports: None! Print the base standing upright and the target face flat on its back.
- Speed: Do not speed up this print. Keep it at 100% or slow it to 50%. Speeding up the print may cause issues with connecting the two pieces.
Assembly Instructions
- Remove both parts from the build plate after cooling.
- Align the tab on the bottom of the target circle with the slotted opening at the top of the cross-base pillar.
- Press together.
- Set up your range, step back, and start practicing!
License
You shall not share, sub-license, sell, rent, host, transfer, or distribute in any way the digital or 3D printed versions of this object, nor any other derivative work of this object in its digital or physical format (including - but not limited to - remixes of this object, and hosting on other digital platforms). The objects may not be used without permission in any way whatsoever in which you charge money, or collect fees.
Comment & Rating (0)