
A1 Mini Scraper and Stylus Holder Bambu Lab


Print Profile(3)


Description
- Please read the instruction guide below.
- download the 3mf file if you are using a Bambu printer.
- I do my best to double-check and test the print profiles I created. Therefore, I will only take feedback and update for those profiles. I cannot vouch for profiles uploaded by others, so please do due diligence.
This is the third of three designs by Thrutheframe for A1 mini. The 3 essential printable accessories that you will need for your new printer.
- A1 mini Poop Management System
- A1 mini Build Plate Stand
- A1 mini Scraper and Stylus Holder
While the hardware for all 3 builds can be self-sourced, I am working with Veetec3D to offer an A1 mini Hardware Kit for all the 3 builds above. It will include the 6x3mm magnets, M3 screws, VHB, thin double-sided tapes, and pre-cut self-adhesive anti-slip pads. Printed parts are not included.
The price is 10€ with tracked shipping at 5€, making the total cost at 15€. We try our best to keep the pricing affordable for everyone to have easy access to the required hardware for all 3 builds. In addition, parts and labor are sourced within EU. If you like the designs by ThrutheFrame and wish to support his projects, do consider buying this kit. The royalty will go towards funding project consumables ie. filaments, materials, electricity, coffee, time, and my brain cells.
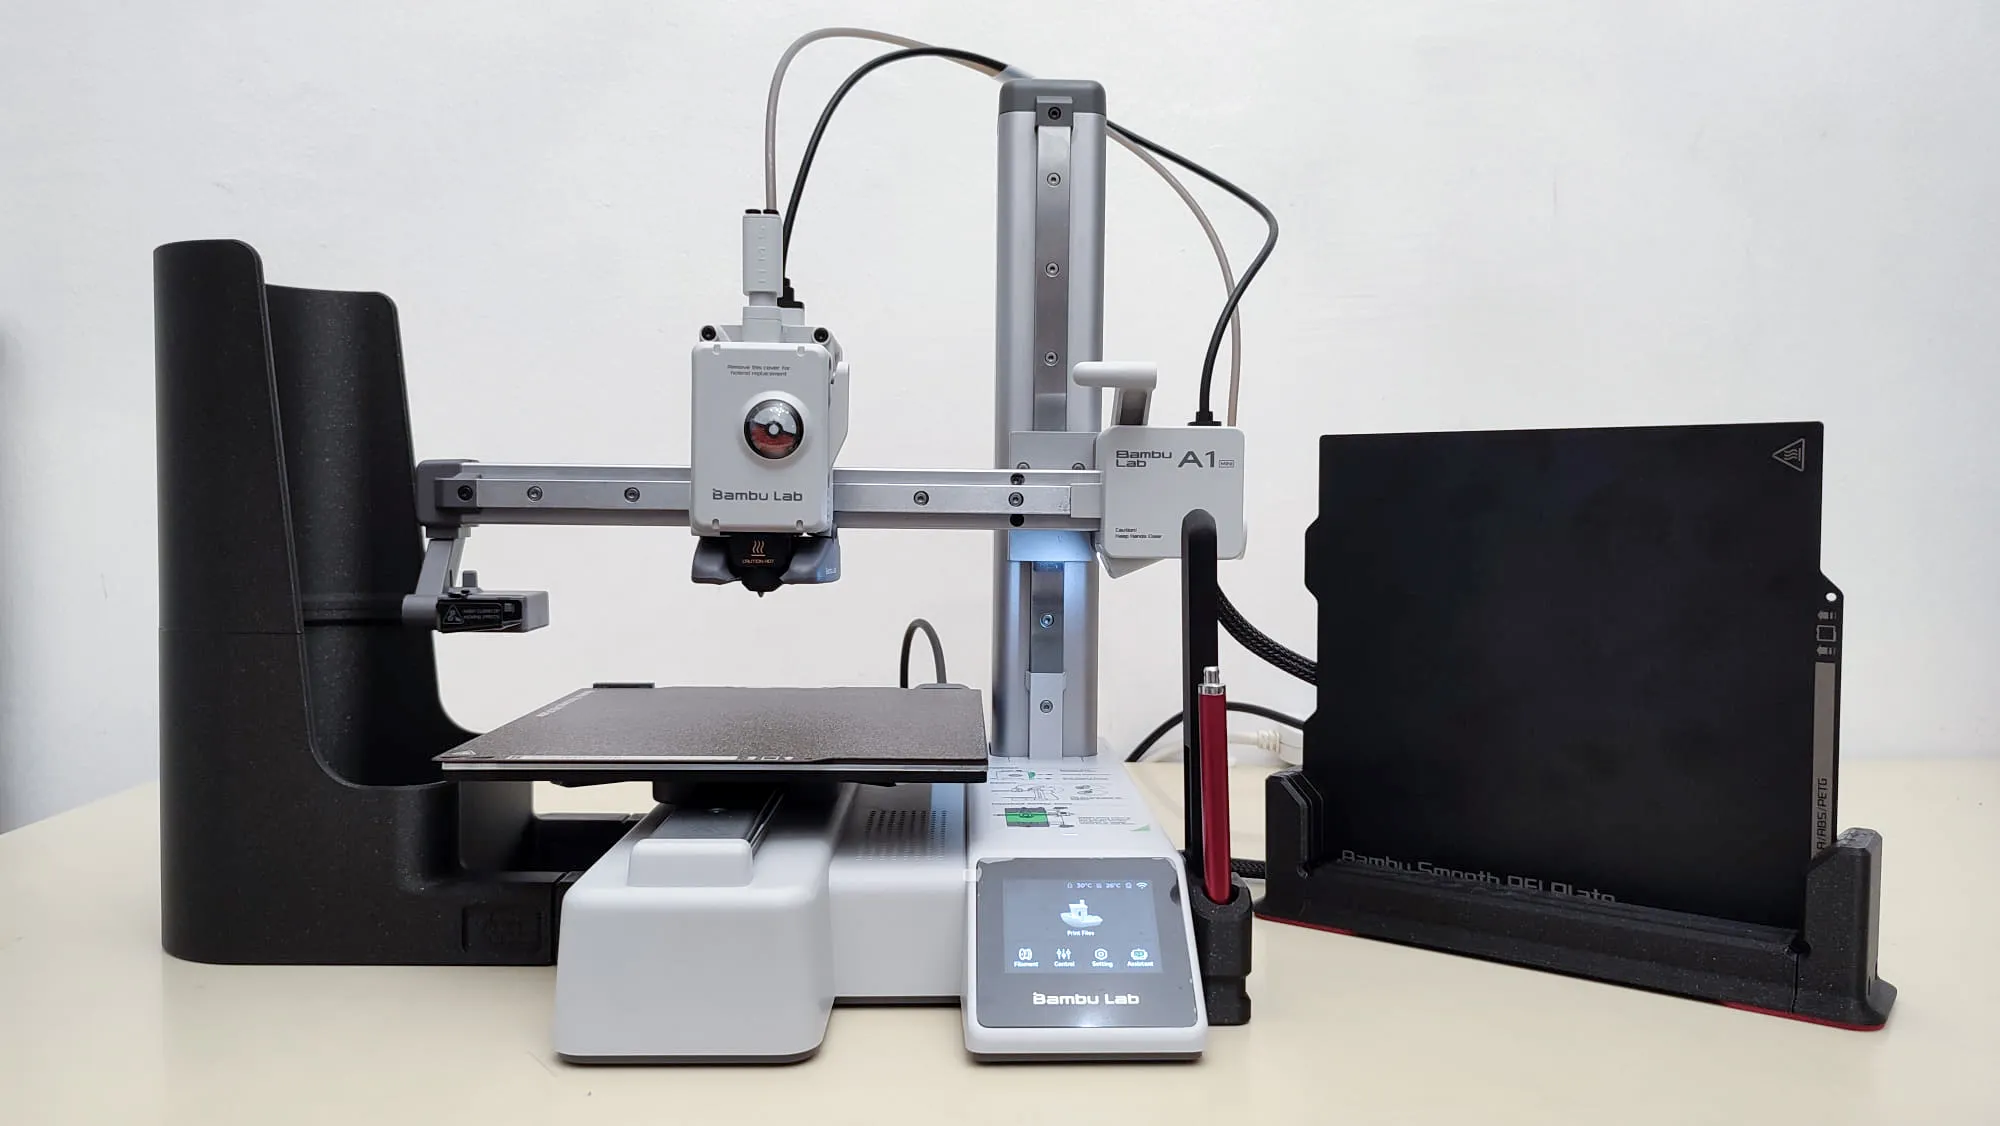
INTRODUCTION
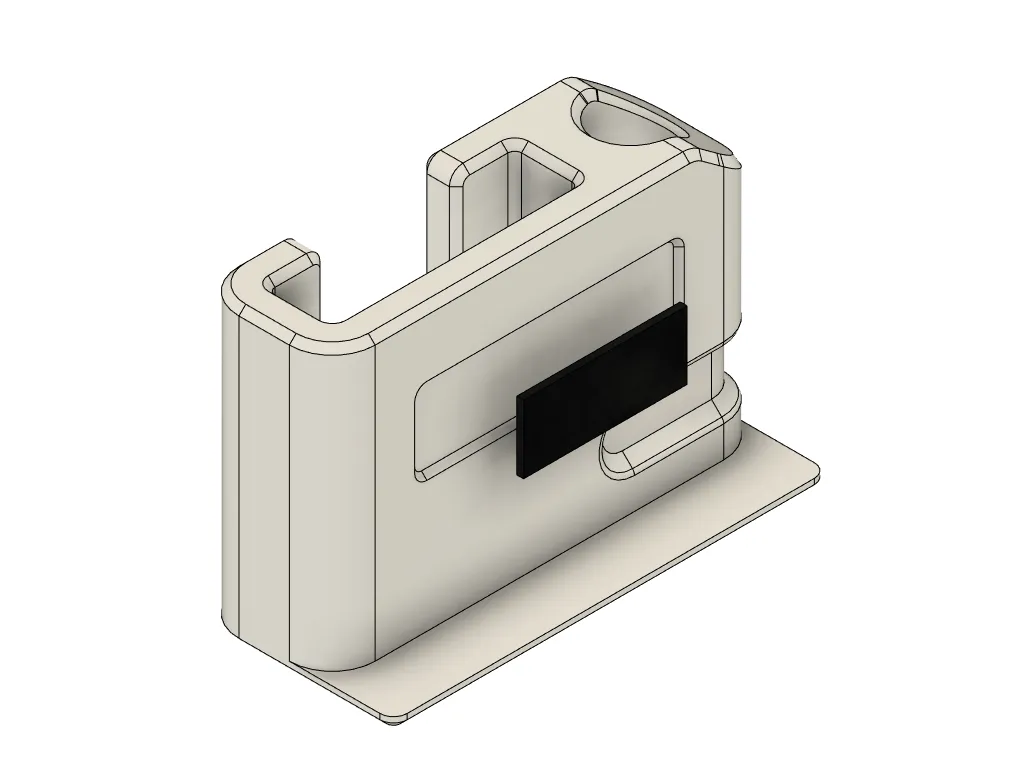
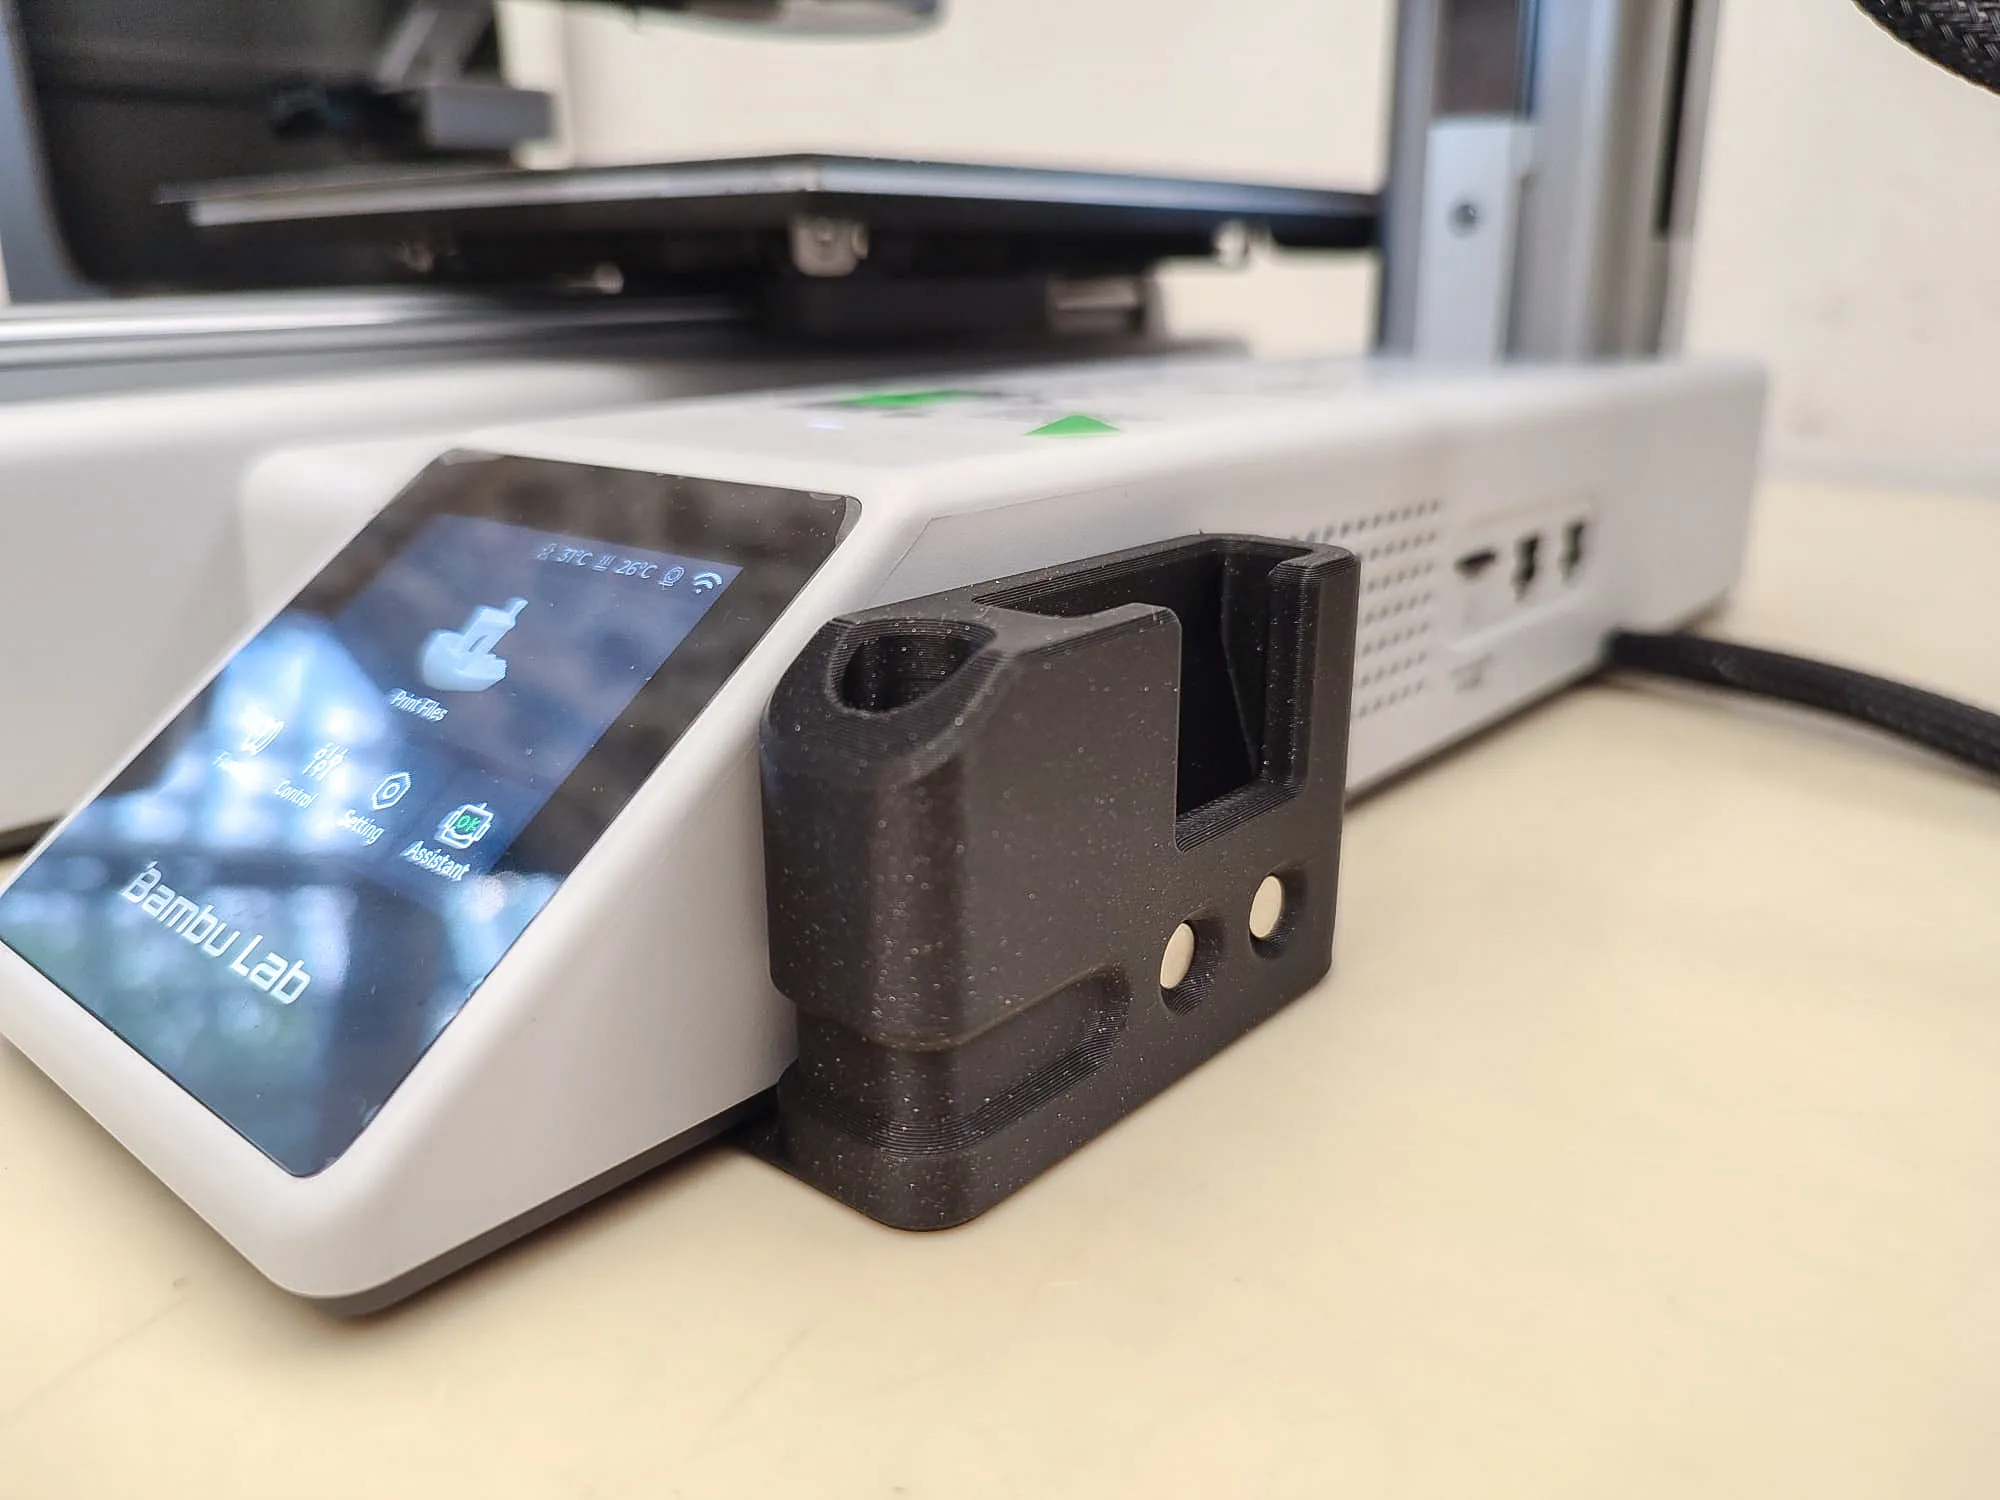
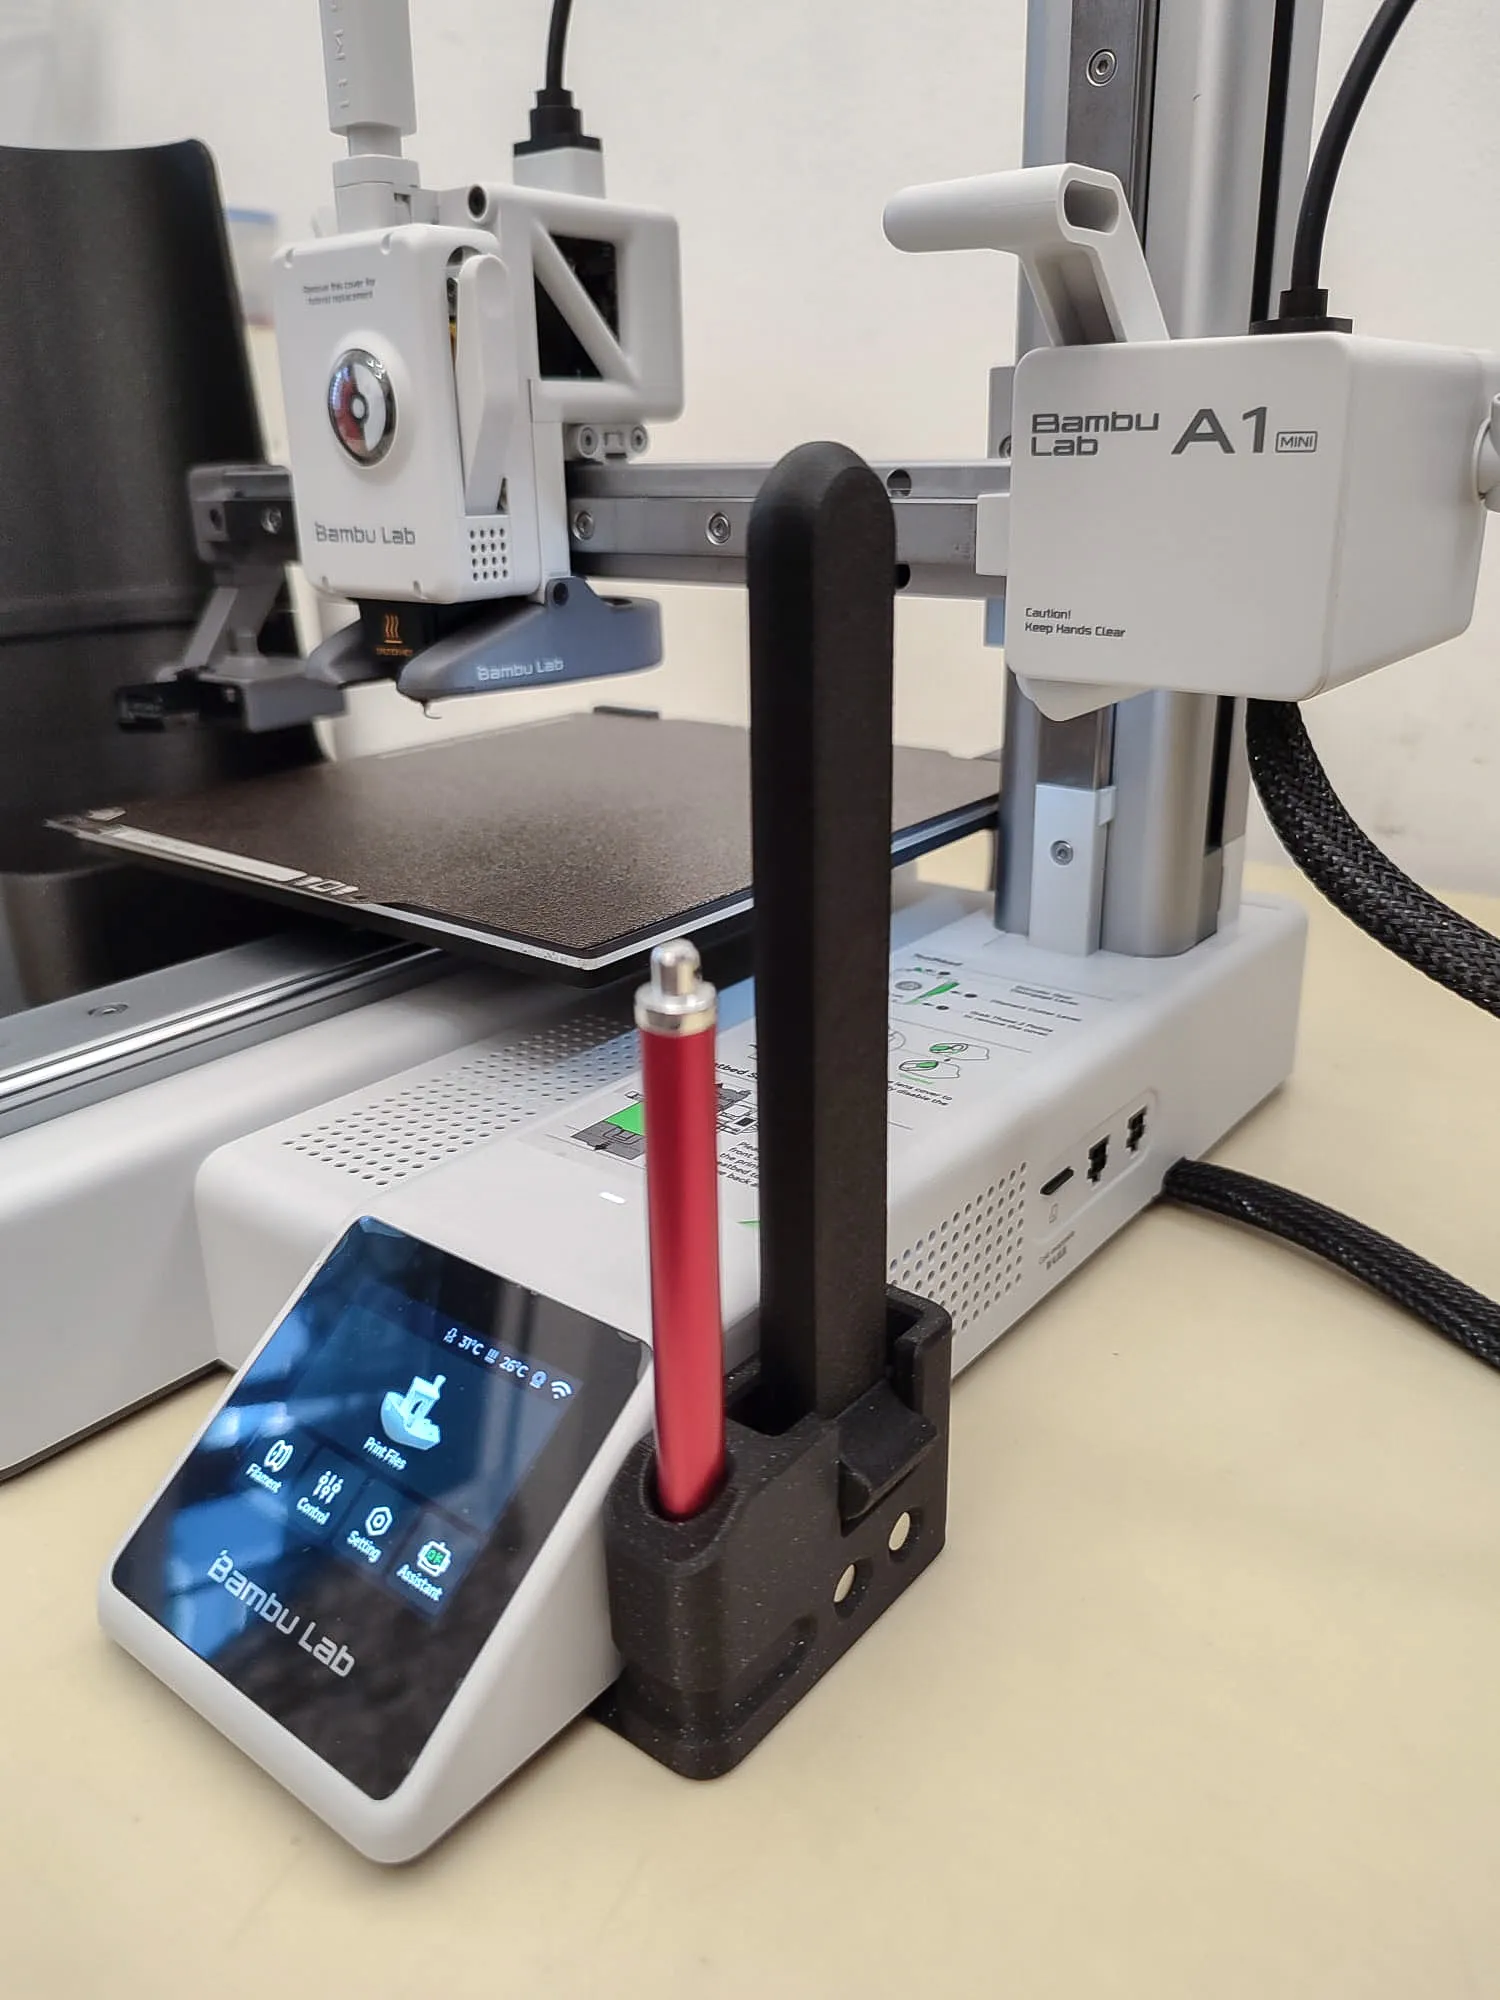
The touch screen for the A1 mini is small and my adult fingers tend to select the wrong option. I needed to use a stylus, but it keeps going missing. So I designed a holder that is attached to the right side of the printer. It also holds the Bambu Scraper Grip which is another important tool that is used regularly.
As the A1 mini may be the user's first 3D printer, I set up a few parameters when designing this holder:
- Aesthetically pleasing (to me), Easy to print/assemble and Fun to use.
- Optimize print time and filament usage
- Must fit onto the A1 build plate of 180x180x180mm
- Minimal or no support needed
- Printed in PLA, PLA+ or PLA pro
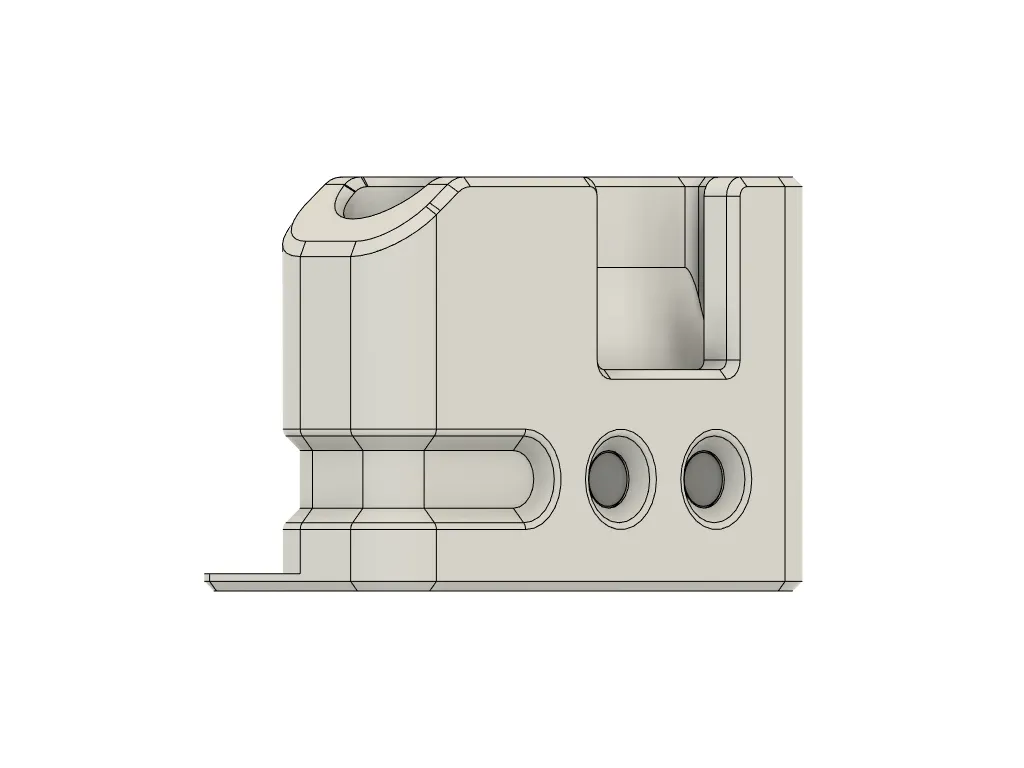
There is only 1 part to print, and a single VHB tape is used to attach it to the A1 mini. Optionally, 6x3mm magnets are used to grip onto the blade for added stability during printing.
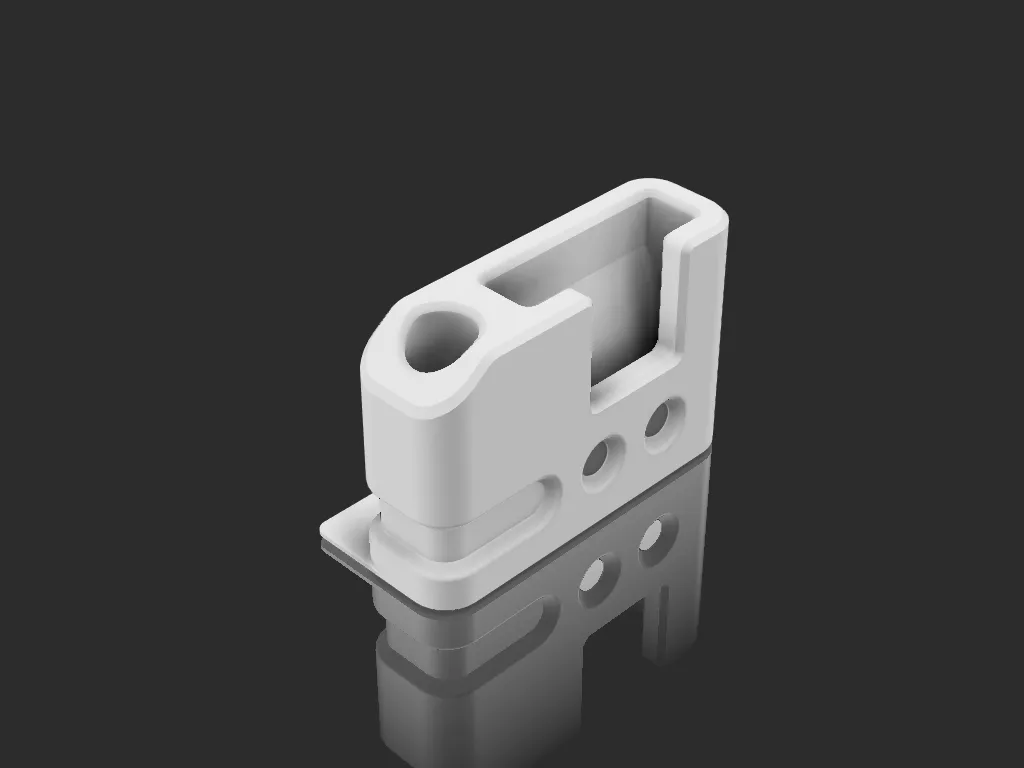
BOM
- 1mm VHB tape (10x20mm) - 1 pcs
- Ø6x3 magnets - 2pcs (optional)
- Stylus. This is one of those that I got from Aliexpress (not affiliated link)
INSTRUCTIONS
- Download the 3mf file. The settings are prepared for printing PLA on an A1 mini. If you are printing on a different printer, please make the necessary changes to the settings.
- I designed the parts based on 0.4mm nozzle and 0.2mm layer height. Print in 0.2mm layer height for accuracy.
- Enable “Detect thin wall” as there are 2 walls that are 0.4mm thick.
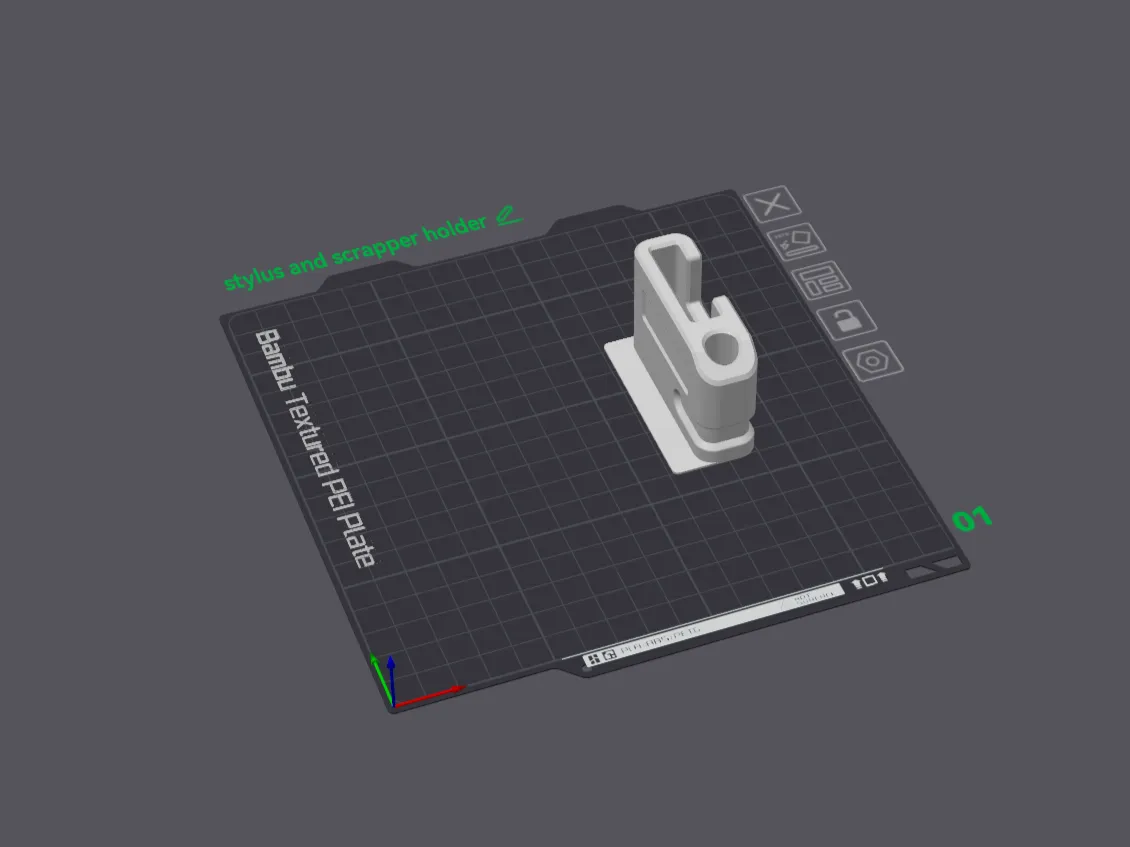
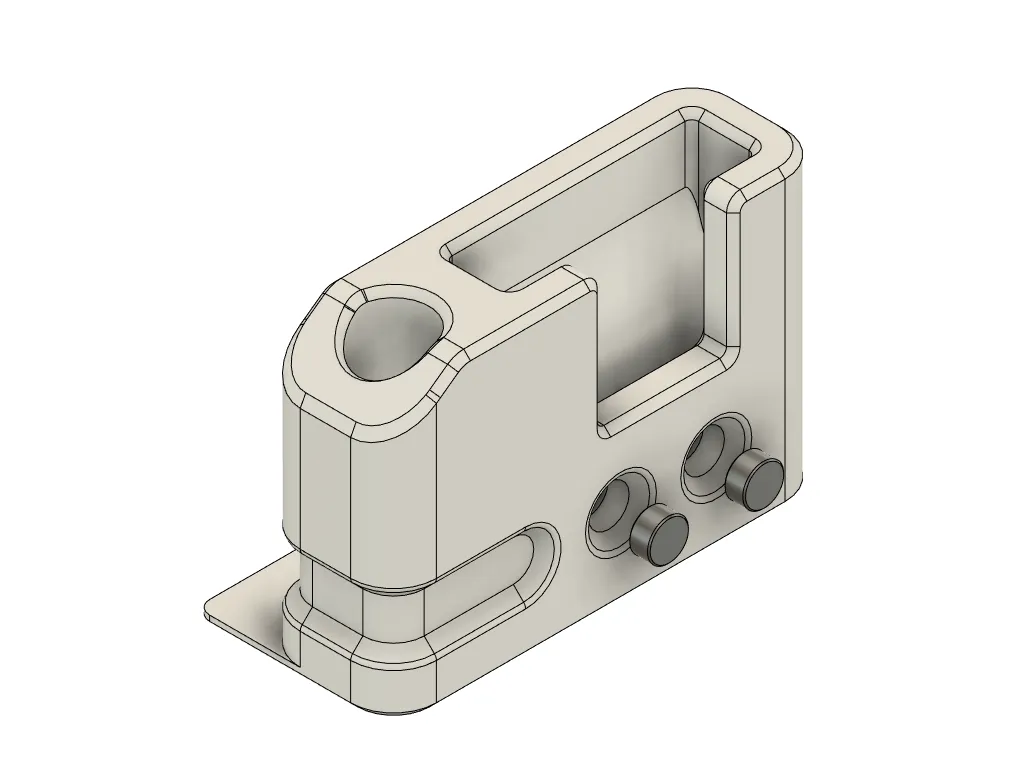
- Press fit the Ø6x3mm magnets into the front holes of the holder. The holes are designed for press fitting, hence they are tight-fitting. Please ensure that the polarity of all the magnet are facing in the same direction.
- Paste the VHB tape and attach the holder to the right side of the printer, beside the touch screen.
To date, my designs are free to download and use. There is no Patreon or OnlyFan (hahaha). If you like my designs and wish to contribute to my coffee addiction & help fund the filaments and materials needed for prototyping, a donation of $5-$10 to Ko-fi or paypal.me will be greatly appreciated.
Another way is to purchase the kit (TBA) from my vendor, we try to make it affordable and a small amount goes to supporting this project in terms of development consumables ( filaments, electricity, coffee, time and my brain cells)
Caveat
As with all my designs, Prototyping and testing were conducted to ensure printability and meet my own expectations. However, I understand it may and may not work for you. I would request that you read all instructions and print and install them at your own discretion.
License



Comment & Rating (163)