
Taillights mod for Mini SUV - CyberBrick RC


Print Profile(1)
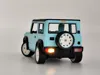
Bill of Materials


Description
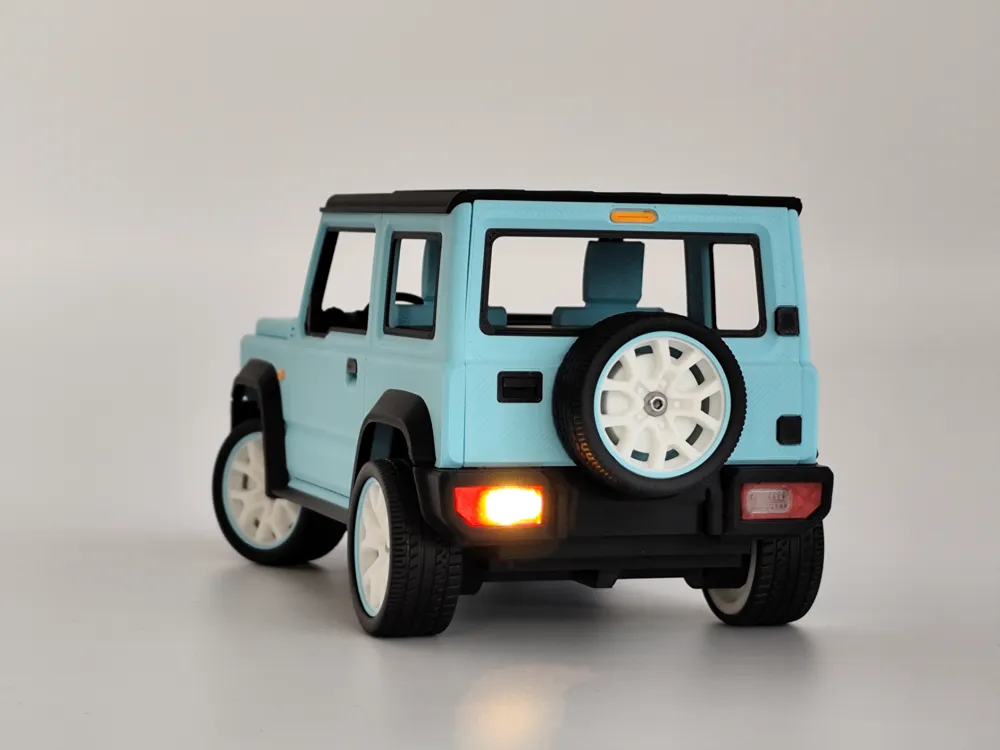
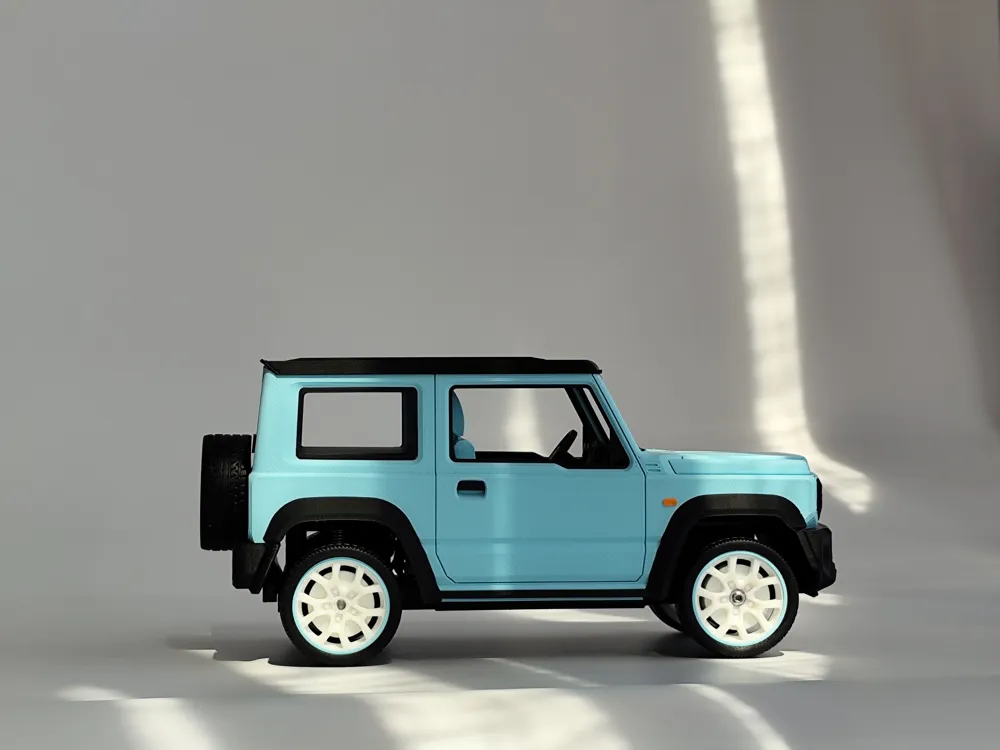
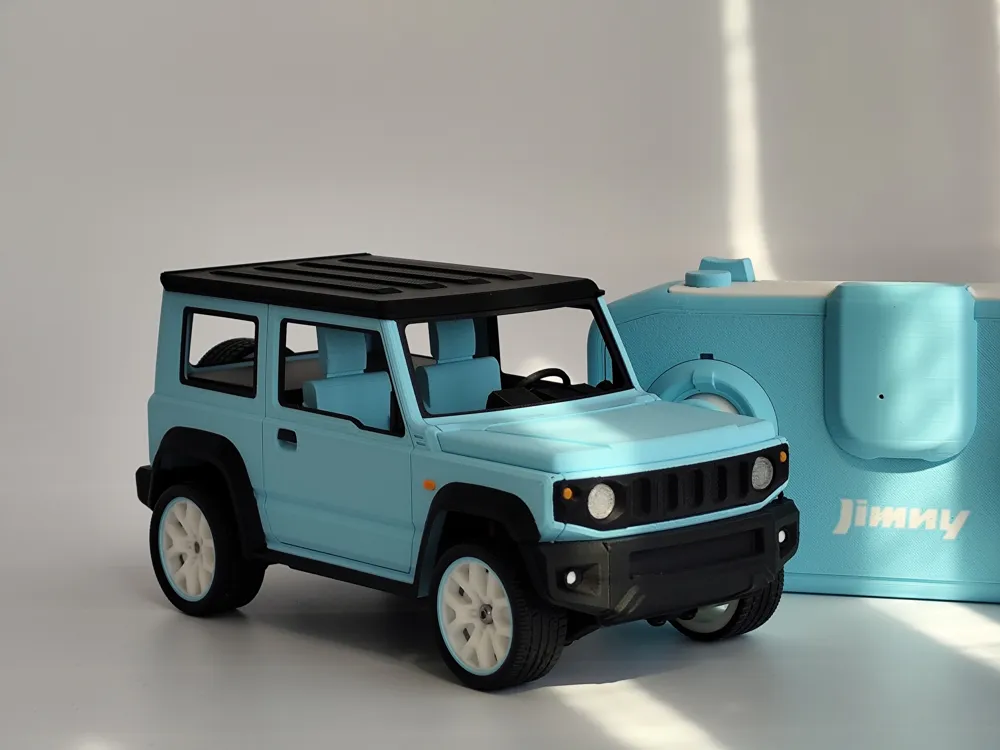
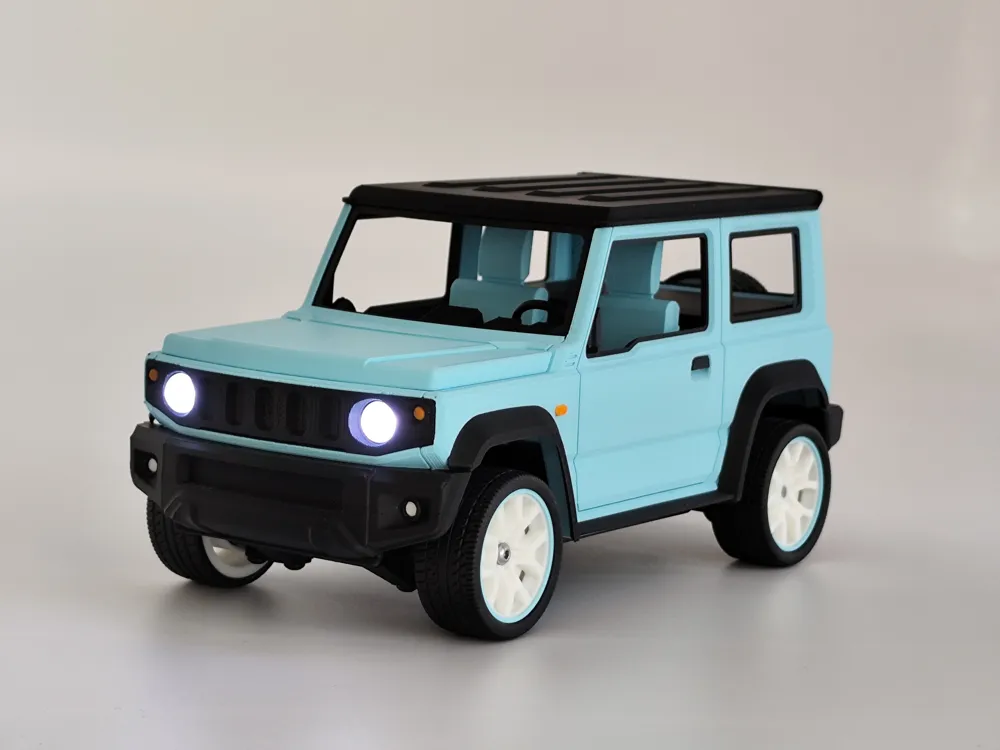
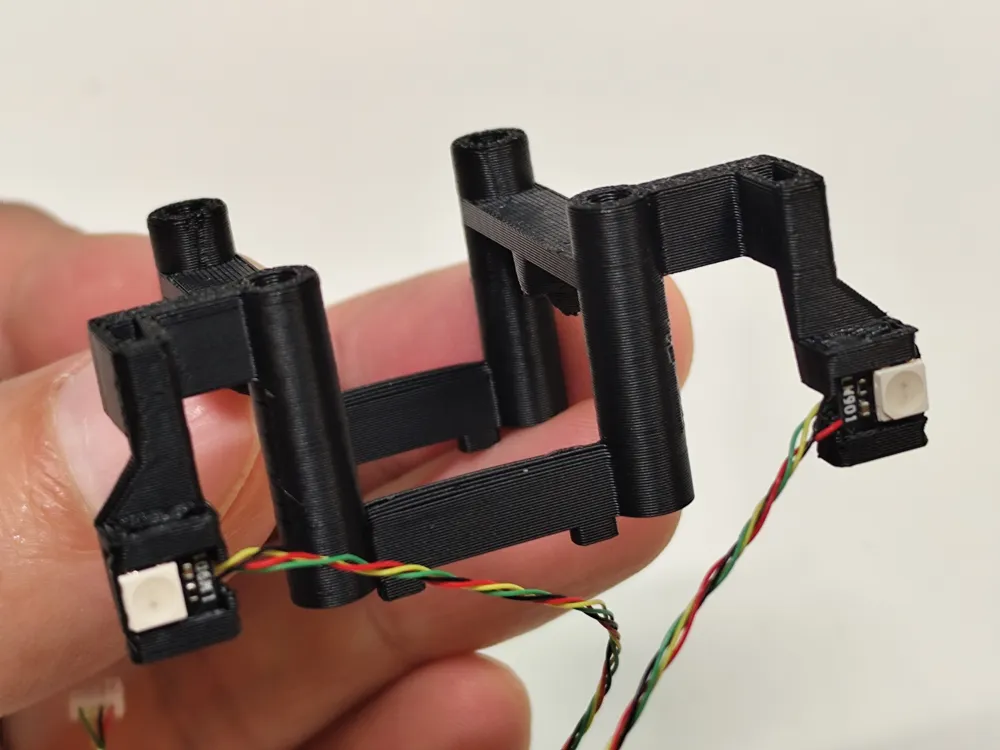
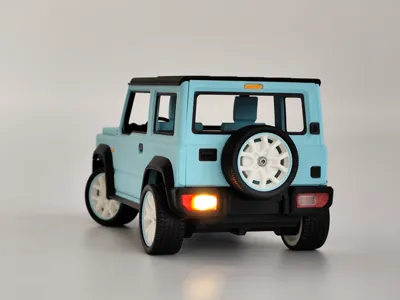
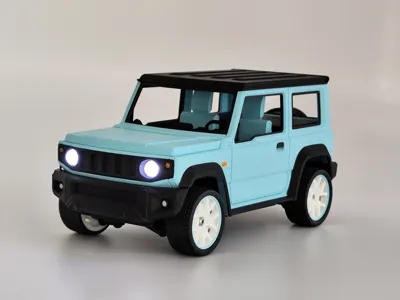
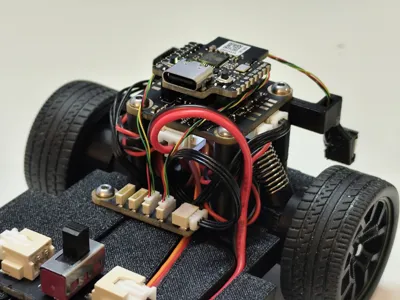
This model is a remix of Kocy's Mini SUV, with taillights added to the original model.
This page only provides the parts for the modified parts; please download the original parts from the original page.
This model only supports the N20 version of the Mini SUV.
Kocy's Mini SUV is an excellent model, easy to assemble, requiring only a few screws and no glue at all.
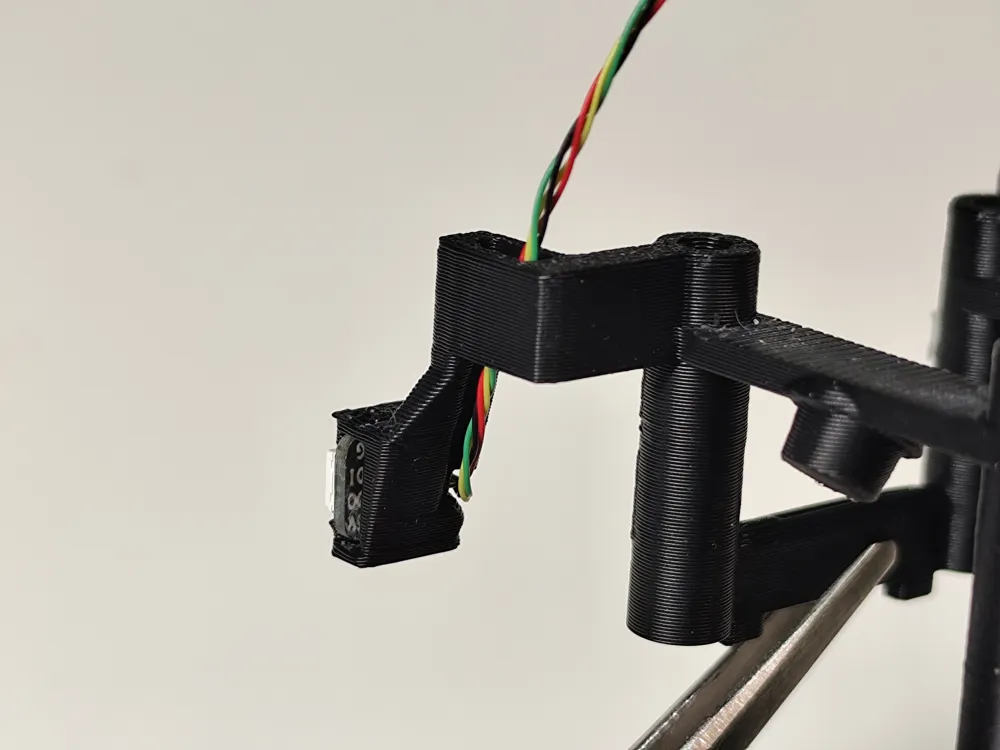
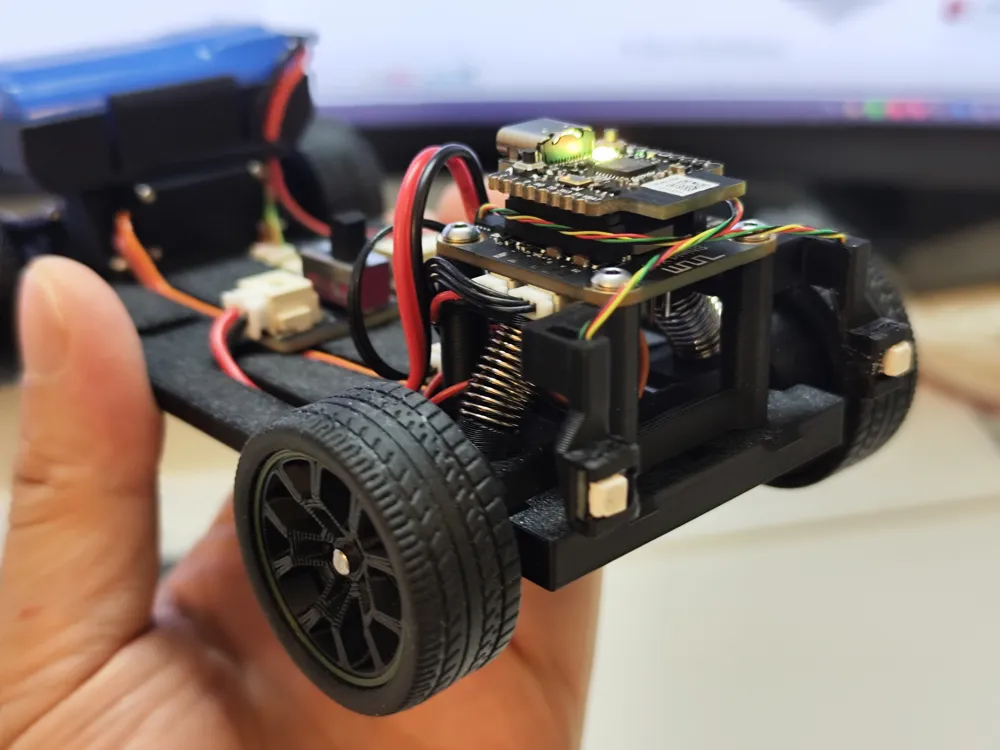
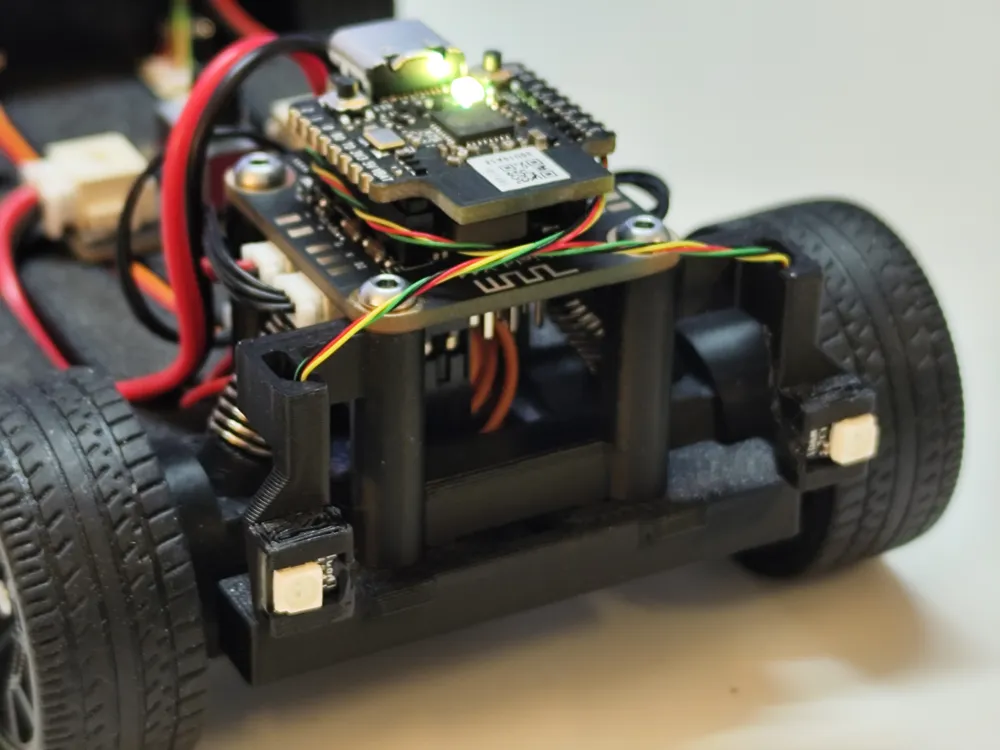
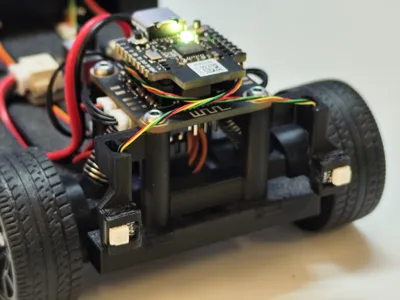
This model retains the original design style to the greatest extent possible, adding taillights with minimal modifications. The taillights are mounted on the chassis and have no wire connection to the body.
Required Additional Components:
WS2812 LED Hub with 3Pin SH1.0 Connector (1PCS) - XA006 *1
WS2812 RGB LED with IDC0.8 4PIN (2PCS) - KB003 *1
Printing:
Option 1: Already own the original Mini SUV
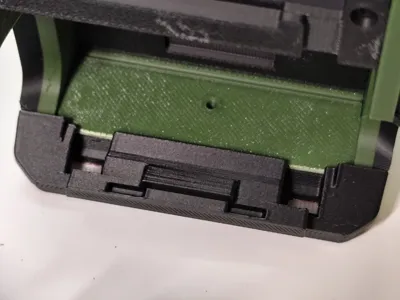
- Print plate 1-3. To increase the transparency of the transparent parts, I chose to print the rear bumper separately.
- (Optional) You can print plate 4 (chassis) and plate 5 (rear body), or skip this step and make slight modifications to the original model (assembly will be described in detail).
Option 2: Do not yet own the original version of the Mini SUV
- Print plate 1-5
- Print the remaining parts from the original N20 version
Assembly:
1. Chassis
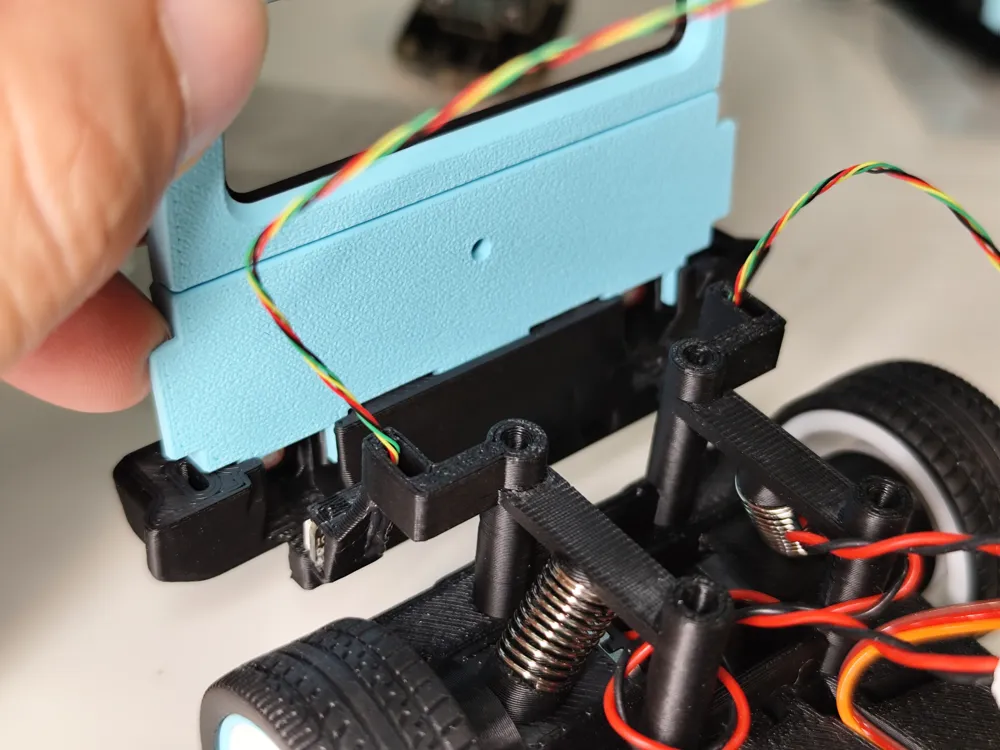
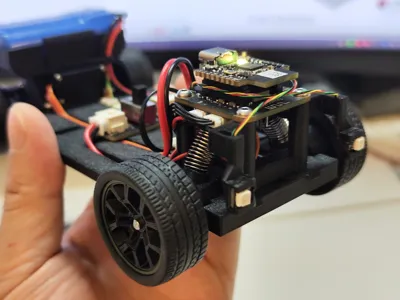
Assemble the chassis according to the original model's instructions, making sure to replace the rear suspension with the modified parts.
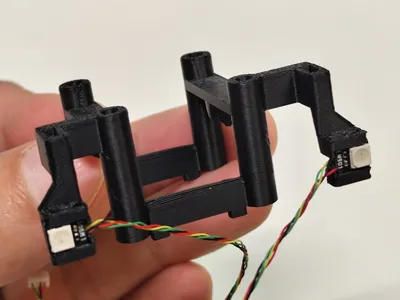
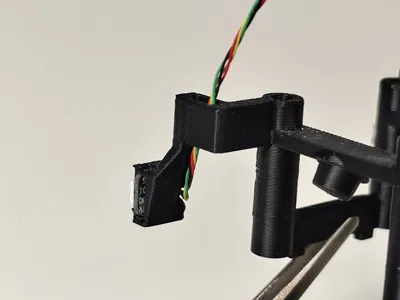
Clip the LEDs into the frame.
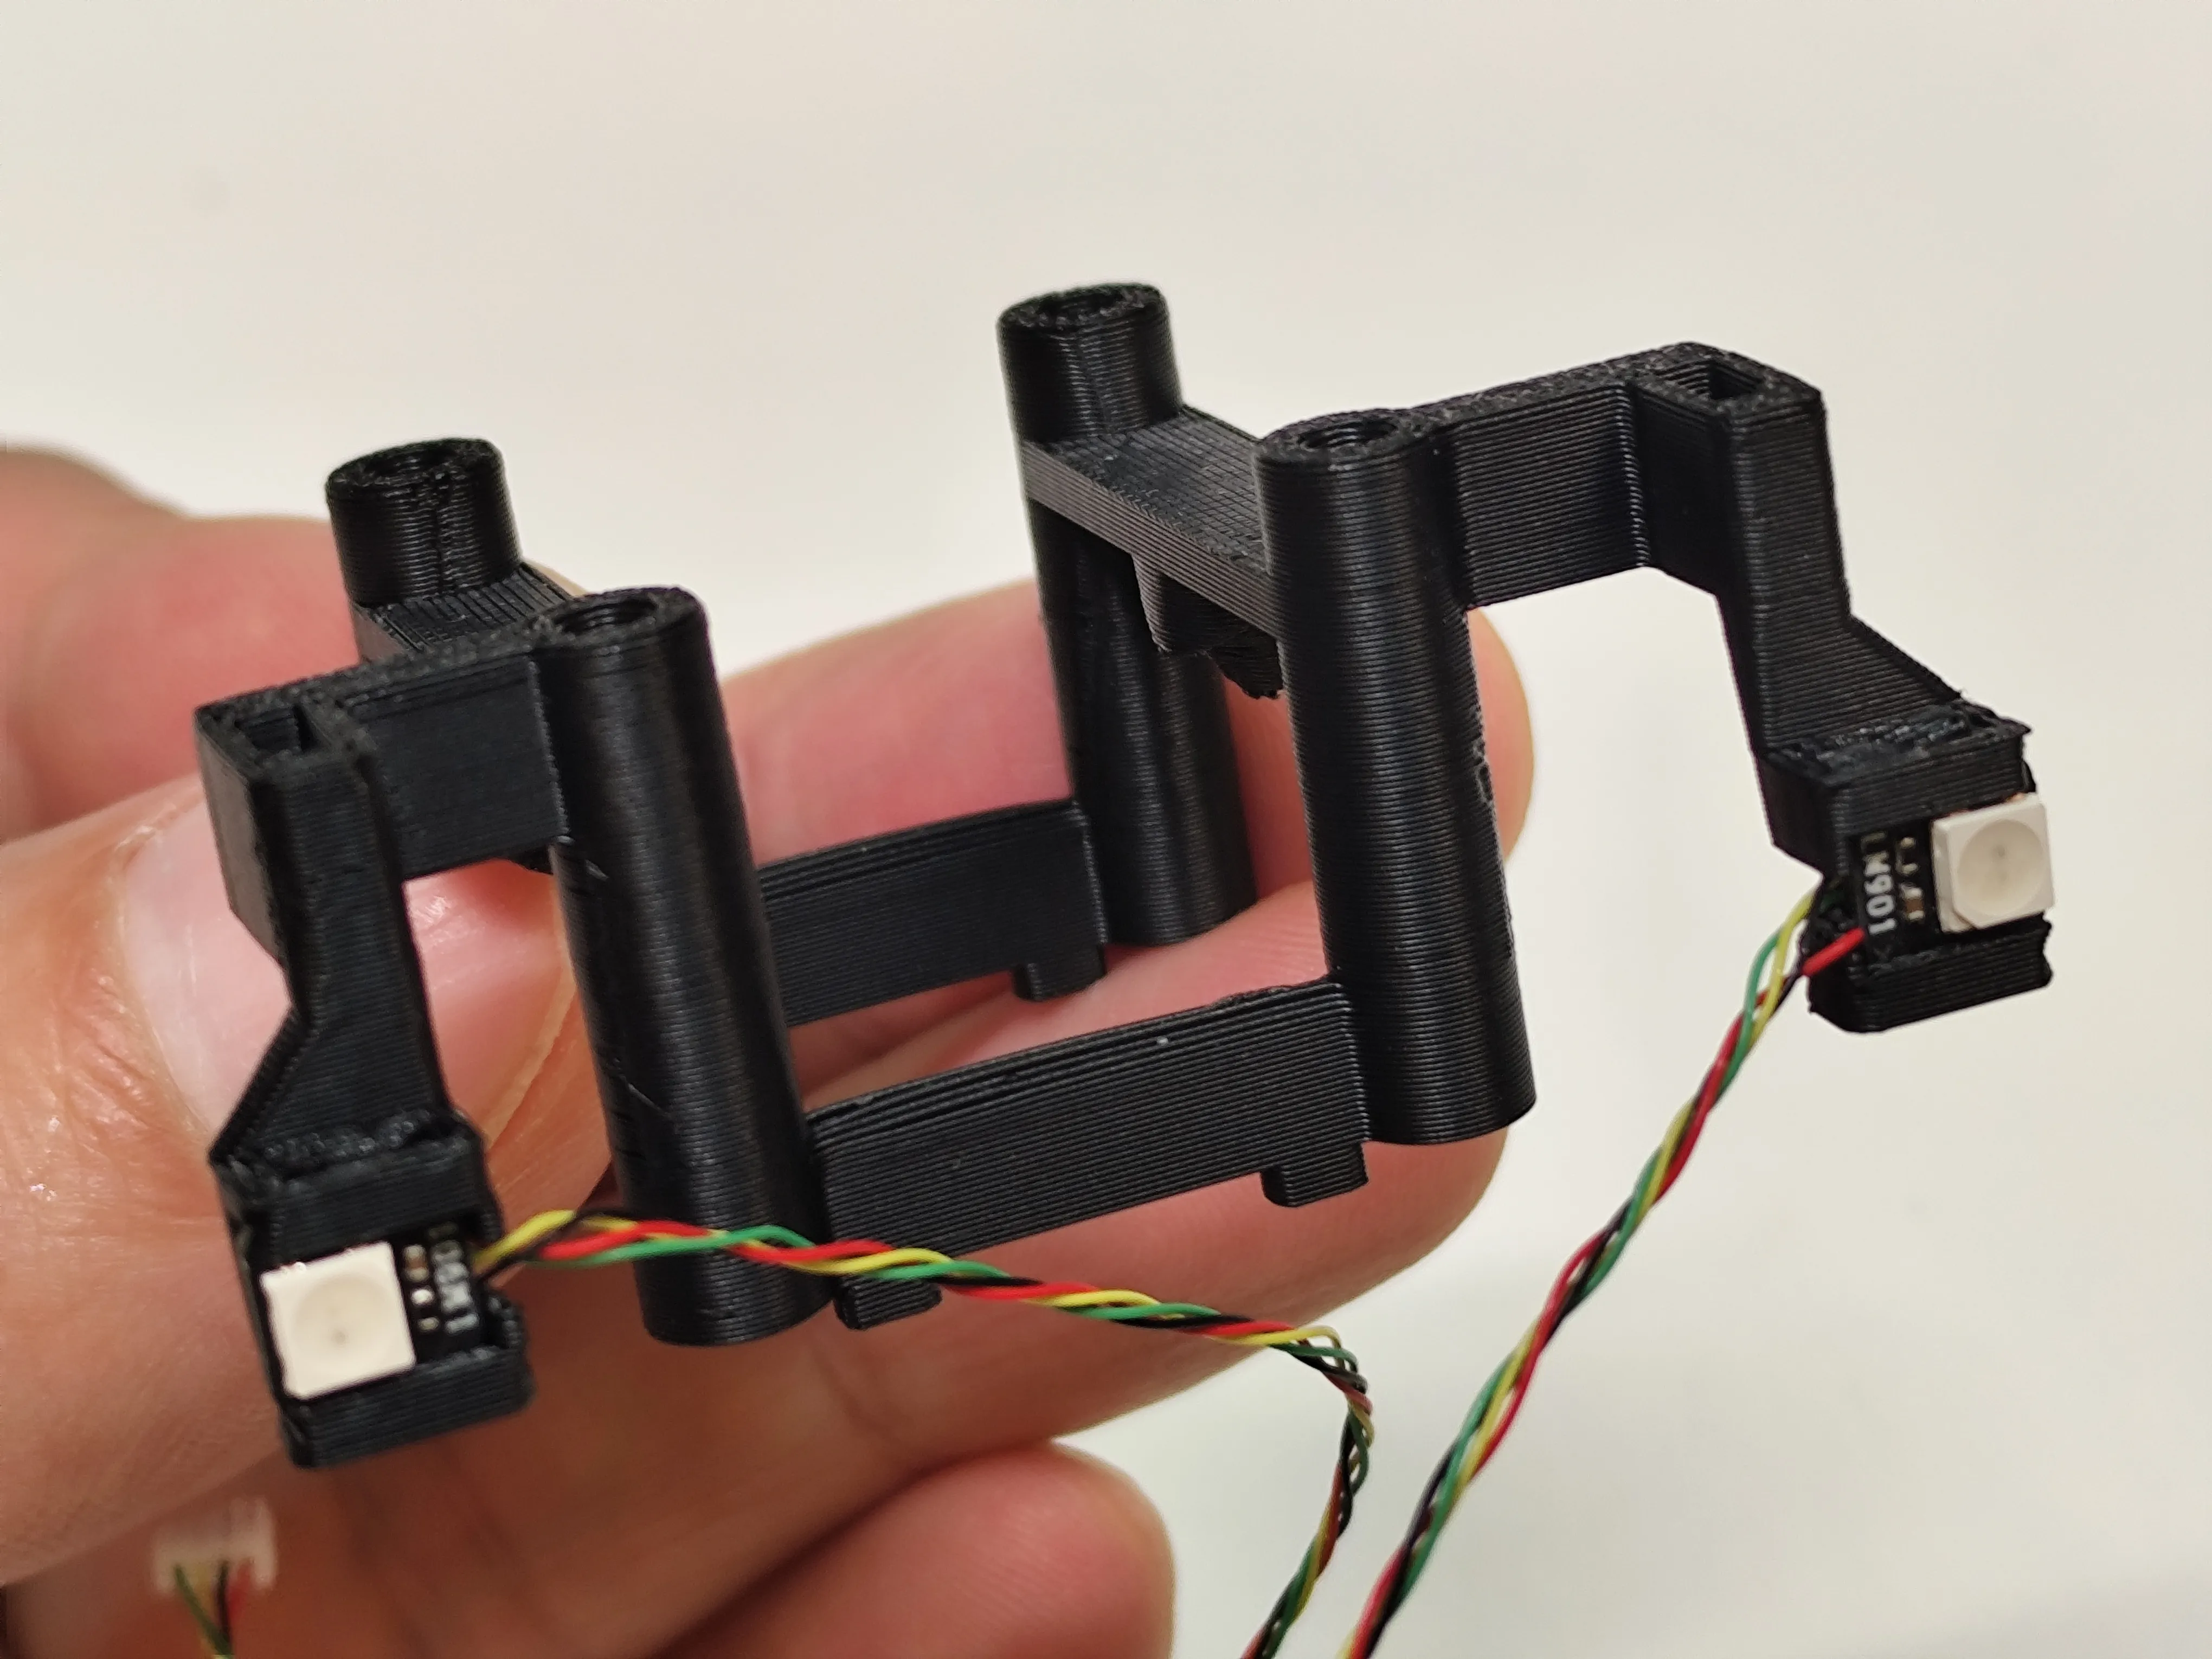
Pass the LED wires through the wire holes.
(Optional) You can use a small amount of silicone to secure the wires within the wire slots.
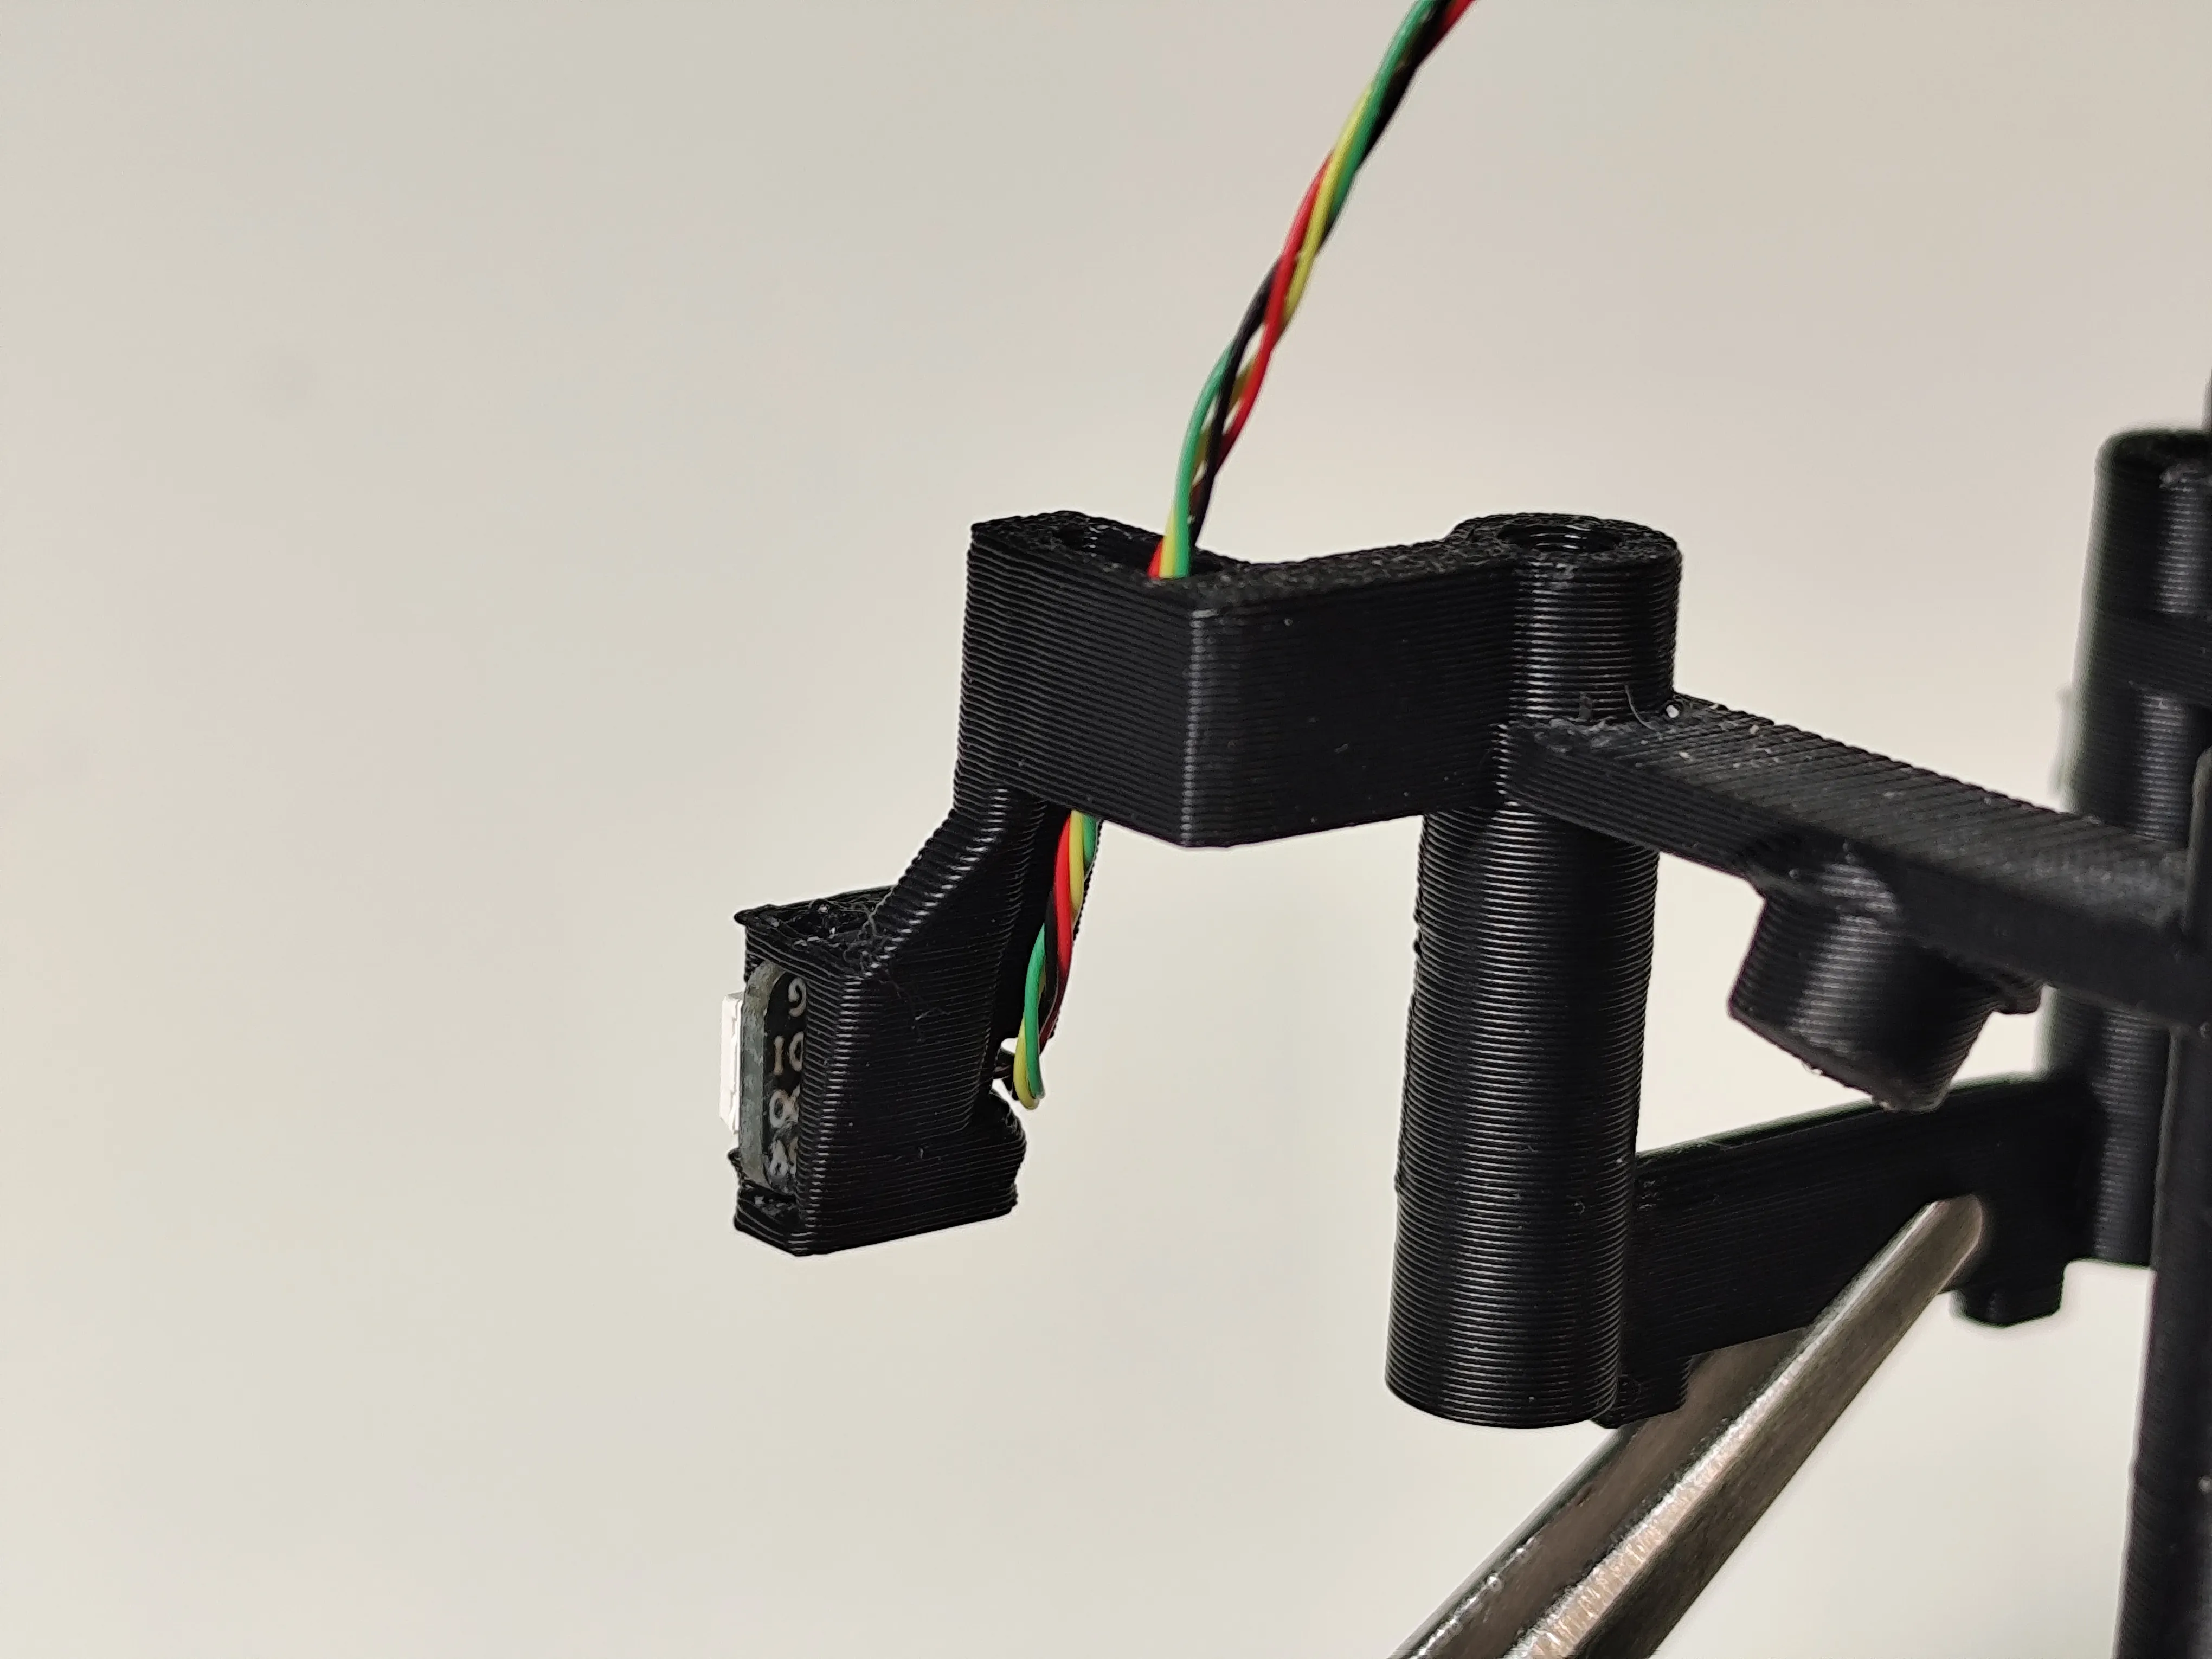
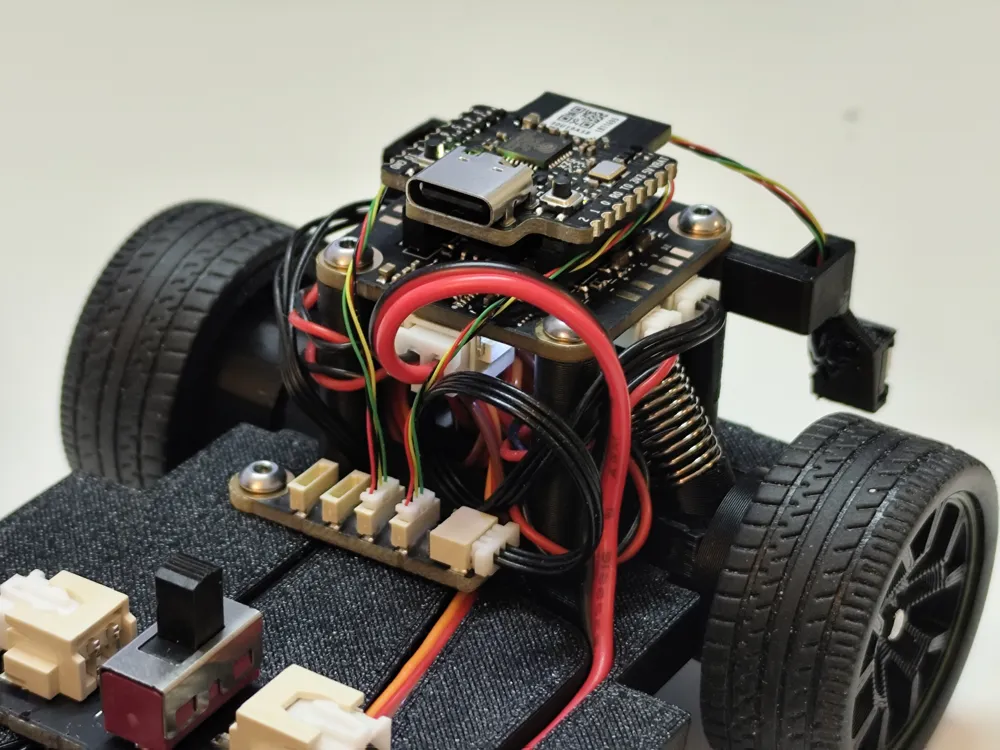
Attach the LED Hub to the chassis: If using a modified chassis, there is a hole here; use an M2.5x6 screw to secure it. If using the original chassis, use a small amount of double-sided tape to secure it.
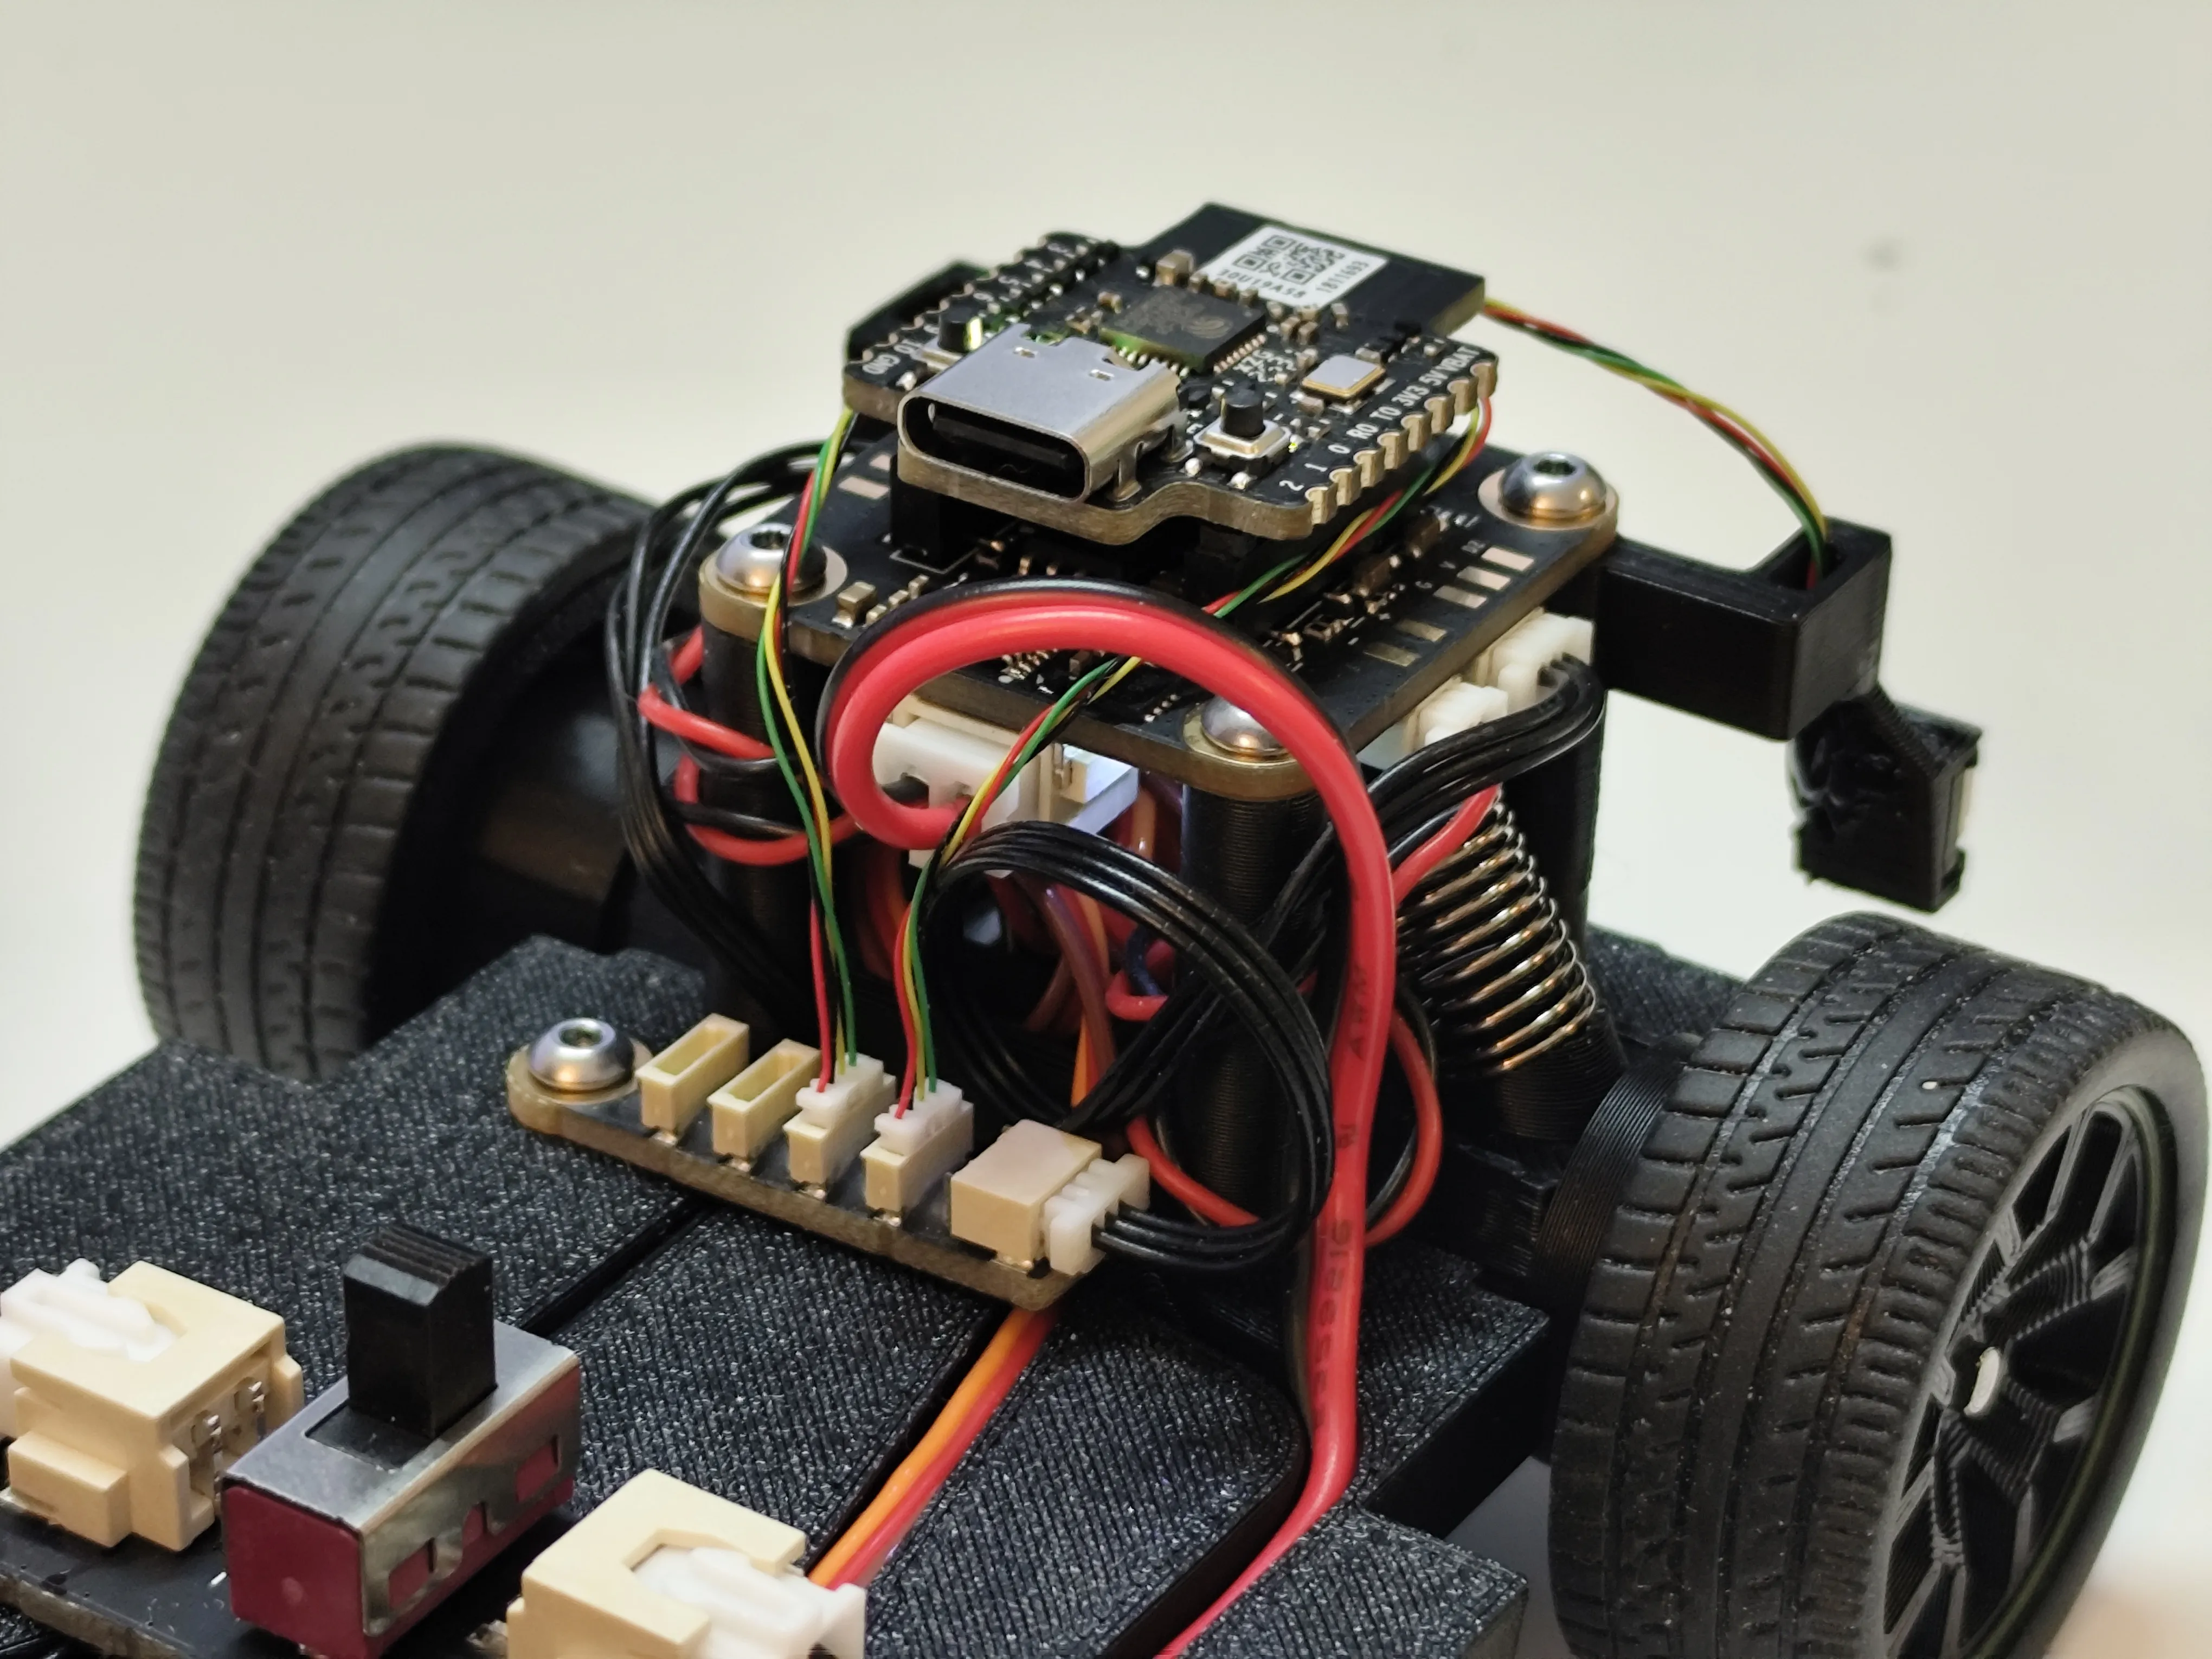
Cross the LED wires through the motherboard and insert them into the LED Hub: Port 1 - Right light, Port 2 - Left light.
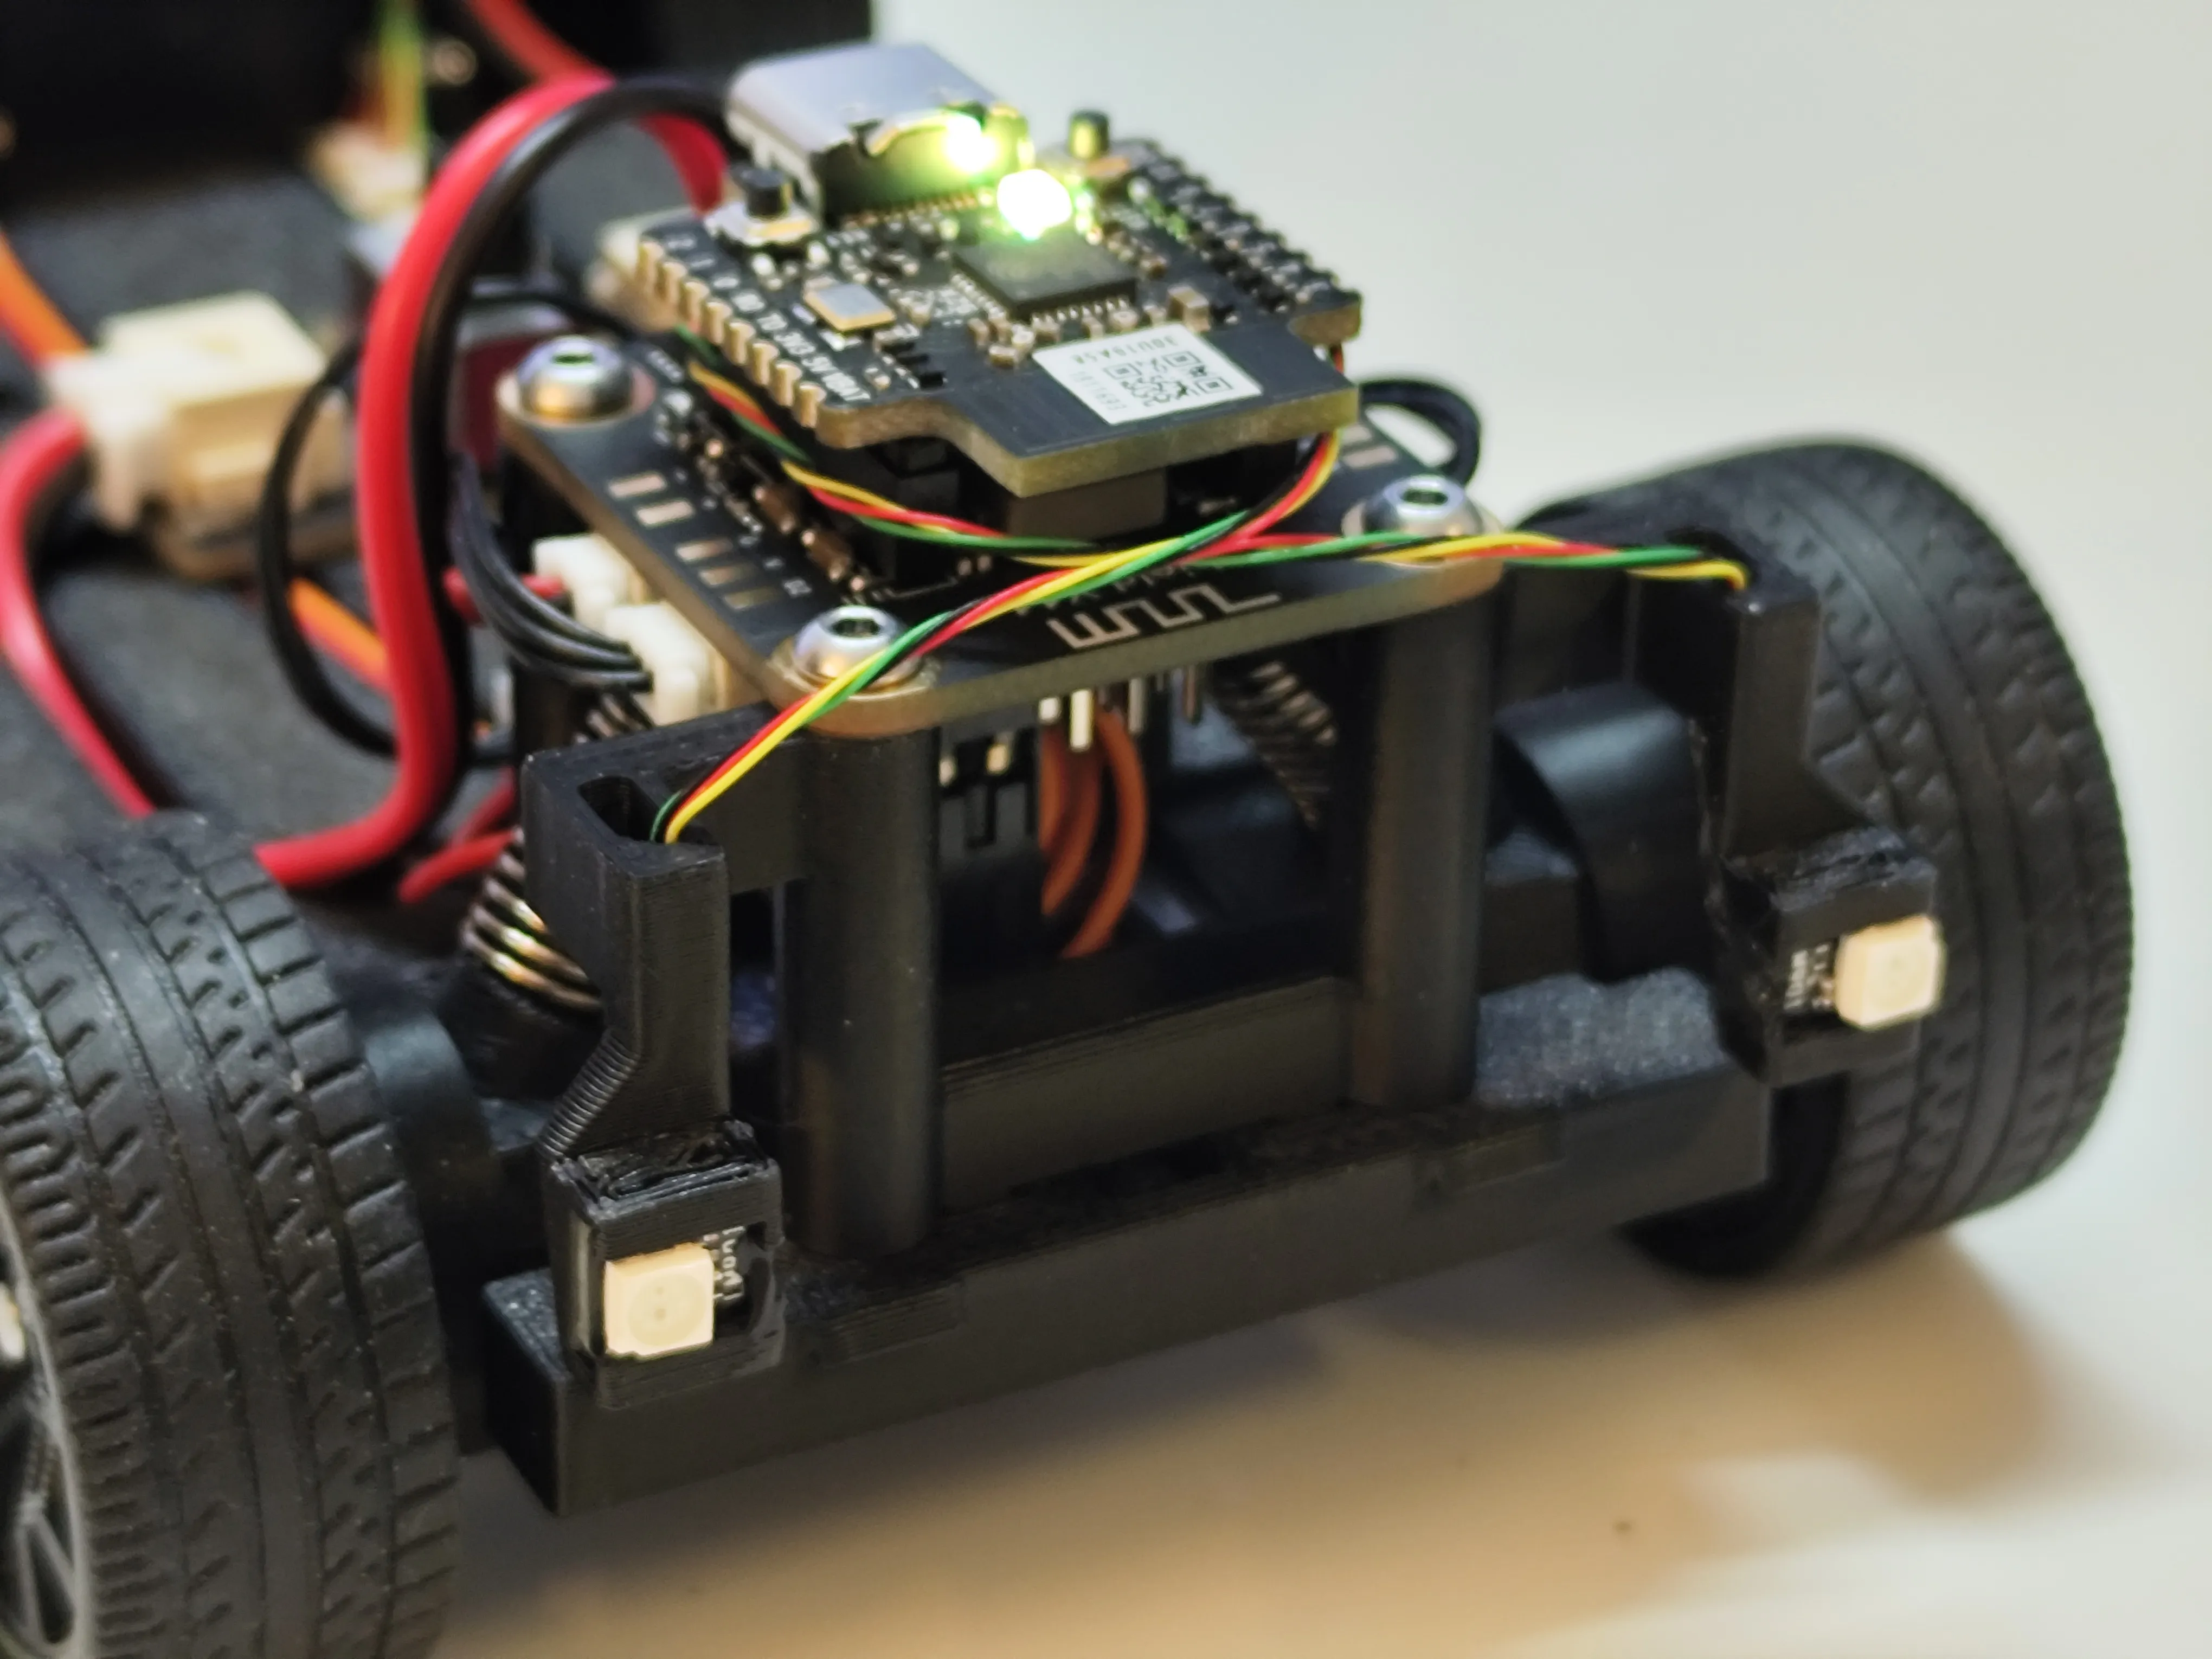
- Connect the LED Hub to the motherboard.
2. Body
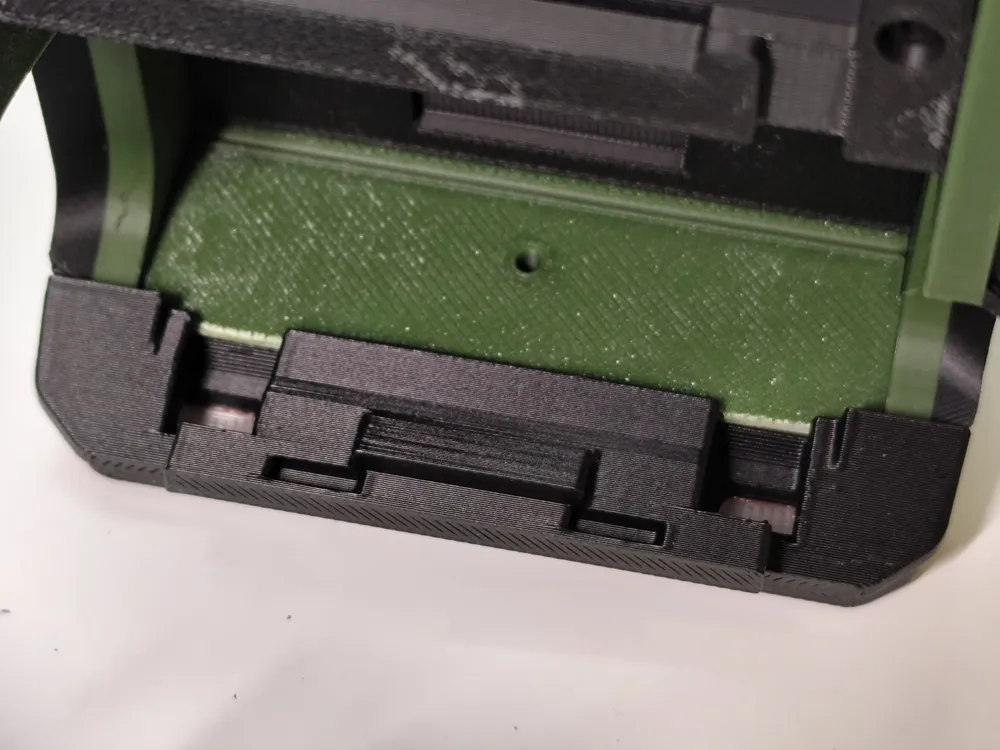
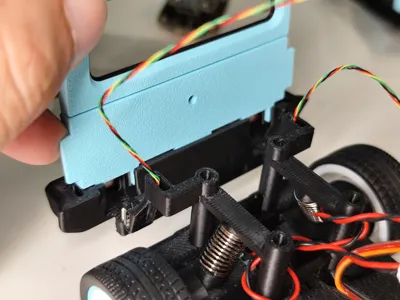
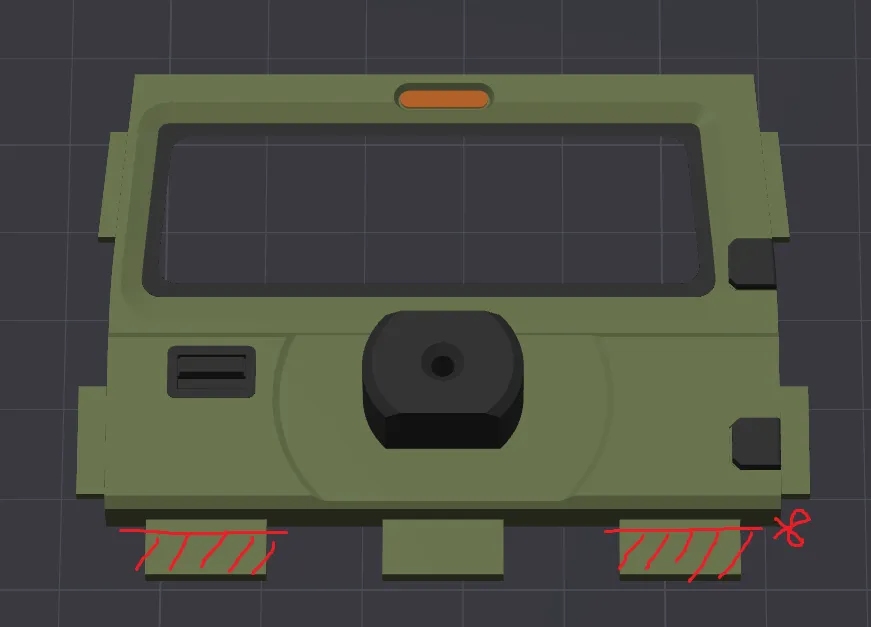
Before assembly, if using the original rear body parts, the positions shown in the following picture need to be cut off.
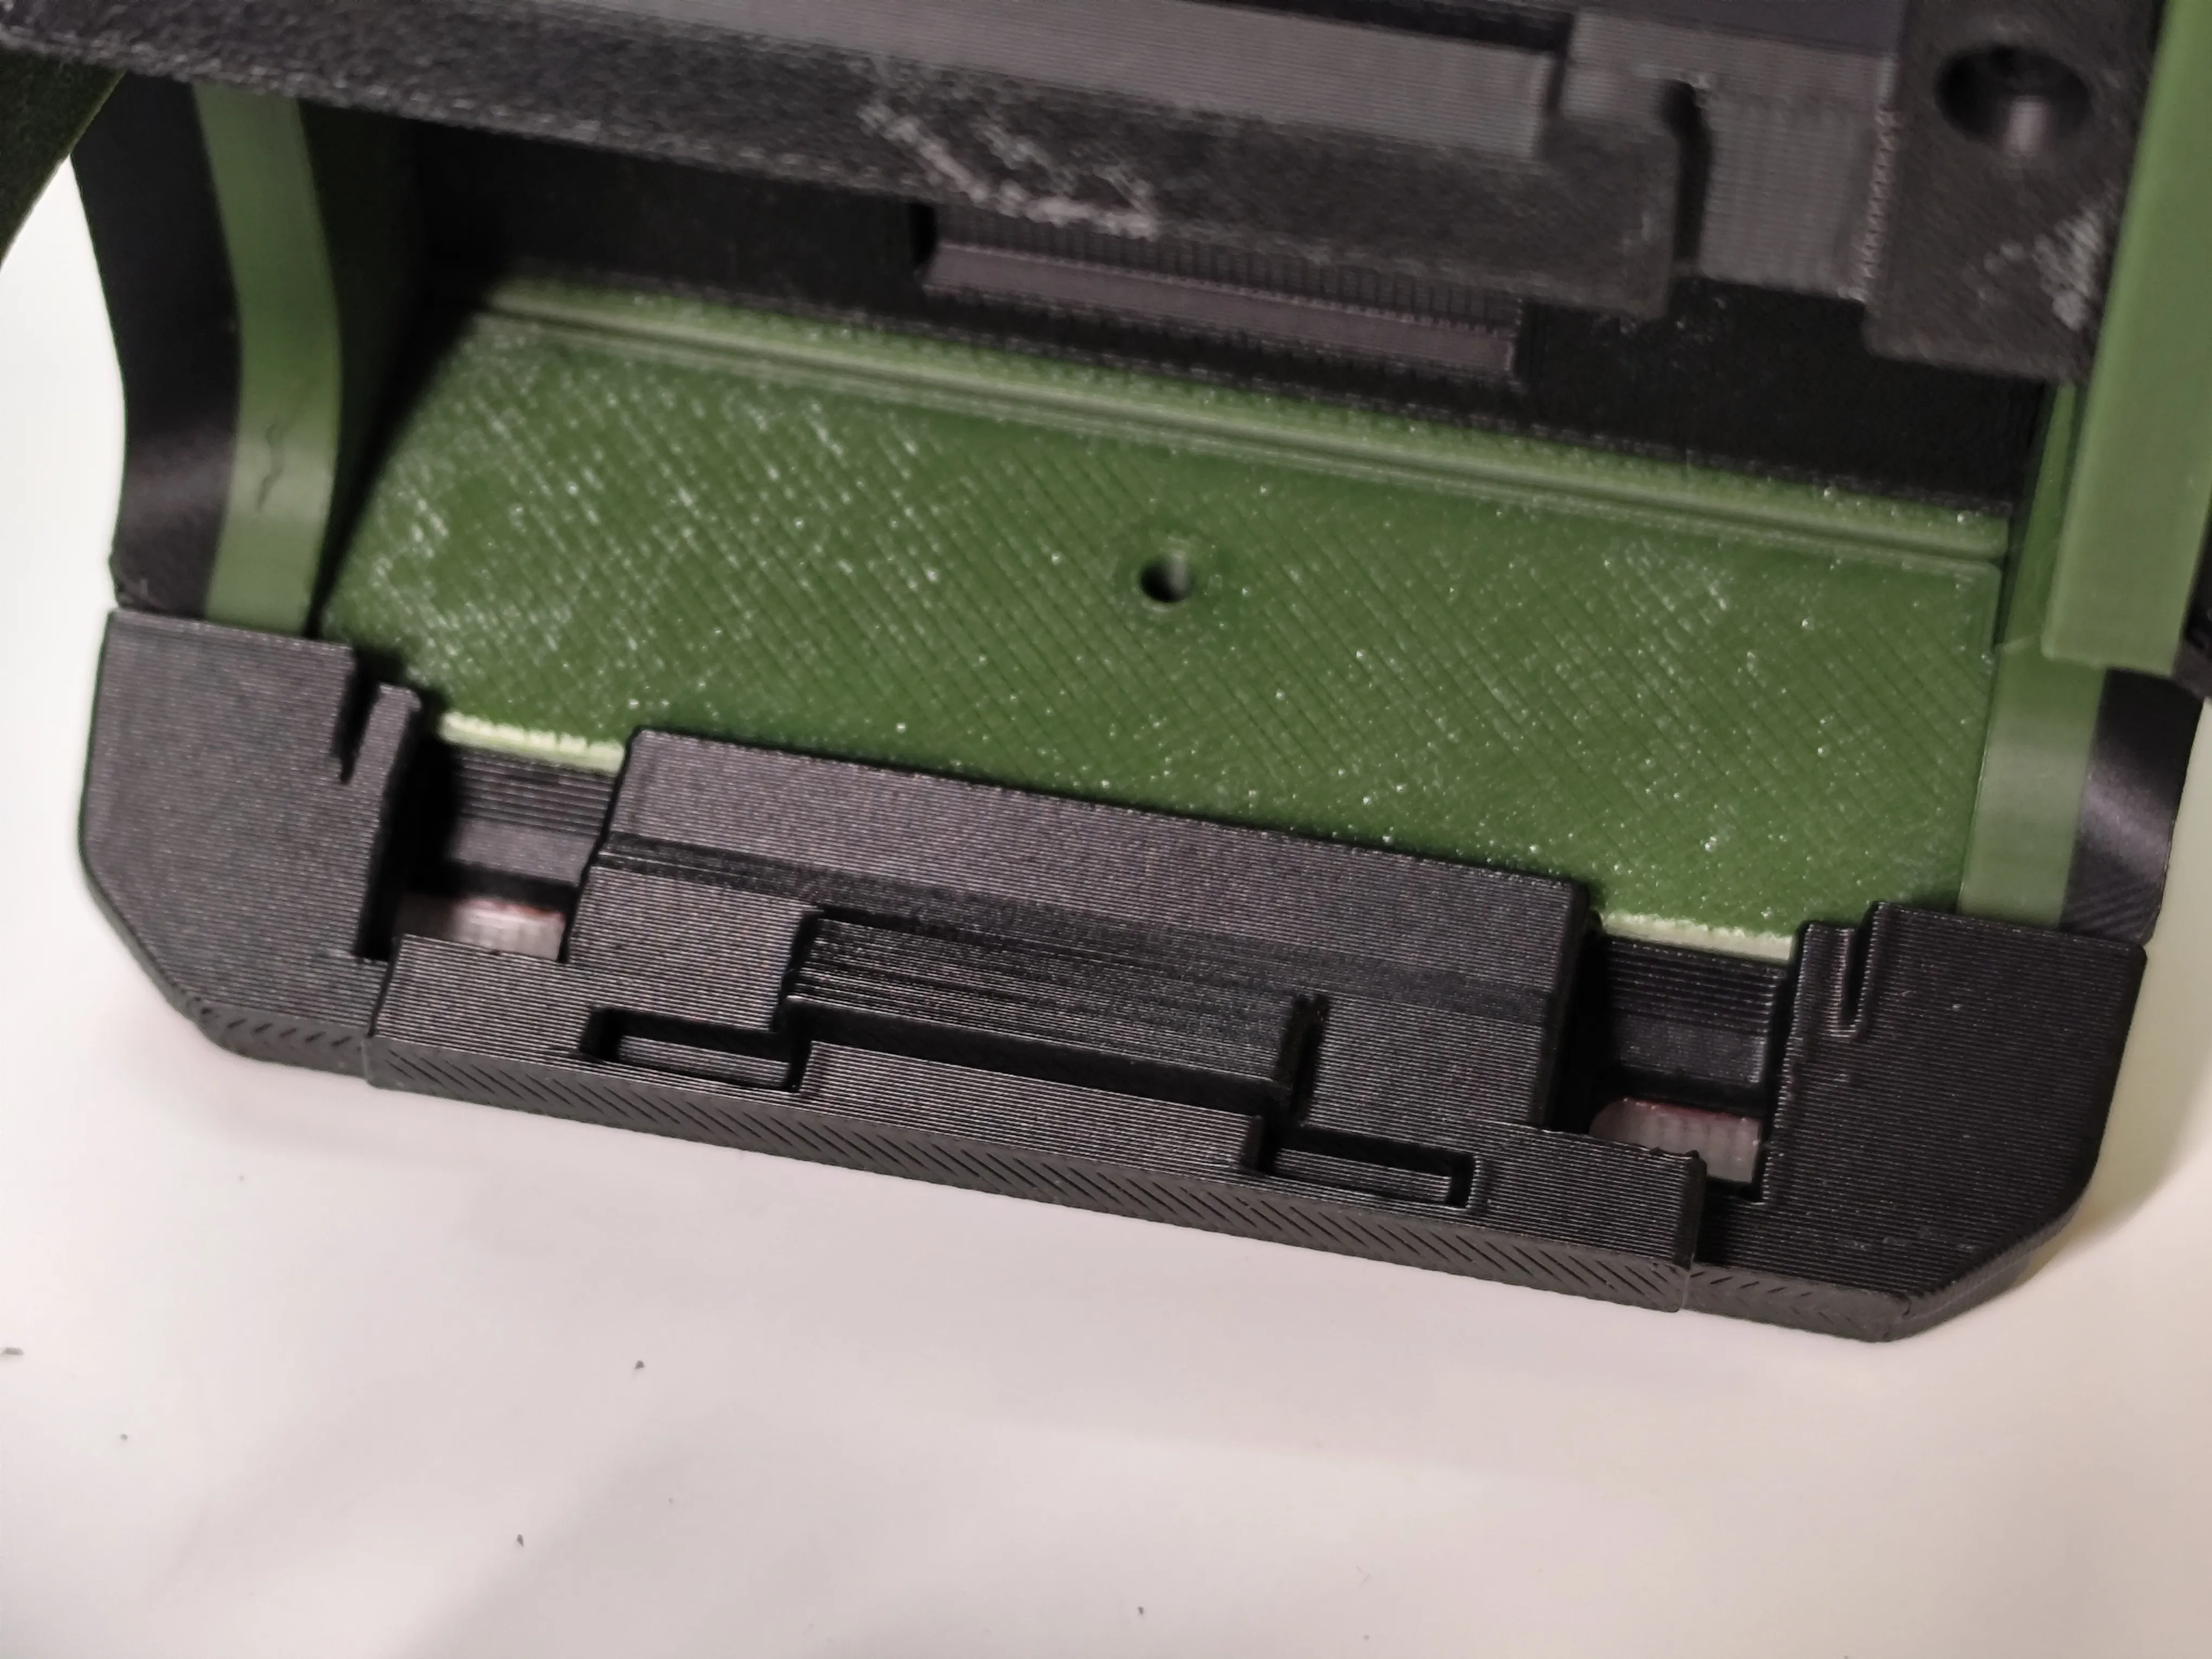
Assemble the rear bumper, glue the red and transparent taillight covers to their corresponding positions.
- Assemble according to the original model's instructions.
3. Update the CyberBrick configuration file. Since I am using a third-party N20 motor, the rotation direction may differ from the official N20 motor. If you find that the vehicle is moving in the opposite direction to the remote control, you only need to swap the left and right motor plugs.
4. Enjoy it.
Documentation (1)

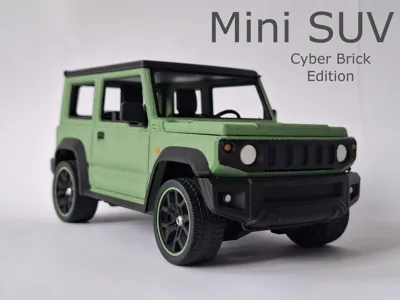
This remix is based on

License

You may create derivative works based on this object, provided that all such derivative works are published exclusively on the MakerWorld platform and include proper attribution to the original creator. You may not share, upload, host, distribute, or publish this object—or any derivative work of this object—on any other digital platform, marketplace, or distribution channel. Commercial use of this object and any derivative works is strictly prohibited. This includes, but is not limited to, selling, renting, sublicensing, or using the object in any context in which you receive monetary compensation or other financial benefits.


Comment & Rating (0)