Snap Fix rope system (for 5 inch beads)


Print Profile(1)
Bill of Materials

- pan head screw m4 x 2:
Description
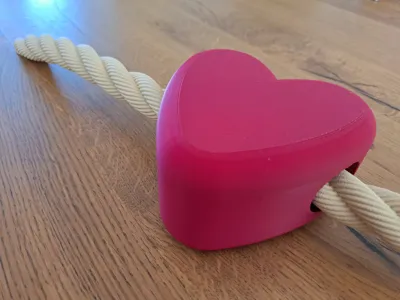
Why not print the rope to mound those pretty 5 inch beads you just made? My thought exactly!
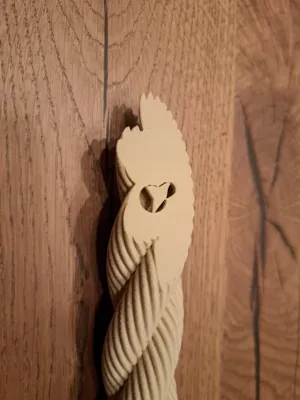
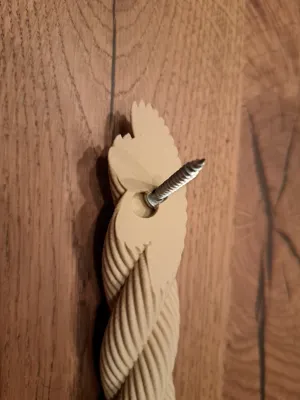
I wanted a beefy rope to match the enlarged look of the beads, but when I ordered a big rope I couldn't figure out how I would attach it to the wall… I'd figured I would print it instead. Just took some time in Fusion and a couple of prototypes to get to this rope system, which you can attach to the wall with two screws and the designated keyhole slots. It's recommended to use pan head screws for a larger surface of contact in the keyhole mount.
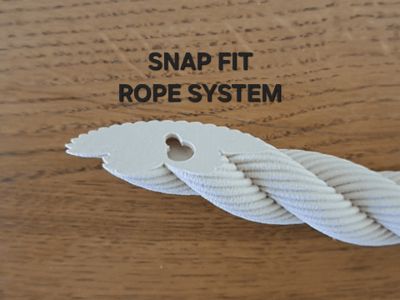
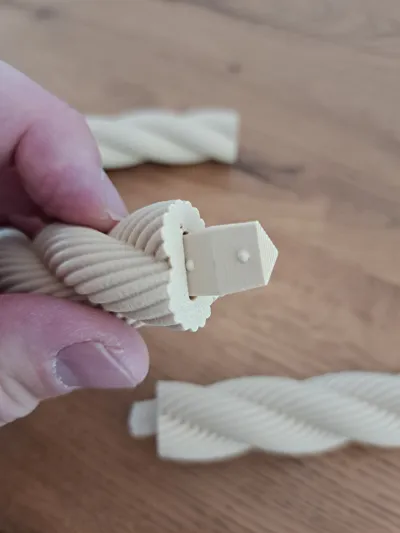
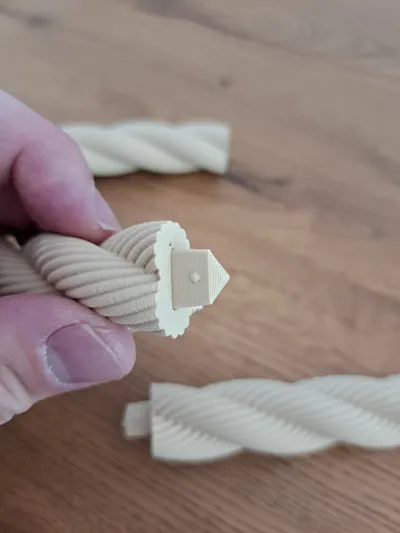
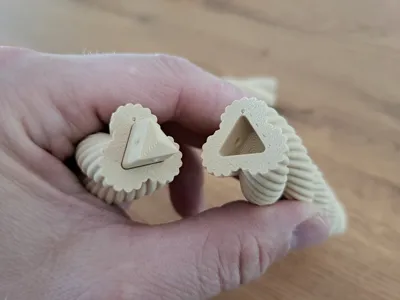
The sections snap together. It is important that you line up the small indicator holes when doing so, because there is a light curvature to the rope section (3) to simulate the look and feel of rope hanging. The position of the indicator represents up.

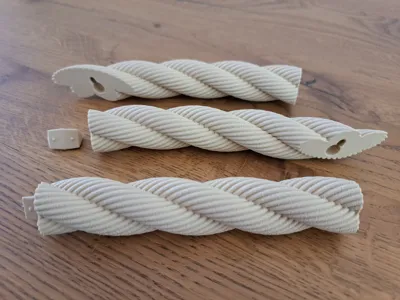
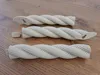
This rope system is made up out of 4 parts, with 3 different type of rope sections: Right (1), left (2a) and middle (3). part 2a needs a connector inserted, as shown in the picture; 2b needs to be inserted to be able to connect the left to the middle section(s).


The diameter of the rope is 25mm and the middle section is 130mm long. 5 inches is +/- 127mm, which gives a little clearance on the beads.
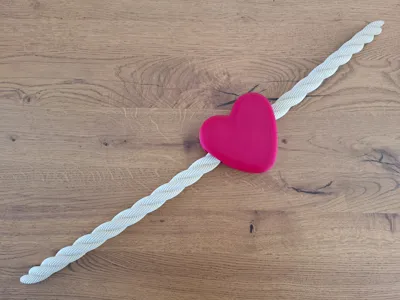
How many sections of rope you need depends on the number of beads you want to add. The connection “seam” on the rope sections should be in the middle of the bead. Therefor you need one less rope section (3) for the number of beads you want on the rope.
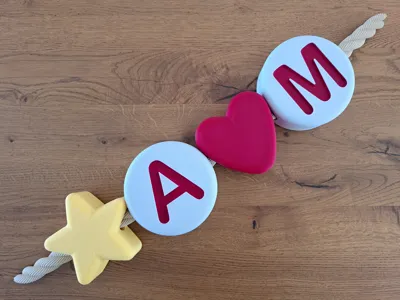
For example; When you add 4 beads, you need 3 times the rope sections number 3; as shown in the following picture.
 The star and heart beads are my own creations. The letter beads are from courtneyhotiron.
On the third plate in the print profile I added measuring tools, which you can insert to the rope ends. This should make it easier to pinpoint the position for the mounting screws.

When you're making a long chain, It's possible that the snap mechanism isn't going to suffice and I would recommend using glue.
This was printed on a P1S. Results may vary, especially on a “bed slinger” like the A1's.
*
If you like what you see, please follow and feel free to give me a Boost.
It’s a quick and easy way to show appreciation and help support my creative adventures on MakerWorld.
Boost Me (for free)
License
You shall not share, sub-license, sell, rent, host, transfer, or distribute in any way the digital or 3D printed versions of this object, nor any other derivative work of this object in its digital or physical format (including - but not limited to - remixes of this object, and hosting on other digital platforms). The objects may not be used without permission in any way whatsoever in which you charge money, or collect fees.
Comment & Rating (3)