decorative panel waves decorative panel waves


Print Profile(1)
Description
Boost Me (for free)
If you want to support my projects, I would be grateful. Thank you
Please read the instructions before printing
Item description:
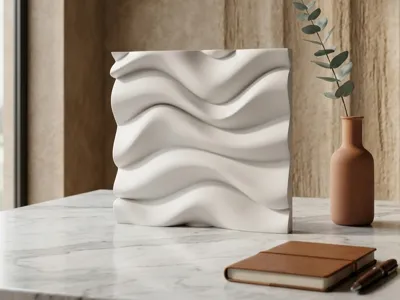
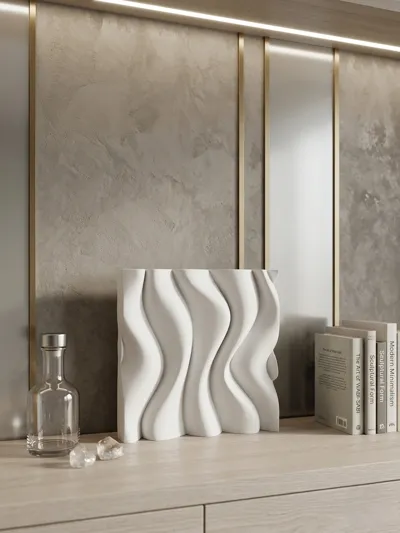
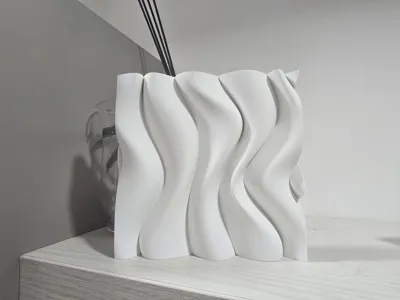
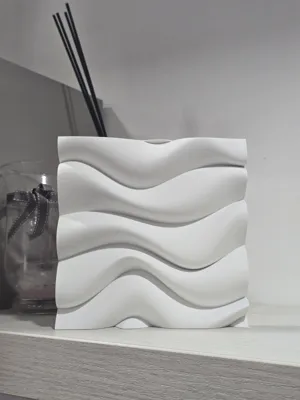
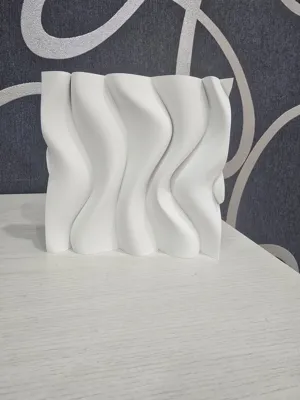
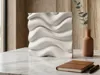
The item is a decorative wall panel with a matte white finish and an embossed geometric wave pattern
This type of modular element is typically used in interior design to create visually striking textured walls
Use: Although shown in the image as a sculptural table art piece or decorative paperweight, its main purpose is wall installation to form a fluid and three-dimensional surface
Print instructions:
Printed in SUNLU PLA Matte White
Printing is very easy
Colors can be changed in the slicer at the time of printing. The model can be enlarged or reduced as desired
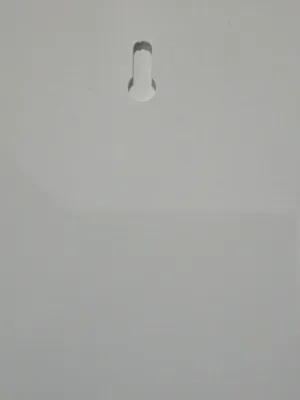
Supports are only needed for the rear hole and detach with extreme ease
If you enlarge or reduce the panel, be aware that the negative objects Kayhole (the rear holes) will enlarge/reduce accordingly, so you must select each object named Kayhole and restore its original size (x 9.50 mm, y 21.86 mm, z 3.00 mm), then move the Kayhole objects to ensure they pierce each panel as shown in the photo

If you want to reduce the thickness, remove the two Keyhole objects, but be aware that the panel cannot then be hung on the wall
GENERAL TIPS
A tip I always give is to first clean the print bed with dish soap and a sponge, rinsing with hot water, then dry it with compressed air, avoiding touching the surface with your hands. I also recommend performing the dynamic flow and flow rate calibrations provided in Bambu Studio. Personally, before printing, I dry the PLA with AMS 2 PRO for about 1 hour. These small precautions, along with many others, are what determine the success of a good print
Before leaving negative reviews, please adjust these parameters. If you have difficulties or continue to experience problems, do not hesitate to contact me; let's find solutions together in a perfect collaborative atmosphere. I have made several prints of this object, and they all came out perfect as in the photo: if you have incorrect parameters, dirty or clogged nozzles, poorly calibrated machines, damp or poor-quality filaments, do not blame me.
PRINTING INSTRUCTIONS:
Layer height 0.2 mm
Initial layer height 0.2 mm
Seam position aligned
Wall loops 2
Top shell layers 5
Bottom shell layers 3
Ironing top surfaces
Supports enabled
Infill 8%
Infill pattern Grid
Outer wall speed 200 mm/s
Inner wall speed 300 mm/s
Normal print acceleration speed 10,000 mm/s
Outer wall acceleration speed 10,000 mm/s
License
You may create derivative works based on this object, provided that all such derivative works are published exclusively on the MakerWorld platform and include proper attribution to the original creator. You may not share, upload, host, distribute, or publish this object—or any derivative work of this object—on any other digital platform, marketplace, or distribution channel. Commercial use of this object and any derivative works is strictly prohibited. This includes, but is not limited to, selling, renting, sublicensing, or using the object in any context in which you receive monetary compensation or other financial benefits.
Comment & Rating (4)