AMS 2 PRO Filament Feed Fix! Hub Spring Issue!


Print Profile(1)

Description
Bambu Lab AMS 2 PRO Spring Fix (X2D Combo Hub Repair)
Is your brand new X2D Combo throwing constant AMS feed errors because the filament won’t load? If you can't print because of filament blocked, this is the reliable fix.
This model is designed as a secure, tool-less solution that overcomes the inconsistencies filament fix. Keep your printer running with minimum downtime.
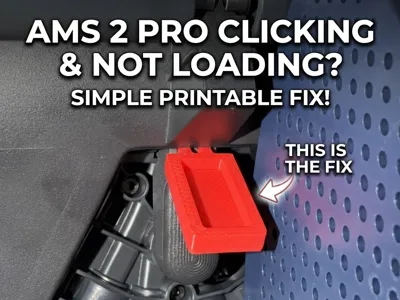
🛑 The Problem
The factory spring mechanism on the new AMS 2 PRO is too strong, causing the filament routing mechanism to block loading. Many users have tried simply pushing filament into the space but this pops out eventually due to the smooth edges especially during high-speed printing or rapid retractions, causing feed errors and stalled prints.
✅ The Solution
I’ve designed a custom, geometry-aware insert that stays in the slot! Providing a consistent, secure hold to prevent the faulty spring entirely. Easy to install and easy to remove once your replacement hub arrives.
Boost Me (for free)
Boost me for Free!!! Thanks I will continue to make wonderful designs and check out my other projects. If I get 10 boosts I will upload manual 3 X 1 filament track switch using ptfe couplers.
Key Features:
- Strong Design: Dual prongs ensure the block stays exactly where you put it, preventing it from popping out under pressure.
- Easy to Use: Tool-less installation. It slides into place and pulls right out when needed.
- Two Versions Included:
- Standard Version: Features a recessed top, making it easier to grip, insert, and remove.
Micro Version: A low-profile, smaller option if you need extra clearance or prefer a very clean, hidden look.
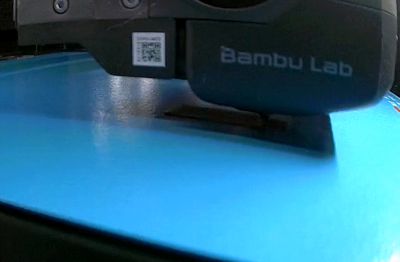
🖨️ Recommended Print Settings
- Material: PETG, ABS, or ASA recommended for temperature resistance and slight flexibility. PLA+ will work fine temporarily.
- Layer Height: 0.16mm or 0.20mm
- Infill: 25% - 100% (Solid printing adds durability to the prongs).
Walls: 3-4
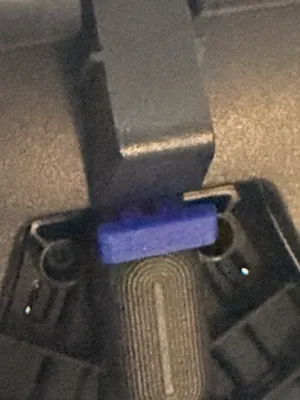
🔧 Installation
- Unload one or both of the middle filament from the AMS 2 PRO.
- Press down on the tension button.
- Align and push the printed part into the gap above the button, ensuring the two small prongs point down into the slot. Pressing firmly till into place until it seats flush.
- Print with confidence!
License
You shall not share, sub-license, sell, rent, host, transfer, or distribute in any way the digital or 3D printed versions of this object, nor any other derivative work of this object in its digital or physical format (including - but not limited to - remixes of this object, and hosting on other digital platforms). The objects may not be used without permission in any way whatsoever in which you charge money, or collect fees.
Comment & Rating (219)