
Print Profile(0)
Description
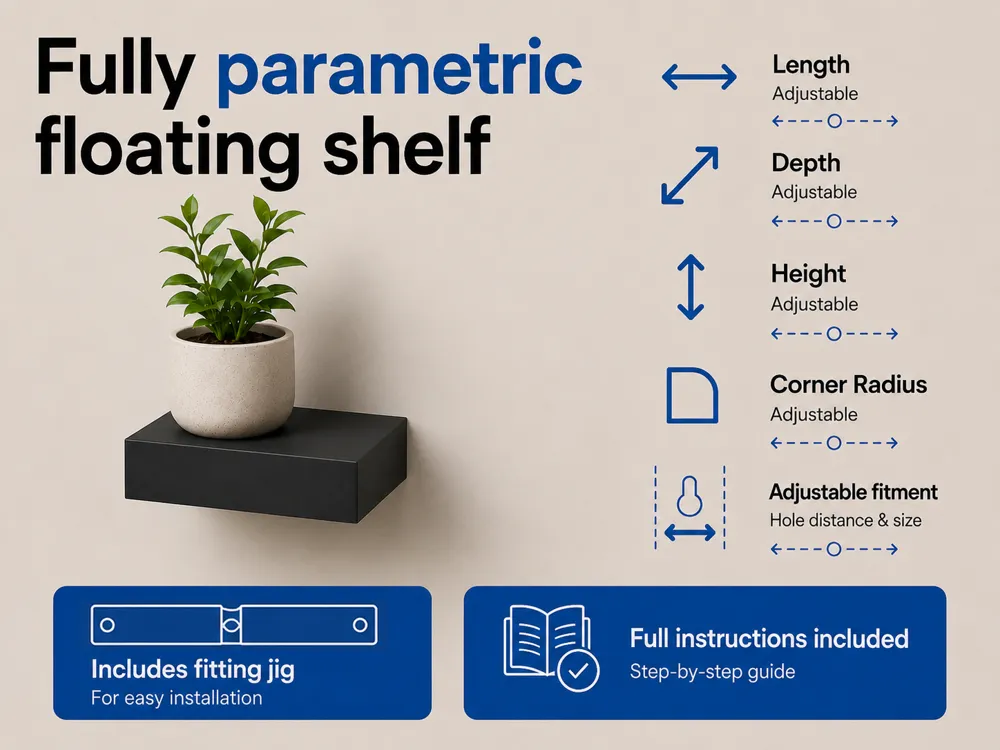
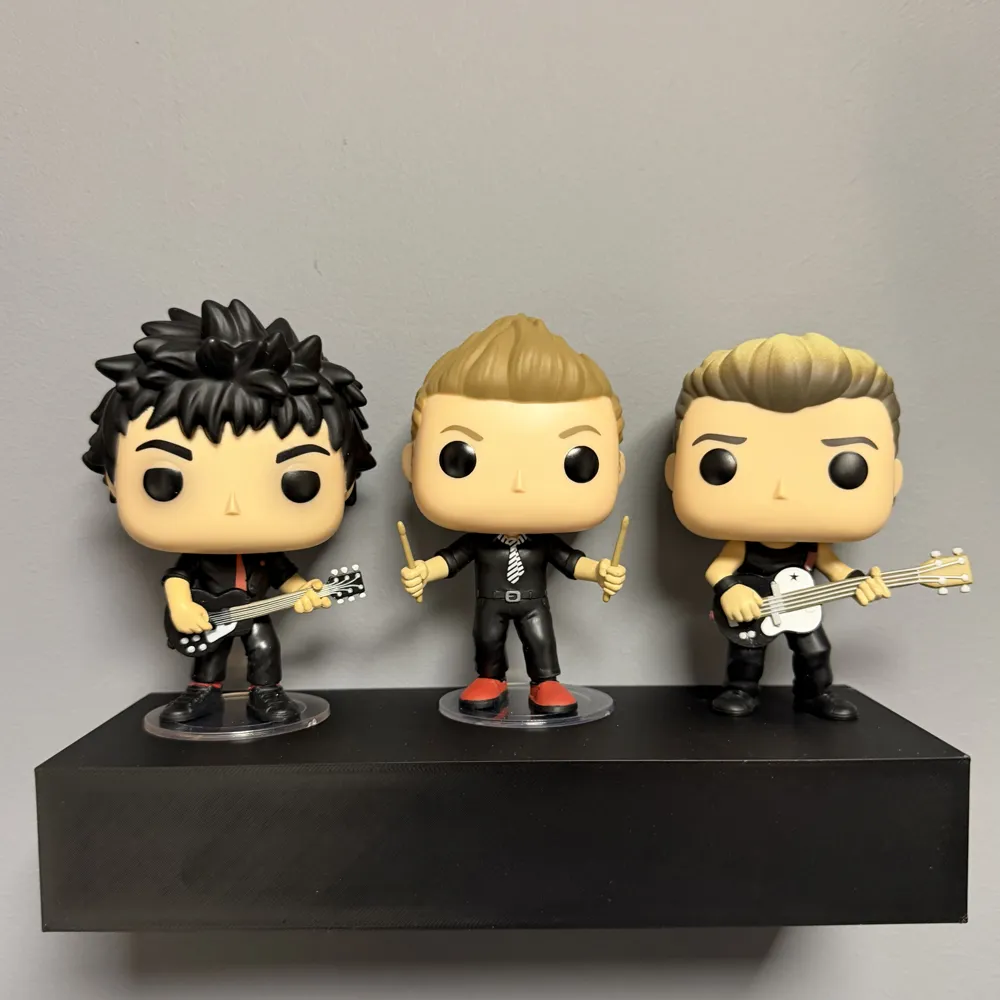
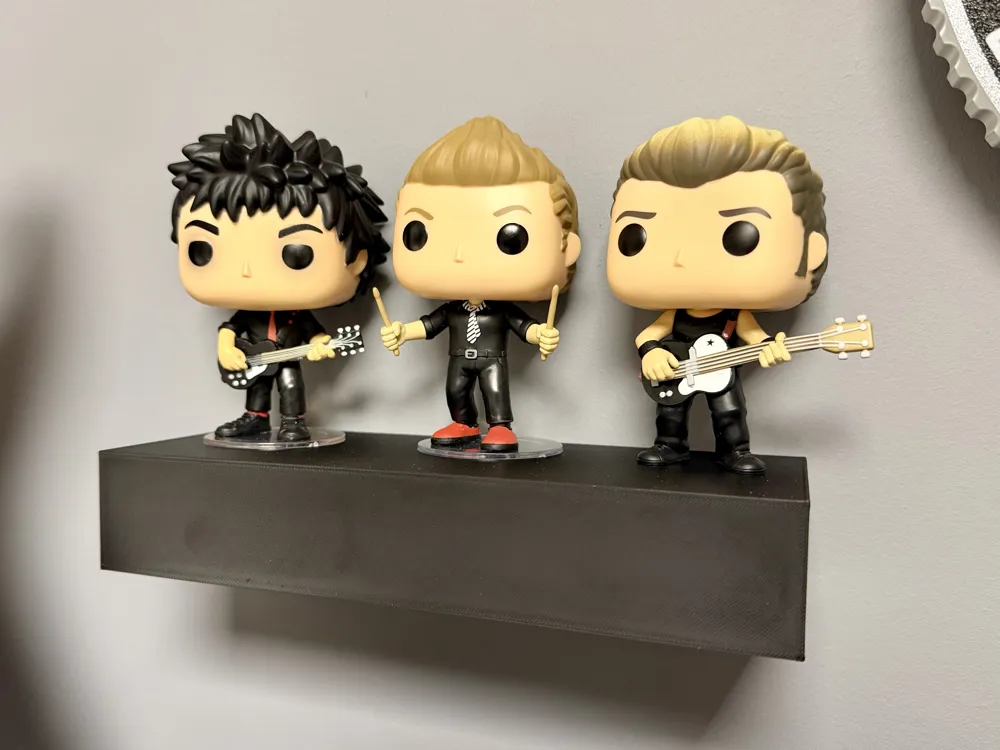
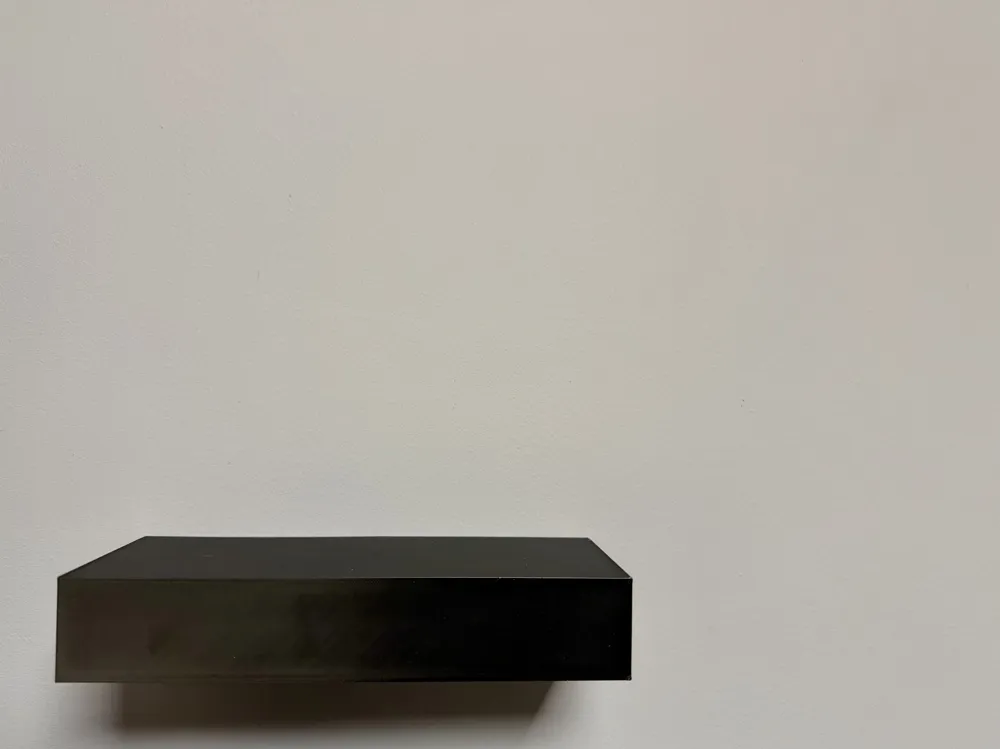
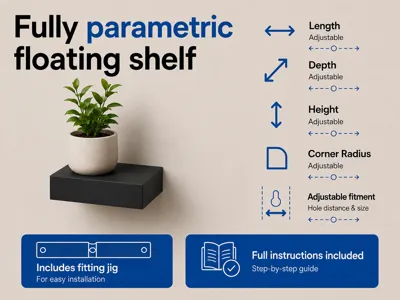
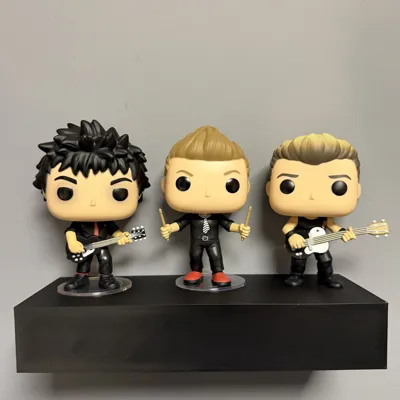
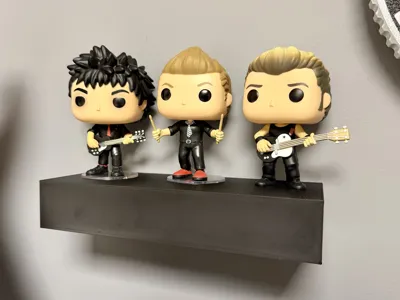
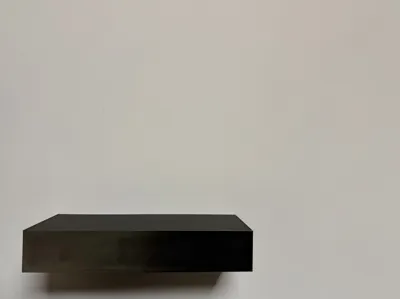
Parametric Floating Wall Shelf - with an IKEA Lack Style mounting system
Create a clean floating shelf with fully adjustable dimensions using MakerLab Parametric Model Maker. Inspired by the small IKEA Lack shelf mounting system, this design uses hidden screw head slots on the rear of the shelf for a simple floating appearance without visible brackets.
The included parametric fitting jig automatically resizes alongside your shelf settings, making installation much easier and more accurate.
Perfect for small displays, lightweight storage and custom spaces where standard shelf sizes do not fit.
Boost Me (for free)
If you found this model useful, a Boost is always appreciated and helps support future designs and updates.
Before you start
Clean your print bed and hot end
Clean your plate first, following your usual routine. Dish soap works best, clean and then rinse thoroughly, ensure the plate is dry and free of debris before putting back in the printer.
Leftover filament residue on your hot end can cause unwanted colour streaks, which will show very clearly against the white parts of the print. Please inspect your hot end before starting the print, if you spot any clumps or leftover filament, follow Bambu's recommended cleaning guide to remove.
Suitable screw sizes
The rear mounting slots are designed around the following approximate screw dimensions:
- Adjustable screw head opening using the screwhead parameter
- Default screw head opening: 9mm
- Recommended maximum screw head opening: 10mm (maximum you can go to is 13mm)
- Maximum screw thread/shank diameter: just under 5mm
Depending on your material, printer calibration and slicer settings, actual tolerances may vary slightly after printing.
It is strongly recommended to test fit your chosen screws before mounting the shelf permanently.
-----
Understanding the parametric settings
This model is fully adjustable using MakerLab Parametric Model Maker.
Depth (depth)
This controls how far the shelf extends from the wall.
Please note that the design automatically adds 8mm for the rear fixing section.
Example:
- Entering 72mm results in an overall shelf depth of 80mm
- If you want a finished depth of 90mm, enter 82mm
Shelf height (shelfheight)
This controls the overall thickness/height of the shelf body.
Due to the integrated fixing slot design, I recommend a minimum value of 30mm.
Shelf length (shelflength)
This controls the overall width of the shelf.
Adjust this according to:
- Your printer bed size
- The available wall space
Screw hole distance (holedistance)
This controls how far apart the wall fixing points are from the centre of the shelf (selecting 30mm for example, gives a total gap between fixing holes of 60mm)
.
Try to distribute the fixing points sensibly across the shelf length to help spread the load evenly. If making shorter shelves, reduce this value accordingly.
Corner radius (cornerradius)
This controls how rounded the front corners of the shelf are.
By default this value is set to 0, giving the shelf straight square edges.
Increasing the value will progressively round off the corners:
- Lower values create subtle rounding
- Higher values create much softer curved corners and reduce the usable space on the shelf.
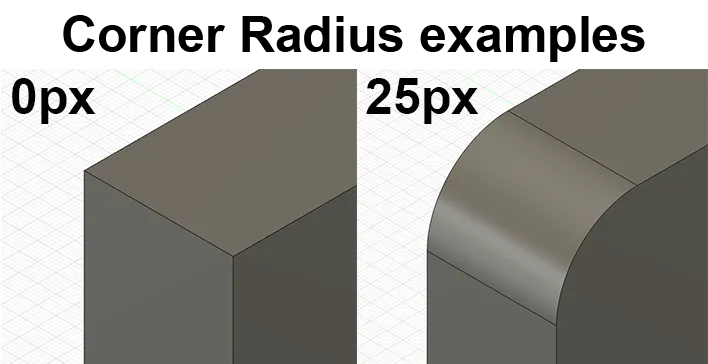
Please note that the shelf prints upright, so depending on your chosen layer height, rounded corners may show visible layer stepping on the curved surfaces.
Using a lower layer height can help reduce the appearance of stepping.
Screw head size (screwhead)
This controls the size of the rear keyhole opening used to fit over the screw head.
The default value is 9mm, which is suitable for most common screw head sizes after normal print shrinkage. You can increase this value slightly if your chosen screw heads are larger than standard.
I would recommend not exceeding 10mm, as this will likely result in a screw with a larger shaft/thread diameter too. Due to the size of the box cutout behind the fixing cutout, the very maximum you can go to is 13mm, but I would suggest sticking to 9 or 10mm
The maximum screw thread/shank size remains unchanged at just under 5mm.
As with all printed tolerances, actual fit may vary slightly depending on:
- Material
- Printer calibration
- Slicer settings
- Print shrinkage
It is strongly recommended to test fit your screws before permanent installation.
-----
How to open the Parametric Model Maker to adjust the model
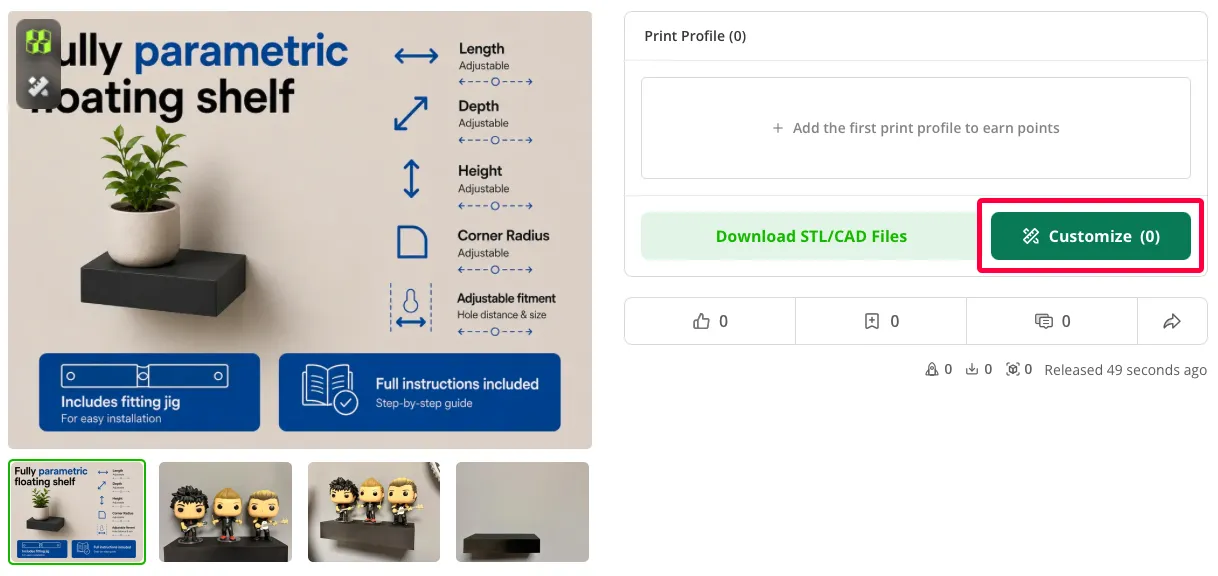
At the top of this page, you will see the customise button (circled red)
Click Customize, you will then get the following popup
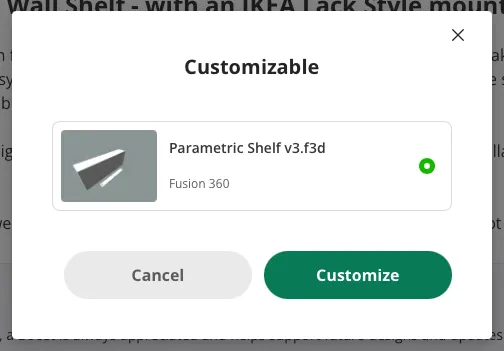
Click Customize on the popup to launch the Parametric Model Maker, where you can adjust the shelf to suit your needs
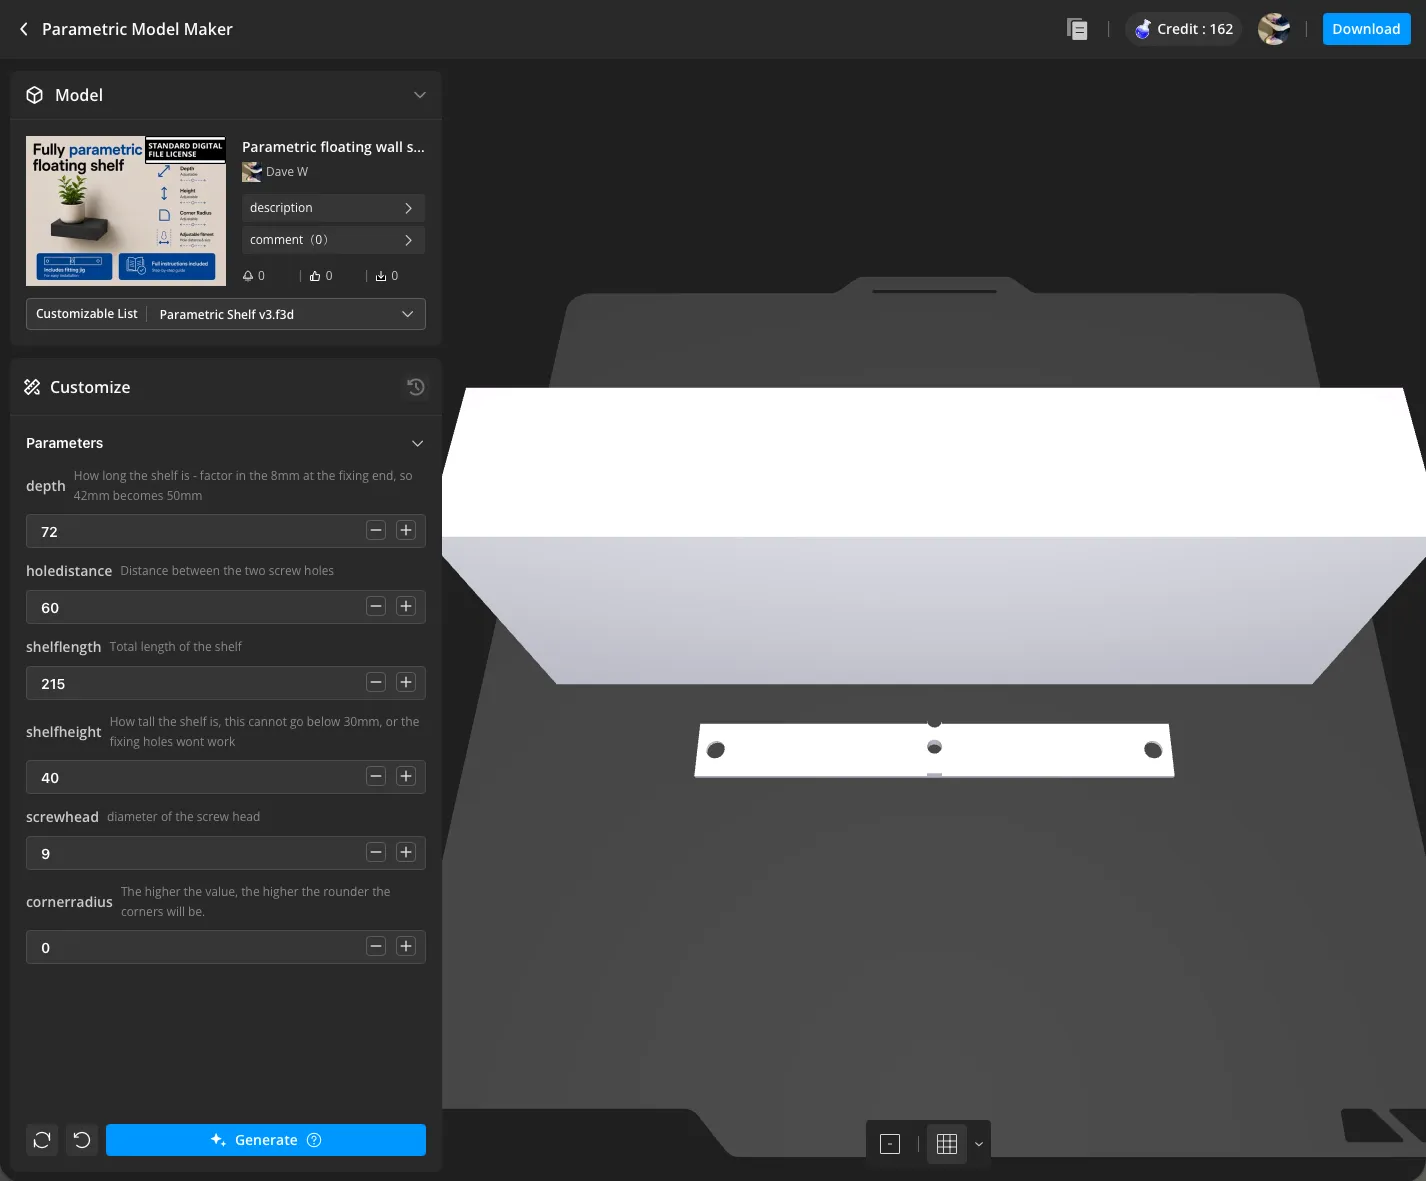
To make the changes, adjust the values in the relevant boxes, then click the blue Generate button at the bottom of the screen to see how they look. Once happy, click Download at the top right.
-----
Printing
After adjusting your settings in the MakerLab Parametric Model Maker tool, you can export the finished model as either:
- STL
- 3MF
You will then need to configure your own slicer settings depending on your printer, material and intended shelf strength.
Recommended considerations:
- Print upright as designed
- Use sufficient wall loops for strength
- Increase infill for larger shelves
- PETG or stronger materials are recommended for higher temperature environments
- Use appropriate top and bottom layer counts
- Ensure good layer adhesion before use
Larger shelves may require:
- Increased wall count
- Increased top/bottom layers
- Higher infill percentages
Rounded corner variants may benefit from lower layer heights to reduce visible stepping on curved edges.
Always test the strength of your print before mounting anything valuable or heavy.
Always test the strength of your print before mounting anything valuable or heavy.
Optional finishing touches
For a smoother top surface finish, you may wish to enable ironing in your slicer after exporting the model from the Parametric Model Maker tool.
Ironing can help improve the appearance of the visible top surfaces, particularly on larger shelves or prints using silk and glossy materials.
Specific ironing settings are not provided, as optimal results vary depending on:
- Filament type
- Filament brand
- Moisture levels
- Printer calibration
- Nozzle condition
- Layer height
- Print speeds
It is strongly recommended to run ironing calibration tests using the exact filament you plan to print with.
There are many excellent ironing calibration models available on MakerWorld which can help you dial in settings for the smoothest possible finish.
-----
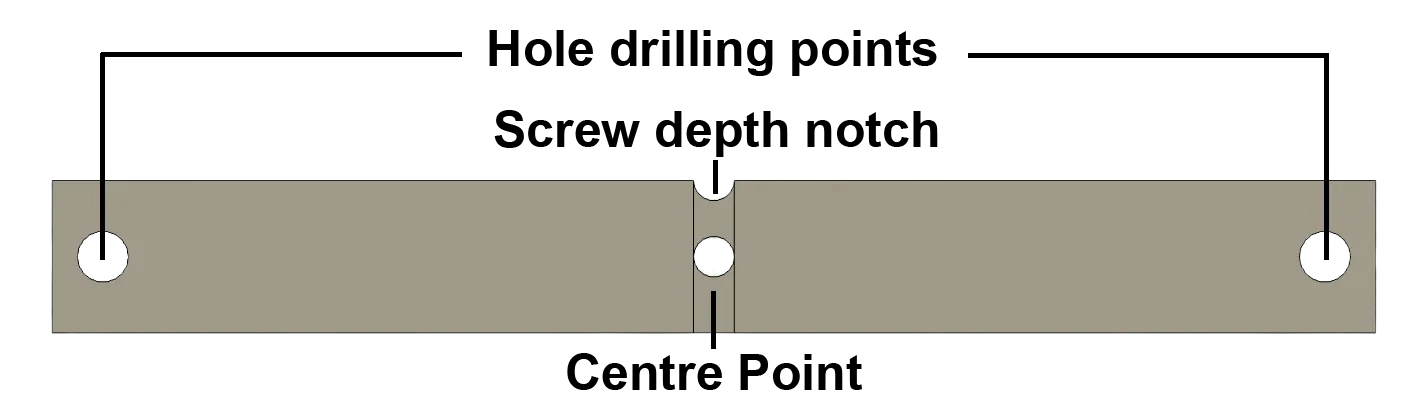
Fitting jig
The included fitting jig automatically scales alongside your chosen parametric values.
The jig helps with:
- Marking out the centre point of the shelf (centre point hole included)
- Marking drill hole positions, spaced to match the holedistance values selected
- Setting screw depth from the wall
The centre cutout notch on the jig is designed to provide a 4mm spacing guide between the wall and the rear of the screw head. This helps ensure the shelf slides securely into place.
-----
Assembly
Installing the shelf
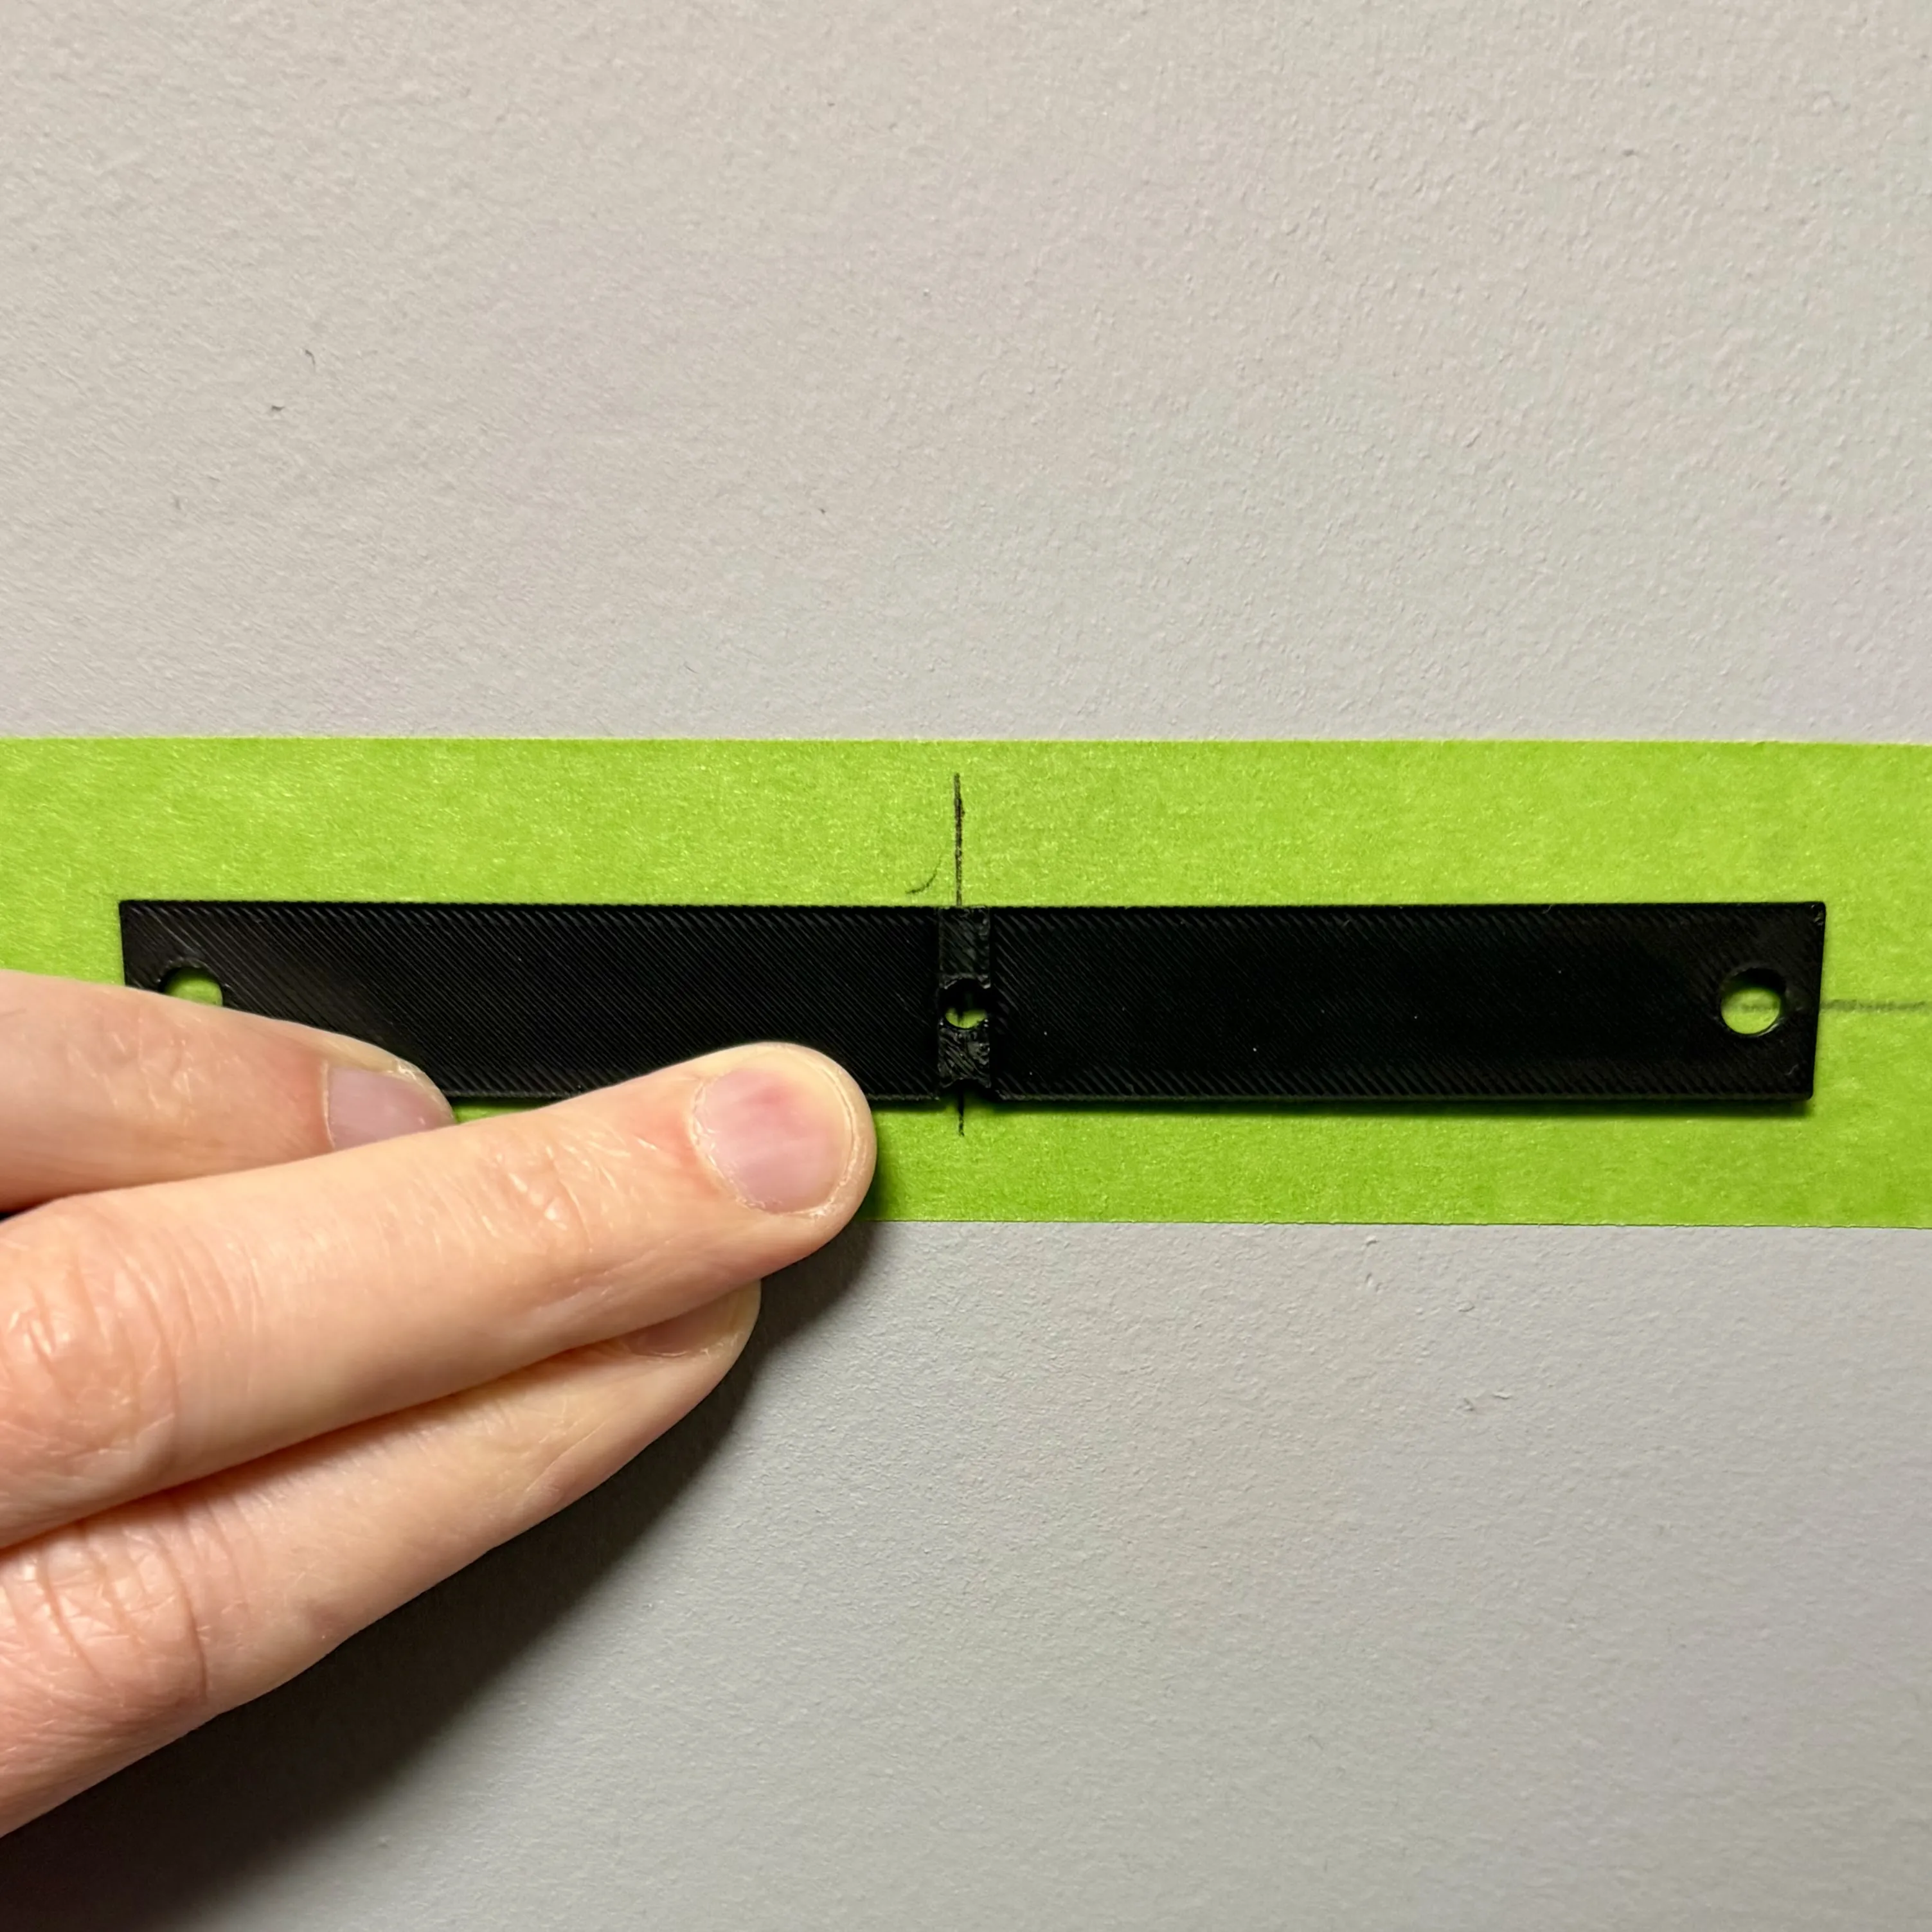
Using the fitting jig and a spirit level:
Mark the wall fixing positions
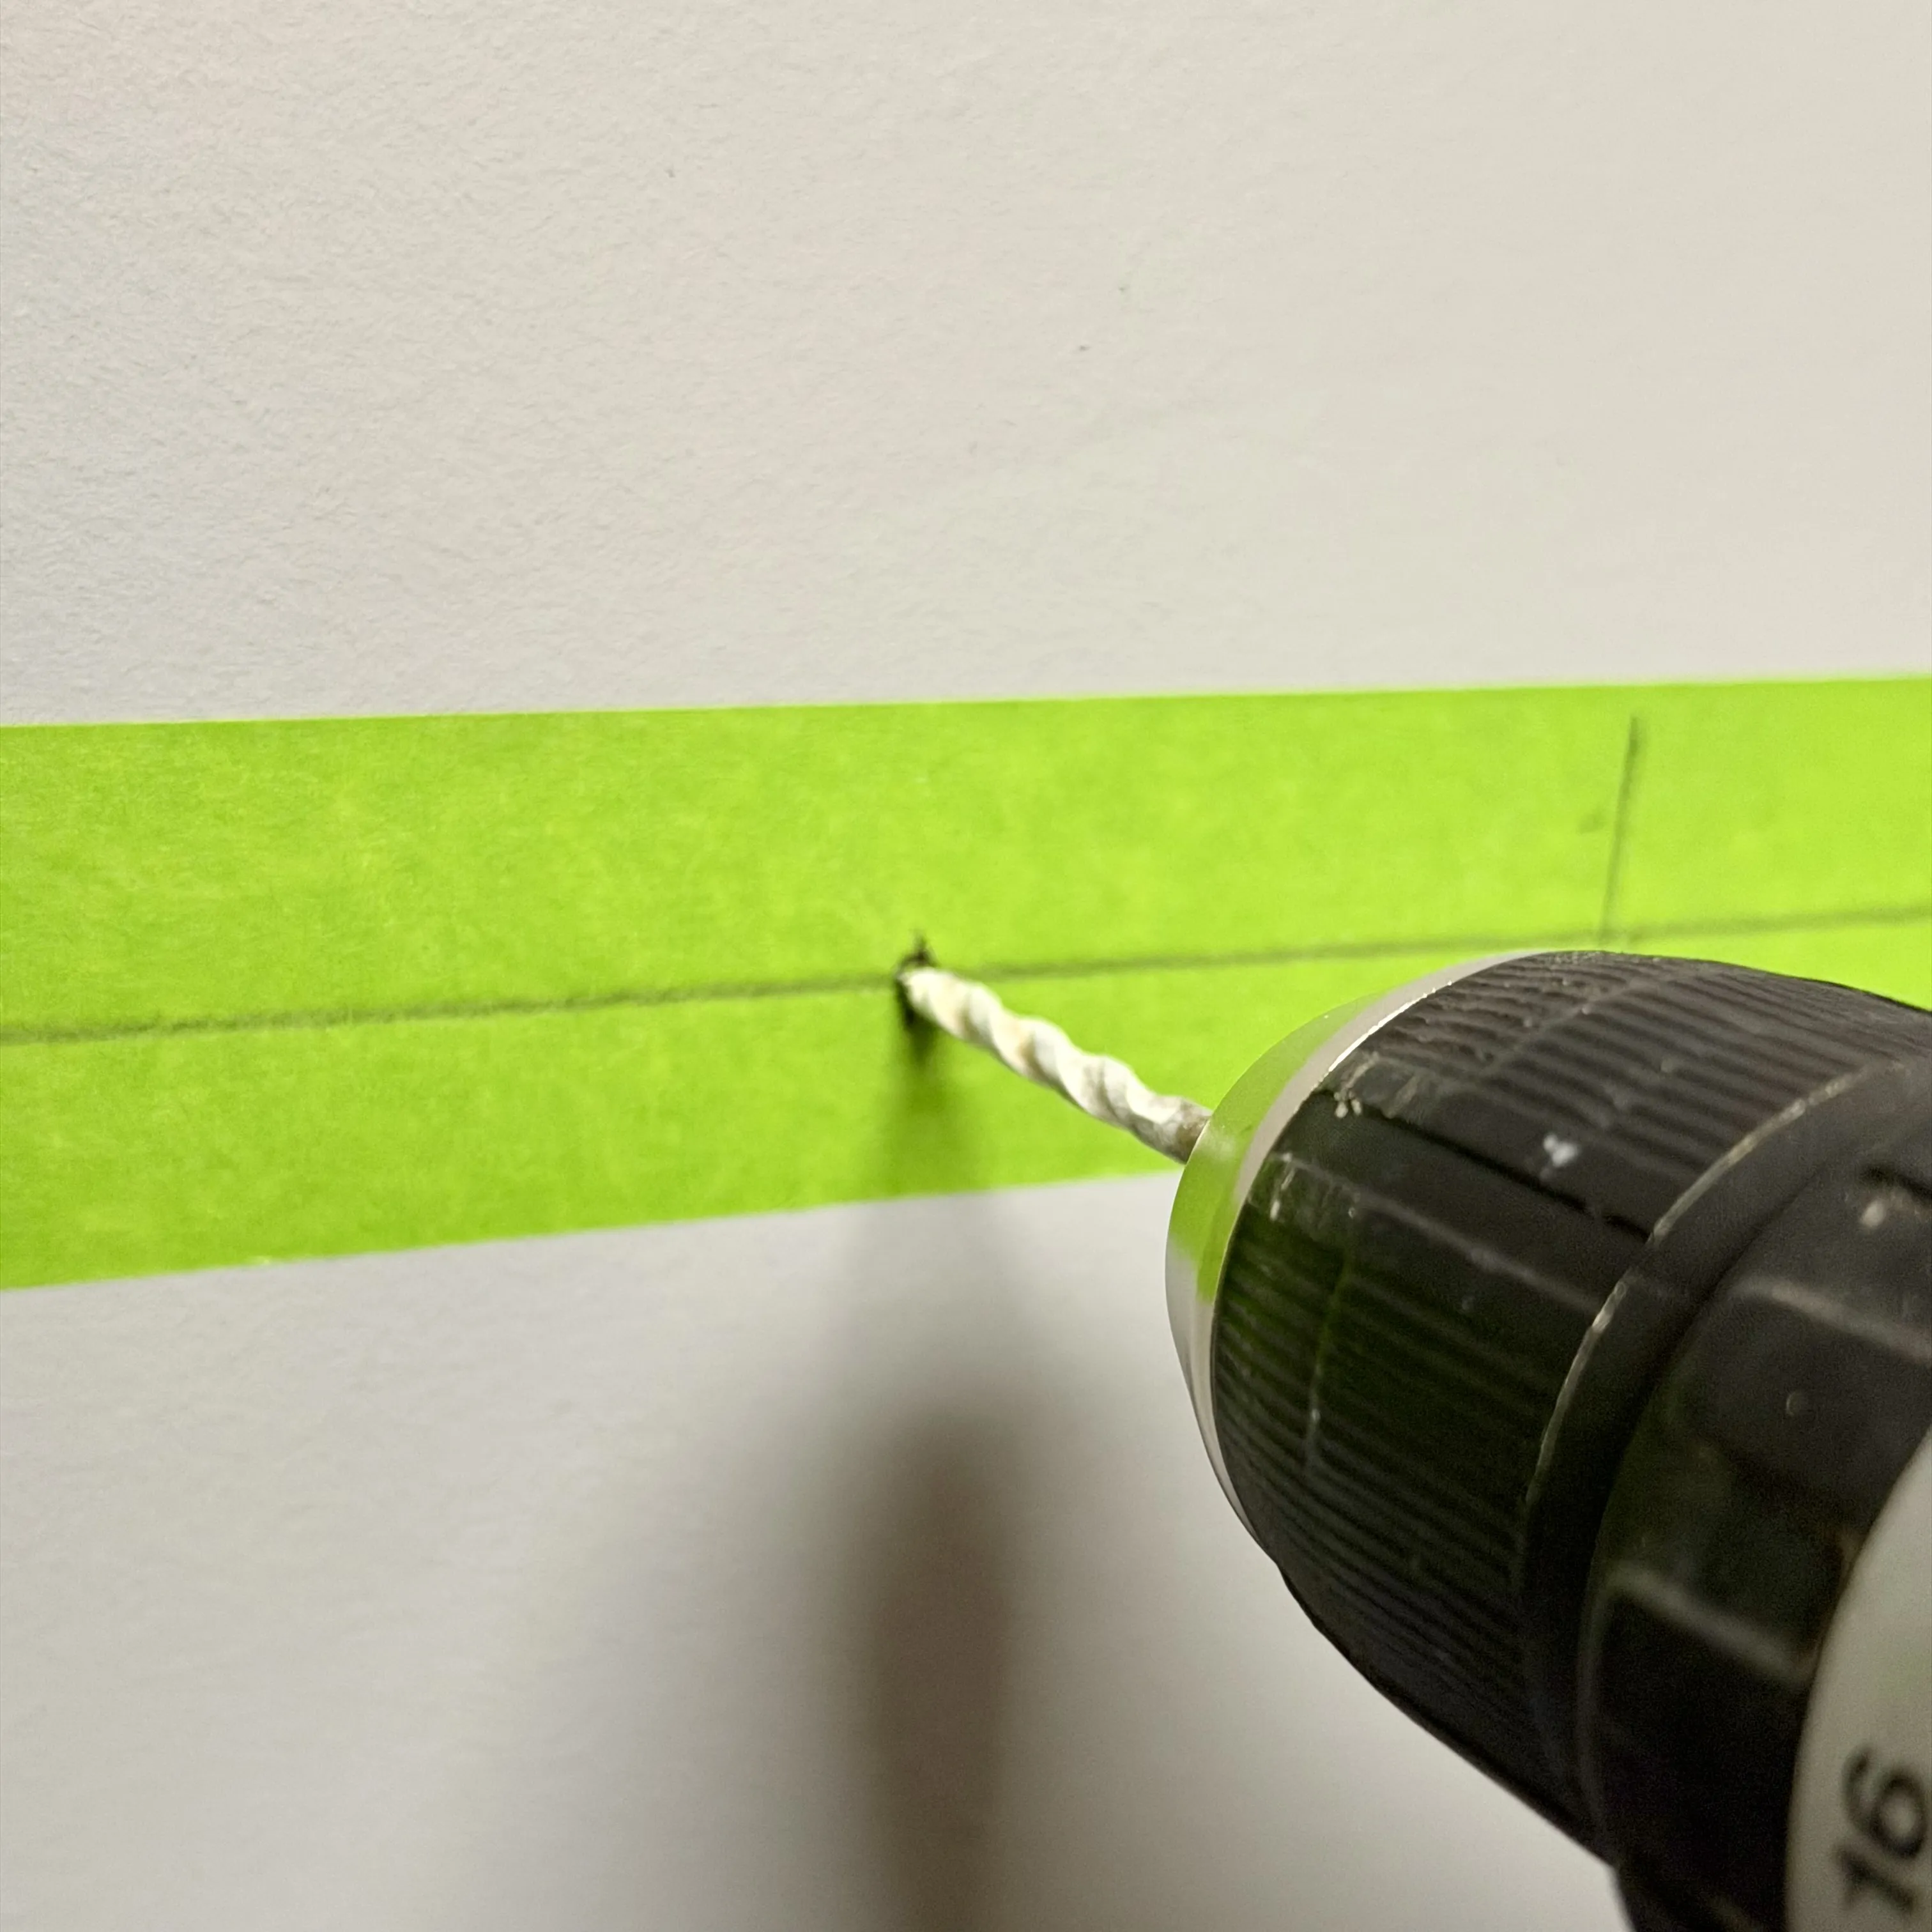
Drill holes suitable for your chosen wall fixings
- Install the appropriate wall anchors if required
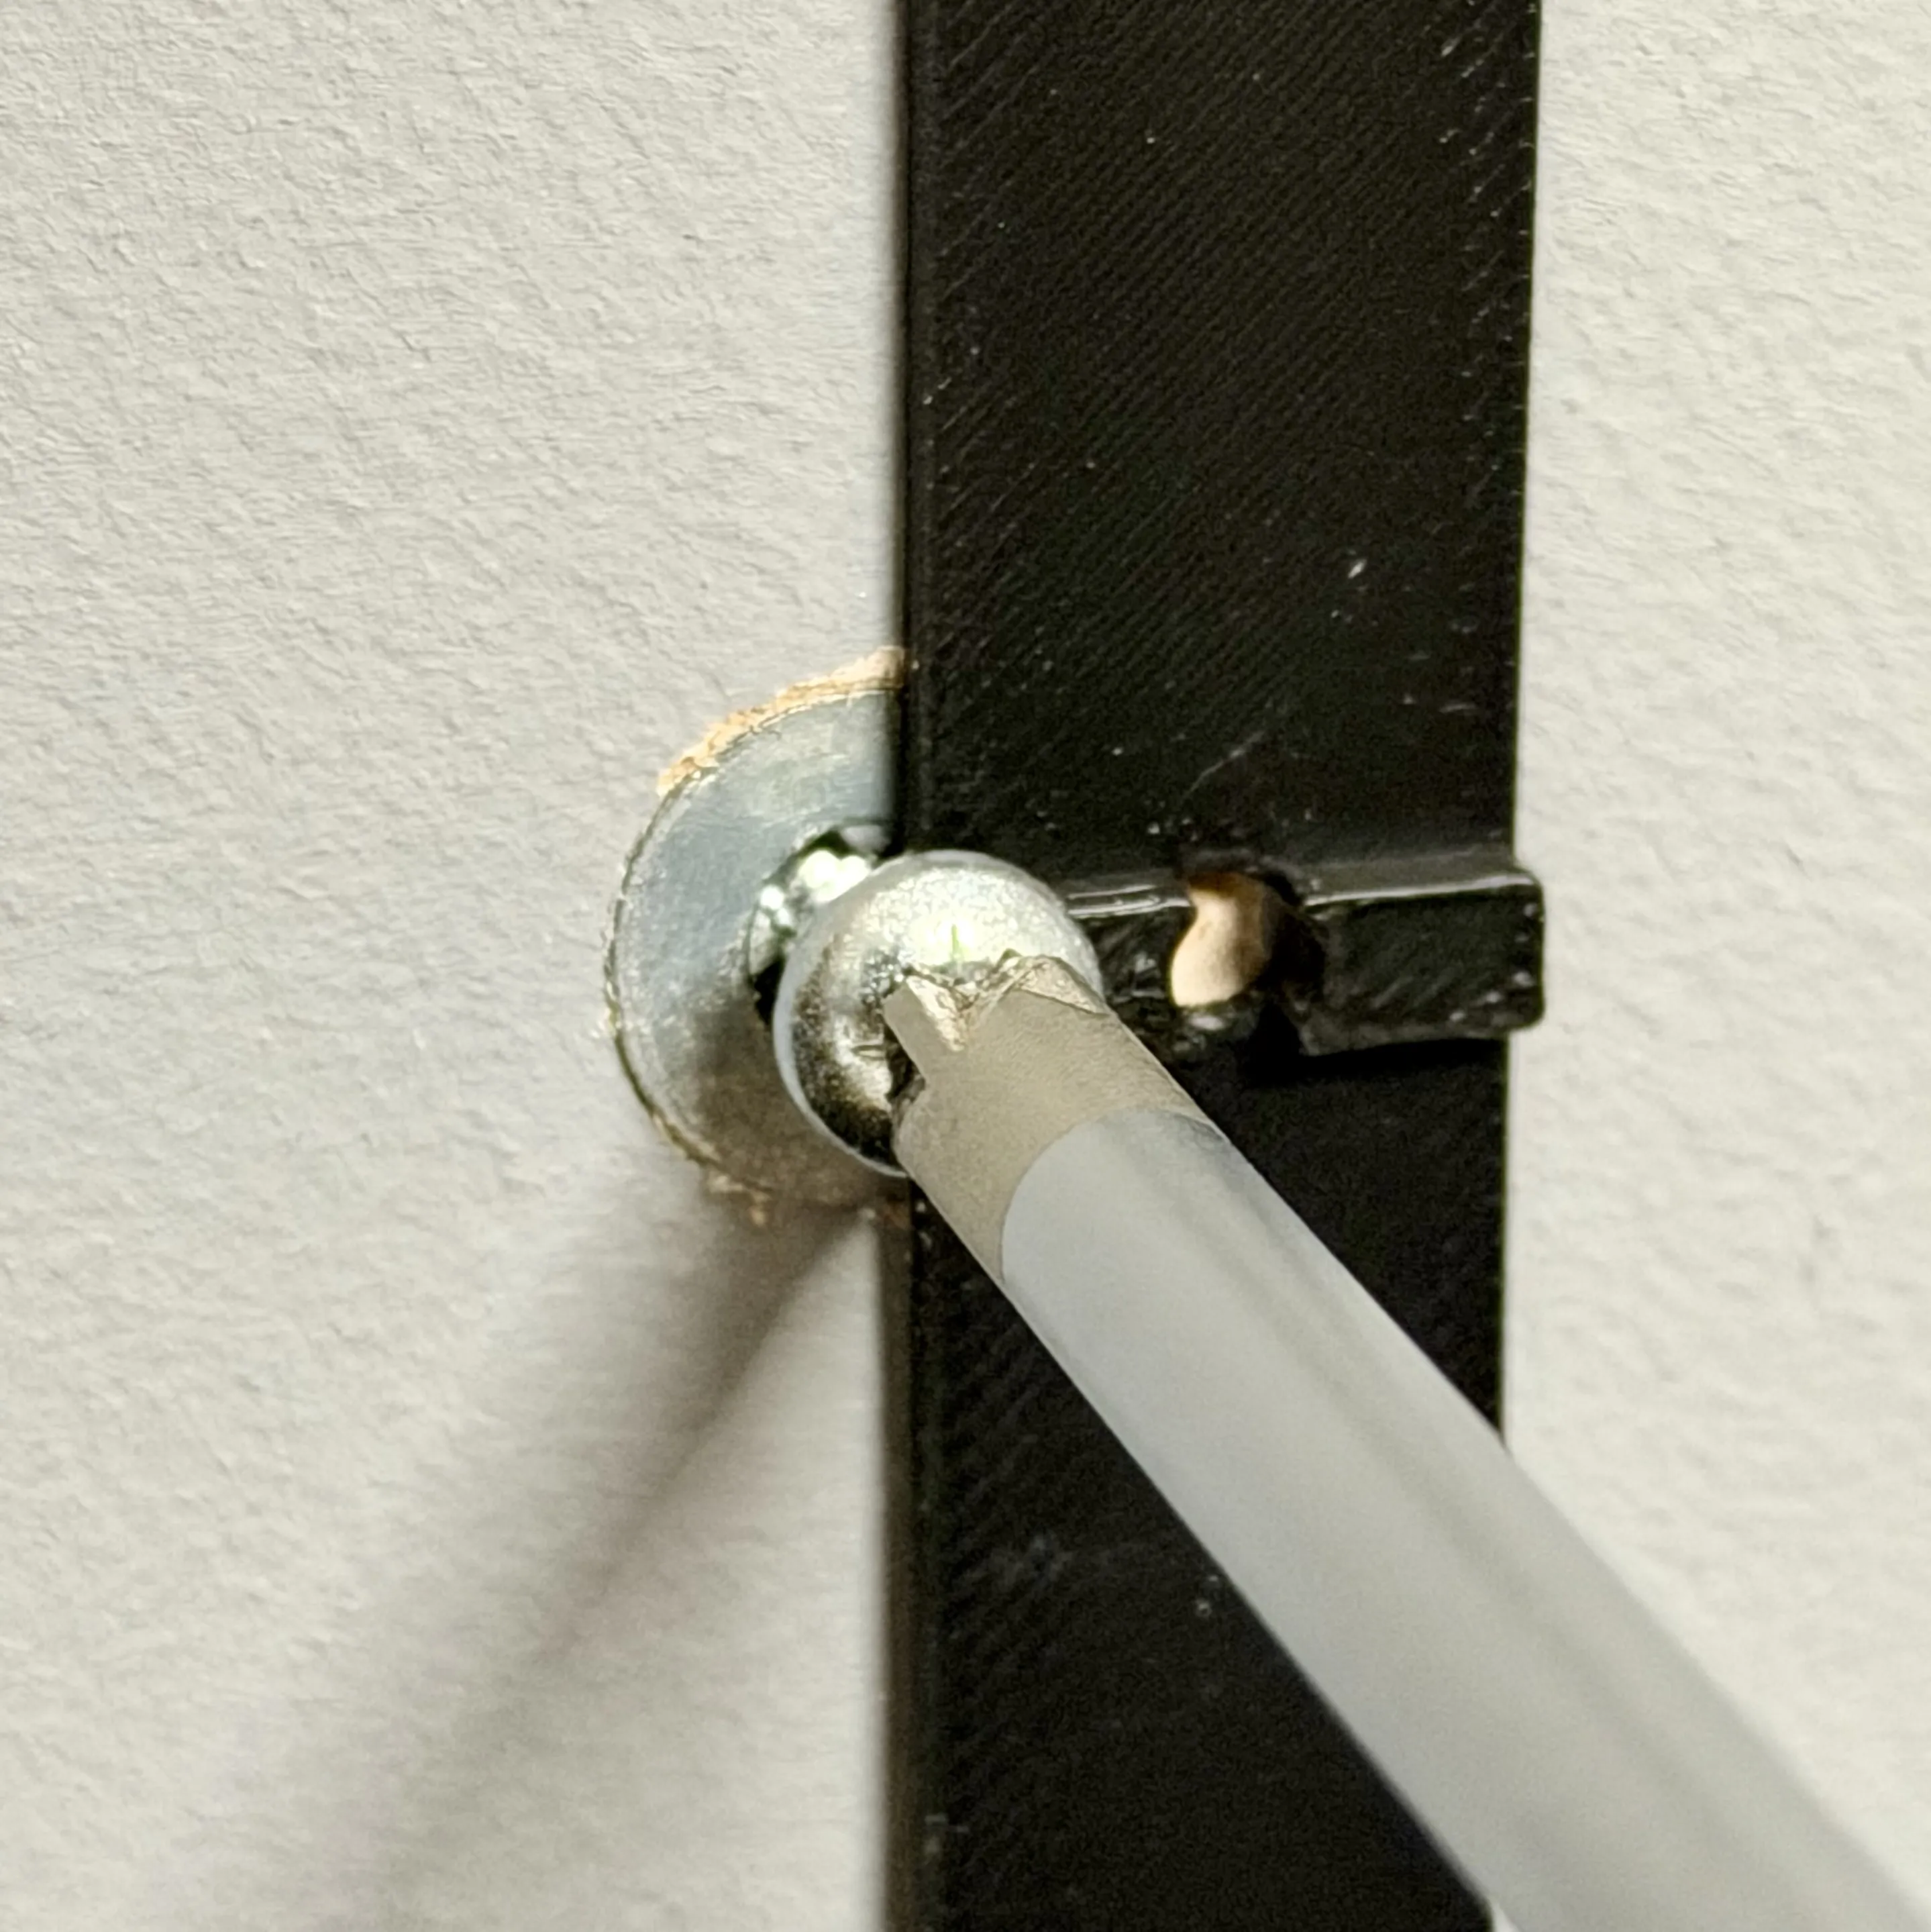
- Screw the fixing screws into the wall
Leave approximately 4mm between the wall and the rear of the screw head, the fitting jig notch can be used to help set this spacing consistently.
Mounting the shelf
The rear of the shelf contains keyhole-style fixing slots.
To install:
Align the larger circular openings with the screw heads
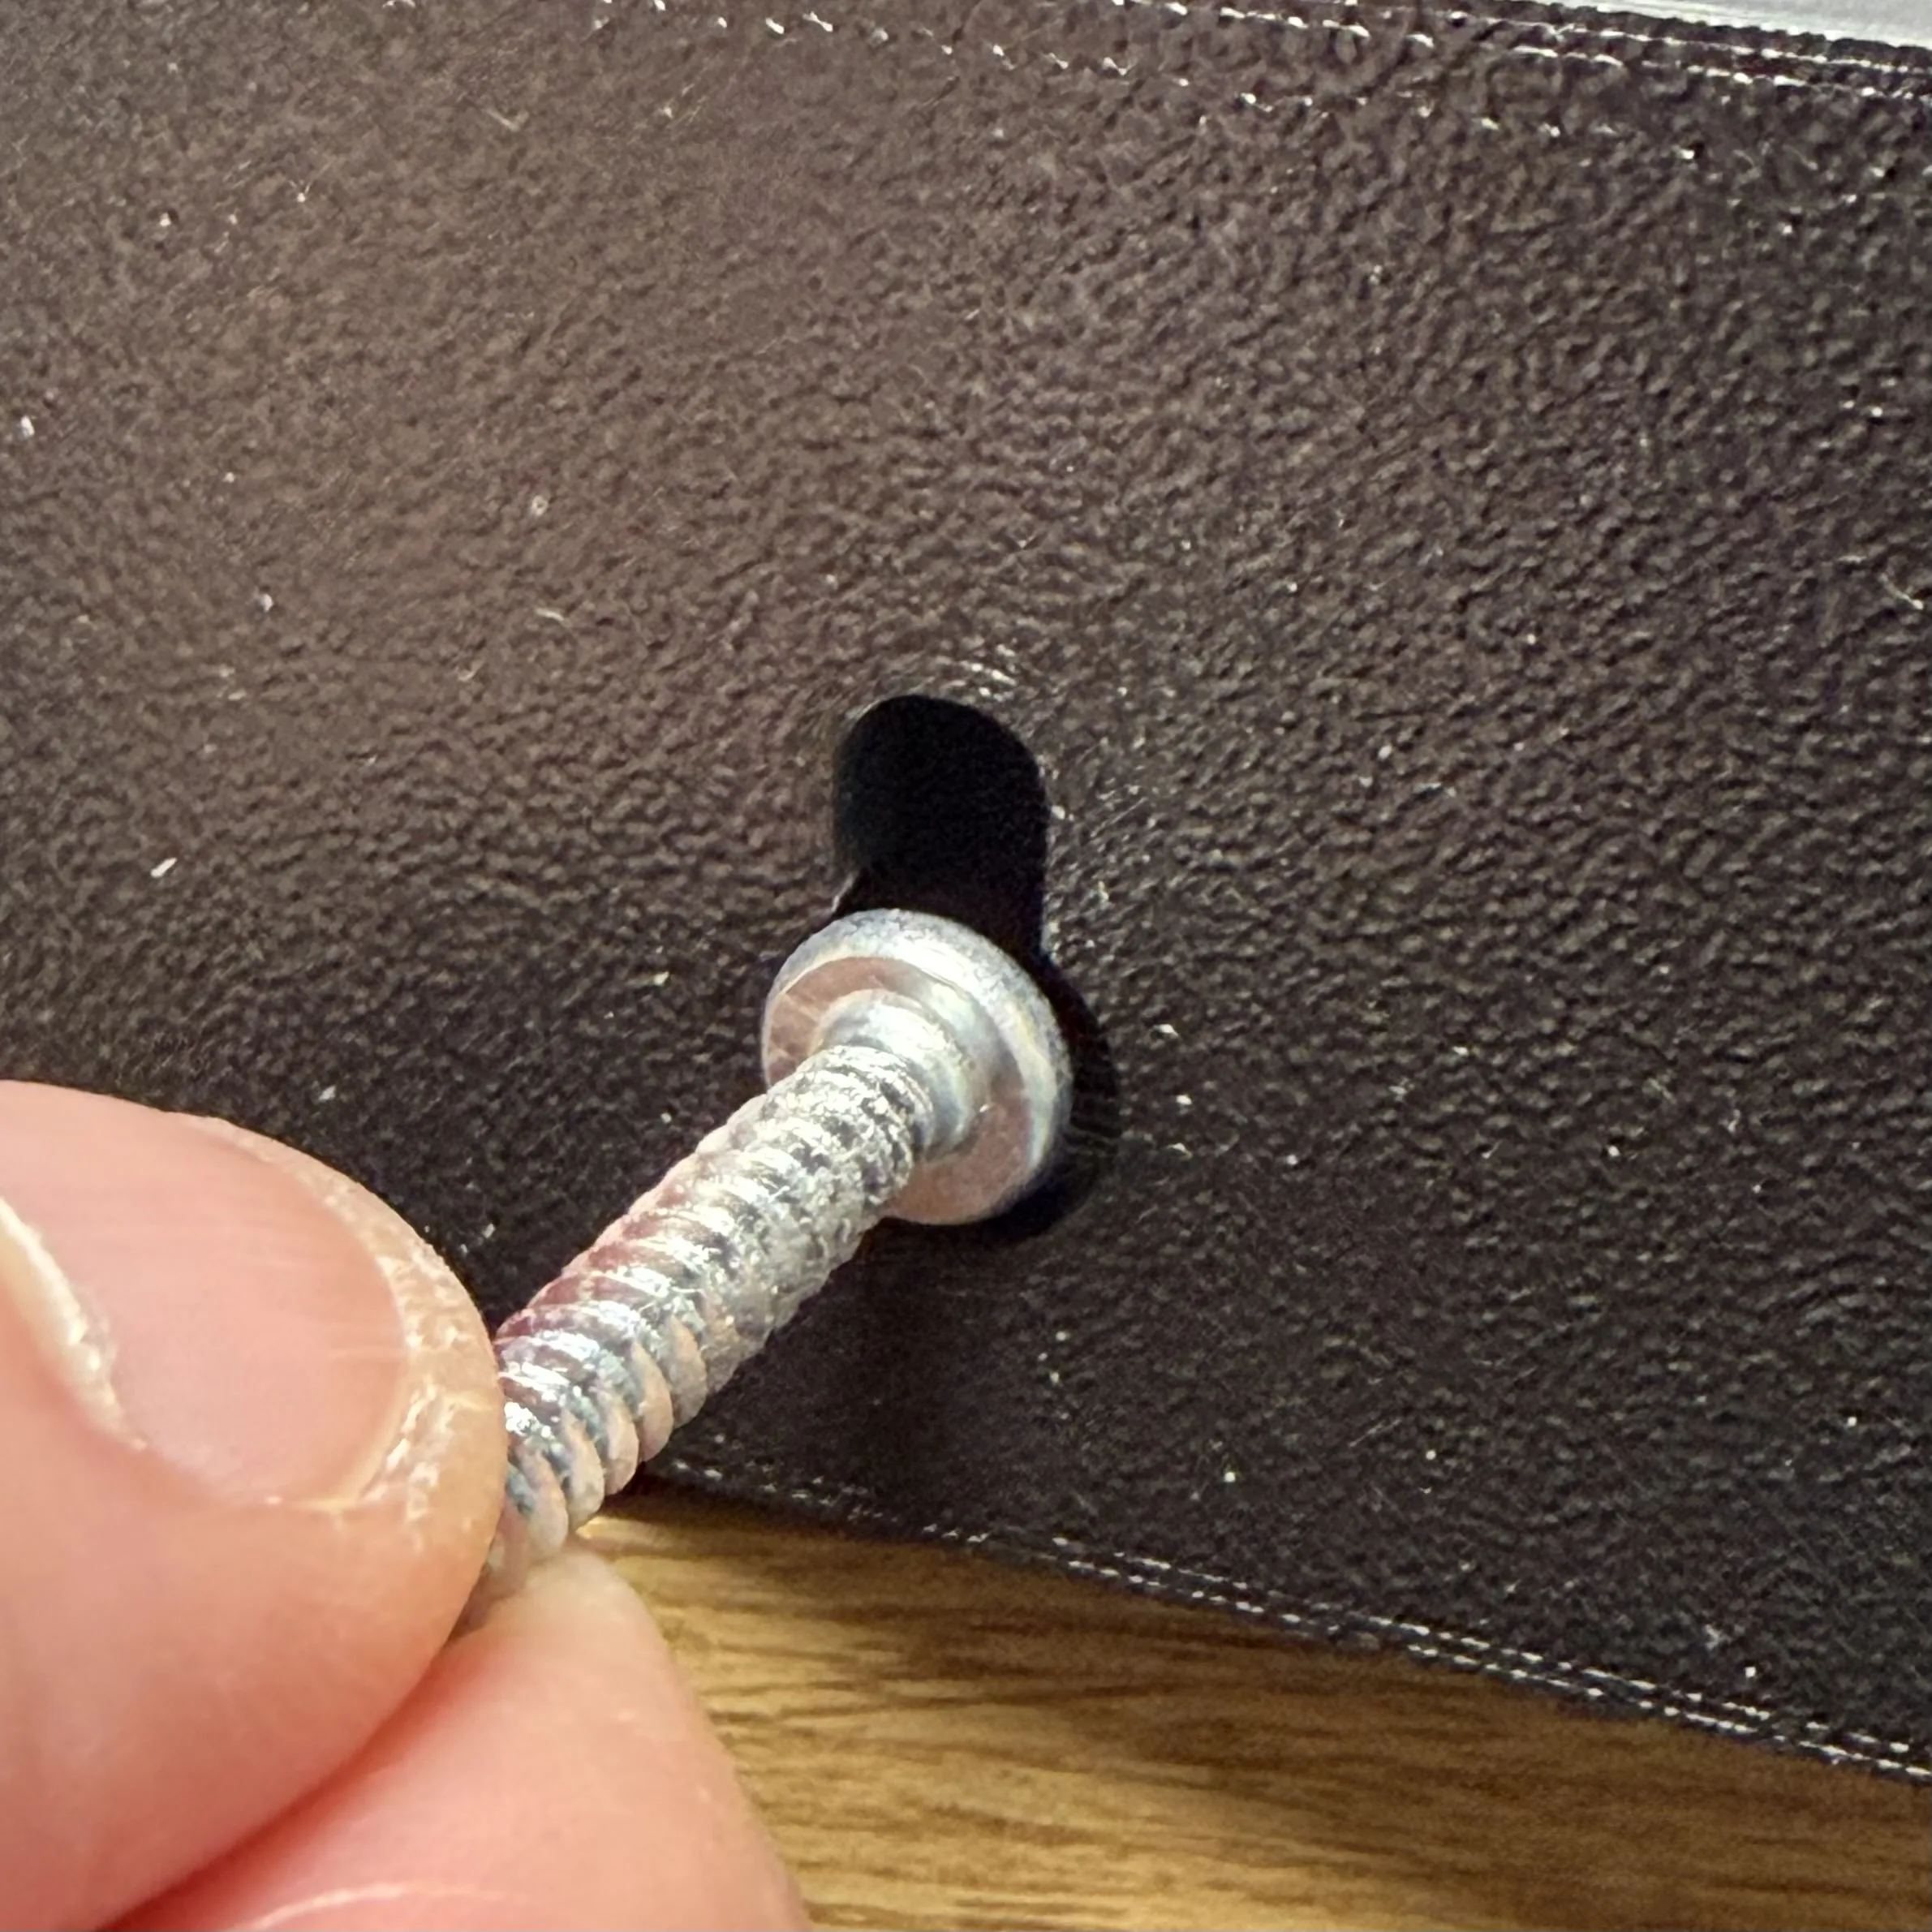
- Push the shelf flush against the wall
Slide the shelf downward to lock it into place
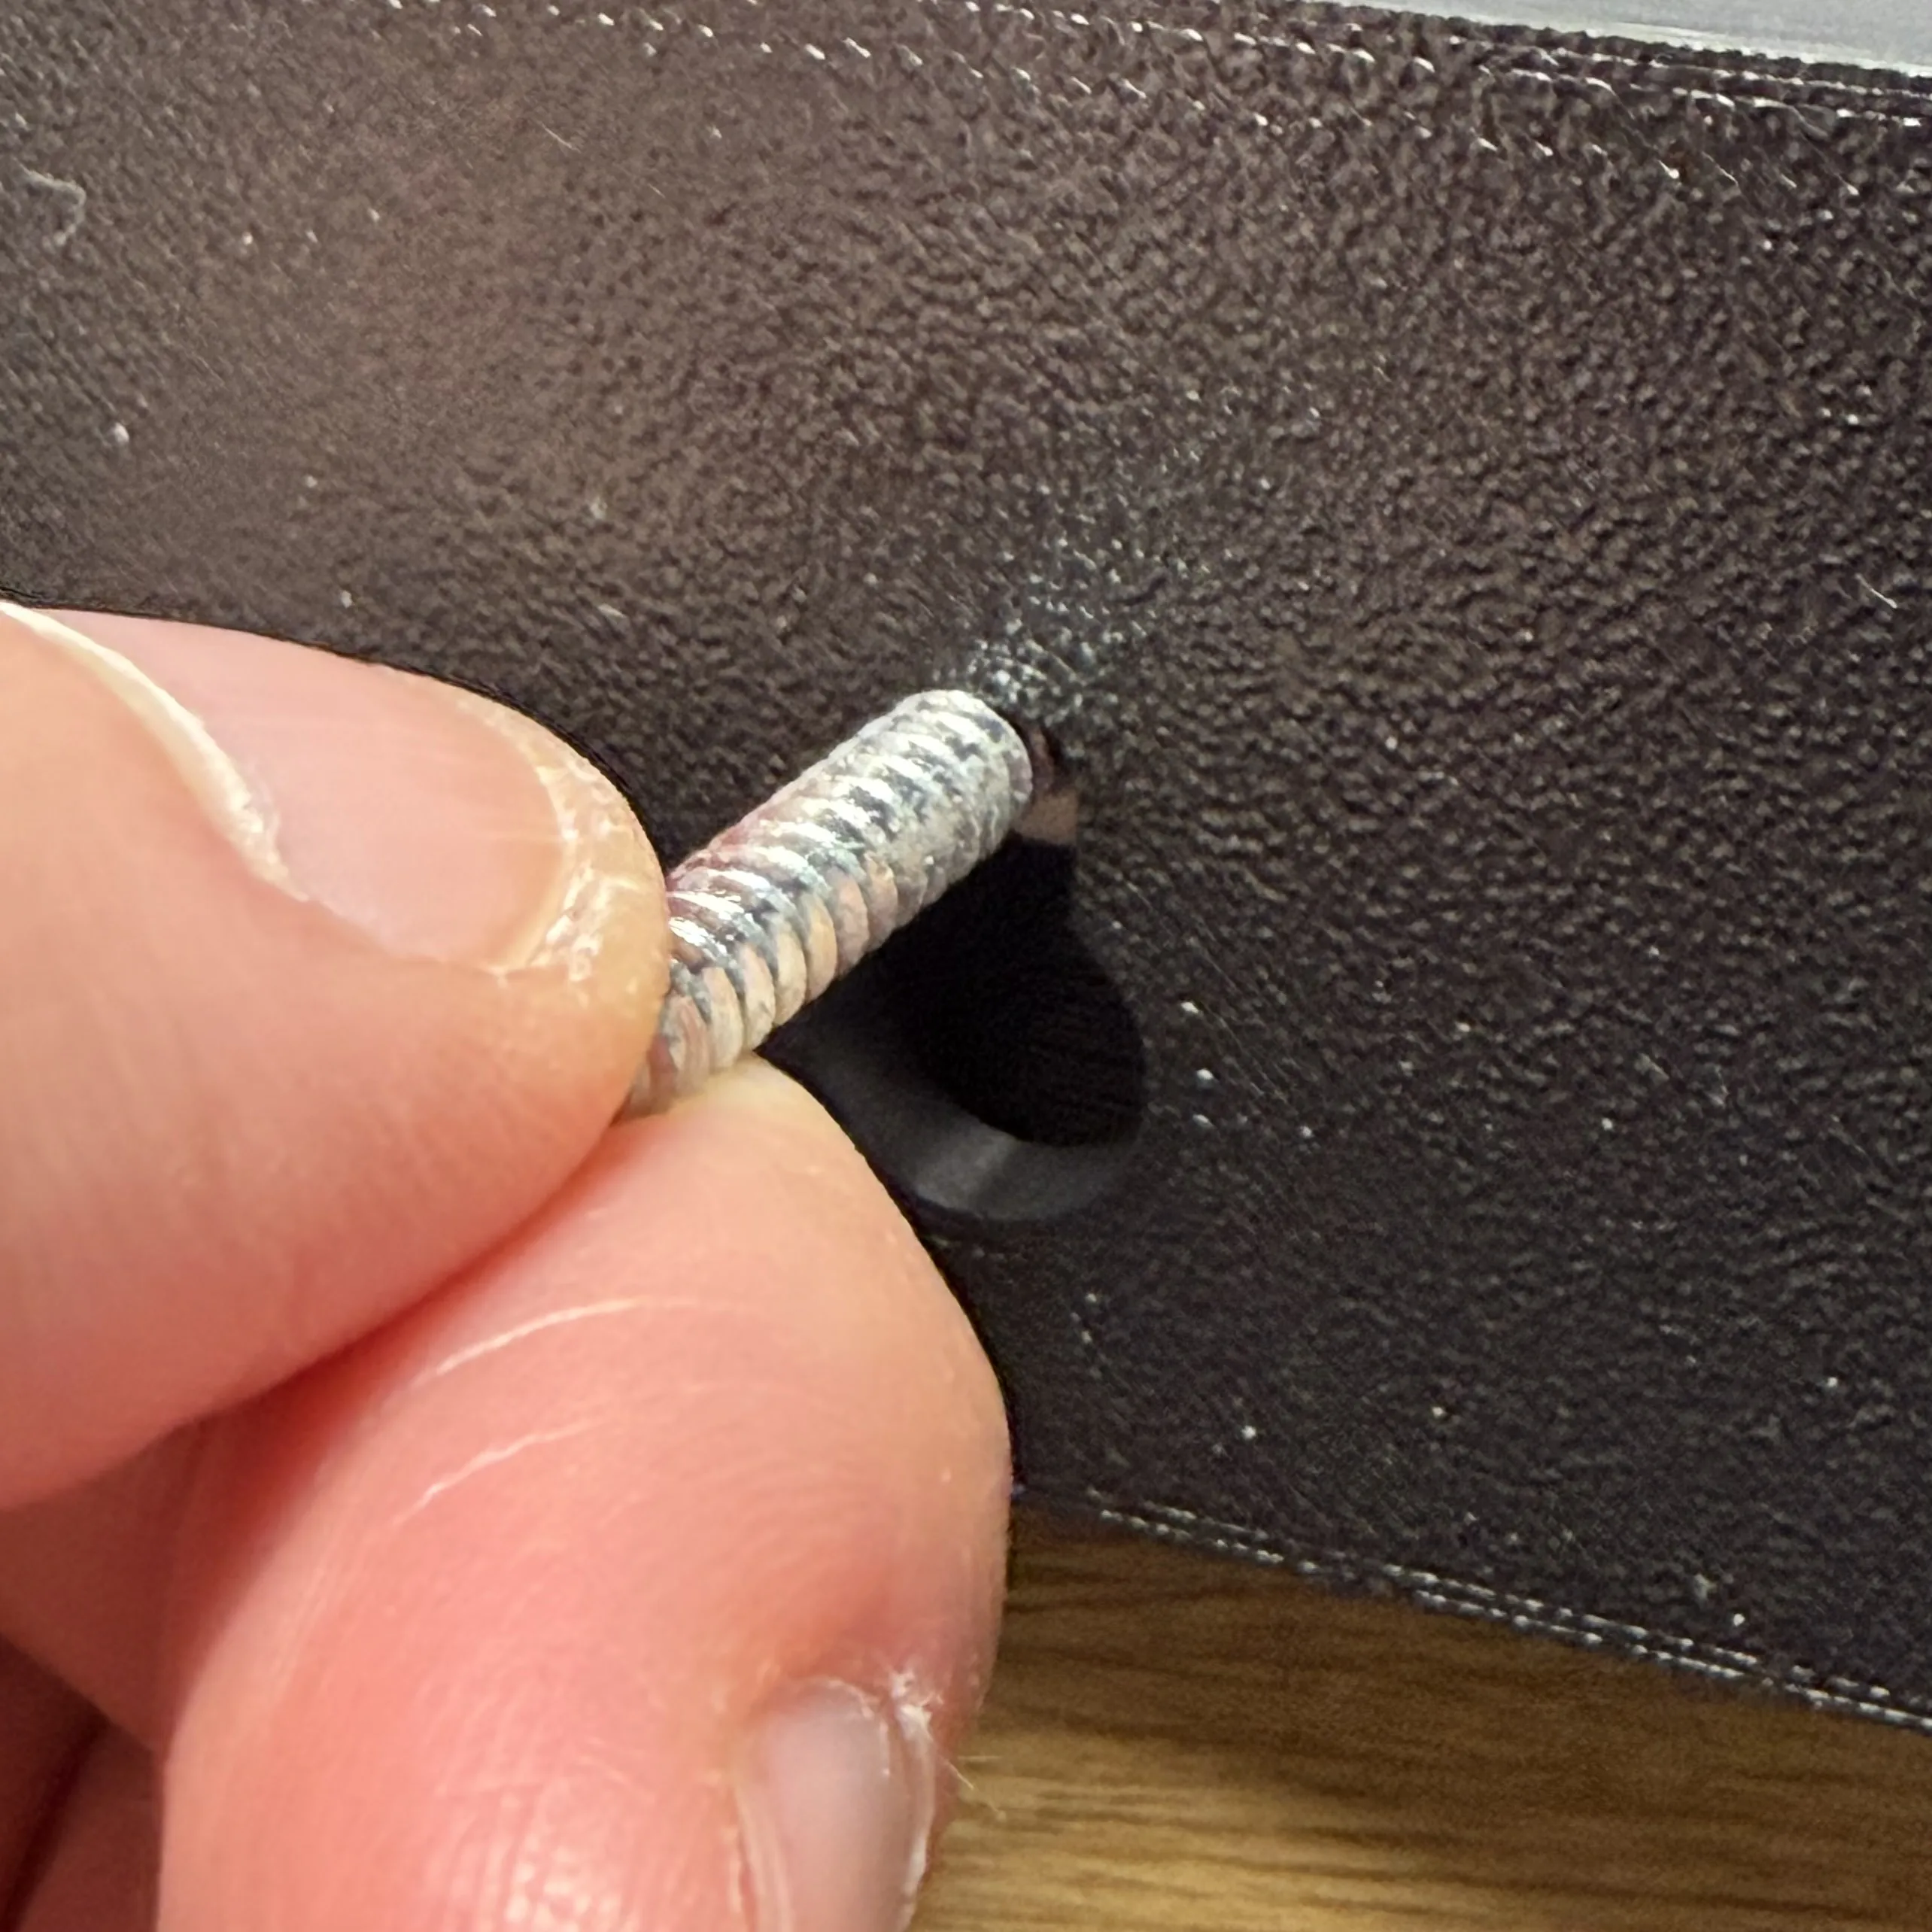
Once secured correctly, the shelf should sit flush against the wall with hidden fixings.
-----
Troubleshooting
Shelf does not fit onto the screws
Check:
- Your selected screwhead value is large enough for your screw heads
- The screw thread/shank does not exceed approximately 5mm
- The screws are spaced correctly
- The screw heads sit approximately 4mm from the wall
Shelf feels loose
This is usually caused by:
- Screw heads sitting too far out
- Wall fixings not properly secured
-----
Disclaimer
This model is provided as-is and should be used responsibly.
Please ensure:
- You understand how to safely drill into walls
- You use suitable fixings for your wall type
- You avoid drilling near electrical wiring, plumbing or hidden services
- You consult a qualified professional if unsure
This shelf is intended for lightweight use only unless you have personally tested and verified the strength of both the print and wall mounting method.
The creator accepts no responsibility for:
- Incorrect installation
- Wall damage
- Injury
- Print failure
- Damage caused by overloaded shelves
- Damage caused by unsuitable wall fixings or improper mounting
Always test carefully before use.
License

You shall not share, sub-license, sell, rent, host, transfer, or distribute in any way the digital or 3D printed versions of this object, nor any other derivative work of this object in its digital or physical format (including - but not limited to - remixes of this object, and hosting on other digital platforms). The objects may not be used without permission in any way whatsoever in which you charge money, or collect fees.


Comment & Rating (0)