1:64 Car Race Track Launcher


Print Profile(1)
Description
Boost Me (for free)
Hey folks, if you like my model, leave a comment below, preferably with a picture. Also, feel free to give it a boost if you can. Because that way I can get more filament and design more great practical things for you. Not a must, but a nice gesture😉
Hello everyone,
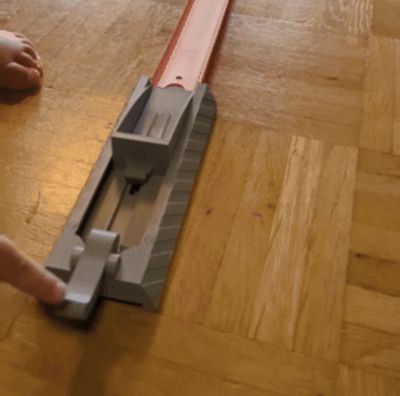
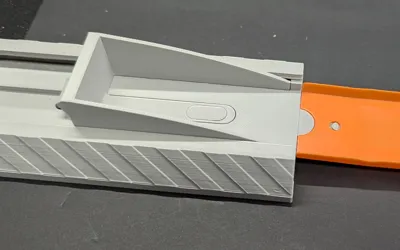
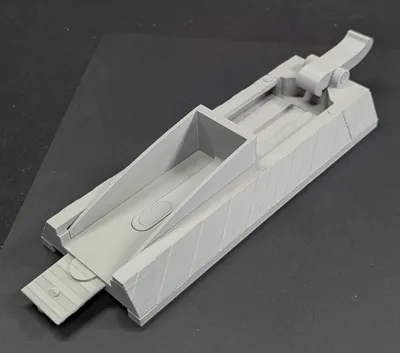
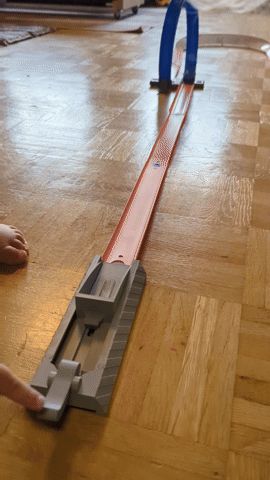
I have designed a launching device for 1:64 cars here. This is compatible with tracks from well-known manufacturers. Pull back, insert, press the lever and off it goes. I made it so that even those with an A1 Mini can print it without cutting anything. Additionally, you only need the rubber bands and springs from the Bambu store. These are included in the Beginner Kit. Or you can use similar ones from home. Those will surely work too.
The instructions:
After you have printed everything and removed the supports

prepare the carriage and the rollers and put them on the shafts
 | 
|
Then push the carriage into the guide
 |
 |
Now prepare the lever, the spring and the pin. On the pin you will see a chamfer as well as on the rear part of the guide at the hole. Insert the spring into the hole and then the lever on top. Then push the pin through.
 | 
|
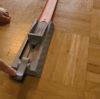
Now attach the rear guide to the front guide

Next, let's continue with the strips at the bottom. These can be installed on both the left and right. Apply four to five dots of superglue to the contact surfaces and glue them to the guide.
 |
 |
The pin for the middle guide is now inserted from above. Also apply a little superglue to the edge. The groove (opening) must face backwards as shown in the picture.
 | 
|
The two small pins are inserted or glued slightly diagonally from the bottom at the front, as shown in the picture. For me, it worked by just inserting them. But you can play it safe and, if you have the glue handy anyway, put a small drop into the hole. And last but not least, hook in the rubber bands.

|  |
You can also hook in two rubber bands each. I did that too, and it makes the car shoot forward even faster 😜🤙

Thank you for carefully reading my instructions, and feel free to contact me for help or suggestions. Unfortunately, I see that I have slight layer lines in the pictures. I think I need to calibrate my printer again 🤦♂️🙈
If something about my model doesn't suit you and you want to give less than 5 stars, please contact me beforehand or write the problem in the comments below.
This makes it easier for us Makers to optimize models and fix errors. Because we're all just human😉
You can find an example for ratings here:
https://wiki.bambulab.com/en/makerworld/tutorials/rating-guidelines
License
You may create derivative works based on this object, provided that all such derivative works are published exclusively on the MakerWorld platform and include proper attribution to the original creator. You may not share, upload, host, distribute, or publish this object—or any derivative work of this object—on any other digital platform, marketplace, or distribution channel. Commercial use of this object and any derivative works is strictly prohibited. This includes, but is not limited to, selling, renting, sublicensing, or using the object in any context in which you receive monetary compensation or other financial benefits.
Comment & Rating (1)