Mini portable power generator


Print Profile(1)
Description
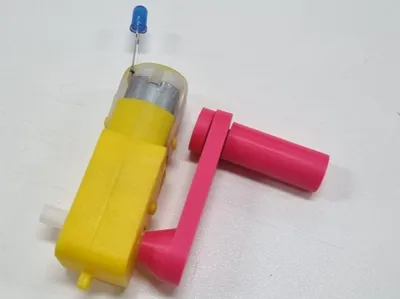
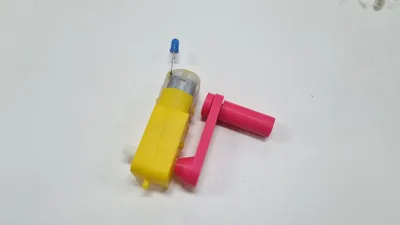
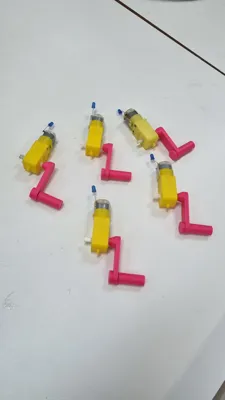
This is a very simple mini power generator, which uses a cheap yellow plastic geared DC motor, an LED, and a 3D printed crank. This project was developed in the FabLab of Sesi Itu (CE031) to be used in physics classes on power generators, allowing students to analyze a motor working as a generator in practice.
Required materials:
- Yellow DC motor
- LED
- Filament
- Solder
- super glue
Required tools:
- 3D Printer
- Soldering iron
- Wire cutters
Step by step:
1. Print the crank parts
If the crank's fit on the motor is too tight, open the .step file in a CAD software of your choice and edit the hole size.

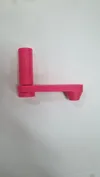
2. Assemble and glue the crank
Assemble the crank so that its arm is positioned between the handle and the pin.

Apply a drop of super glue inside the handle's hole (where the pin enters), insert the pin, and hold until dry. Be careful not to glue the arm as well.
3. Attach the crank to the motor
Fit the arm's hole onto the motor shaft (the white part that rotates). The crank should fit snugly to stay fixed without glue. If it's too tight or too loose, go back to step one and adjust the hole dimensions.

4. Solder the LED
Solder the LED's terminals, one to each motor terminal. There's no right or wrong way to solder here; reversing the LED's polarity only changes the direction you need to turn the handle for it to light up.

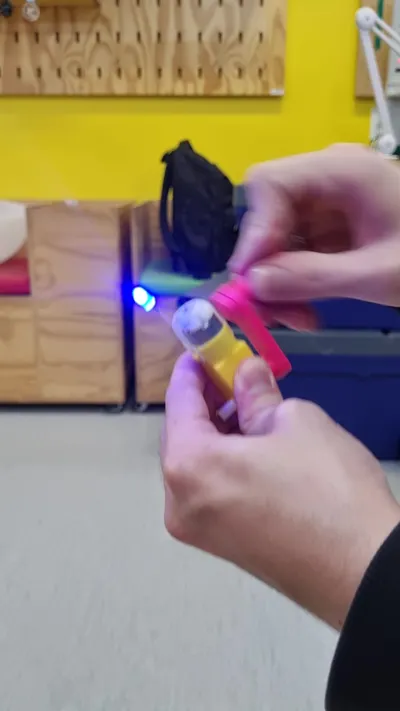
5. Turn the crank!
Let there be light!

License
You shall not share, sub-license, sell, rent, host, transfer, or distribute in any way the digital or 3D printed versions of this object, nor any other derivative work of this object in its digital or physical format (including, but not limited to, publishing derivative works outside the Makerworld platform or hosting on other digital platforms). The objects may not be used without permission in any way whatsoever in which you charge money or collect fees. Subject to the above restrictions, derivative works may be published only within the Makerworld platform, and all such derivative works must be licensed under the same SDFL‑C license, without modification or additional terms. You may download the digital versions of this object, 3D print it, and display images, videos, or usage demonstrations of 3D printed versions of the object on personal social media platforms or Makerworld official channels, provided that no digital versions of the object are shared or distributed.
Comment & Rating (1)