
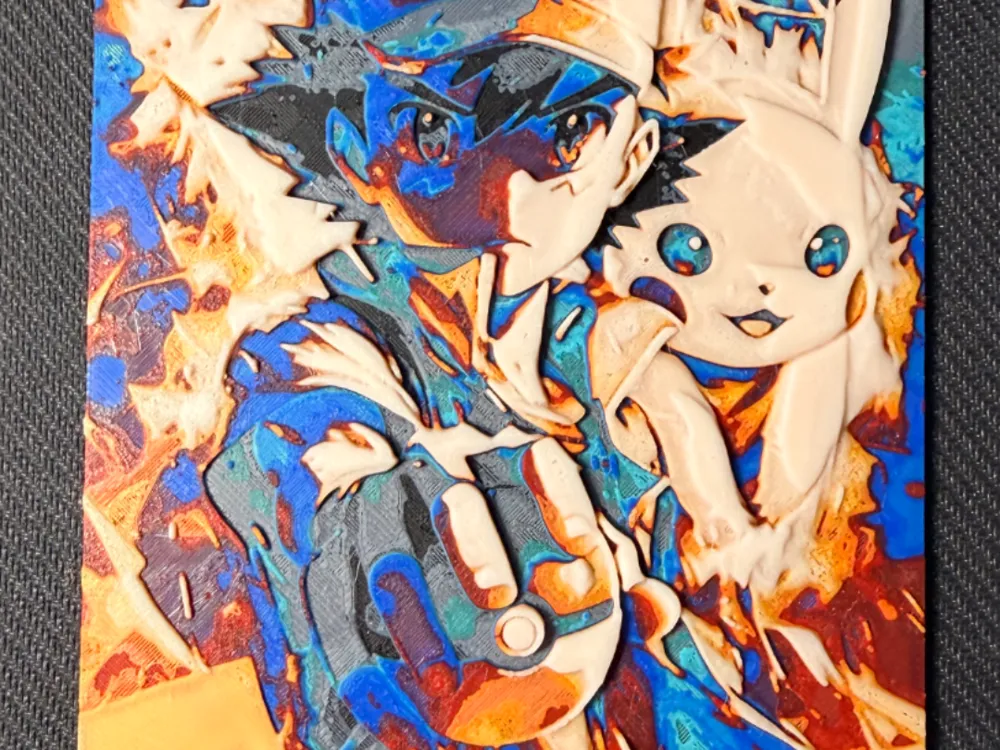
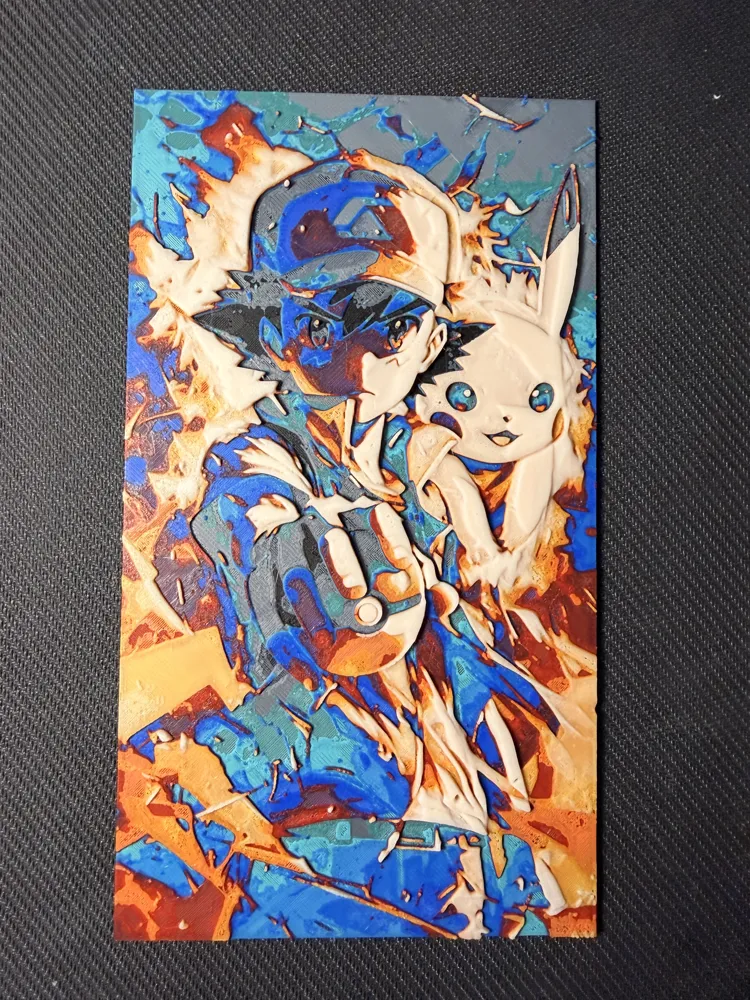
Burning Ash
Print Profile(0)
Description
Huge thank you to everyone who reached out and encouraged me to start posting my HueForge projects on MakerWorld — the response honestly meant a lot. Combining my love of 3D printing and Pokémon into these pieces has been an absolute blast, and I’m really just getting started. Plenty more projects and experiments are on the way.
You will need at least one AMS/CFS to print this file. There are multiple color swaps and pauses that you will need to accomplish in sequence in order to achieve the desired end result. I have included a guide below on how this AMS/CFS exploit works. It sounds a bit tricky at first, but after you've done it once, it just ‘clicks’ and becomes second nature. Please let me know if you run into any issues; I'd be happy to help where I can.
Project: Burning Ash 5.hfp
Print at 100% infill with a layer height of 0.08mm with a base layer of 0.16mm
The Model is 62.98x112.36mm in size. You may adjust X and Y axis, but Z must remain as is!
You may print at higher layer heights below the Base Thickness of 1.28mm
The Max allowed Thickness is 4.32mm and the Actual Thickness is 4.32mm
#000008 PLA Snapmaker Black Transmission Distance: 0.1
#504846 PLA Sunlu Grey Transmission Distance: 2
#007567 PLA Sunlu Grass Green Transmission Distance: 1.5
#6cffc2 PLA Deeplee Turquoise Transmission Distance: 1.4
#351ca5 PLA Sunlu Klein Blue Transmission Distance: 2.6
#c30000 PLA Sunlu Red Transmission Distance: 4.4
#ff6401 PLA Sunlu Sunny Orange Transmission Distance: 4.6
#ffcb00 PLA Sunlu Yellow Transmission Distance: 6.5
#ffeda5 PLA Sunlu Beige Transmission Distance: 7.1
This print uses 9 unique filaments
Swap Instructions:
Start with Black
At layer #18 (1.52mm) swap to Grey
At layer #21 (1.76mm) swap to Grass Green
At layer #22 (1.84mm) swap to Turquoise
At layer #23 (1.92mm) swap to Klein Blue
At layer #27 (2.24mm) swap to Red
At layer #31 (2.56mm) swap to Sunny Orange
At layer #32 (2.64mm) swap to Yellow
At layer #34 (2.8mm) swap to Beige for the rest.
Manual AMS/CFS Color Swap Method
This print uses a staged manual filament swap technique with the AMS/CFS to expand the effective color palette beyond the normal slot limit.
How it works:
- Start the print with the first set of filaments loaded into the AMS/CFS.
- Allow the printer to complete all color changes assigned to a specific slot.
- Once a slot is no longer needed later in the print, pause the print during an inactive layer.
- Remove that filament from the AMS/CFS slot and replace it with a new color.
- Resume printing so the new filament becomes the active color for future layers.
Important:
- The replacement filament MUST be assigned to the SAME AMS/CFS slot as the original filament.
- Only swap after the previous filament is completely finished being used in the print.
- Do NOT remap colors in the slicer mid-print.
- Keeping notes/screenshots of the swap order is strongly recommended.
Why do this?
This technique allows:
- more colors than the physical AMS/CFS limit
- smoother gradients
- better highlight/detail control
- expanded HueForge/FlatForge color blending possibilities
Then I’d add a super short practical example:
Example:
Slot 1 = Black → later swapped to Dark Blue
Slot 2 = White → later swapped to Light Cyan
License

You shall not share, sub-license, sell, rent, host, transfer, or distribute in any way the digital or 3D printed versions of this object, nor any other derivative work of this object in its digital or physical format (including - but not limited to - remixes of this object, and hosting on other digital platforms). The objects may not be used without permission in any way whatsoever in which you charge money, or collect fees.


Comment & Rating (0)