


Print Profile(1)

Description
Update (v4.1) - 26/06/2026:
- Fixed a bug that caused loading errors when no SVG was uploaded. The customizer now displays a "YOUR SVG HERE" text fallback on startup, preventing browser preview crashes and ensuring smoother uploads without needing to refresh the page.
⚠️ Important Note: If your SVG does not load in the MakerWorld customizer preview, please refresh the page and try again. A browser caching issue occasionally causes this loading error, which is easily resolved by reloading the page.
_________________________________________________________________
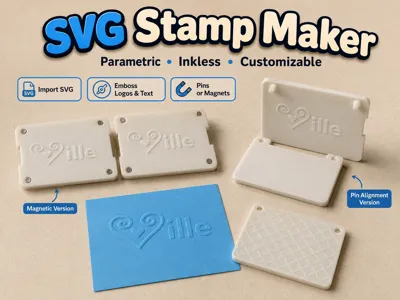
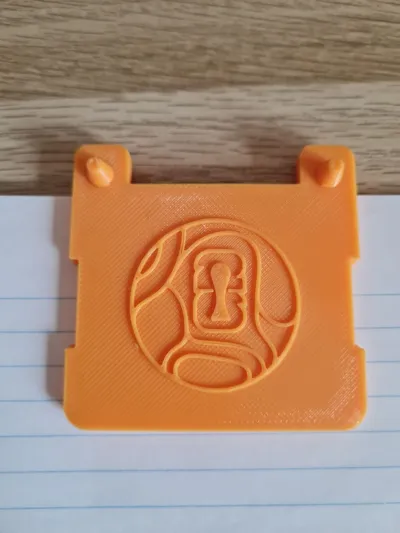
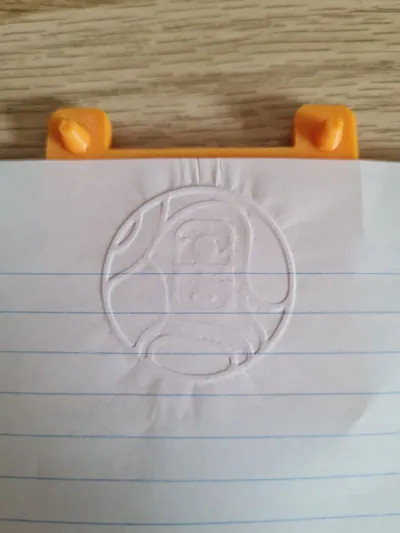
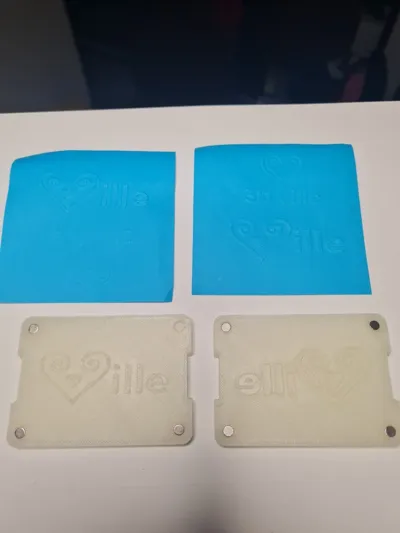
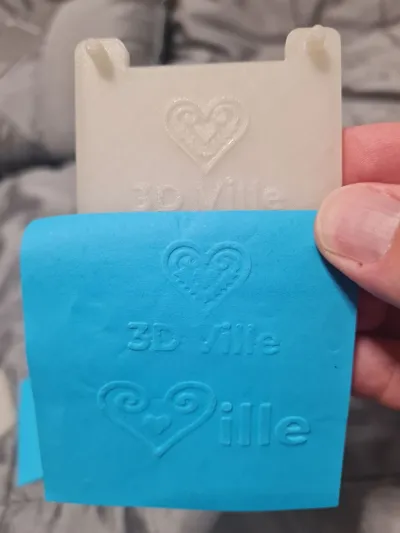
🗜️ SVG Stamp Maker - Parametric Inkless Stamp
This tool allows you to turn any flat SVG logo or iconin to a stamp, no ink required. Use it to customize letters, business cards, books, or packaging.
Step 1: Prepare Your SVG
For the best results, your SVG file must be clean and simple:
1. Black & White Only: No gradients, shadows, or colors.
2. Combine Paths: Ensure all paths are united. Overlapping independent paths may cause errors in OpenSCAD.
3. Convert Text to Curves: If you use text, convert it to outlines/paths before exporting.
Step 2: Customize Your Stamp (MakerWorld Customizer)
1. 📝 Logo Content: Upload your logo. Use `Logo_Scale` to adjust the design size on the plate, `Logo_Rotation` to rotate the logo as needed, and `Logo_Offset` to adjust its position if necessary.
2. 📐 Plate Geometry: Define the overall size of your stamp (Width x Height). The logo will automatically scale down to prevent overflowing the edges.
3. 📄 Paper Profile: Are you stamping standard paper (0.5mm gap) or thick cardstock (1.0mm gap)? Select the right profile to ensure crisp details without tearing the paper.
4. 🔗 Connection Type: Choose how the two halves align:
* Pins: 3D printed conical alignment pins. Extremely precise and requires no extra hardware. (Note: The ear design restricts stamping to the edges/top of the paper).
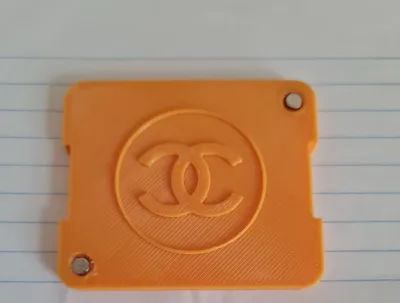
* Magnets: Sleek and satisfying. Requires neodymium magnets (6x2mm recommended, but customizable). You can choose to use either 2 magnets (diagonal) or 4 magnets (all corners). Superglue may be required. (Note: Allows stamping absolutely anywhere on the paper!).
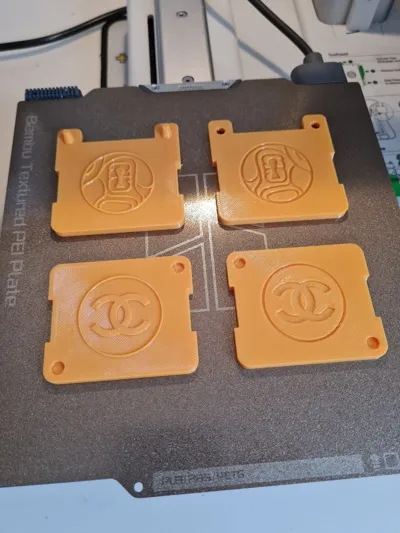
Step 3: Recommended Print Settings
* Orientation: Horizontal (Flat) - The parts are pre-oriented for optimal printing.
* Layer Height: 0.20 or 0.16 mm (ideal).
* Wall Generator: Arachne (recommended).
* Infill: 10% or 15%.
* Speed: 100 mm/s (Outer and inner walls for a high-quality finish).
* Supports: No supports required!
Step 4: Assembly & Use
* If using Pins: Simply put the paper between the plates and align the pins into the holes.
* If using Magnets: Glue the magnets into the circular cutouts. CRITICAL: Check the dimensions of the magnets you have and configure them in the customizer before printingCheck the polarity before gluing! They must attract each other when the plates are facing inward.
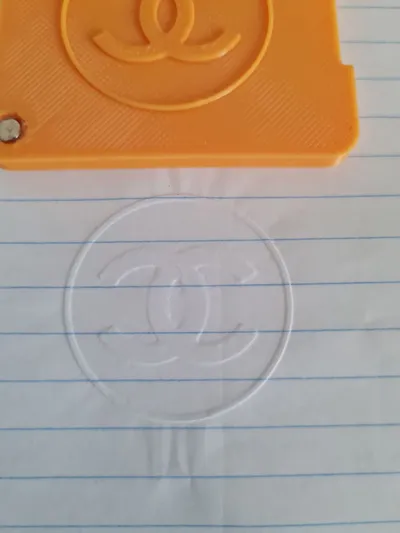
* To Stamp: Place your paper, align the halves, and press firmly on a flat surface or use a vice/clamp for thicker paper.
Step 5: Tips & Troubleshooting
* You must use a hard surface to allow for maximum pressure when stamping. The more pressure you apply, the sharper the emboss will be.
* In our tests, the 'Thick Paper 300g (0.6mm)' profile yielded the best results in most cases.
* Logos with very thin lines might not print correctly. Always slice the model and check the preview. If lines are missing, increase the size of the plate or the logo scale.
* Highly detailed logos require extra force and pressure to stamp properly. Test it out and adjust as needed.
* **Magnets (Glue-less Assembly):** Pay attention to the exact diameter and thickness measurements of your magnets. By tuning the Magnet Tolerance correctly, you can achieve a perfect press-fit assembly, eliminating the need for glue!
Example of a tested SVG file. Taken from the website via the link: https://www.svgrepo.com/svg/521289/java-16
License
You may create derivative works based on this object, provided that all such derivative works are published exclusively on the MakerWorld platform and include proper attribution to the original creator. You may not share, upload, host, distribute, or publish this object—or any derivative work of this object—on any other digital platform, marketplace, or distribution channel. Commercial use of this object and any derivative works is strictly prohibited. This includes, but is not limited to, selling, renting, sublicensing, or using the object in any context in which you receive monetary compensation or other financial benefits.
Comment & Rating (29)