Spellbook V3 - MTG Commander deck box


Print Profile(8)
Bill of Materials


Description
Membership
Do you want to sell 3D prints of my models? Commercial License Membership is now available!
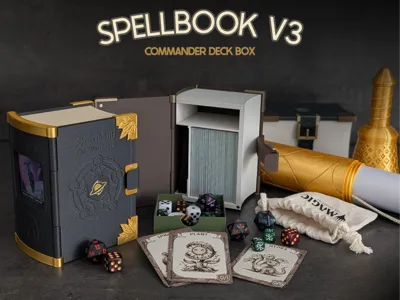
THE COMMANDER SPELLBOOK V3
Welcome to Spellbook v3!
After the amazing reception of my previous Spellbooks, I went back to the drawing board to refine, compact, and upgrade the design. This new version hopefully takes everything you loved about the previous iterations and makes it sleeker, easier to print, and a bit more customizable.
UPDATE 2026-05-18


UPDATE 2026-05-16


✨ What’s New in Version 3?
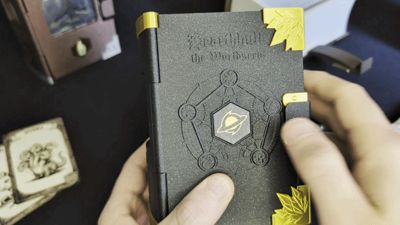
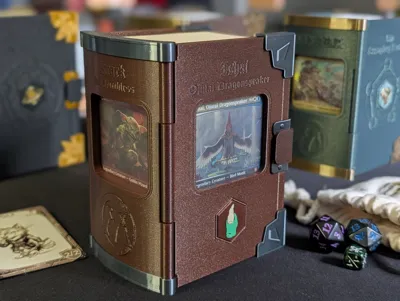
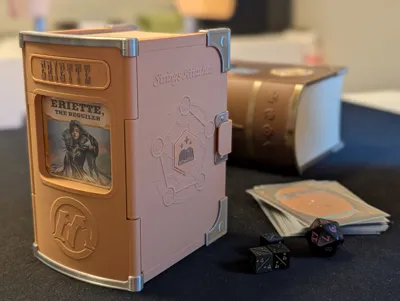
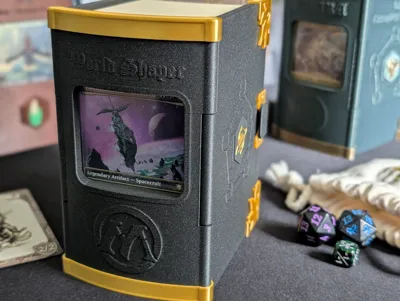
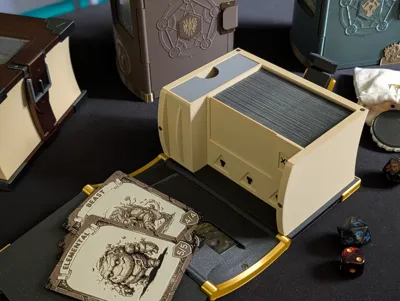
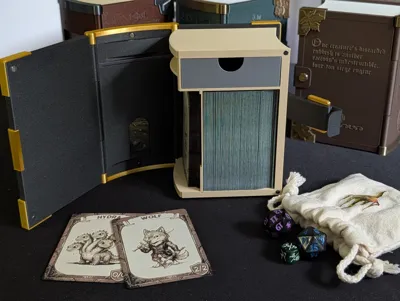
Shelf-Ready Commander Display: The spine now features a display slot for your Commander. When stored on a shelf like a proper book, you’ll know exactly which deck you are grabbing! This was the main reason behind the new version since it was a popular request and comment.

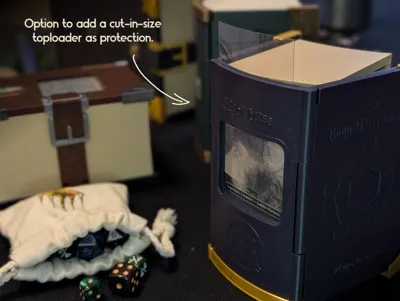
- Protect your Commander: Add a cut piece of toploader into the spine before attaching the top decoration to give a protection so nothing in your bag or backpack will poke your commander.

Partner Commander Support: Running Partners or a Background? There is an option to have a second commander displayed on the front cover so you can show off both.

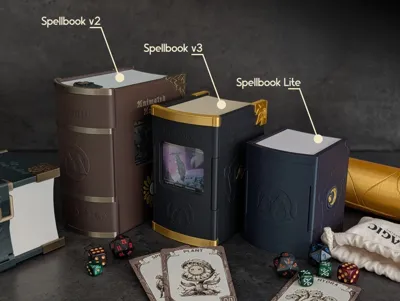
30% More Compact: Space in your bag is premium. V3 is 30% smaller than V2 while still securely holding your deck and accessories at the cost of loosing the slot for whiteboard pens. This also means that the amount of filament requred is down with around 200 gr.

Command Zone Divider: The internal card divider isn't just for organization anymore—since the size went down from v3, it doubles as a dedicated Command Zone for your table, complete with built-in commander damage/tax tracker slots.

Integrated, Improved Lock: The locking strap (which was added later in v2) has been fully integrated and redesigned for a smoother, more secure hold.

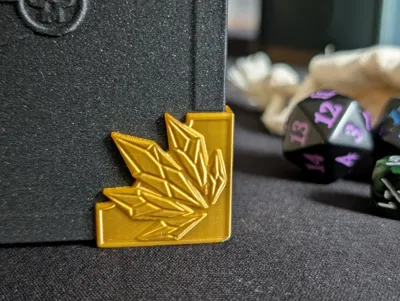
Upgraded Aesthetics: Features a few built-in art options, including the iconic 'M' logo on the spine as V2 had, and front/back cover art. Plus, there are even more decorative corner pieces to choose from!

- Resource Friendly: Designed to use fewer magnets and less glue than the previous version.
- Print-in-Place Cover: Borrowing from the Spellbook Lite, the main cover is now a print-in-place design, making assembly much easier.
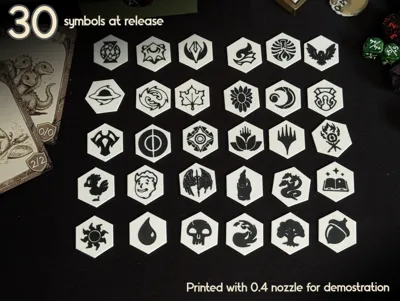
- Hexagonal symbols: Easier to align and there is 30 different variants at release.

⚠️Before printing:
- There is a lot of combinations of covers available. All with variations of art and display slots. Read the description of each print profile to make sure you pick the one you want.
- If using a front cover with a card slot. Consider printing the dice tray with a lip on it to prevent the card from moving up and down.

🖨️ Printing Details
The book is designed to be printed beautifully in single colors, piece by piece.
The only parts that utilize an AMS are the customizable hexagonal symbols (with 30 different symbols available at release!).
But without a AMS its possible to do a simple manual filament pause/swap.
Using my profile:
- 0.4mm Nozzle: Change filament between layers 9 and 10.
0.2mm Nozzle: Change filament between layers 10 and 11.

While te symbols can be printed with the 0.4 nozzle there is some loss in details. I highly recommend a 0.2 nozzle for the symbols.
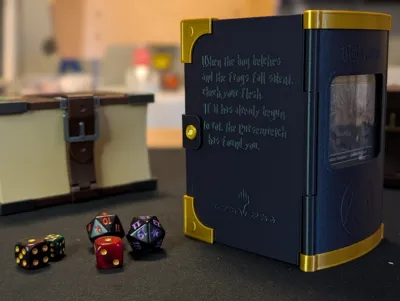
Add custom text!
Text can be added to the cover in Bambu Studio. Use Surround projection by character to make them pop or surround surface for a more subtle text. I recommend a Thickness of 0.20 and a Embedded depth of 0.20 as well.

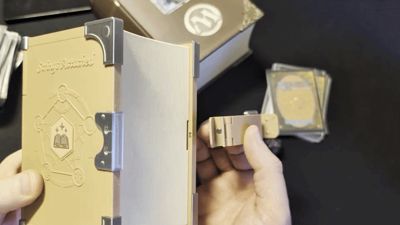
🛠️Assembly Instructions
Assembly is much faster this time around! But you will still need super glue and 8 pcs of 4x2 magnets.
- Magnets First: Insert the magnets into their respective holes. Crucial step: Double-check your magnet polarity before pressing them in so your book snaps shut perfectly!
- Attach the Page Frame: Apply a small amount of glue to the cavities on the back cover. Align and press the page-textured frame into place.
- Install the Lock Strap: Take the locking strap and glue it to the back cover. Ensure the lip of the strap slides securely between the back cover and the page frame you just installed.
- Decorate: Glue on your chosen corner pieces, your custom hexagonal symbols, and any other decorative elements.
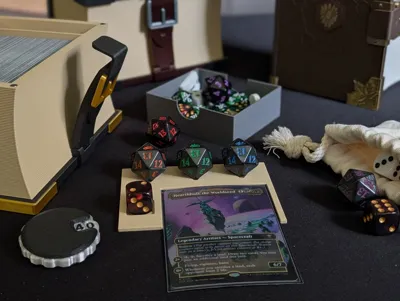
- Sleeve Up: Insert your deck, dice, and Commander cards, and get ready for game night!
*** If you print one, please share your makes! I love seeing the filament combinations and custom builds the community comes up with.
License
You shall not share, sub-license, sell, rent, host, transfer, or distribute in any way the digital or 3D printed versions of this object, nor any other derivative work of this object in its digital or physical format (including - but not limited to - remixes of this object, and hosting on other digital platforms). The objects may not be used without permission in any way whatsoever in which you charge money, or collect fees.
Comment & Rating (152)