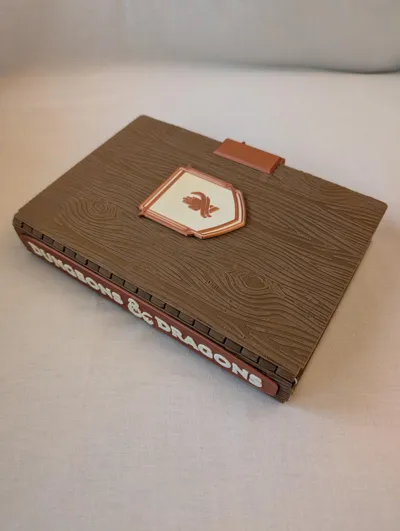
Biggs Battle Book - Wood


Print Profile(1)
Description
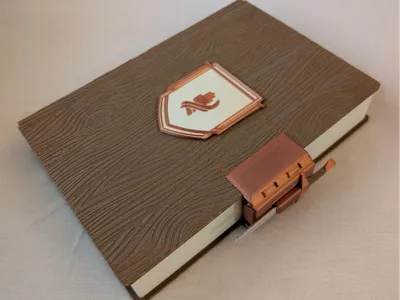
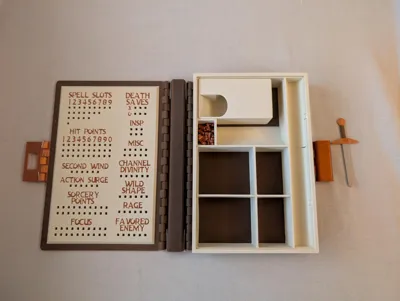
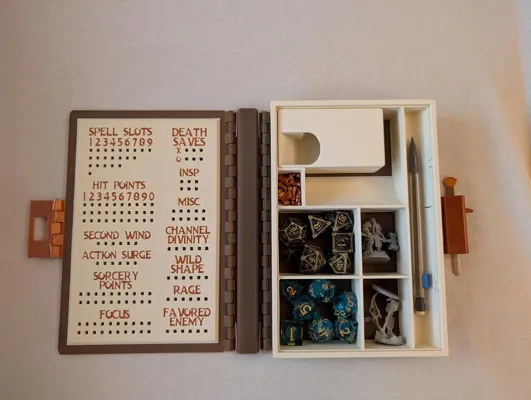
Wood version of my DND Battle Book - Dice tower, Dice Tray, Dice slots, Mini slots, pen/pencil holder, Trackers: Spell slots Death Saves, Hit Points, Inspiration, Misc, Second Wind, Channel Divinity, Action Surge, Sorcery Points, Wild Shape, Rage, Focus, and Favored Enemy
- No Magnets, but does require Paper Clips (Standard Jumbo)
- Locks together with Sword Latch
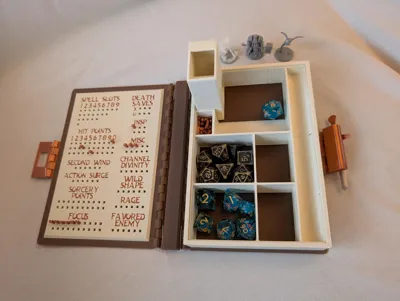
- Dice Tower can be used in the slot it is stored in or outside the box, secured with slides.
- Dice Tray portion has easy grab ramp
- Peg Compartment tapers up for ease of peg retrieval
- Inside of box is modular in two sections and lock into place using built in clips
- Plain versions of lid and base included
Dimensions:
- Overall assembled dimensions w/ accessories: 216mm x 157.84mm x 43mm
- Overall assembled dimensions w/o accessories: 214mm x 155.84mm x 39mm
- Inside of Box w/o inserts: 199mm x 129mm x 30mm
- Top Insert: 84.60mm x 128.6mm x 30mm
- Bottom Insert: 114mm x 128.6mm x 30mm
- Tower: 50mm x 88mm x 30mm
- Spine: 35mm x 214mm x 8.8mm
- Cover: 214mm x 155.84mm x 6mm
- Base: 214mm x 155.84mm x 35mm
Trackers:
- Spell Slots - Levels 1 thru 9 (Standard)
- Death Saves - 3 x X, 3 x O
- Hit Points - Counters 1 - 999
- Inspiration - 6 slots for those who use more than one point
- Misc - 10 slots for tracking things like luck, tokens, etc.
- Second Wind - 6 slots
- Channel Divinity - 6 slot
- Action Surge - 6 slots
- Sorcery Points - 20 slots
- Wild Shape - 6 slots
- Rage - 6 slots
- Focus - 20 slots
- Favored Enemy - 6 slots
Assembly of Book:
- Pictures included
- You will need 5 standard Jumbo Sized Paperclips
- You will need to cut 23mm or 7/8" off of 4 of the paperclips after unwinding and straightening them (except for the last bend). These 4 will connect the Base and Spine and Cover and Spine
- You will need to unwind one paperclip fully, straighten it, and cut it in half. You will use each of these halves for each side of the latch. You will need pliers or very strong fingers to to bend the ends over to secure them in place.
Assembly of Accessories:
- If you choose to use the accessories you will need Superglue
- There are 5 Crosses that go in the Cross cutouts to act as guides when gluing things in place
License
You shall not share, sub-license, sell, rent, host, transfer, or distribute in any way the digital or 3D printed versions of this object, nor any other derivative work of this object in its digital or physical format (including - but not limited to - remixes of this object, and hosting on other digital platforms). The objects may not be used without permission in any way whatsoever in which you charge money, or collect fees.
Comment & Rating (0)