
11th Edition Footprints with Terrain Features
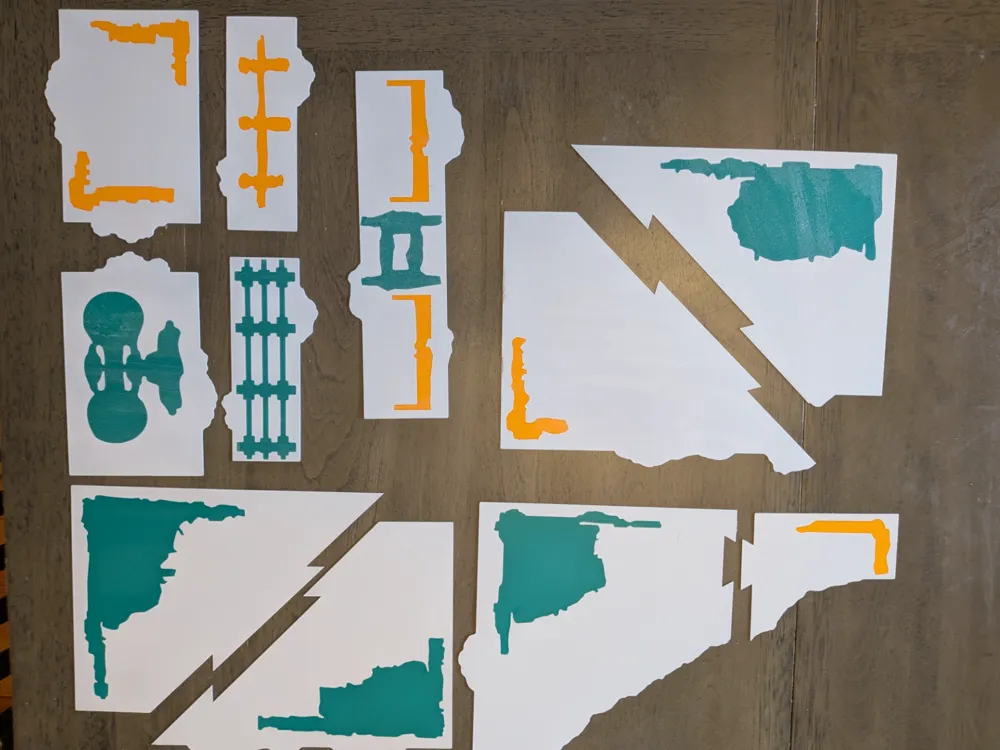
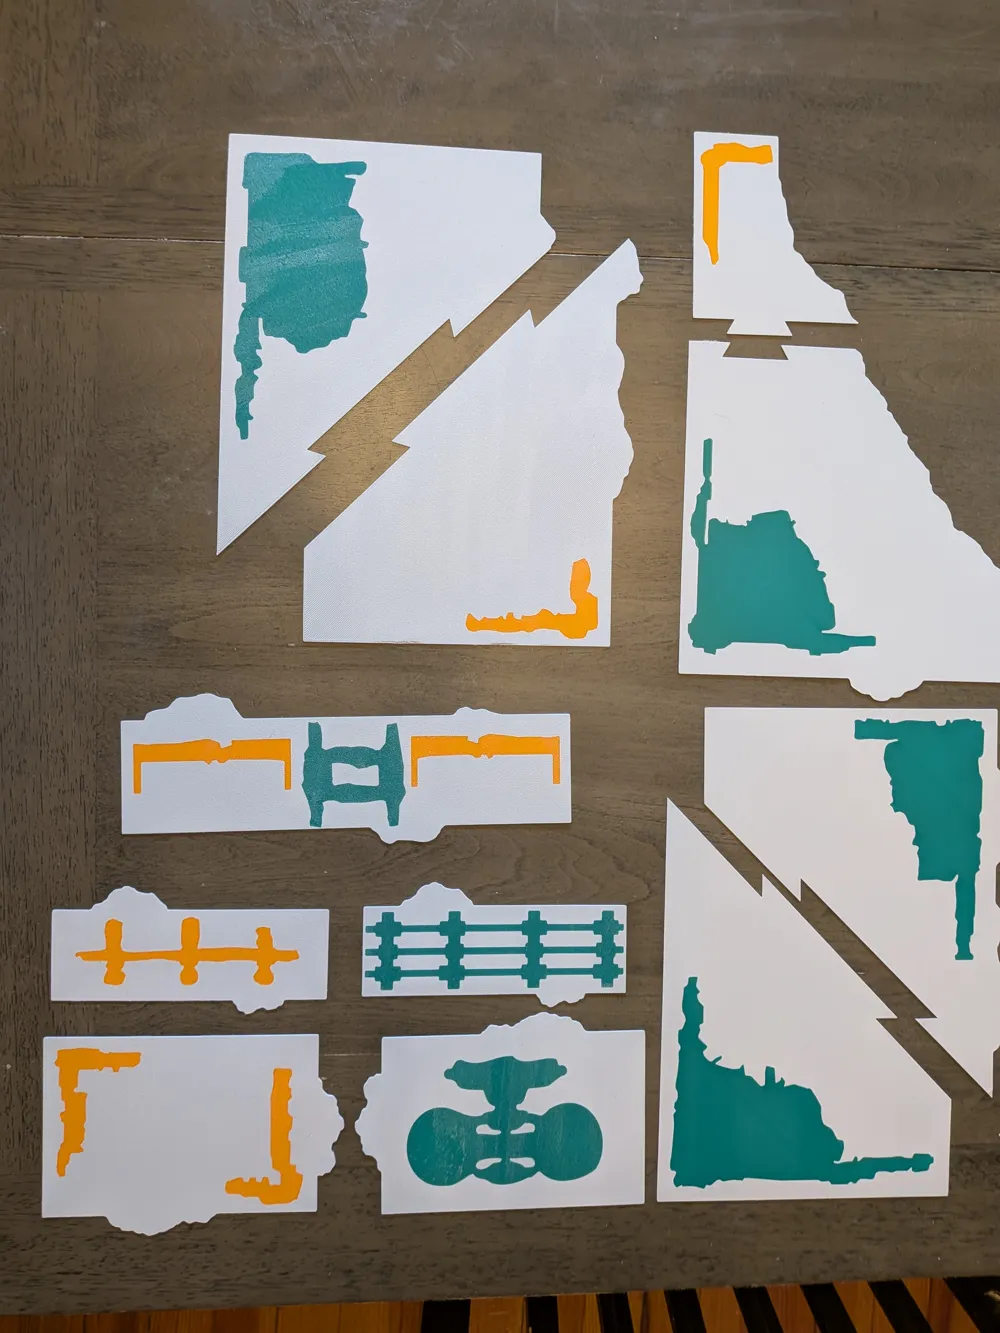
Print Profile(3)

Description
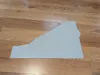
UPDATE: I have resized the triangle and uploaded the fixed profile. It was a little bit too long on the long side, but now measures 11.5 inches from flat side to flat side along the long edge.
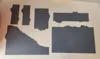
I am also uploading a NEW VERSION of the files that do not have the terrain features imprinted on them. This is because there are a few different layouts now that we have the full reveal and in those different layouts the terrain features change orientation often on each of the terrain footprints.
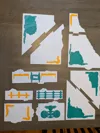
I have seen some of the terrain footprints being given out on the web, but none of them printed quite right for me or had the feel I wanted. So I used the images from the 11th edition terrain reveal to do an image trace in illustrator to get the outlines of the terrain footprints and the terrain features. I cleaned them up a bit in illustrator and resized and converted them to lines and then brought those lines into my CAD program and made the parts.
These are set up to have a .4mm backing, with a .6mm thickness for the different elements. This makes them 1mm thick overall, which makes them fairly sturdy, but still have some flexibility so that they will not break. The backing also helps ensure that the terrain feature footprints do not come loose from the main footprint itself when bent.
The individual terrain feature colors are set up as separate objects within the composite shapes, so you can easily change them to whatever color combination you'd like. I added some dovetail splits for the larger pieces that work well, as you can see in the photos of my prints.
I oriented them so that the top layer is printed against the plate (upside down). This is so that it has a nice smooth finish on the top layer without needing to add a ton of time for ironing. Since the back is never seen, it seemed a waste to have that have the smooth finish. This also lets you have some fun with whatever build plate you are using to add different elements to it (if anyone has one of the holographic plates, let me see how it looks with those!)
***Also worth noting, the long line file which is at 45 degrees on the plate (plate 6), I manually changed it so that the infill direction is at 0 degrees instead of the standard 45 that bambu uses. This is critical because if you print it with the standard 45 degree settings (like I stupidly did originally) it will break when you bend the model because at 45 degrees on the plate and 45 degrees for the infill direction, it ends up being horizontal lines on the back that snap when flexed at all. So if you use your own profile settings, just make sure to note that in the individual plate settings!***
This prints well on my P1S. If enough people request it, I can set up a new version with the A1 mini print bed size. Similarly if enough people want a thicker template, let me know and I can go through and resize it and add that.
Enjoy 11th edition! I am excited to see what happens with it!
License

You shall not share, sub-license, sell, rent, host, transfer, or distribute in any way the digital or 3D printed versions of this object, nor any other derivative work of this object in its digital or physical format (including - but not limited to - remixes of this object, and hosting on other digital platforms). The objects may not be used without permission in any way whatsoever in which you charge money, or collect fees.


Comment & Rating (36)