
Drawers for 10-inch LabRax Rack
Print Profile(4)


Description
Boost Me (for free)
Do you like it? Will you use it? Give me a review or support. My models are simple tools or tools. I would like to present one of my designs here. Enjoy.
Update 20 May 2026
Drawer Latch
- custom-designed on request
Drawer latch to prevent accidental opening.
Use an M6x16 screw. The screw thread must be secured with anaerobic adhesive (e.g. Loctite) to prevent loosening.
Updated: 05/15/2026
Added a print profile containing separate drawers without gridfinity bottom.
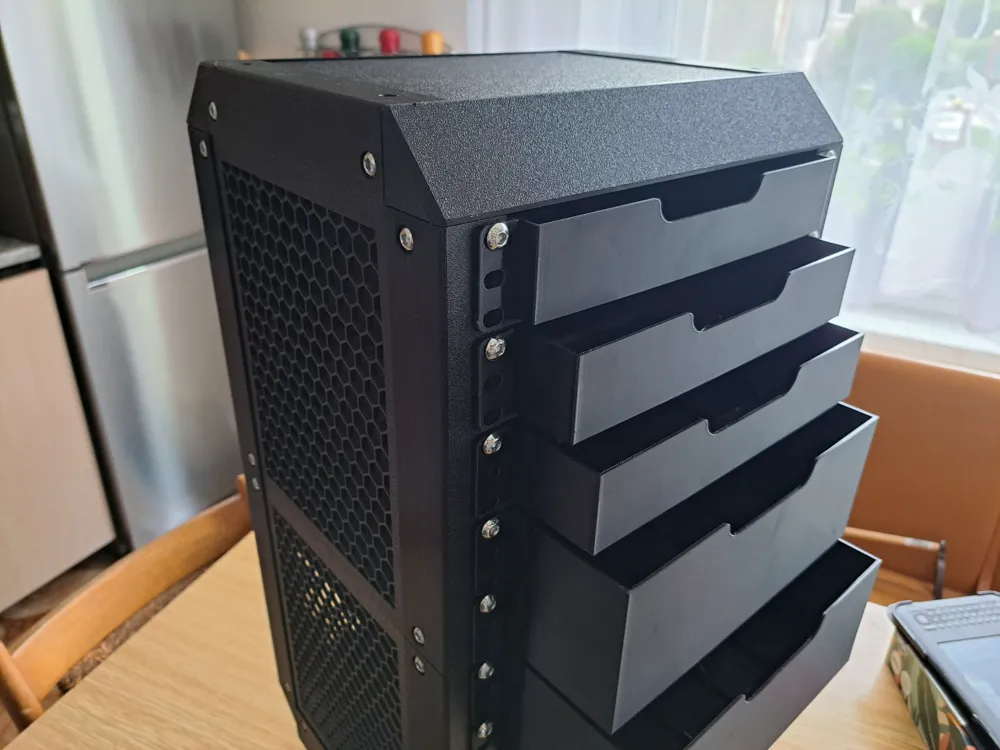
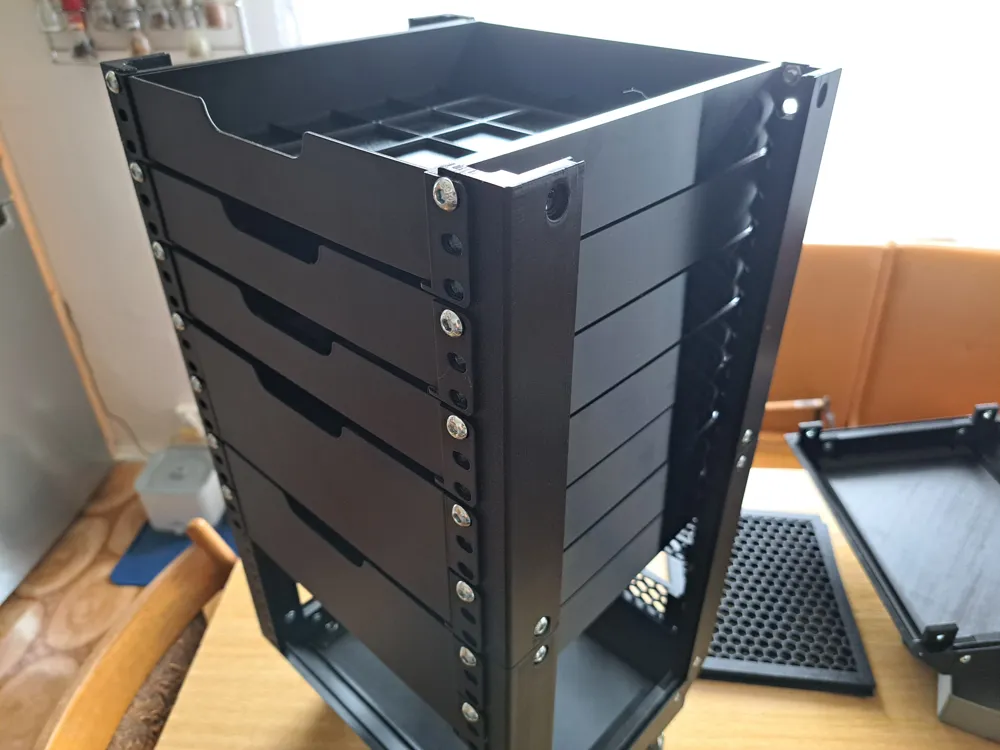
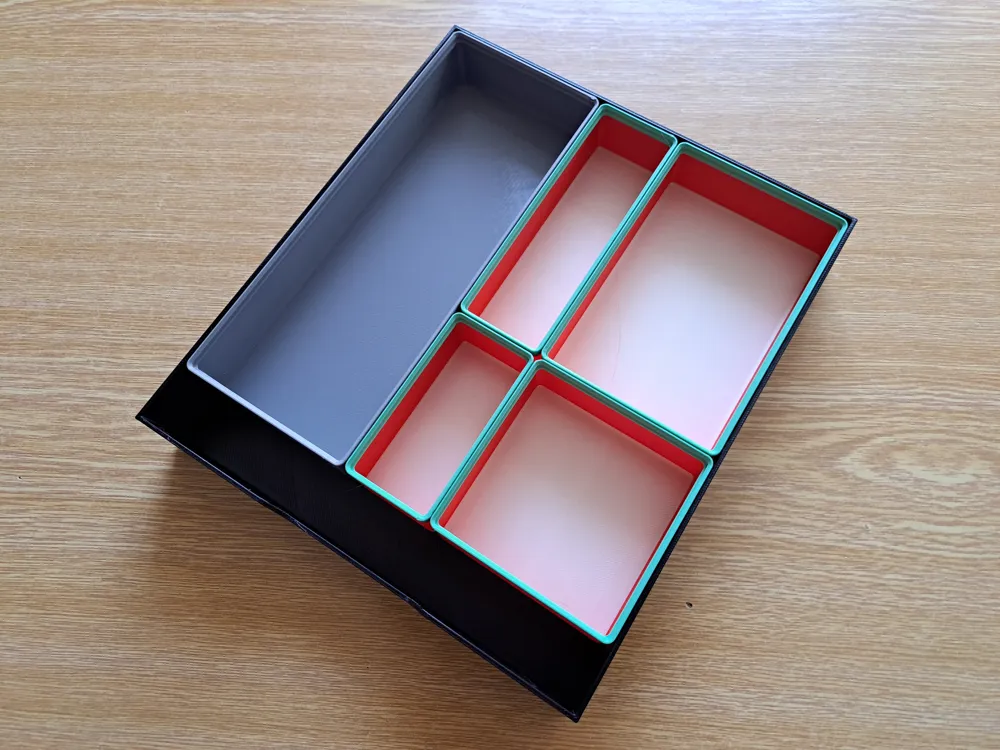
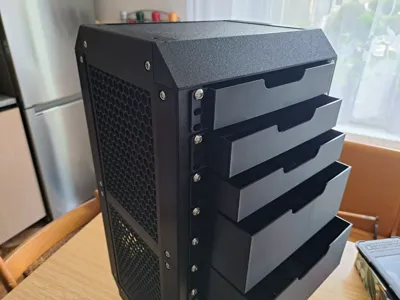
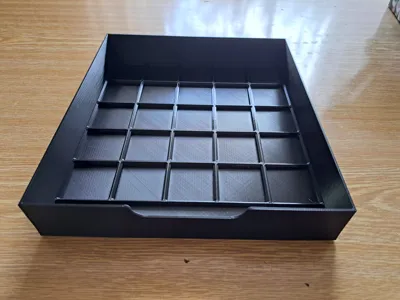
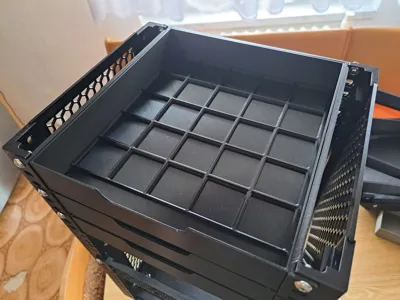
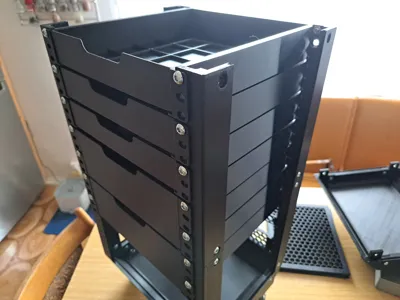
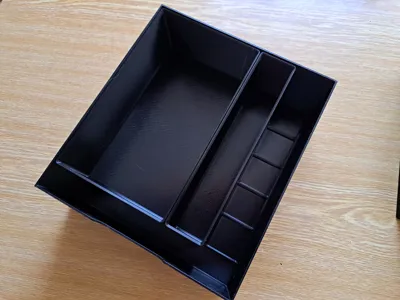
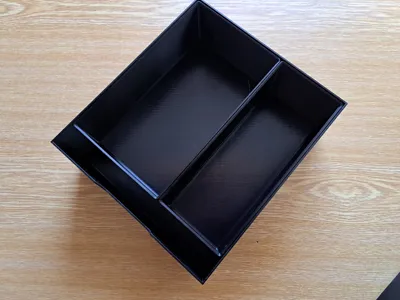
Sometimes it’s useful to have some storage space in a rack for small items—ideally in the form of a drawer, if there’s a free slot available.
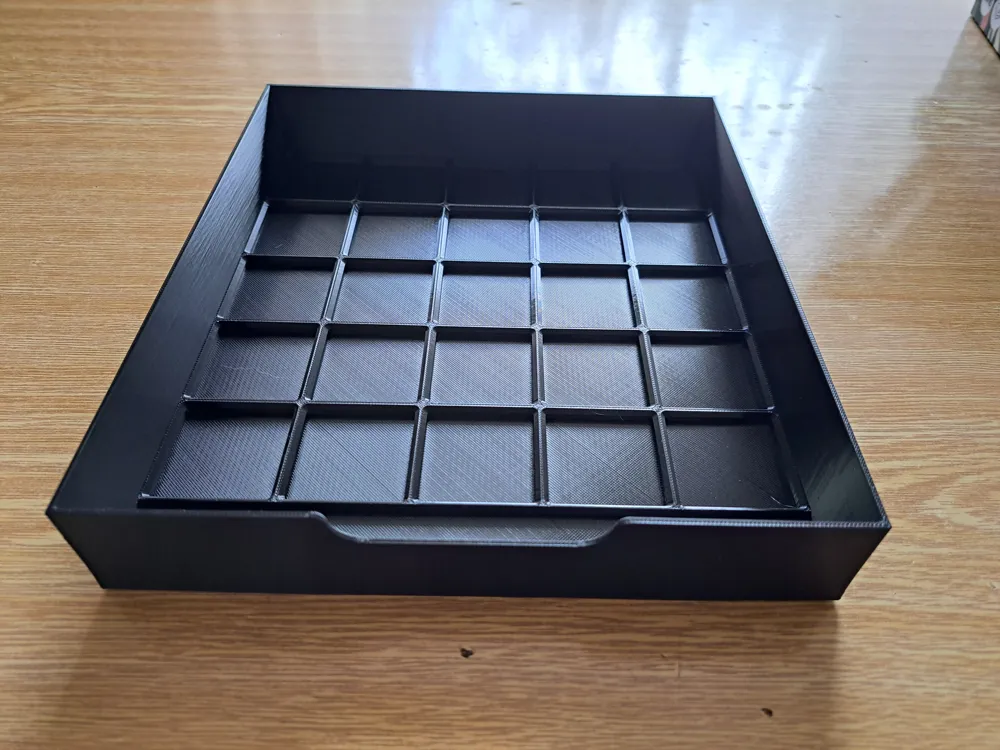
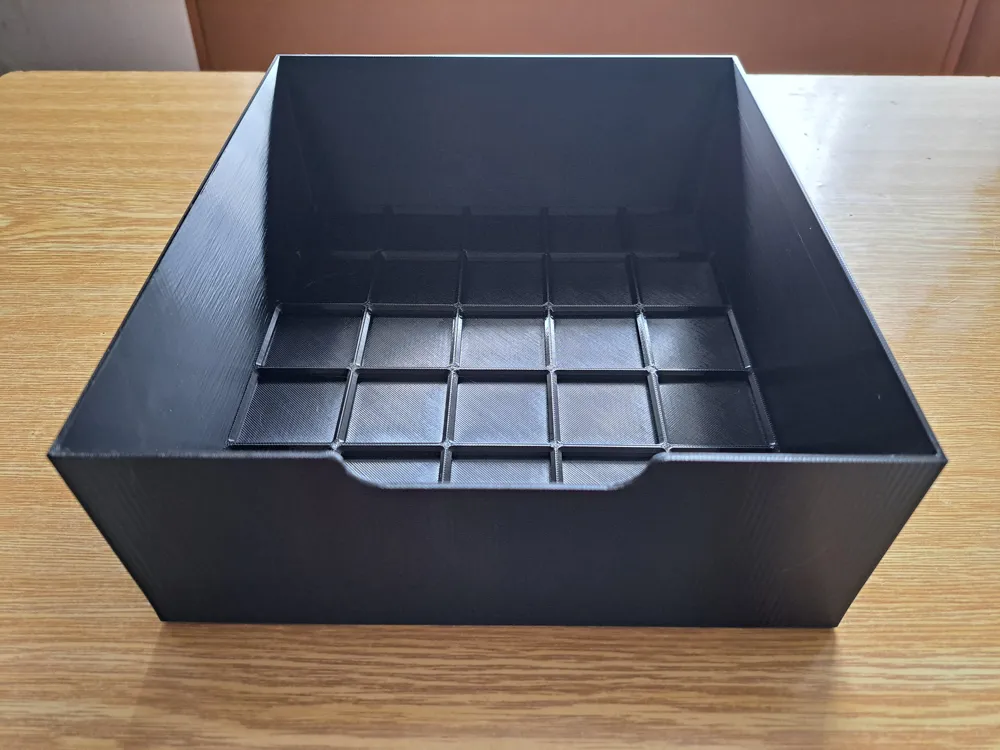
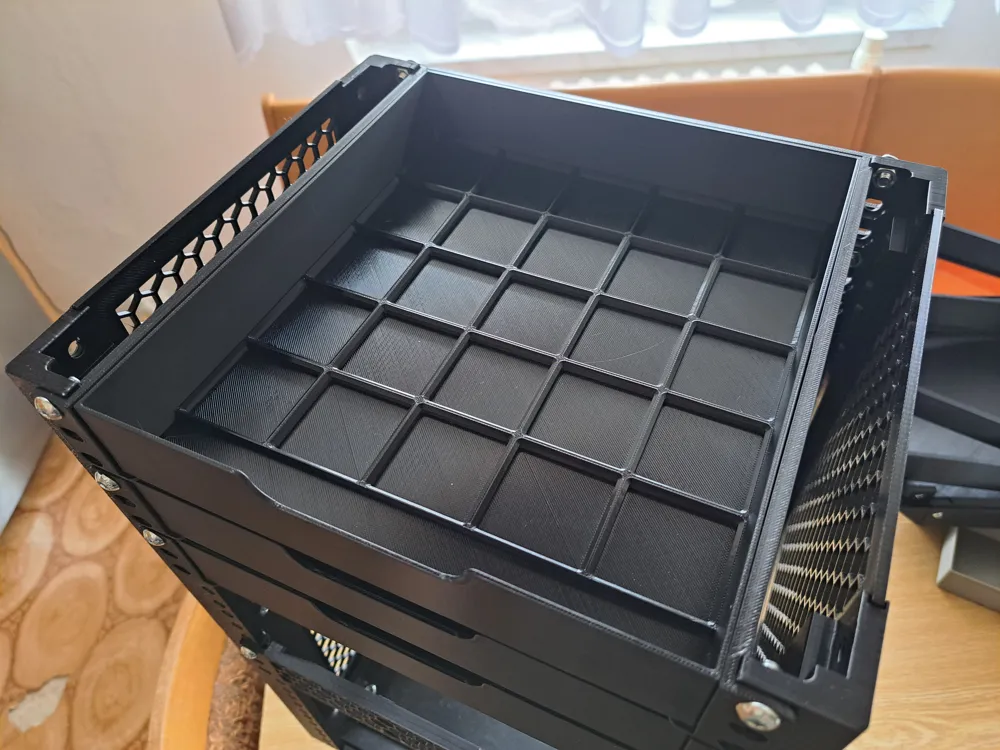
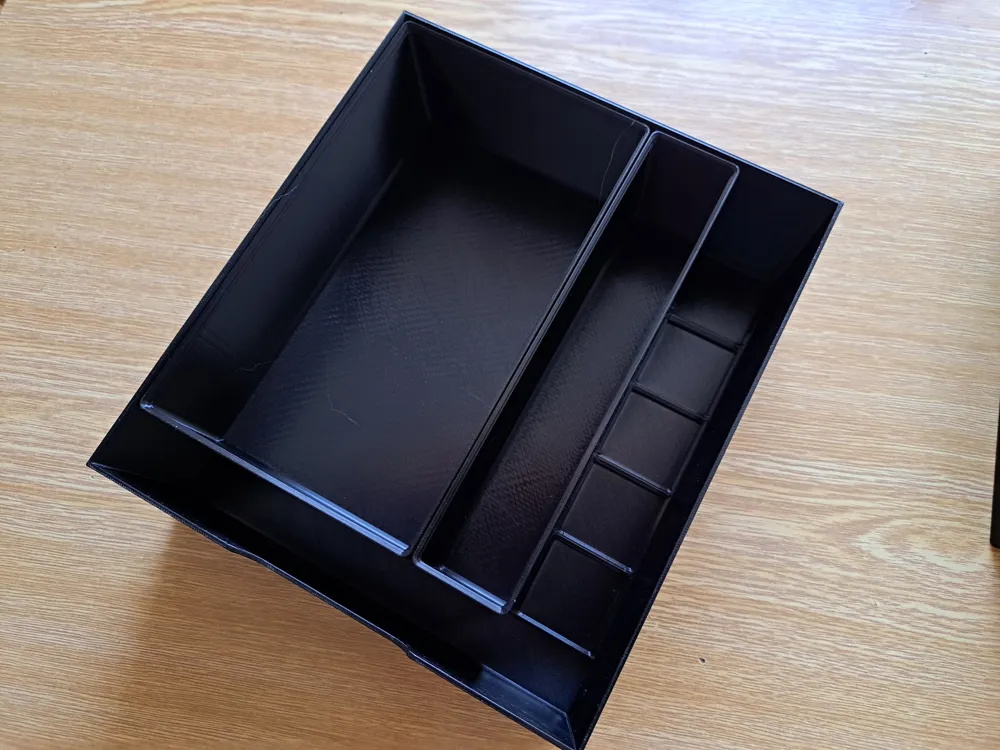
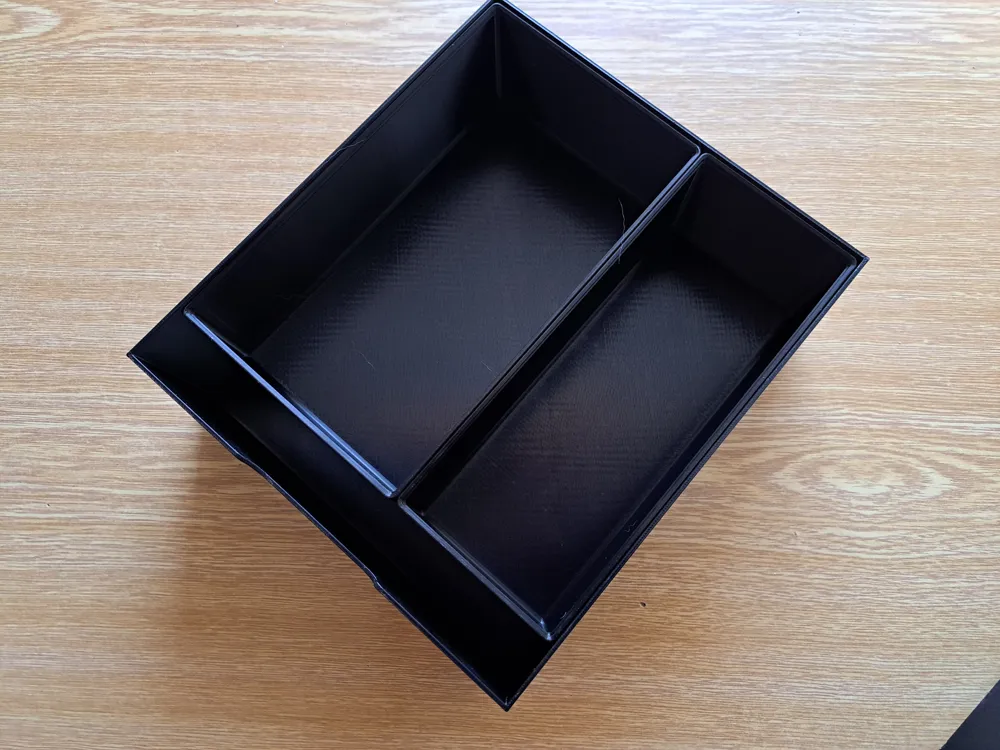
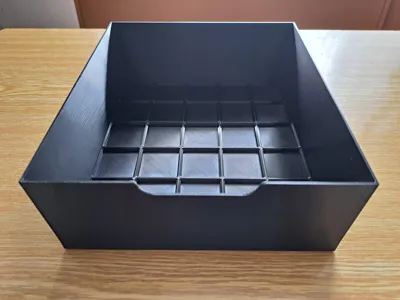
For my LabRax, I designed two versions of Gridfinity drawers with a 5×5 grid:
- Low version: rack height 1U, Gridfinity grid 5×5, Gridfinity height 5U
- High version: rack height 2U, Gridfinity grid 5×5, Gridfinity height 11U
The drawers are designed specifically for a standard LabRax with full rack depth. They also use rear mounting points, so they are secured at four نقاط for better load distribution. They may not fit other racks.
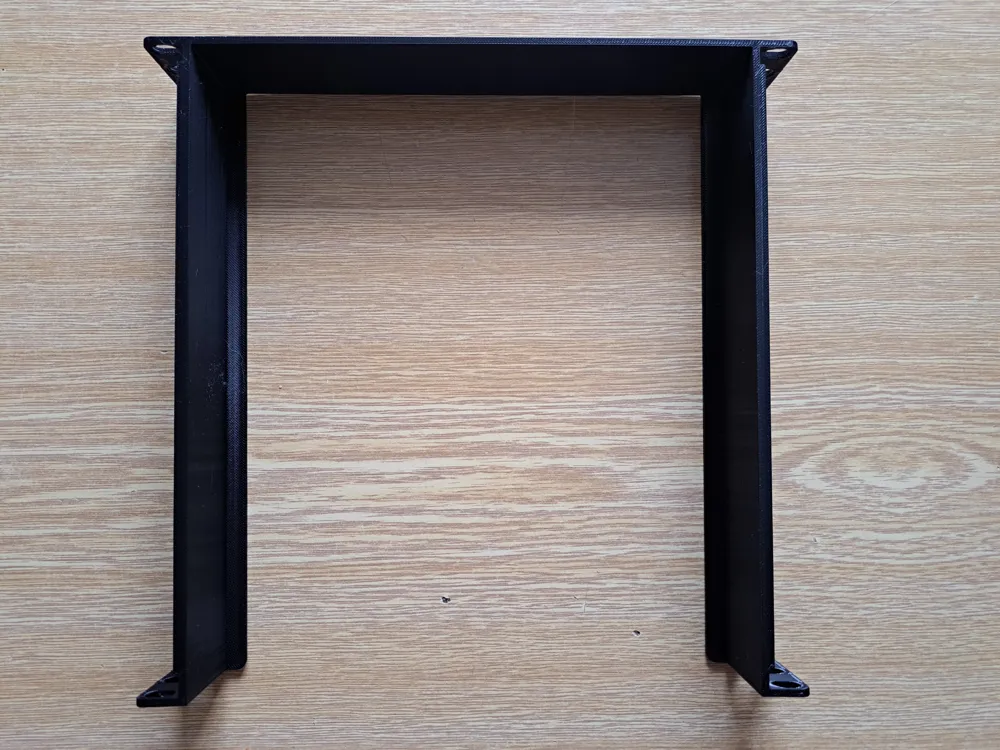
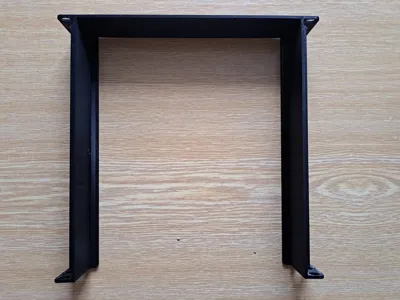
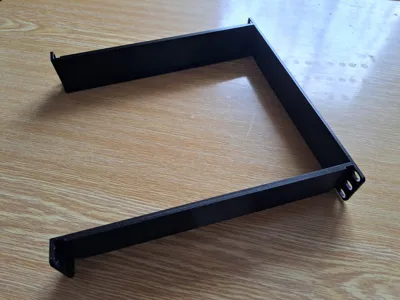
Both versions use the same rails for the 1U drawer position.
The high version additionally supports optional side guides (1U height) for the second position, but using them is not required.
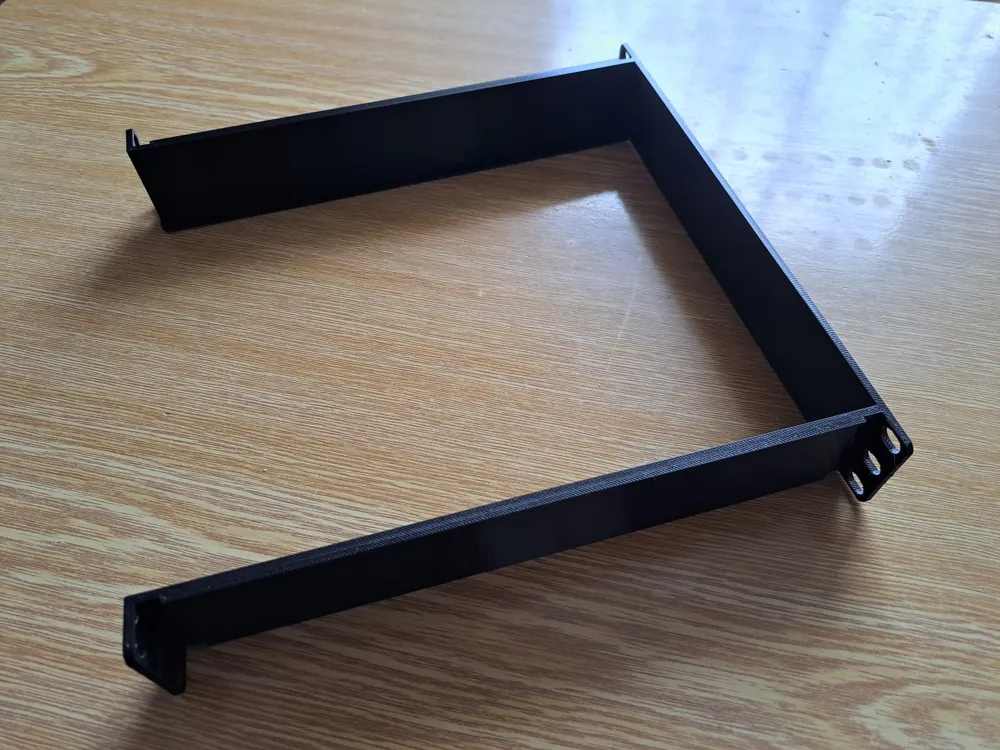
The rails and side guides can be printed vertically with supports.
This is how the drawer guides are positioned on the P1S printer.
I'm sorry, but the system is repeatedly deleting the profile due to non-standard printer settings.
Advanced printing (not suitable for standard printer settings with a 256×256 mm build area):
To save material, reduce print time, and increase strength, I created an alternative print profile where the rails and side guides are printed flat. This uses the entire build plate, including the restricted area.
Warning!!!
For this print, you must disable the restricted print area and print from an external spool (without using AMS) so the printer does not use the filament cutter.
Do not move the print—otherwise the extruder cover may collide with the printer.
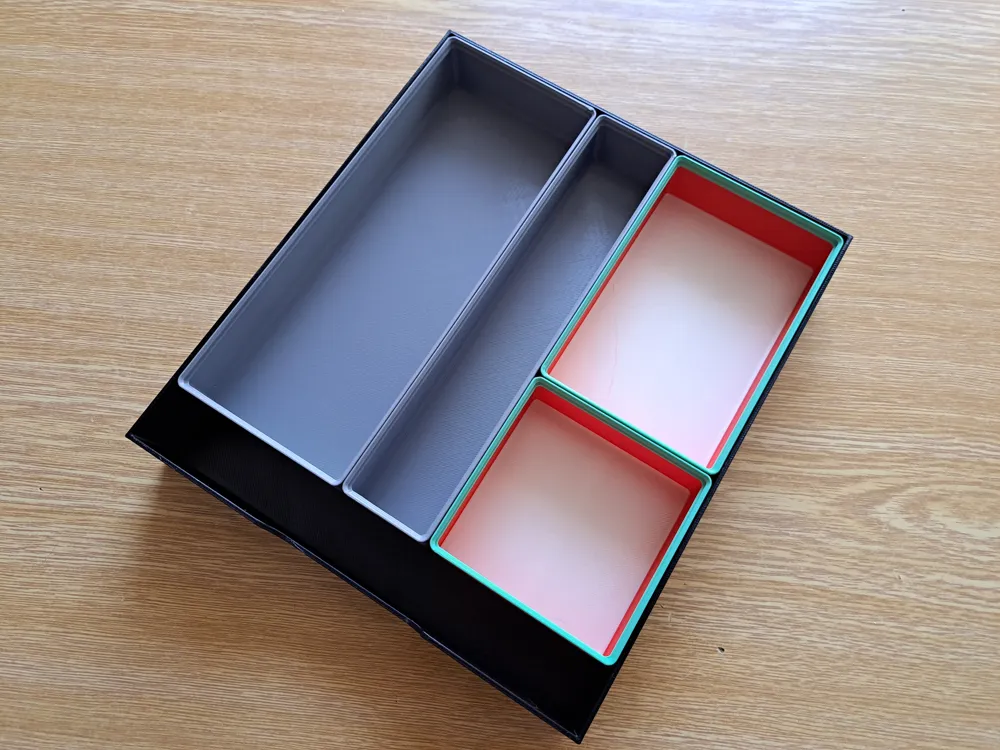
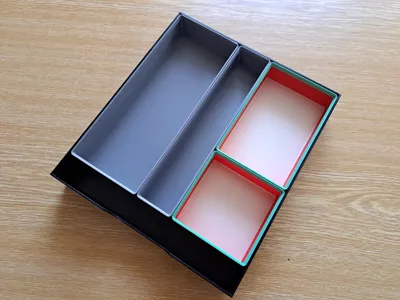
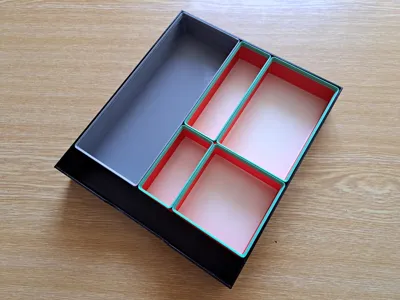
You can find Gridfinity containers with a height of 5U for the low drawers in my profile HERE.
You can find Gridfinity containers with a height of 11U for the high drawers in my profile HERE.
License

You shall not share, sub-license, sell, rent, host, transfer, or distribute in any way the digital or 3D printed versions of this object, nor any other derivative work of this object in its digital or physical format (including - but not limited to - remixes of this object, and hosting on other digital platforms). The objects may not be used without permission in any way whatsoever in which you charge money, or collect fees.


Comment & Rating (40)