
Smart LED Habit Tracker ESP32+WLED+Home Assistant


Print Profile(1)
Description
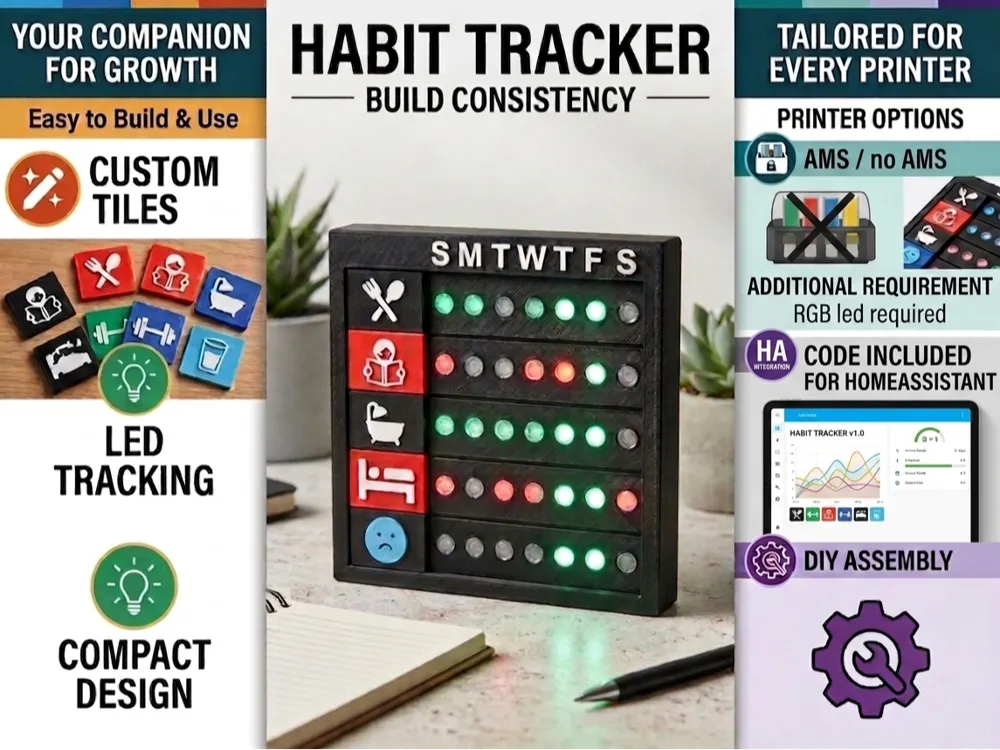
🌟 Smart LED Habit Tracker — ESP32 + WLED + Home Assistant
Overview
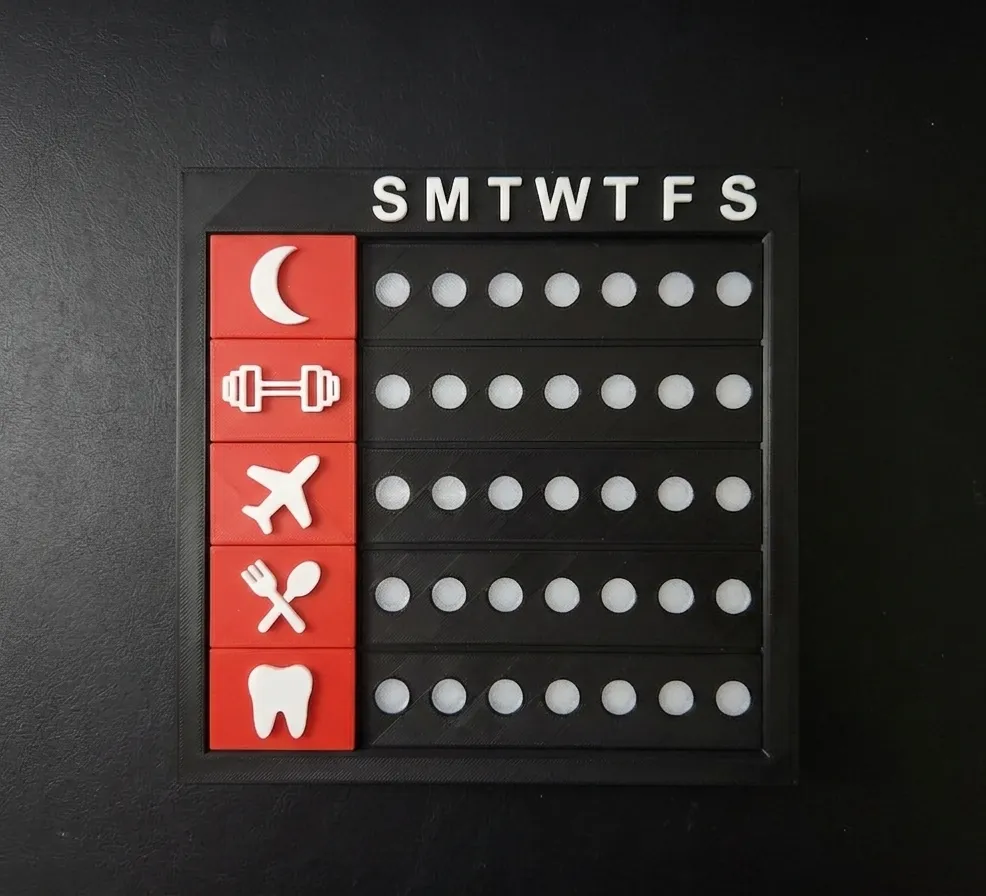
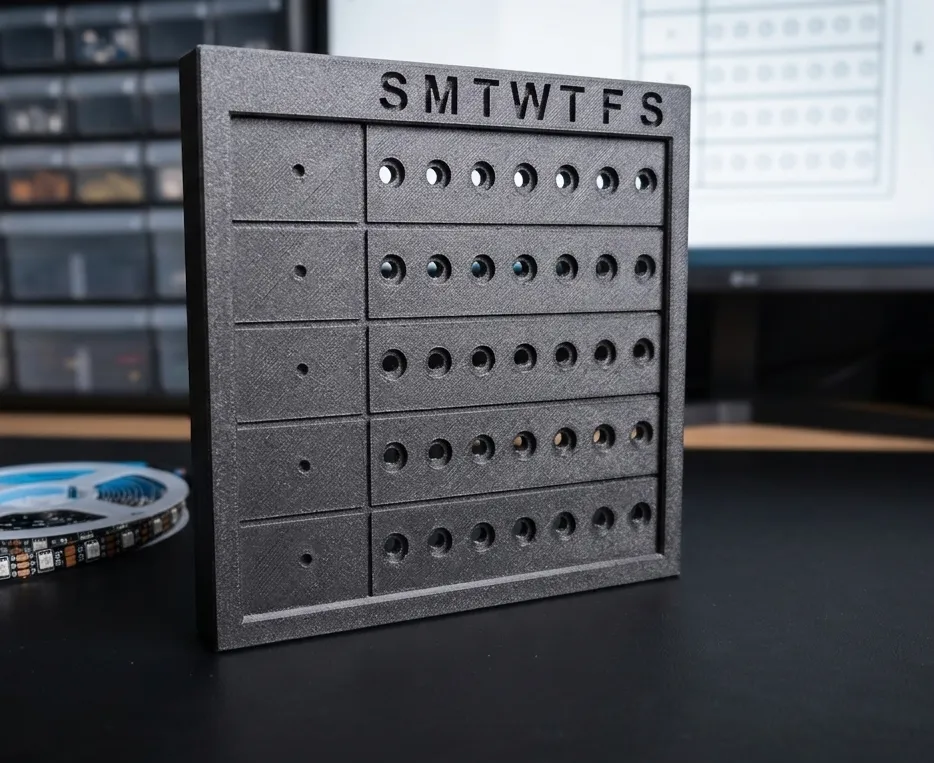
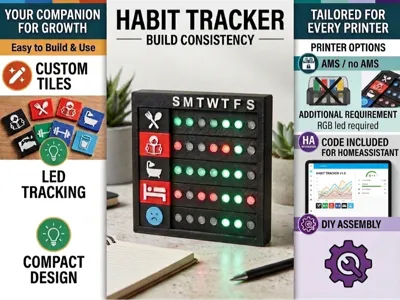
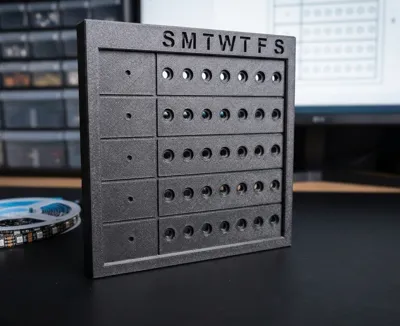
This project turns a physical LED strip into a visual habit tracker that you can control directly from Home Assistant or directly via mobile application (WLED) . Each row represents a habit, and each LED represents a day of the week. Each single LED cycles between Off → Red → Green, giving you an instant visual overview of your week at a glance.
🛠️ What You Need
Hardware
- Any ESP32 board, Im using here M5stack StickC-Plus2.
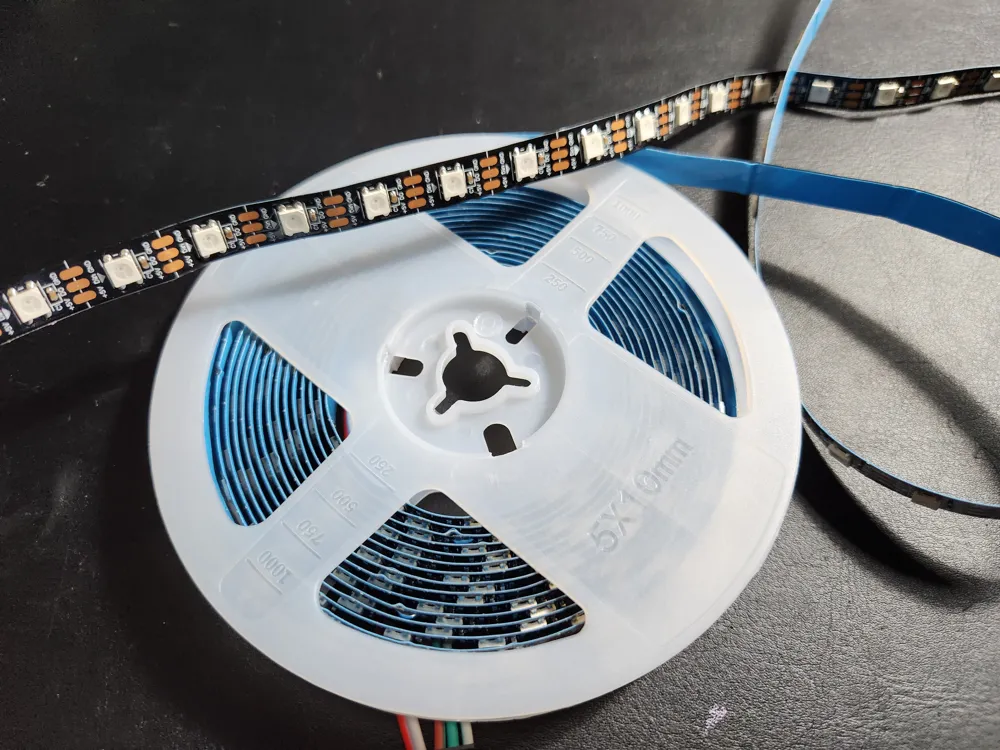
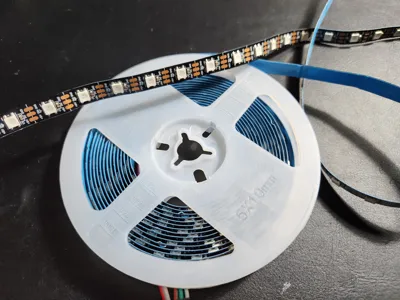
- Addressable RGB LED strip (WS2812B or similar) — 35 LEDs - 50 LEDs needed depending on wiring (check LED Layout below). check the following link for compatible LEDs with WLED firmware.
- RGB led specification used in this build:
- Strip width 10 mm.
- Distance between RGB leds is 16.5 mm.
- 60 LEDs/m
- RGB led specification used in this build:
- 5V power supply.
- 8 x Magnets 4x2 mm for the back cover.
- Wiring & enclosure.
Software
- WLED firmware flashed to your ESP32.
- Lights can be managed by the following two ways:
- WLED app (Google play store, Apple store).
Home Assistant (scripts provided below).
💡 LED Layout
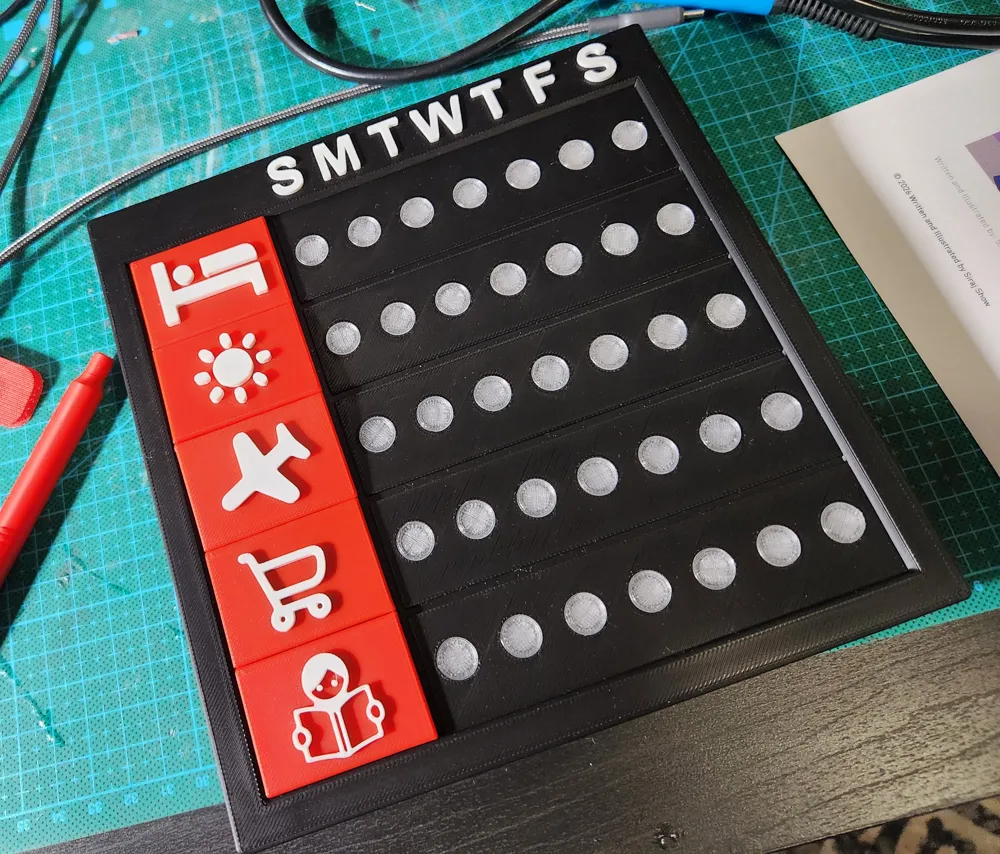
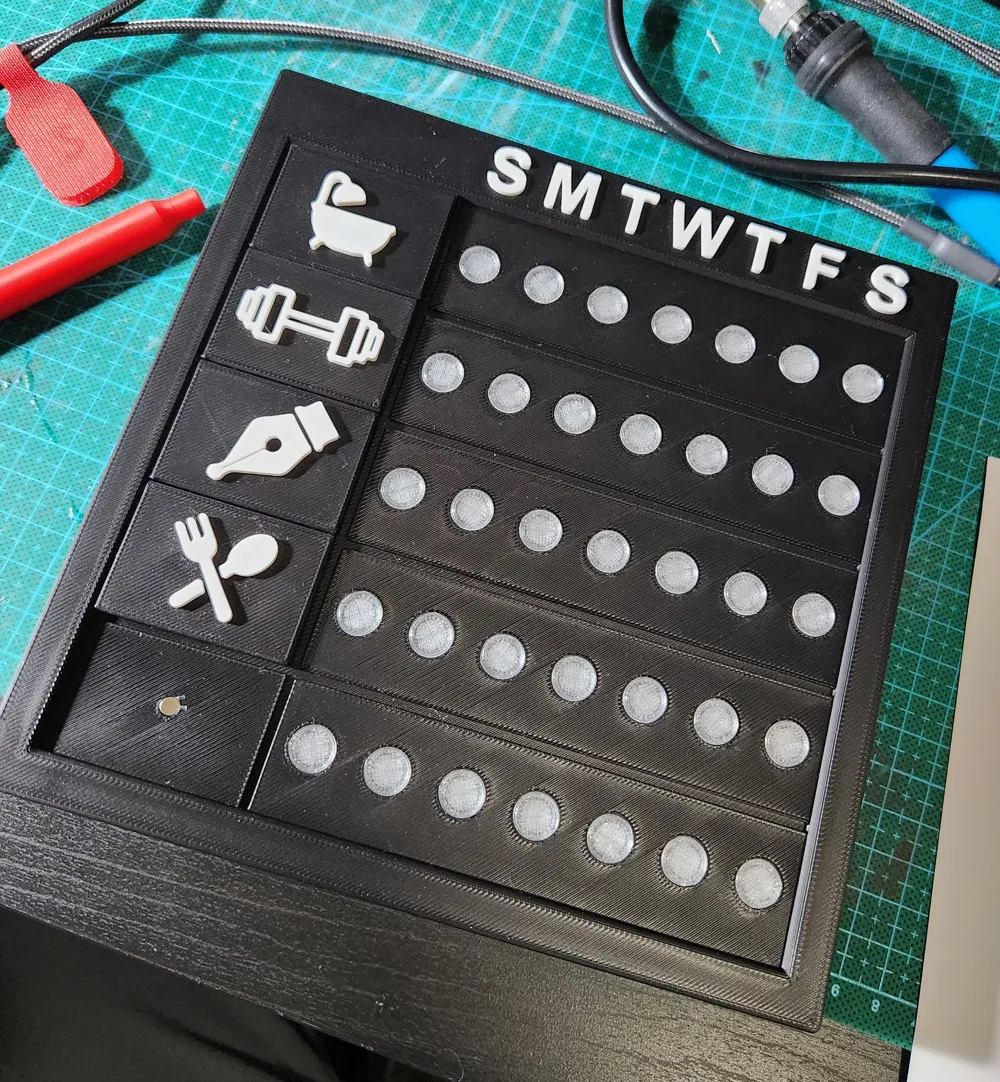
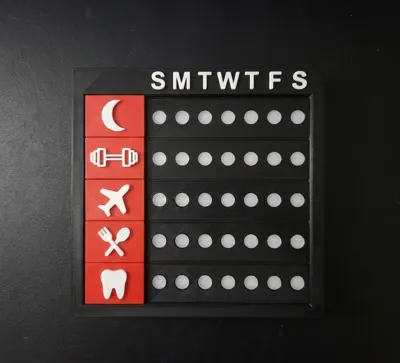
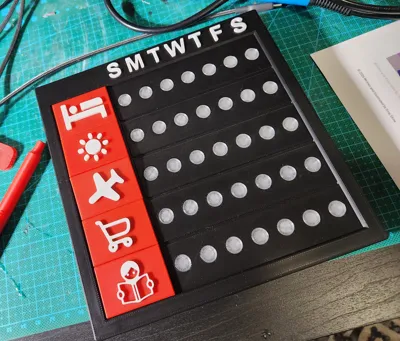
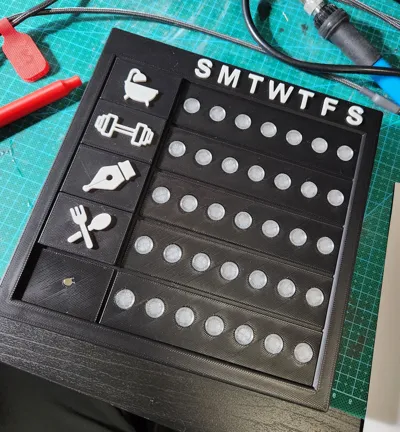
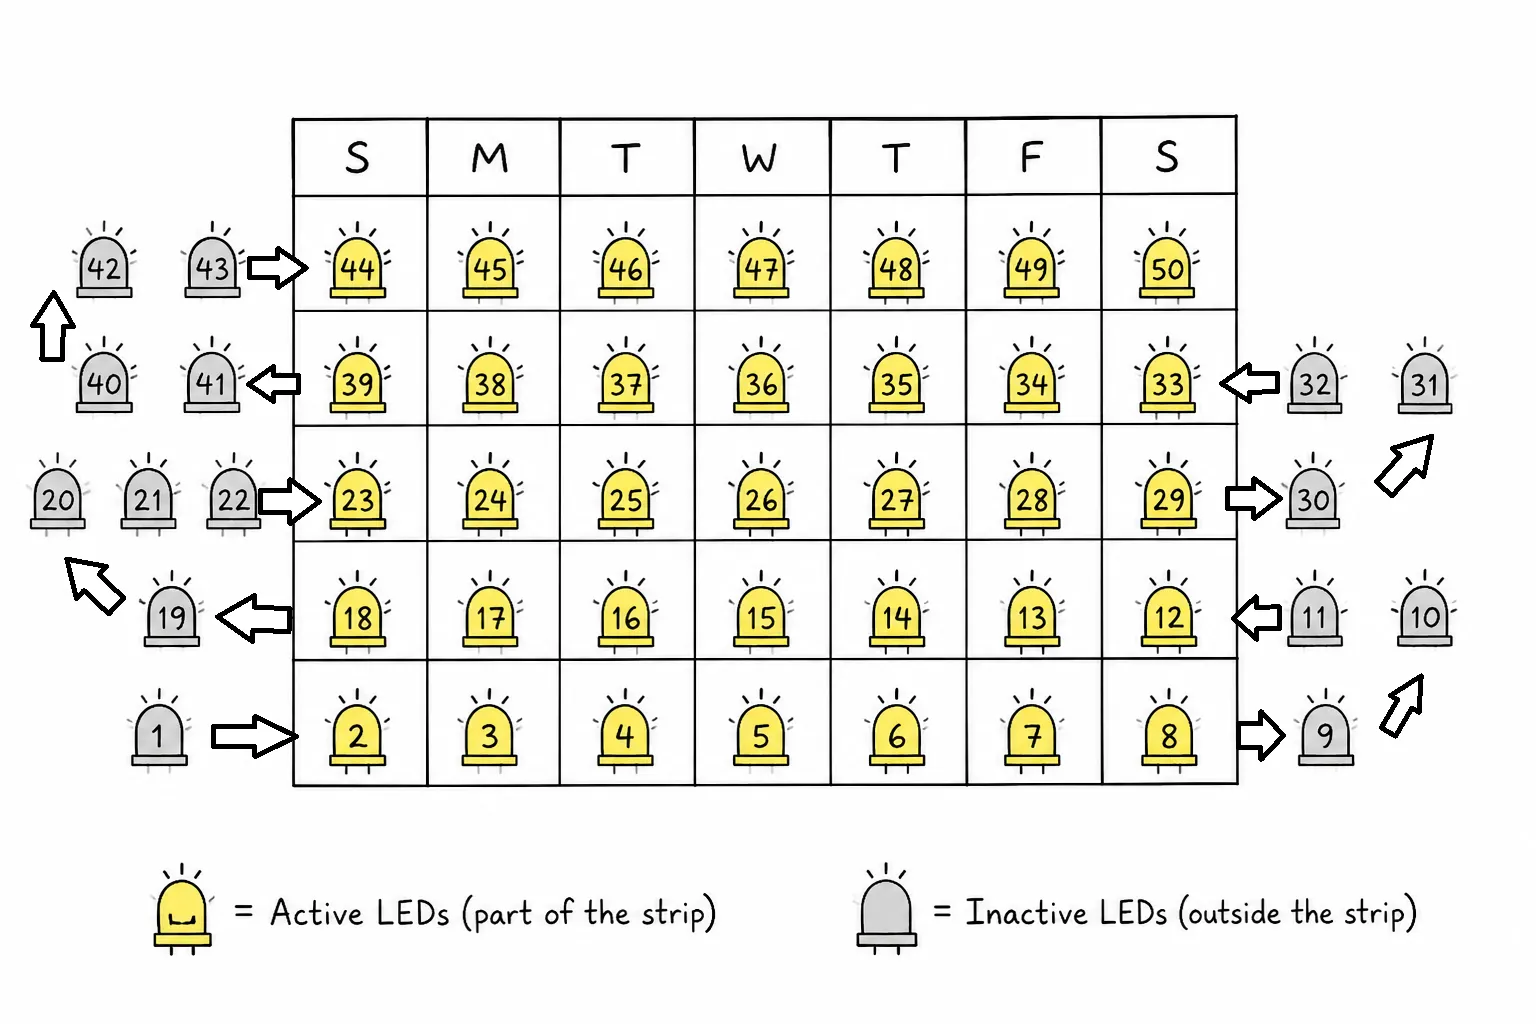
- The LEDs are arranged in 5 rows (habits) × 7 columns (days of the week: S M T W T F S).
- You will need between 35 and 50 LEDs total, depending on how you set it up:
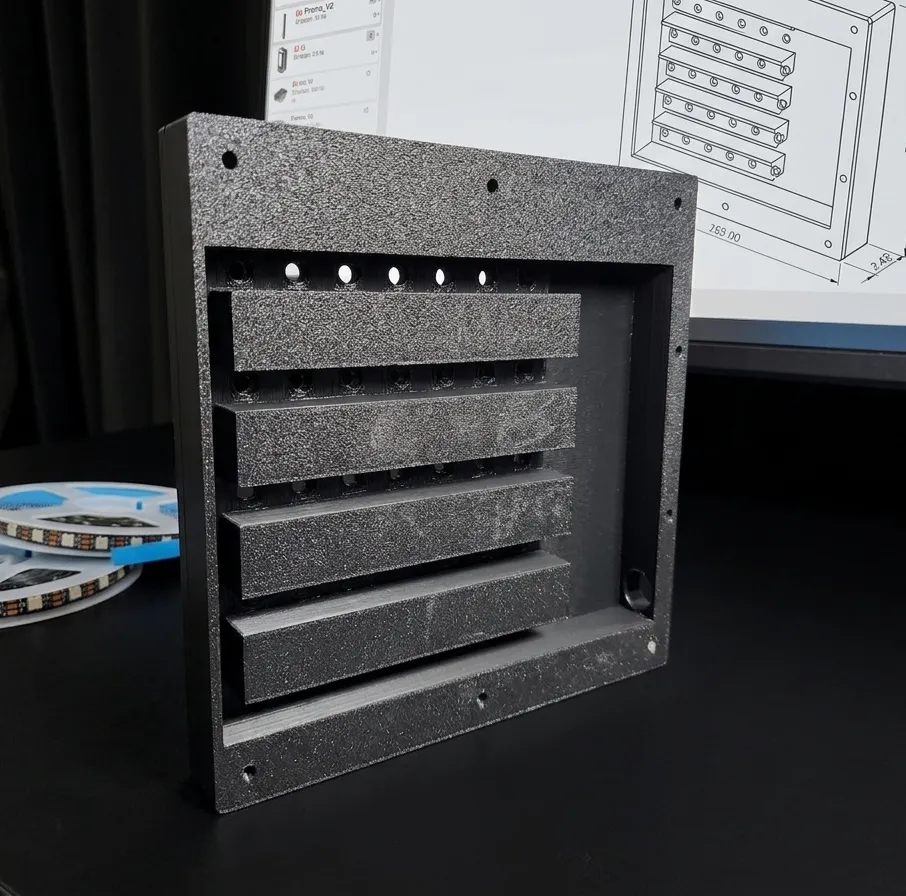
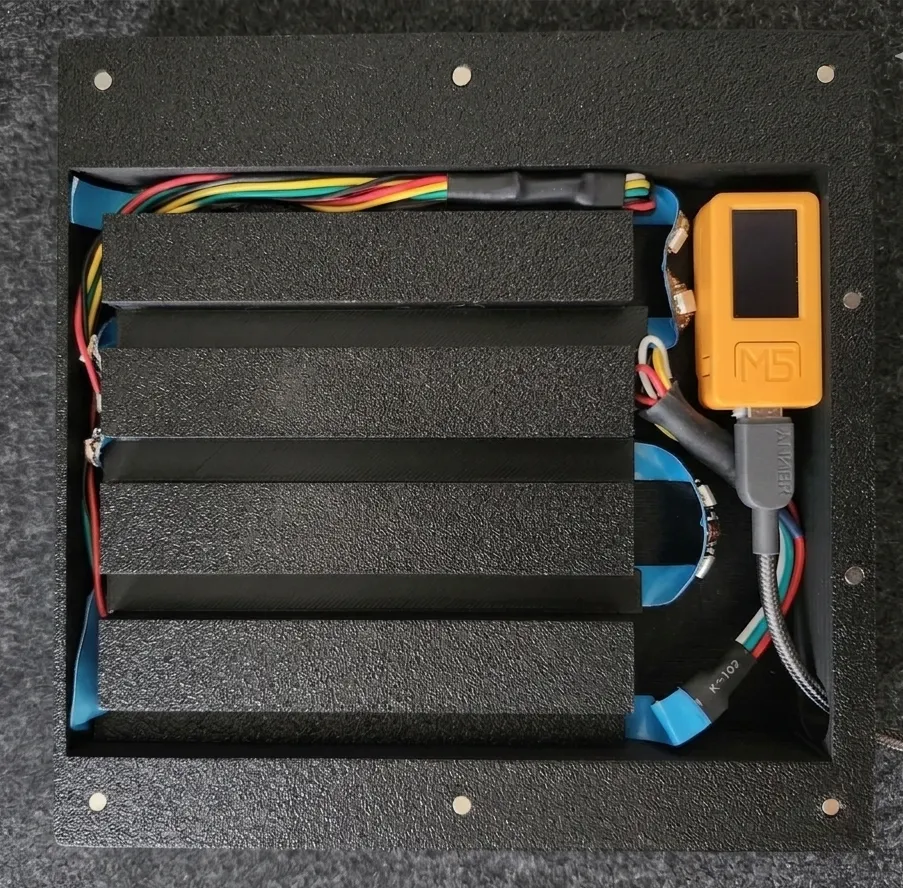
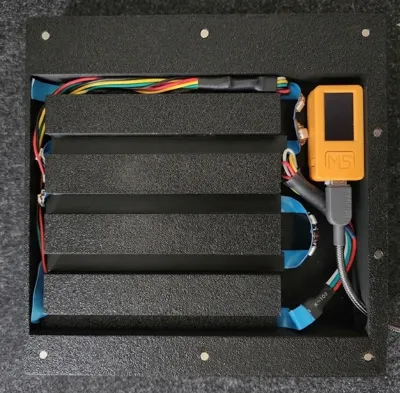
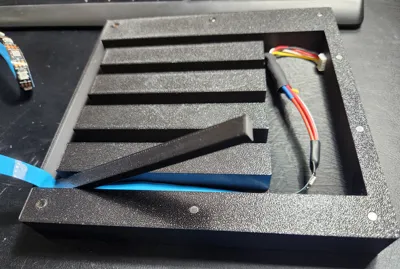
- Easy way (no soldering): Use 50 LEDs, but keep the LEDs that sit between the rows always turned off — they're just there to bridge the gap (check the photo below)
- Harder way (soldering required): Use only 35 LEDs and join the rows together using wires.
⚙️ Assembly
Step 1 - Print the parts
All parts printed using PLA.
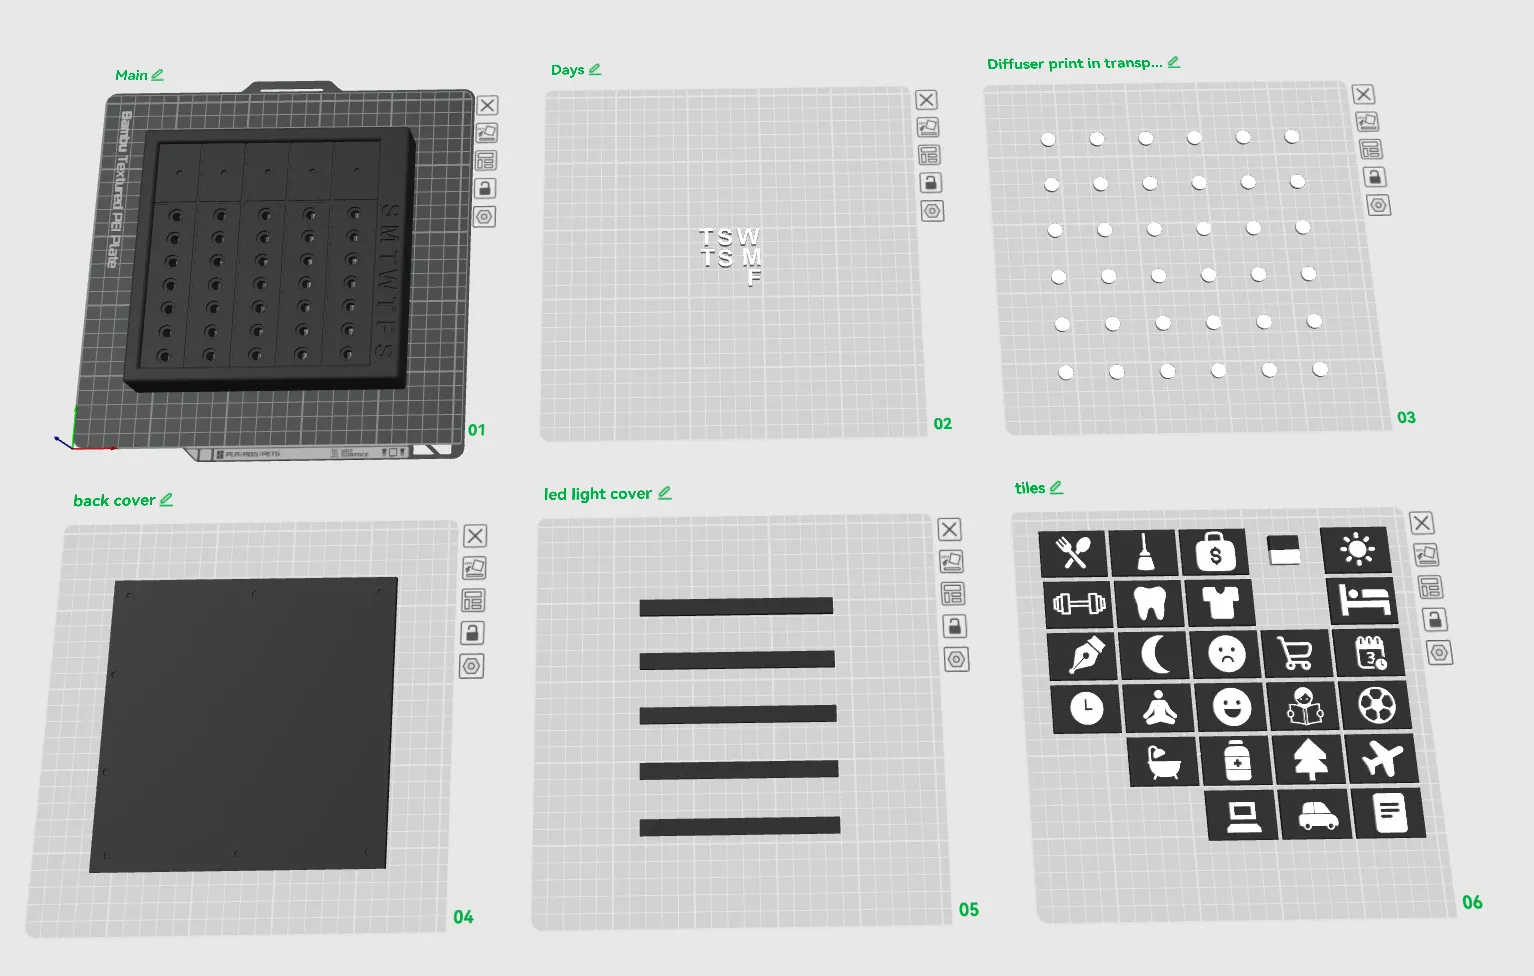
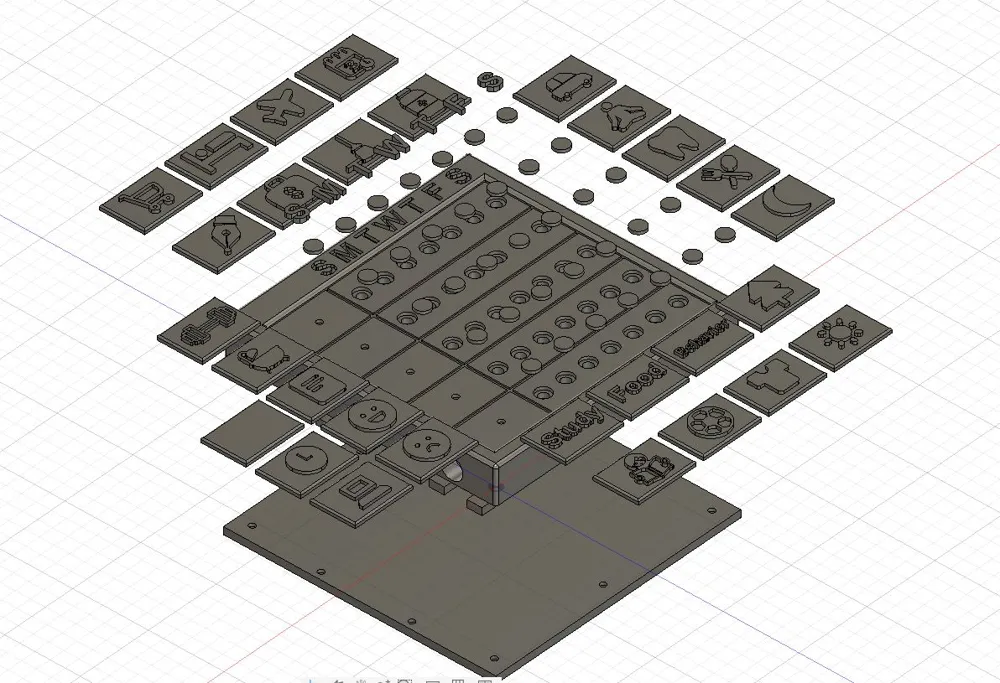
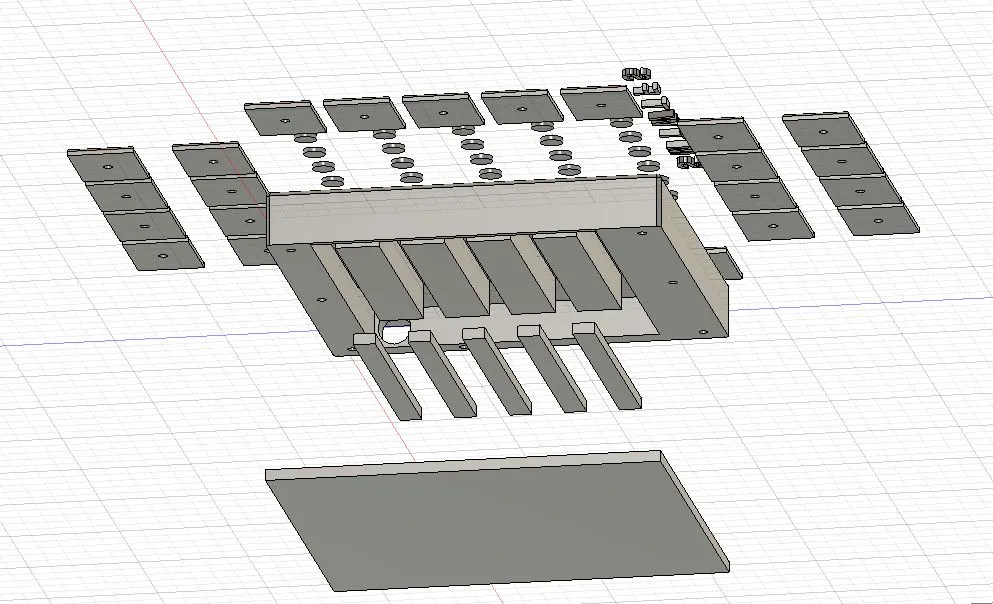
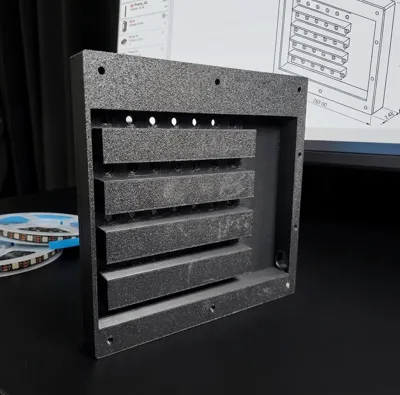
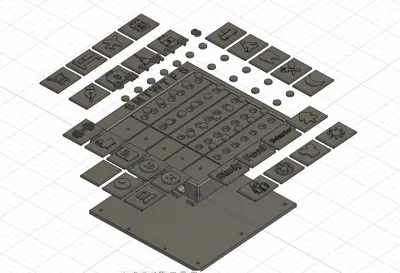
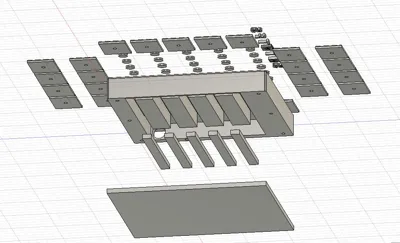
- Plate 1 – Main Body: The main frame of the project. Print in black or any color you like. It needs supports when printing.
- Plate 2 – Days of the Week: The day labels. White works best, but any color is fine.
- Plate 3 – LED Diffuser: This covers the LEDs to spread the light evenly. Must be printed in transparent PLA — other colors will make the lights look dim. (Feel free to try other colors and share your results in the comments!)
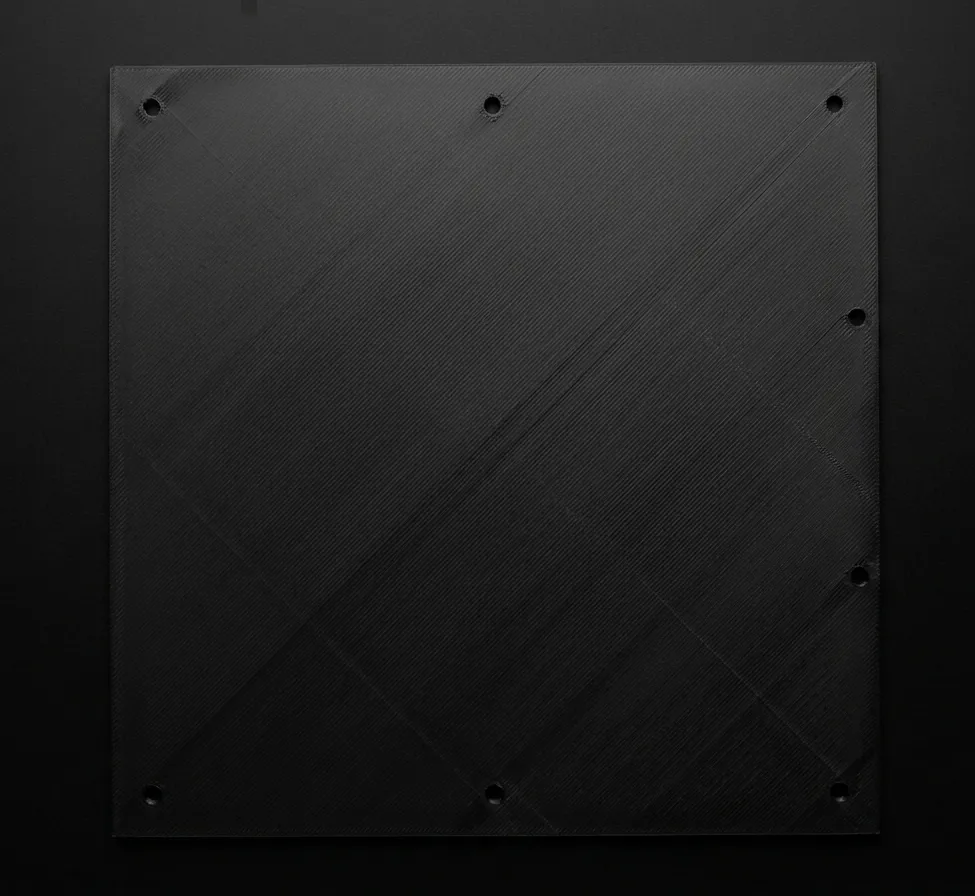
- Plate 4 – Back Cover: The back of the enclosure.
- Plate 5 – LED Light Cover: Sits inside the enclosure. Any color works.
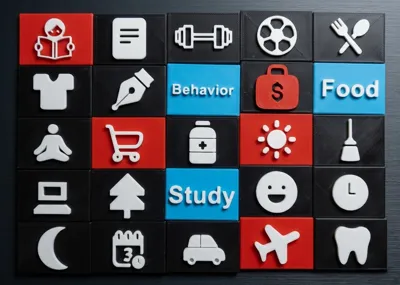
Plate 6 – Habit Tiles: The tiles for your habits. Works with or without an AMS — you only need one color change. You need 5 tiles for the main body. Print in any color you like.
Step 2 - Assembly
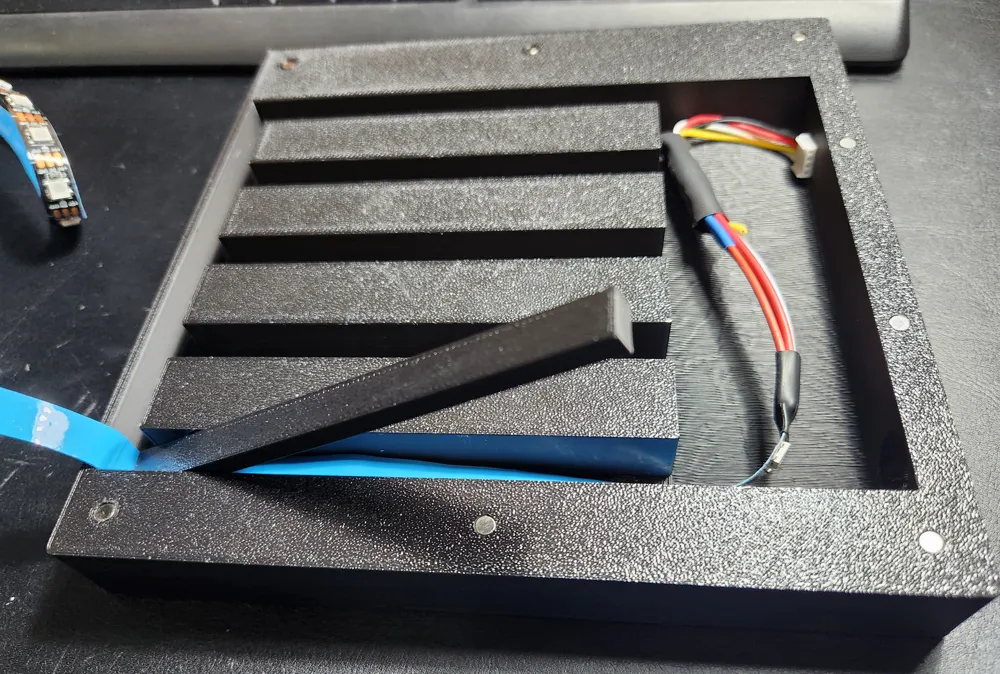
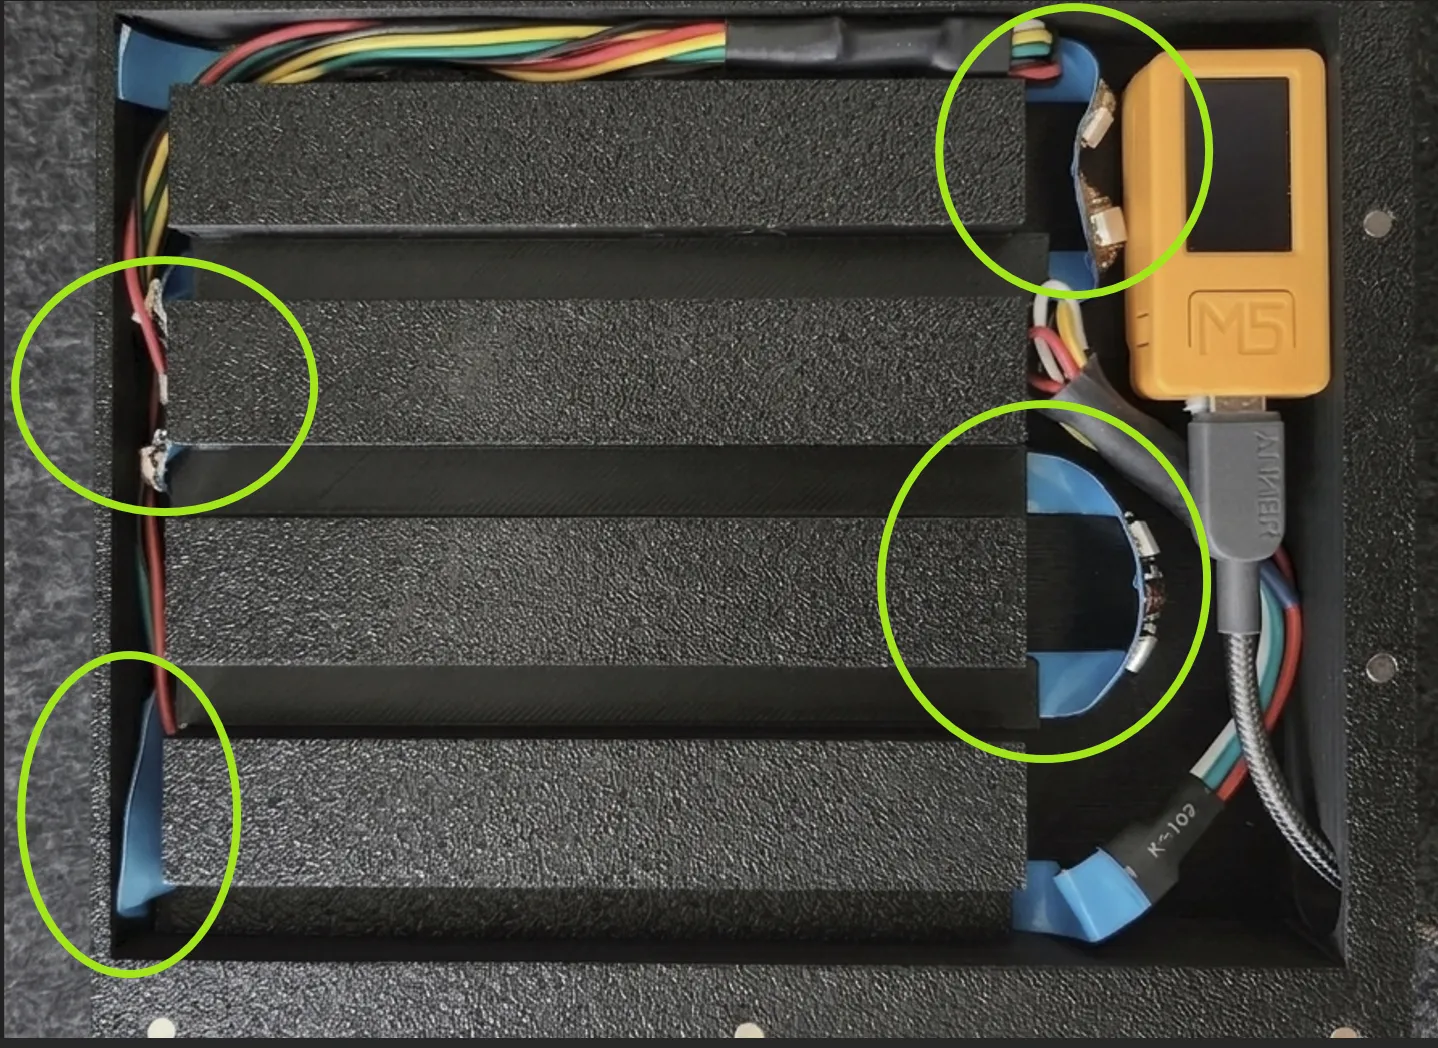
- Step 1 – Lay the LED strips: Place the LED strip row by row across the main body.
- The LED strips must be placed exactly as shown in the picture below for everything to work correctly. If you want to lay them in a different direction, you can — but you'll need to manually update the positions in the YAML files yourself. The picture below is front view not from the back
- Step 2 – Attach the LED cover (Plate 5): Press it down to hold the LEDs in place. Make sure each LED lines up with its hole. It will fit snugly and keep the strip from moving.
- Step 3 – Repeat for all rows: Do the same for every row. (Don't forget to connect the rows the way you chose — see the LED Layout section above.)
- Step 4 – Install the diffuser (Plate 3): Just press it in. No glue needed unless it feels loose.
- Step 5 – Install the days of the week (Plate 2): Press it in. No glue needed.
- Step 6 – Install the magnets: Press the magnets into the main body, the back cover, and the habit tiles.
- Step 7 - Connect 5v, Ground, Data lines to ESP32, I connected all directly to ESP32 without external power supply.
Step 3 - Software Part
WLED Setup
- Flash WLED to your ESP32, use this simple GUI . this project tested only on Version 0.15.3
- Configure your LED strip in WLED settings by connecting to ESP32 via wifi or AP, check the detailed steps on WLED website.
- Set the total LED count to cover your full strip (35 or 50).
- Set the maximum current.
Set Data GPIO ( the pin connected to ESP32 from Data pin from LED strip).
Home Assistant Setup
Add REST Command and input Selects to configuration.yaml (check the file named configuration.yaml below in documentation, just copy and paste the script to your configuration.yaml and change the IP address to your ESP32.
Automations
Automation 1: Update LEDs When a Habit Changes
- Go to Settings → Automations → Create Automation → 3 dots → Edit in YAML and paste the content of Update Habit Tracker LEDs.yaml file below.
Automation 2: Weekly Reset (Every Saturday at 23:59)
- Go to Settings → Automations → Create Automation → 3 dots → Edit in YAML and paste the content of Reset Habit Tracker Weekly.yaml file below.
Dashboard Card
- Install custom:button-card from HACS first, then add a new Manual Card to your dashboard and paste the content of Dashboard Card.yaml file below.
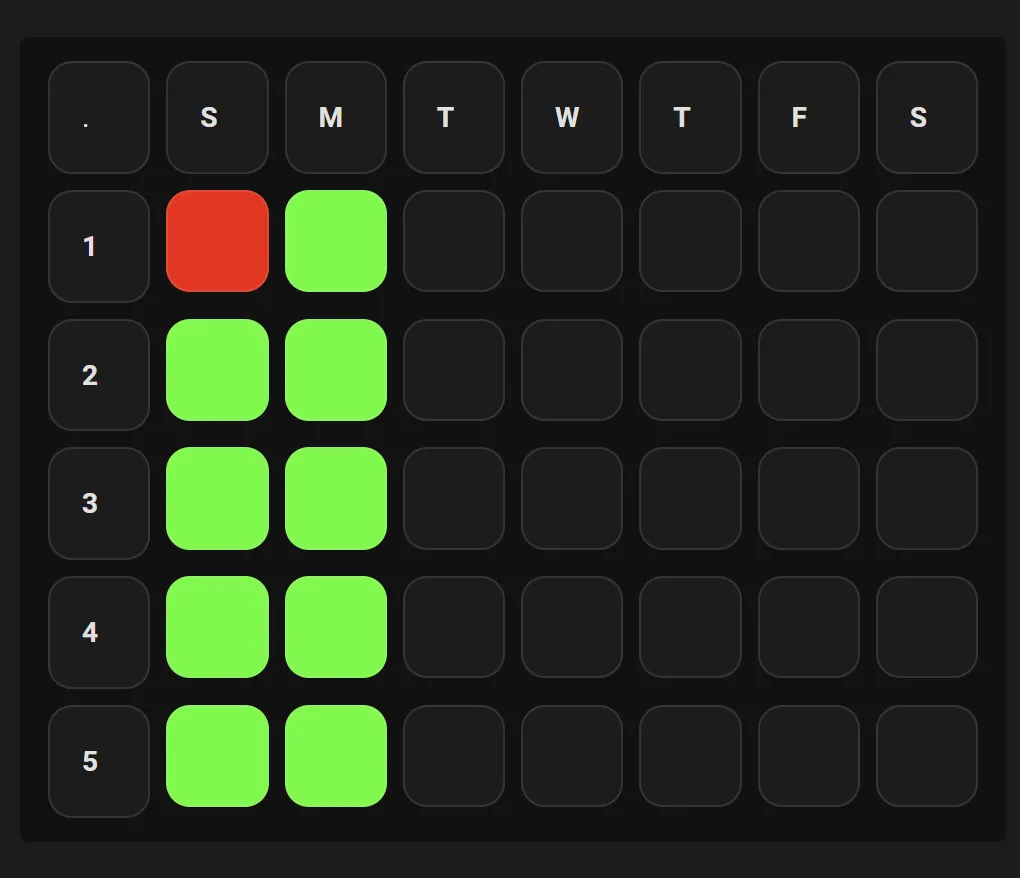
✨ How It Works
- Tap once on any button → cycles Off → Red → Green → Off
- Red = habit not done ❌
- Green = habit done ✅
- Off= not tracked yet
- Every time you tap, a rainbow animation plays on the physical LEDs before showing the updated colors
- Every Saturday at 23:59, all LEDs and buttons reset automatically for the new week
🎨 Customization Tips
- Change habit icons by replacing the emoji in the markdown cards
- Adjust brightness by changing "bri": 56 (0–255 range)
Change rainbow duration by modifying seconds: 2 in the automation delay
Documentation (4)
License

You shall not share, sub-license, sell, rent, host, transfer, or distribute in any way the digital or 3D printed versions of this object, nor any other derivative work of this object in its digital or physical format (including - but not limited to - remixes of this object, and hosting on other digital platforms). The objects may not be used without permission in any way whatsoever in which you charge money, or collect fees.


Comment & Rating (6)