P2S Original Panel Rear Exhaust Filter


Print Profile(1)
Bill of Materials


Description
P2S Original Rear Panel Exhaust Filter - Activated Carbon and HEPA
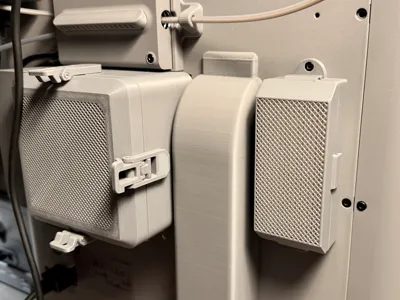
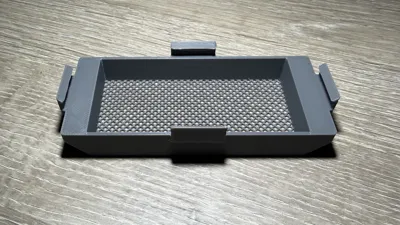
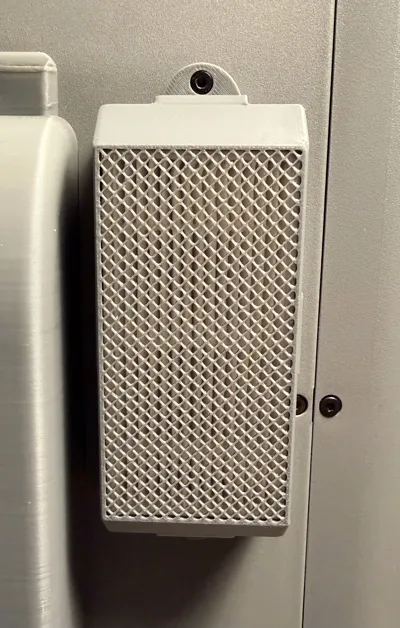
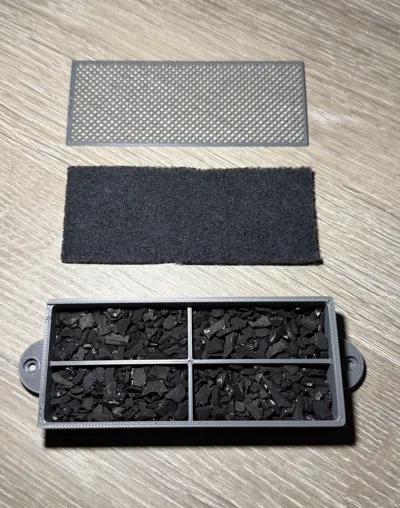
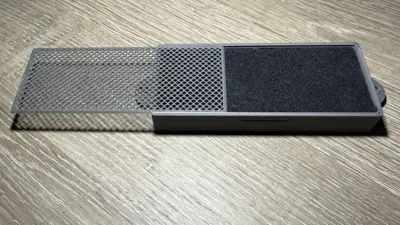
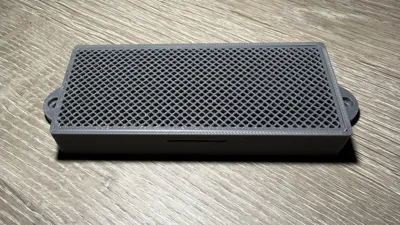
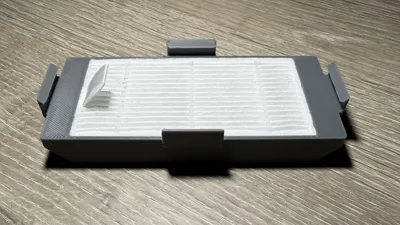
This Rear Panel Exhaust Filter is designed for the original back panel exhaust port (right side if you're looking at the rear of the printer) to help eliminate any smells, fumes and VOCs which may be released from that small exhaust grille. The base filter is designed to hold activated carbon pellets separated into 4 chambers with room to add a 3mm carbon filter pad. The optional add-on filter is designed to hold an 80mm x 40mm HEPA filter for extra filtration.
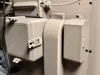
The filter screws into the back panel with 2 M3-6 Socket Head Cap Machine Screws (SCHS). I used the 2 that came with the Bambu Lab External Exhaust Fan Kit since the kit is designed to mount the external exhaust fan over the right-side exhaust grille with a bracket in the 3D printable model for the kit. The screws were extra since I mounted my external exhaust fan on the newer larger left-side exhaust grille location. However, you can buy the screws from Bambu Lab or Amazon.
NOTE: If you decide to use a different print profile or change the included one, remember:
- Print with PETG at minimum to avoid warping issues as the exhaust vent gets warm while printing.
- You must use the “Arachne” all generator for the fine mesh grille to print correctly.
- Slow down the first layer speed so the fine mesh grille prints correctly.
- The model prints best for me when I raise the nozzle (235ºC) and bed (75ºC) temperatures.
Bill of Materials
- Bambu Lab PETG HF - https://us.store.bambulab.com/products/petg-hf?id=654207405072093185
- I used “Dark Gray” to match the exterior color of the P2S, but use whatever color matches your aesthetic.
- 2 x M3x6 Socket Head Cap Machine Screws (SCHS)
- 80mm x 40mm HEPA Filter
- Amazon - https://a.co/d/06Jqc4hQ
- Low-Dust Activated Carbon
- Amazon - https://a.co/d/0b3tCDPM
- Amazon - https://a.co/d/05stGJsT
- Activated Carbon Filter Pad (3mm)
- Amazon - Amazon - https://a.co/d/03PtYIxr
Installation Instructions
- Add Low-Dust Activated Carbon pellets to the base filter box leaving enough room to add the filter pad (if desired) and to slide the base filter cover into place.
- Add the activated carbon filter pad cut to size (if using). Recommended to provide an extra layer of protection to keep any carbon dust inside the base filter box.
- Slide the base filter cover into place to close off the base filter box. Pay attention to the angled sides (3 sides are angled to slide into the corresponding grooves in the base filter box) and the detent on one end of the cover that clicks into a groove on the base filter box to hold the cover in place.
- If using it, add the HEPA filter to the top filter box making sure to keep the removal tab on the HEPA filter on top for easier removal of the HEPA filter in the future.
- Click the HEPA filter box onto the base filter box making sure the 4 retention brackets click into place securely in their corresponding grooves in the base filter box.
- Screw the completed filter assembly onto the back of the P2S using the 2 x M3x6 SCHS screws.
- You're ready to go!…
Boost Me (for free)
Just a retired IT professional working on a new 3D printing hobby, so every boost helps. All the best...
Comment & Rating (23)