Spring-Release Gnome Cookie Cutter


Print Profile(3)


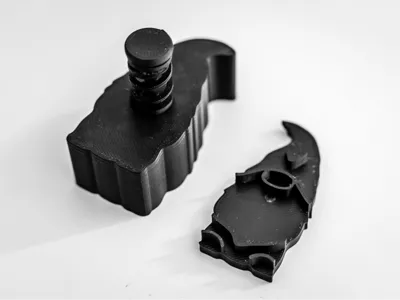
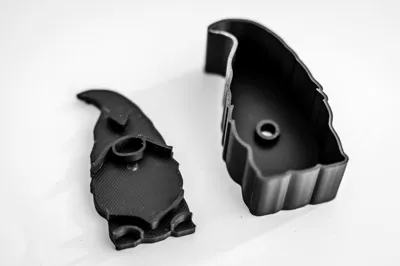
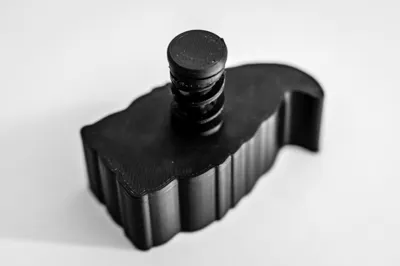
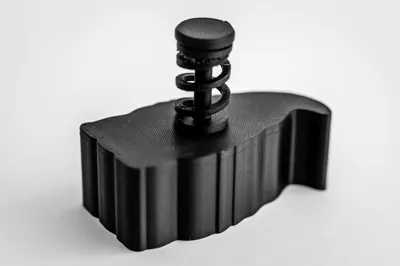
Bill of Materials

Description
✨ Bring some extra cuteness to your baking tray with this spring-actuated Gnome Cookie Cutter & Embosser! 🍪
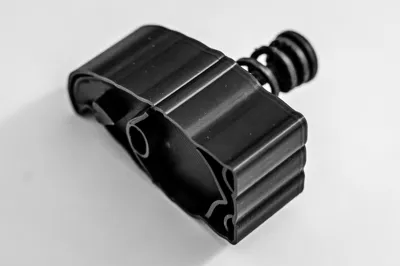
This model is designed to make cookie cutting easier, cleaner, and more fun. Simply press the cutter into dough up to around 10 mm thick, lift the cookie, move it over to the baking sheet, and release it by pressing the top cap. The spring-loaded pusher releases the cookie smoothly, so you don’t have to poke, shake, or damage the shape.
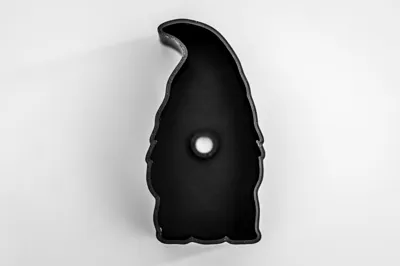
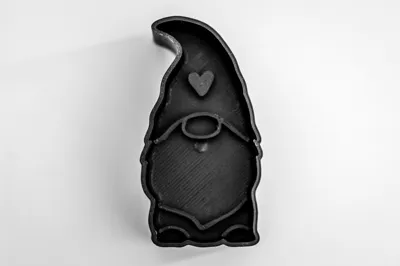
For extra detail, press a little further and the inner stamp embosses the cute Gnome design directly into the dough. This gives you a cookie with both a clean outline and lovely inner details.
🔁 Modular Cookie Cutter Ecosystem
For more cute cookie cutters, check out my profile!
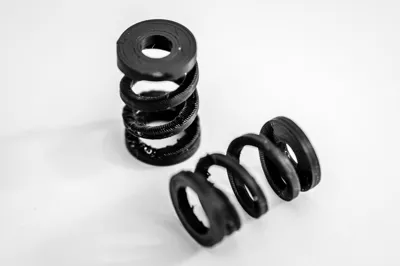
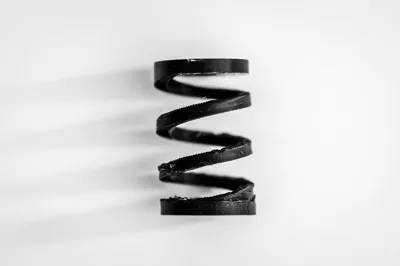
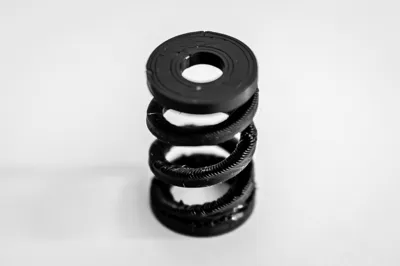
My cookie cutters are designed as a small modular ecosystem: they all use the same spring, connecting rod, and end cap, so you can print different cutting and embossing attachments without needing a completely new mechanism every time.
🛠 Assembly
After printing, only a small amount of assembly is needed:
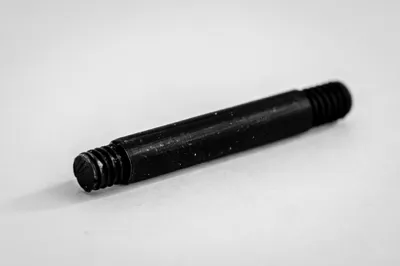
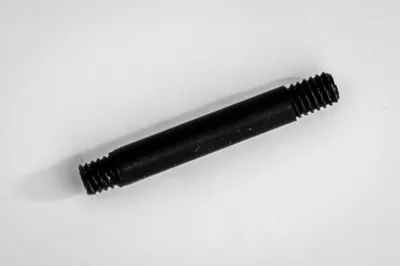
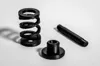
1. Screw the connecting rod into the inner embossing part of the cookie cutter.
2. Use the smaller thread of the connecting rod on the embosser side.
3. Slide the rod and embosser through the outer cutter body.
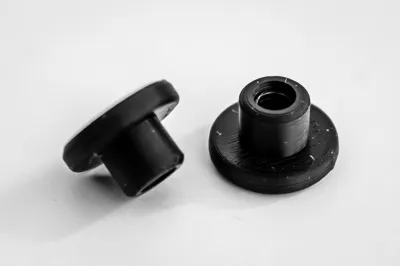
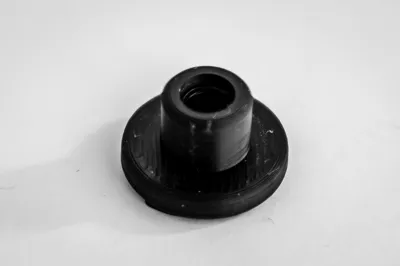
4. Place the spring over the connecting rod on the top side.
5. Make sure the spring is inserted in the correct direction: the end with the smaller diameter goes in first, so the wider hole fits nicely around the thicker end cap.
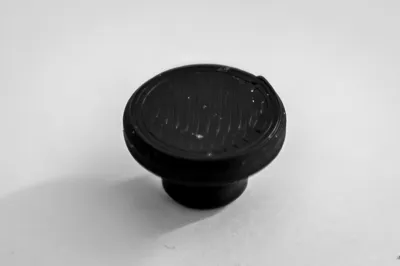
6. Screw on the end cap.
7. Press the cap a few times to check that the mechanism moves freely.
This screw-based design also makes it easy to take the cookie cutter apart again for cleaning.
🖨 Printing Notes
I recommend printing with a filament suitable for food-contact applications, such as food-safe PLA or PETG.
🧼 Cleaning / Food Safety
Do not put this cookie cutter in the dishwasher. PLA and PETG can deform from heat, which could cause the cutter to lose its shape.
For cleaning:
- Take the cutter apart
- Rinse with lukewarm water
- Wash gently with mild soap
- Let all parts dry completely before reassembling
Happy baking! 🍪✨
License
You shall not share, sub-license, sell, rent, host, transfer, or distribute in any way the digital or 3D printed versions of this object, nor any other derivative work of this object in its digital or physical format (including - but not limited to - remixes of this object, and hosting on other digital platforms). The objects may not be used without permission in any way whatsoever in which you charge money, or collect fees.
Comment & Rating (0)