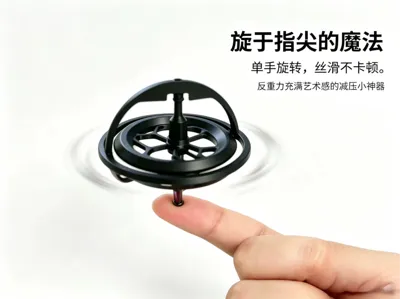
Anti-Gravity Gyroscope V1


Print Profile(2)
Description
Boost Me (for free)
This model took a lot of time and materials to test, I hope everyone likes it, please give it a boost
1、Model Features
Prints well, normal operation lasts one and a half minutes or more
This model supports two ways of use
Rope pull: Easy to carry, put in your pocket and go, but requires tedious winding operation when in use
Rack trigger: Easy to use, provides higher rotation speed, but cannot be folded. Not convenient for carrying around
This model requires no hardware parts, at most extra glue is used
Few parts, easy to assemble
Easy to carry, many ways to play, not limited to spinning on the ground
2、Existing Issues
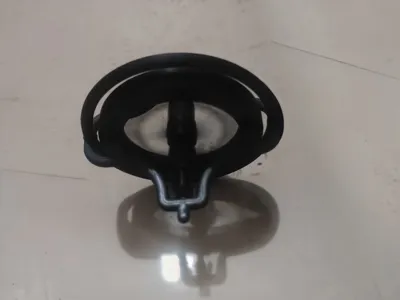
Only two parts in this model require supports, and the supports in the counterweight part are difficult to remove. If possible, it is recommended to use dual material supports. If you have a good solution, please leave a comment
3、Assembly Notes
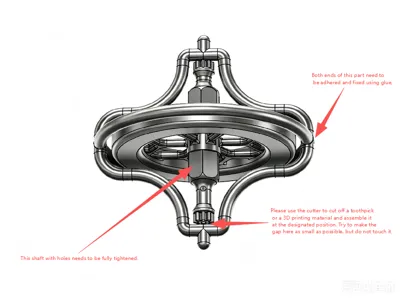
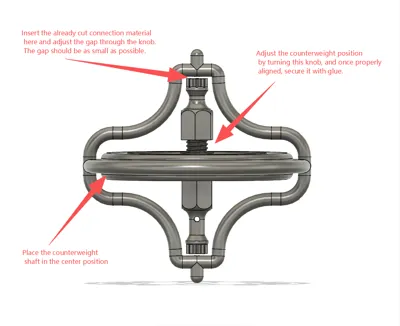
1. When assembling, you need to prepare a material with a diameter of less than 2mm for fixing, such as filament, toothpicks
2. If using filament, please use relatively straight filament, as slight bending can easily cause severe wobbling during rotation
3. Pre-assembly is required when cutting materials to ensure the gap at the connection between the gear and the frame isaround 0.5mm. Try to make the material run smoothly in the holes without being loose
4. The main shaft is threaded for fixing, but rotation can cause loosening, so no threaded spacers were set. Do not install crookedly. If the threads loosen later, you need to find something to fix it yourself or use glue
5. Lubricant can be applied at the material connection points
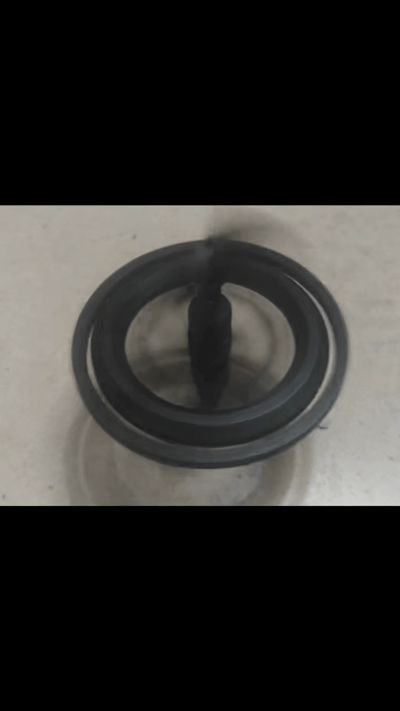
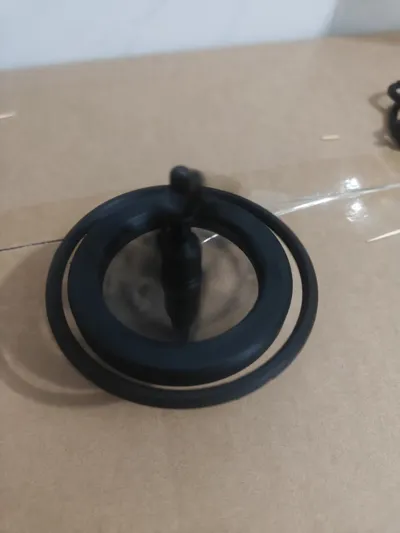
4、Assembly Diagram


Boost Me (for free)
Upgraded Heavy Anti-Gravity Gyroscope V2.5 (Pure 3D Printed Version)

Documentation (1)
License
You shall not share, sub-license, sell, rent, host, transfer, or distribute in any way the digital or 3D printed versions of this object, nor any other derivative work of this object in its digital or physical format (including - but not limited to - remixes of this object, and hosting on other digital platforms). The objects may not be used without permission in any way whatsoever in which you charge money, or collect fees.
Comment & Rating (16)