
Fallout Terminal Raspberry Pi Case
Print Profile(1)
Bill of Materials
- Heat Shrink Tubing x 1: https://www.amazon.com/dp/B072PCQ2LW
- USB Adapter x 2: https://www.amazon.com/dp/B07C87FYLY
- USB 3 Adapter x 2: https://www.amazon.com/YINGAYOU-Extension-Transmit-Laptops-Dashboard/dp/B0FX4YTX8N?s=electronics
- Ethernet Adapter x 1: https://www.amazon.com/dp/B06Y4J9MZ4
- USB C Power Adapter x 1: https://www.amazon.com/dp/B08169ZB5C
- Power Button x 1: https://www.amazon.com/dp/B079D3ZZ1L
- Raspberry Pi Official 7" Touch Screen x 1:
- Raspberry Pi x 1:
- M3x8 Screw x 10:
- M5x8 Screw x 24:
Description
Overview
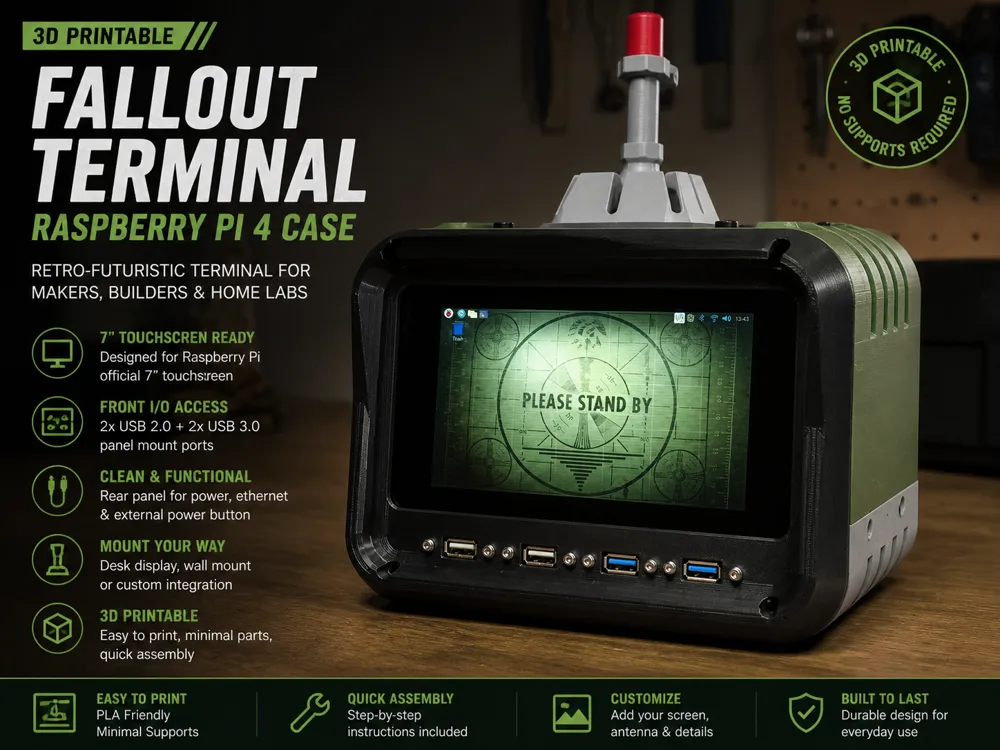
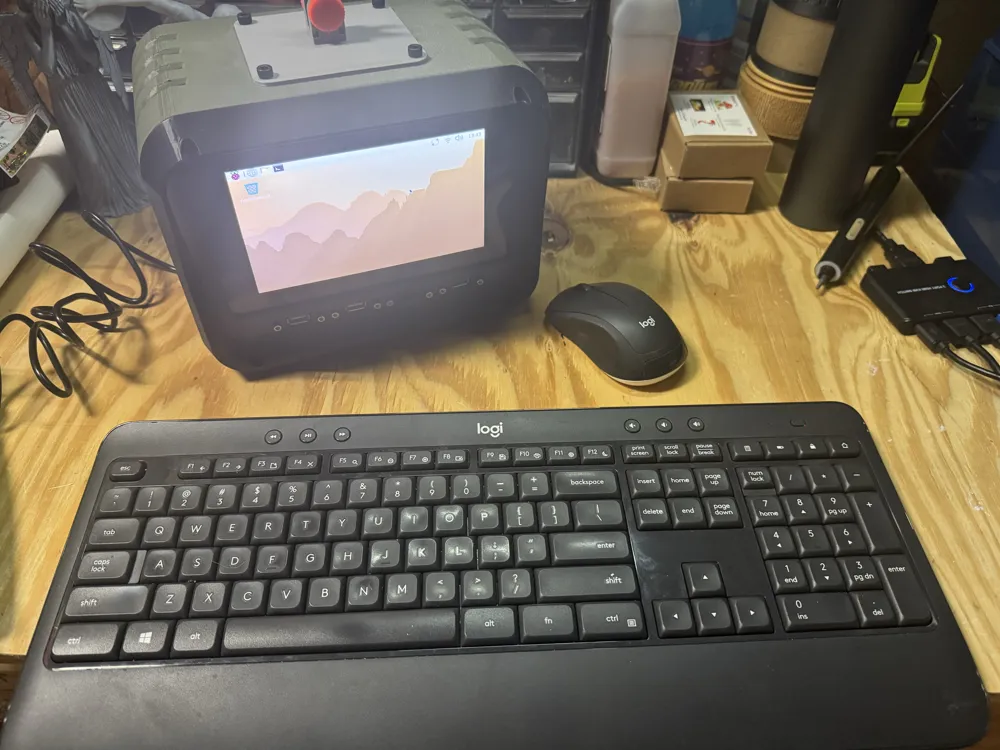
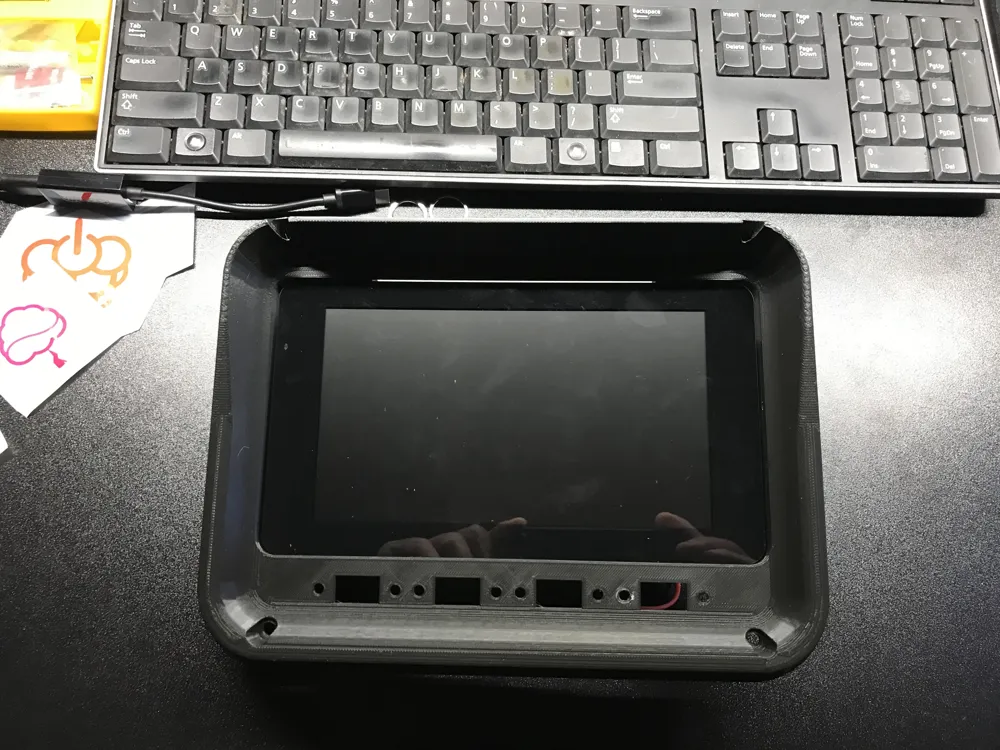
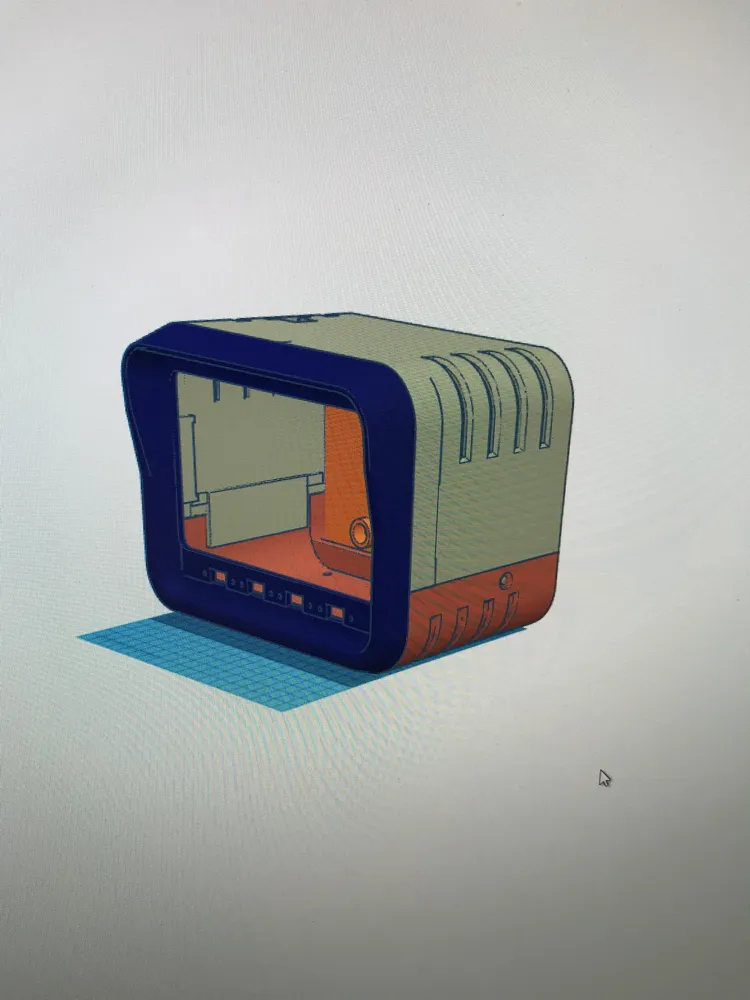
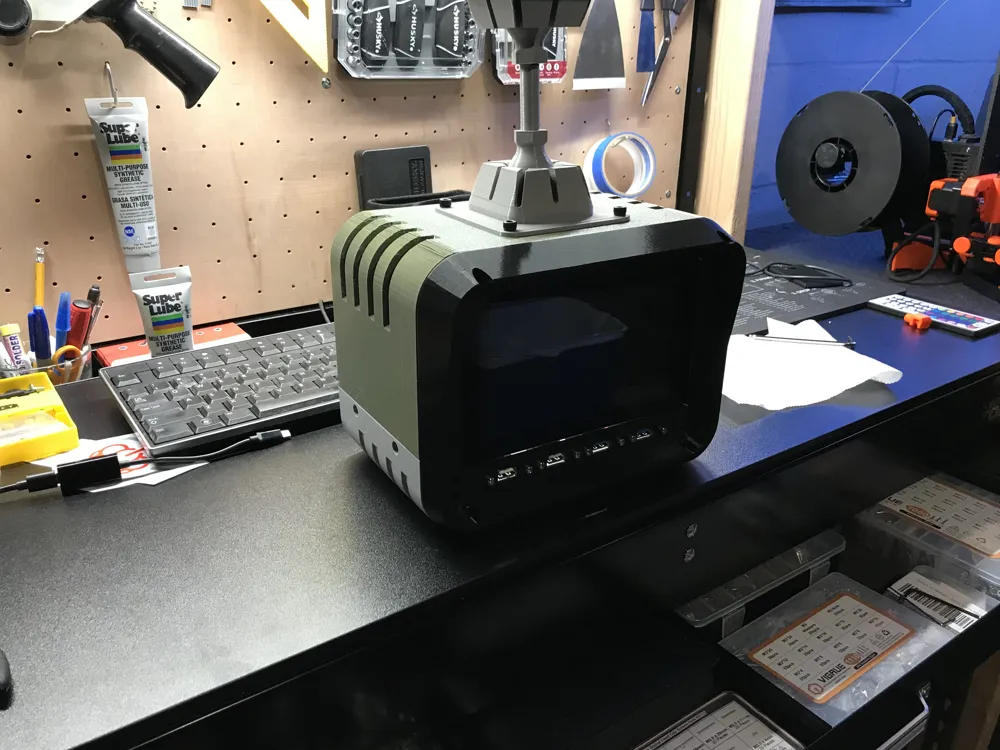
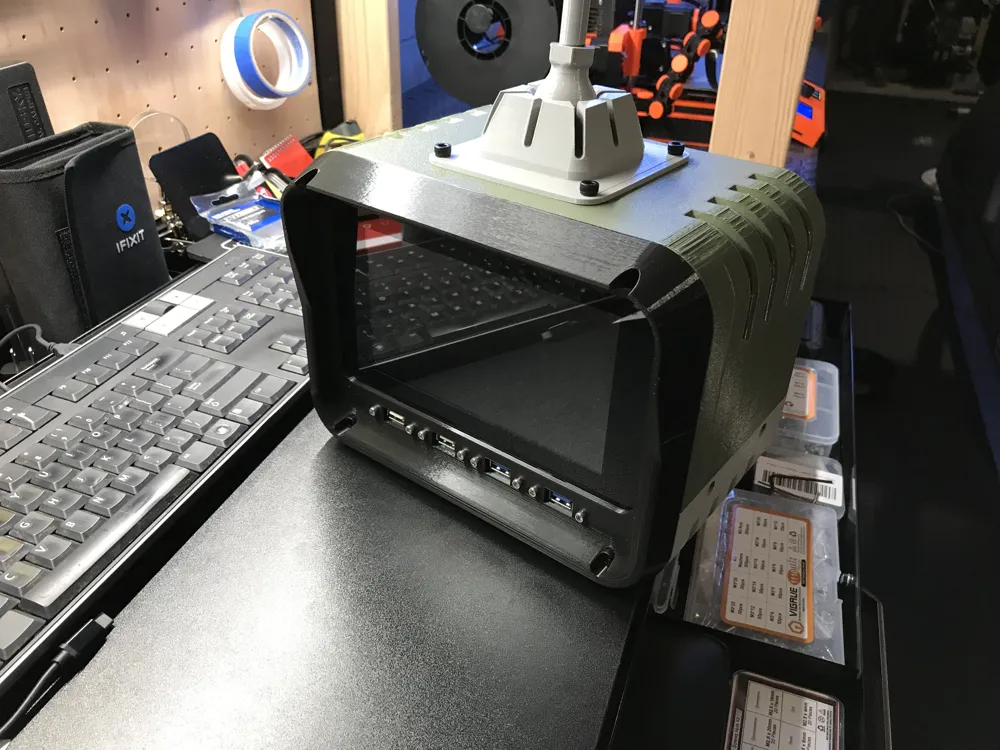
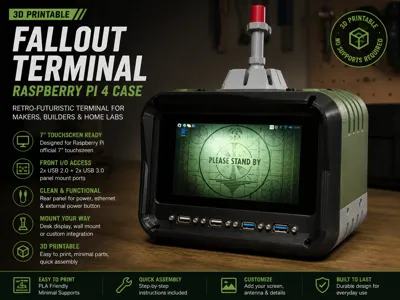
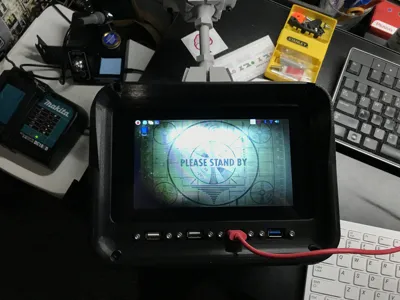
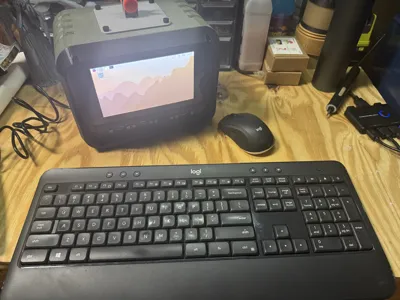
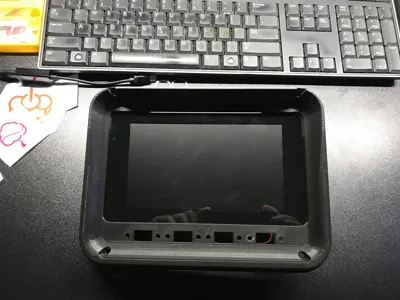
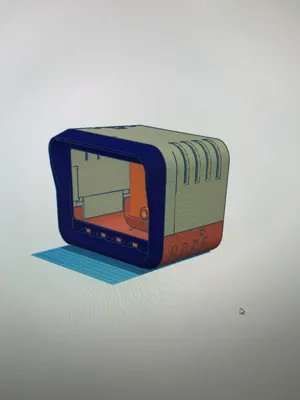
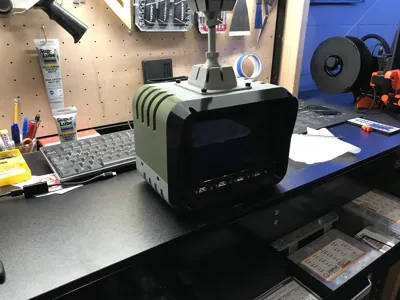
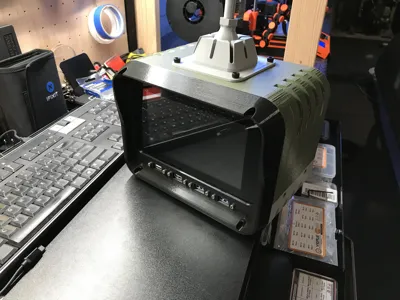
This Fallout 4–inspired terminal case transforms your Raspberry Pi 4 into a retro-futuristic desktop or wall-mounted display. It integrates a 7" touchscreen, front-facing USB ports, and rear-mounted power and Ethernet connections for a clean, functional build. Ideal for dashboards, media terminals, or themed setups.
Boost Me (for free)
Let's get boosted!
Features
- Fallout-style terminal aesthetic with functional layout
- Designed for Raspberry Pi 4 + official 7" touchscreen
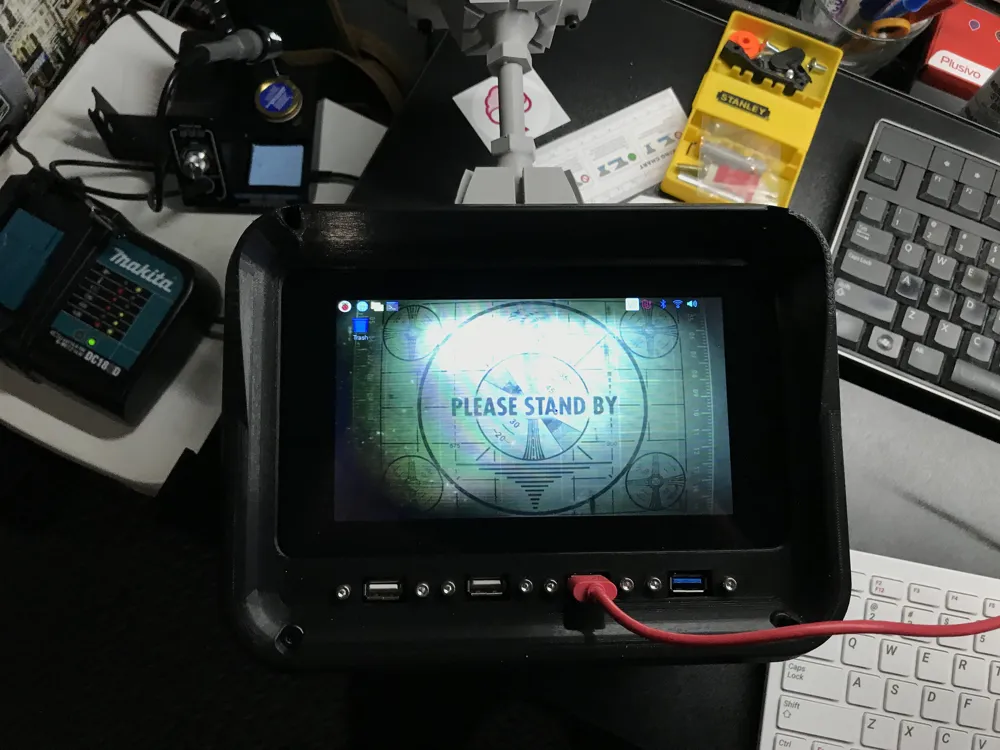
- Front panel supports 2x USB 2.0 + 2x USB 3.0 extensions or any combination
- Rear panel supports Ethernet, USB-C power, and external power button
- Internal mounting frame for secure component placement
- Ventilation slots for passive cooling
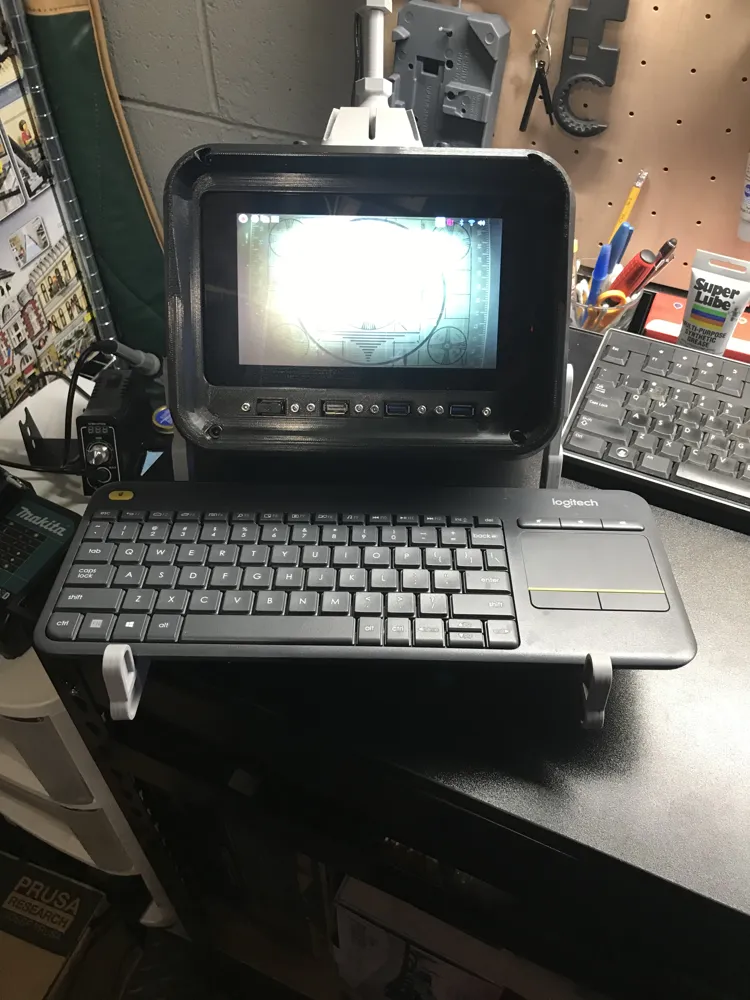
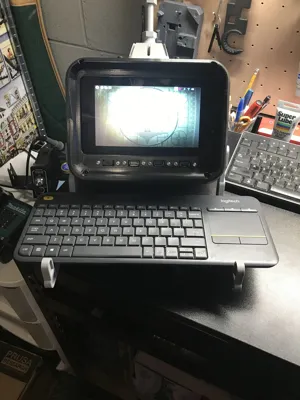
- Multiple mounting options (desktop or hanging display)
Print Settings
- Material: PLA (tested with Bambu Gray, Sunlu Olive Green, Bambu Black)
- Layer Height: 0.2 mm (or better) recommended
- Supports: Minimal (only where required)
- Infill: 15–25%
Hardware / Assembly
Core Components:
- Raspberry Pi 4
- Raspberry Pi Official 7" Touchscreen
Fasteners:
- 24x M5x8 screws
- 10x M3x8 screws
Rear Panel Components:
- USB-C panel mount power extension (30cm)
- RJ45 Ethernet panel mount extension (30cm)
- Momentary push button (power)
Front Panel Components:
- 2x USB 2.0 panel mount extensions
- 2x USB 3.0 panel mount extensions
Internal:
- Heat shrink tubing (for wire management)
Assembly Summary:
- Mount internal frames to front panel (8x M5x8)
- Install Raspberry Pi and connect touchscreen ribbon + power leads
- Mount front USB extensions using M3x8 screws and connect to Pi
- Attach bottom to shell (4x M5x8)
- Attach front face to shell (4x M5x8)
- Install rear components (Ethernet, USB-C, power button)
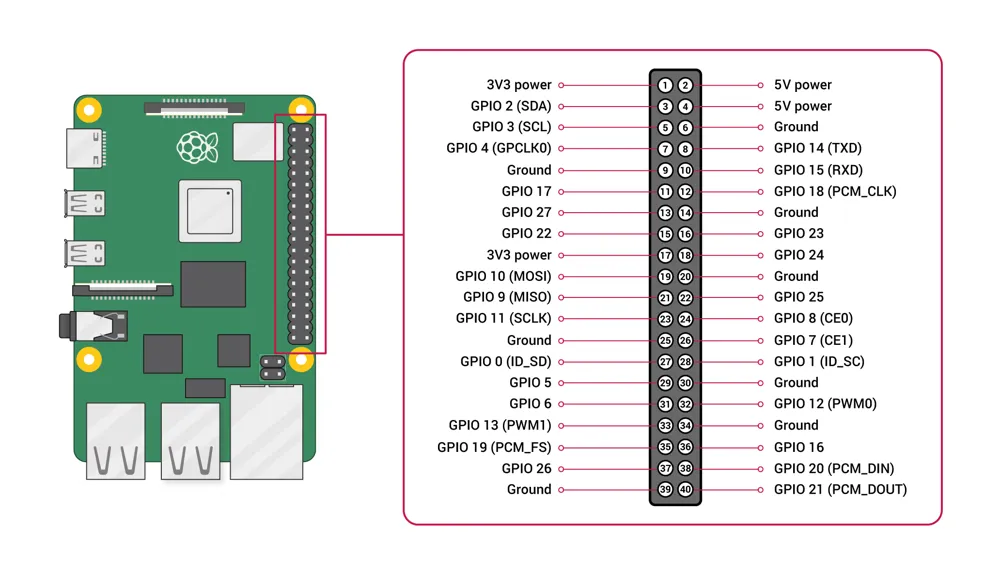
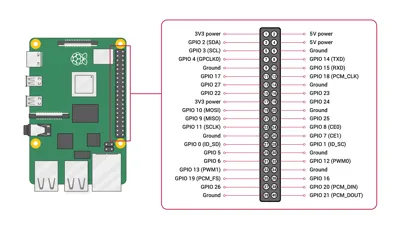
- Wire power button to GPIO (recommended: GPIO 3 pin 5 + GND pin 14)
- Connect Ethernet and USB power to Pi
- Secure back plate (4x M5x8)
Compatibility
- Raspberry Pi 4 Model B
- Raspberry Pi Official 7" Touchscreen
- Standard panel-mount USB, Ethernet, and USB-C extensions (30cm recommended)
License

You shall not share, sub-license, sell, rent, host, transfer, or distribute in any way the digital or 3D printed versions of this object, nor any other derivative work of this object in its digital or physical format (including - but not limited to - remixes of this object, and hosting on other digital platforms). The objects may not be used without permission in any way whatsoever in which you charge money, or collect fees.


Comment & Rating (21)