
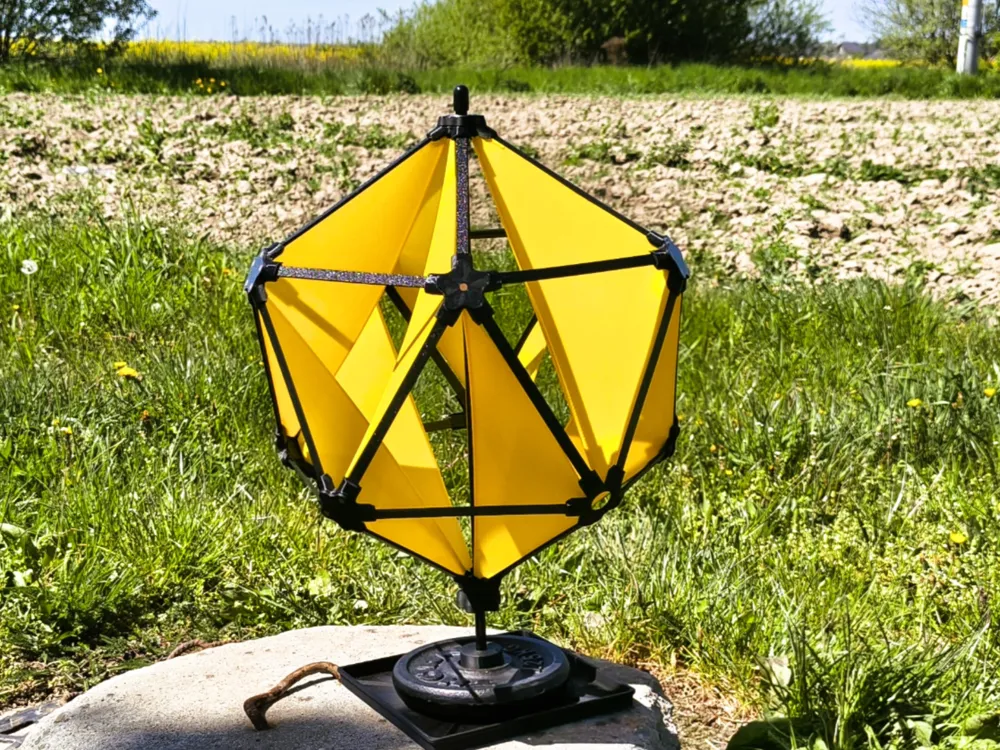





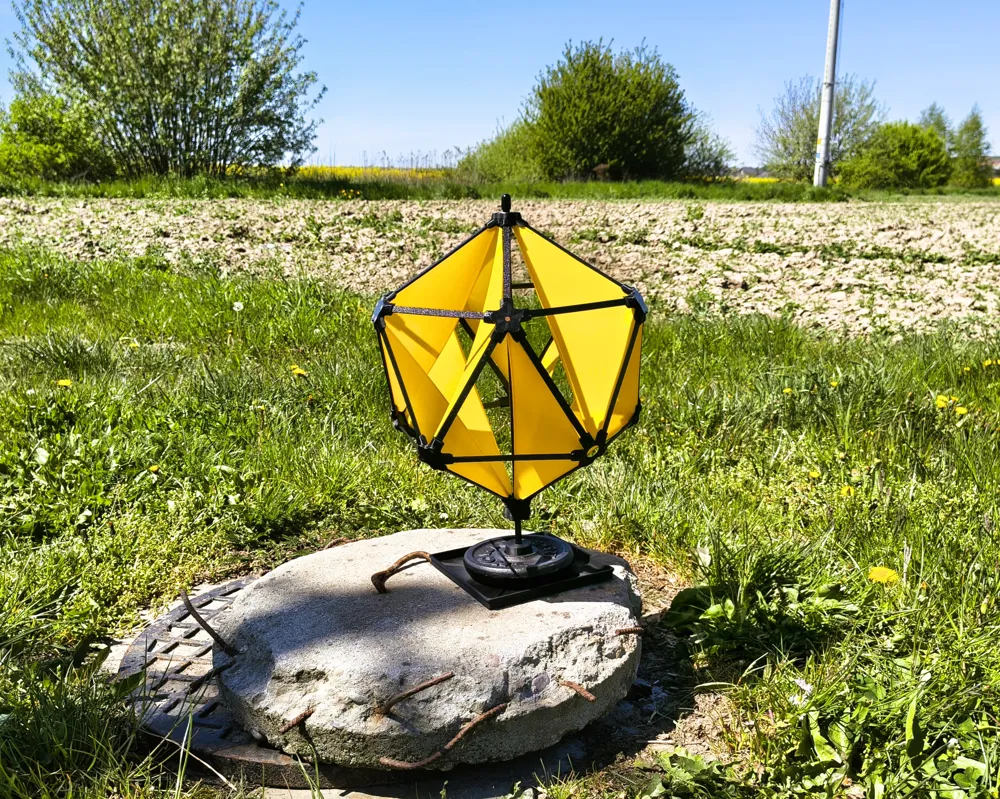
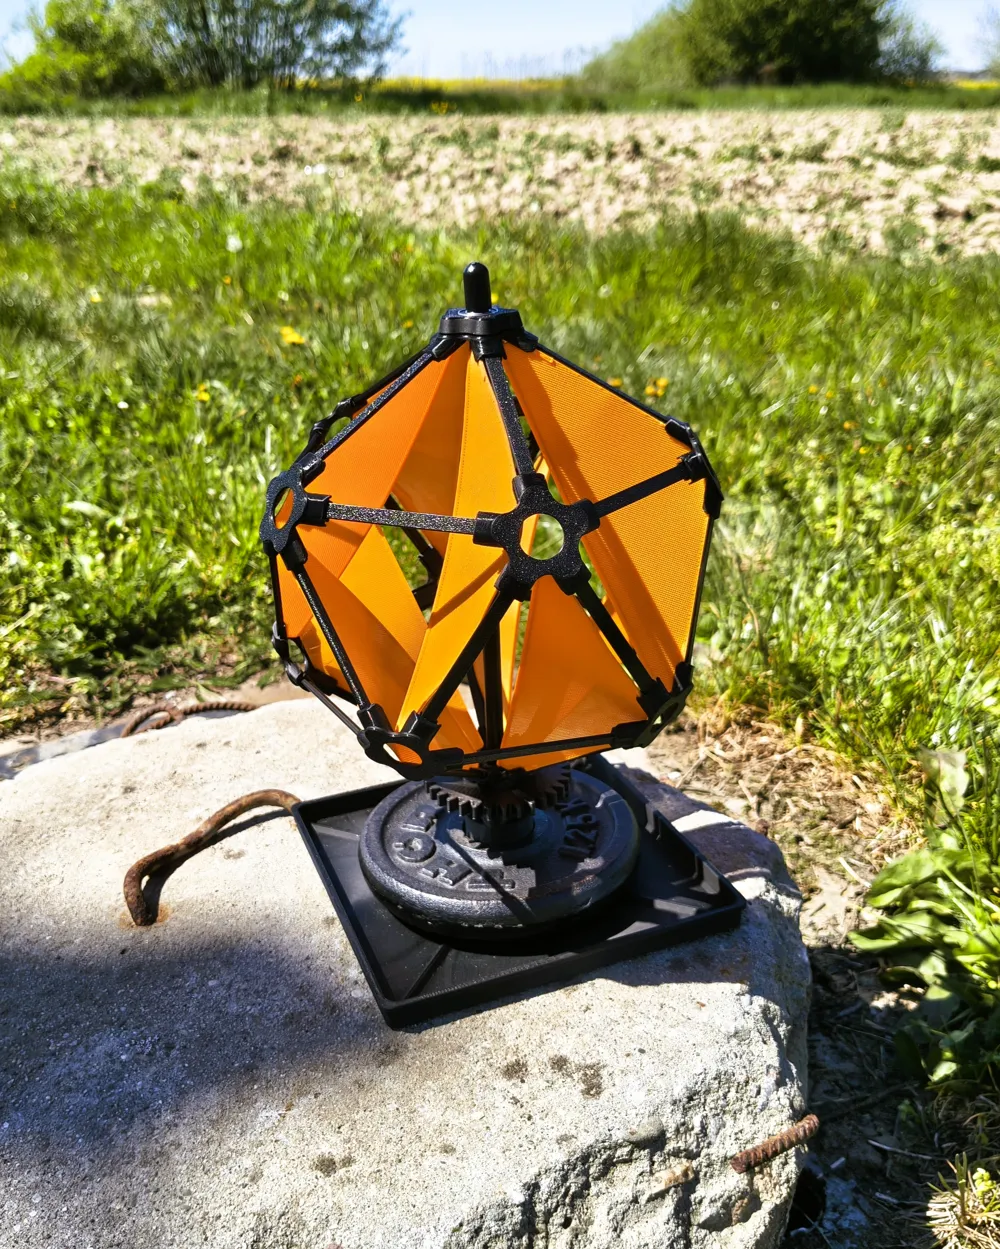
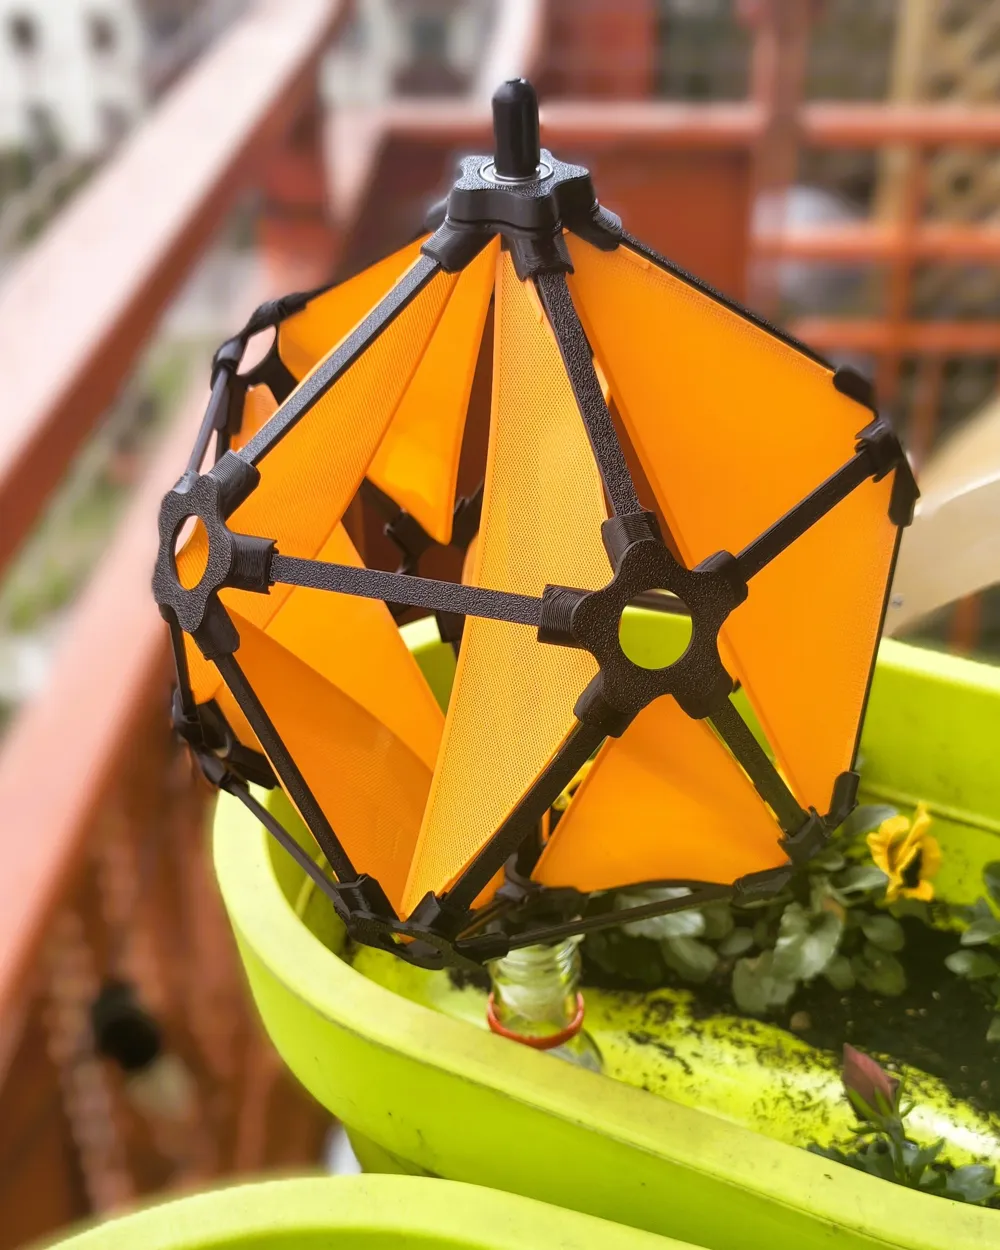





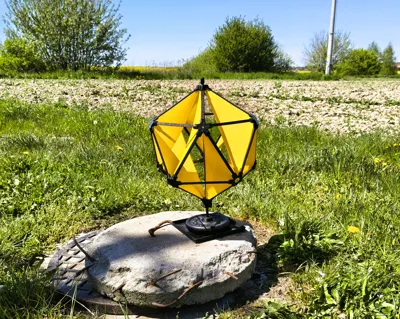
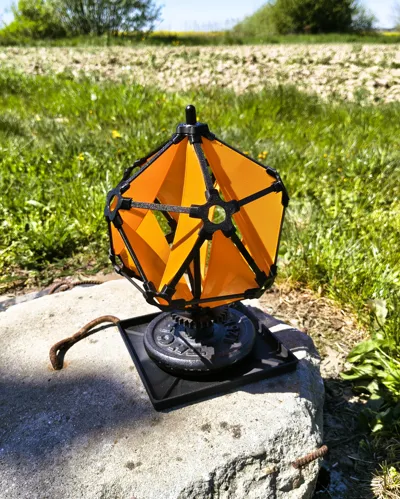
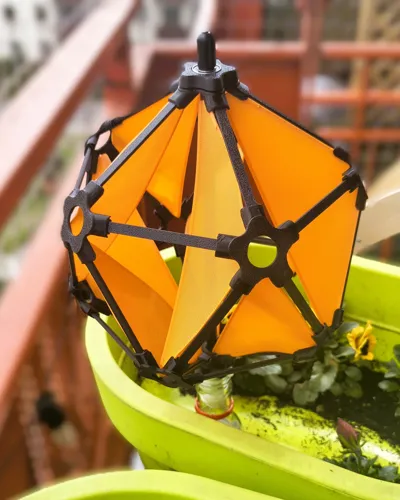
IcoWindy - wind propelled icosahedron
Print Profile(3)

Bill of Materials
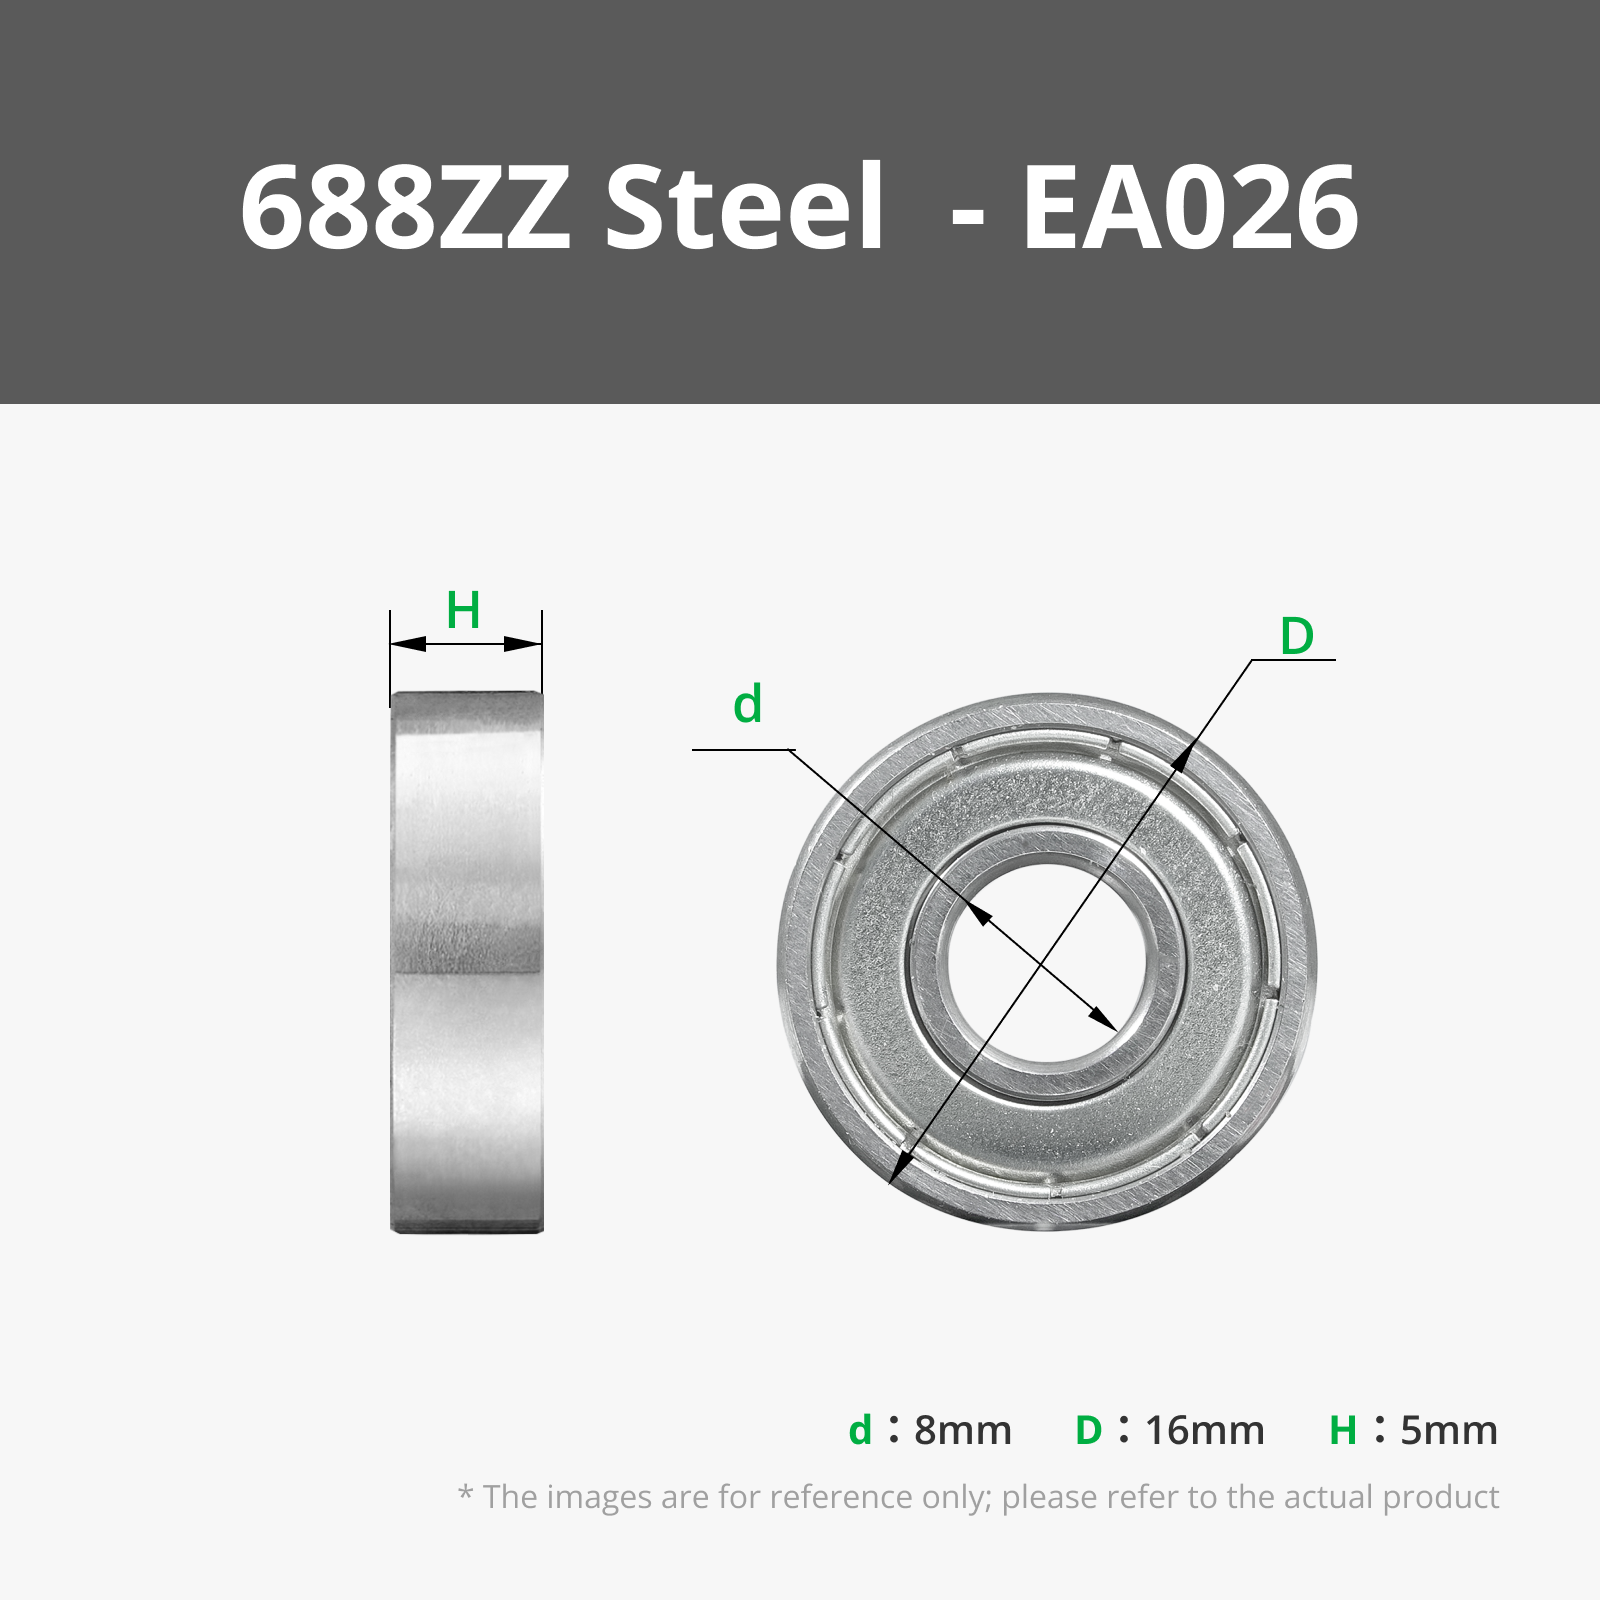


- Rod (8mm diameter, 28cm length) x 1: Any kind of rod (plastic, wood)
Description
This isn't original idea, but toy like implementation of: https://geowind.us turbine by Young June Jeon.
I've stumbled upon this short (https://www.youtube.com/watch?v=b8KgXWLRYf0) some time ago and thought it looks interesting.
There are schemes available for download (https://geowind.us/schemes) but they are either intended to be used for an actual thing (as it's not patented in developing countries(?)) or for educational purposes. Also having something almost fully 3D printable seemed like interesting challenge.
The design itself received 2026 iF Design award:
https://ifdesign.com/en/winner-ranking/project/geowind-gw1200-geodesic-vertical-axis-wind-turbine/765799
Considering the idea behind original project I've included STEP files of my designs.


The small variant will require winds stronger than around 6m/s, but the large one can spin nicely even in such conditions.
Printing tips:
This was designed on 0.4mm nozzle and 0.20mm layer height - I'd stick to this (especially for the “thin” variants of parts), as otherwise slicers might simplify or remove some of the geometry making it unusable.
Naturally best material for this kind of design will be PETG or anything else that can withstand outside conditions and direct sunlight.
I've used PLA matte for the wings, but have yet to see how well they fare against the sun - so a PETG in this case would also be safer bet.
PLA edges and corners create good resistance and hold together by tight fit alone, PETG might vary from one filament to another. Making a test print first might be best option, and if the edges are always loos scaling them slightly verticaly (as they lay down on print bed) in the slicer ought to help.
In my settings I've been printing wings without top and bottom layers, using 50% CrossZag - it makes print elastic and air resistant enough.
With printed base it's a good idea to add some weight to it, I'd placed a 1.25kg plate over it for best stability.
Elements:
- 12x IcoCorners
- 10x CornerCovers (optional, but they can be used for visual customizations by adding svg modifiers of different color)
- 2x BearingNS
- 1x RodBearingBuffers (second one for the top is optional)
- 30x Edges
- 10x Wings
- 1x Base (optional - can be improvised from anything without 3d printing)
- 2x Ball bearings (16mm diameter - eg. 688)

- 1x rod (with diameter matching the inne diameter of bearings) (I've used wooden pole from a cat fishing rod toy)
- In case of Large variant, something sturdier than a plastic pipe should work better - otherwise it'll wobble. Stabilizing the top by fastening it to a frame would likely work the best (this is a solution done in one turbines recorded in the short above).
Assembly:
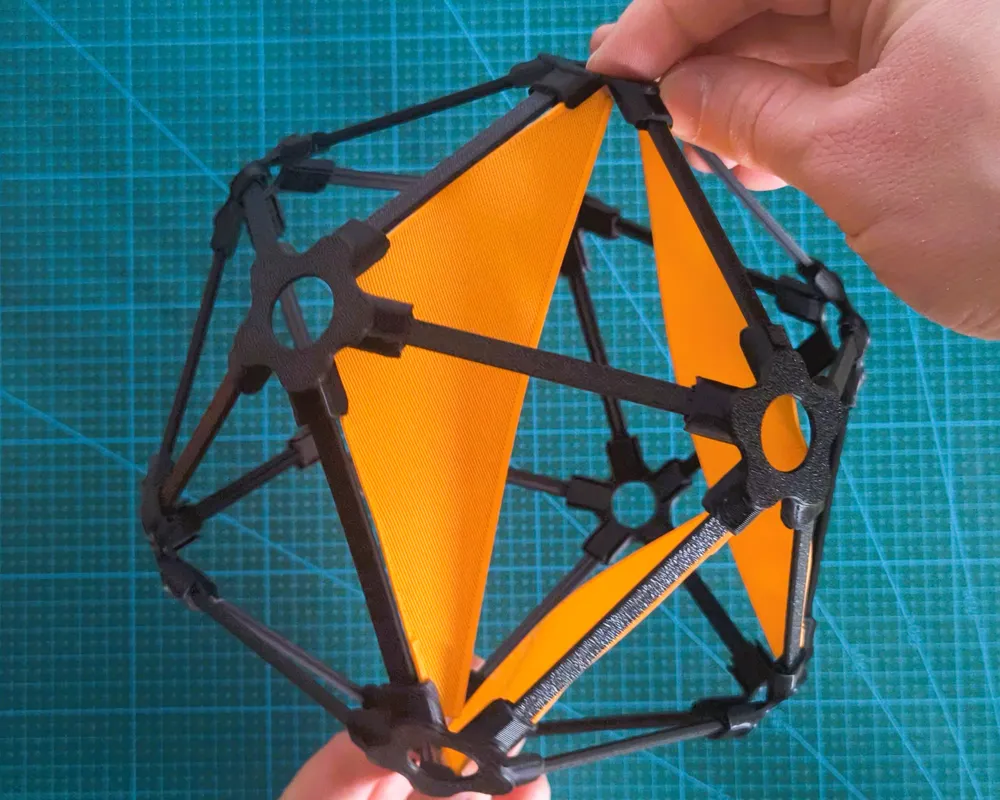
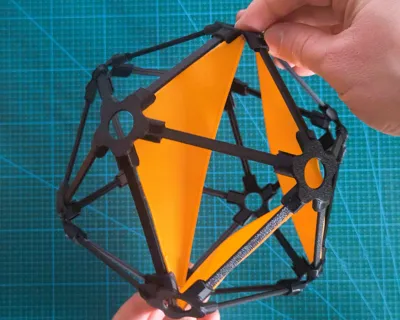
Most of it is fairly easy, the most difficult part might be putting in the wings. My order of operations was to start by building the shape (IcoCorners + Edges), then put in the wings (see the order which they should follow on pictures or instructions below). And in the end carefully push in CornerCovers and BearingNS.
- Put together the icosahedron with IcoCorners and Edges
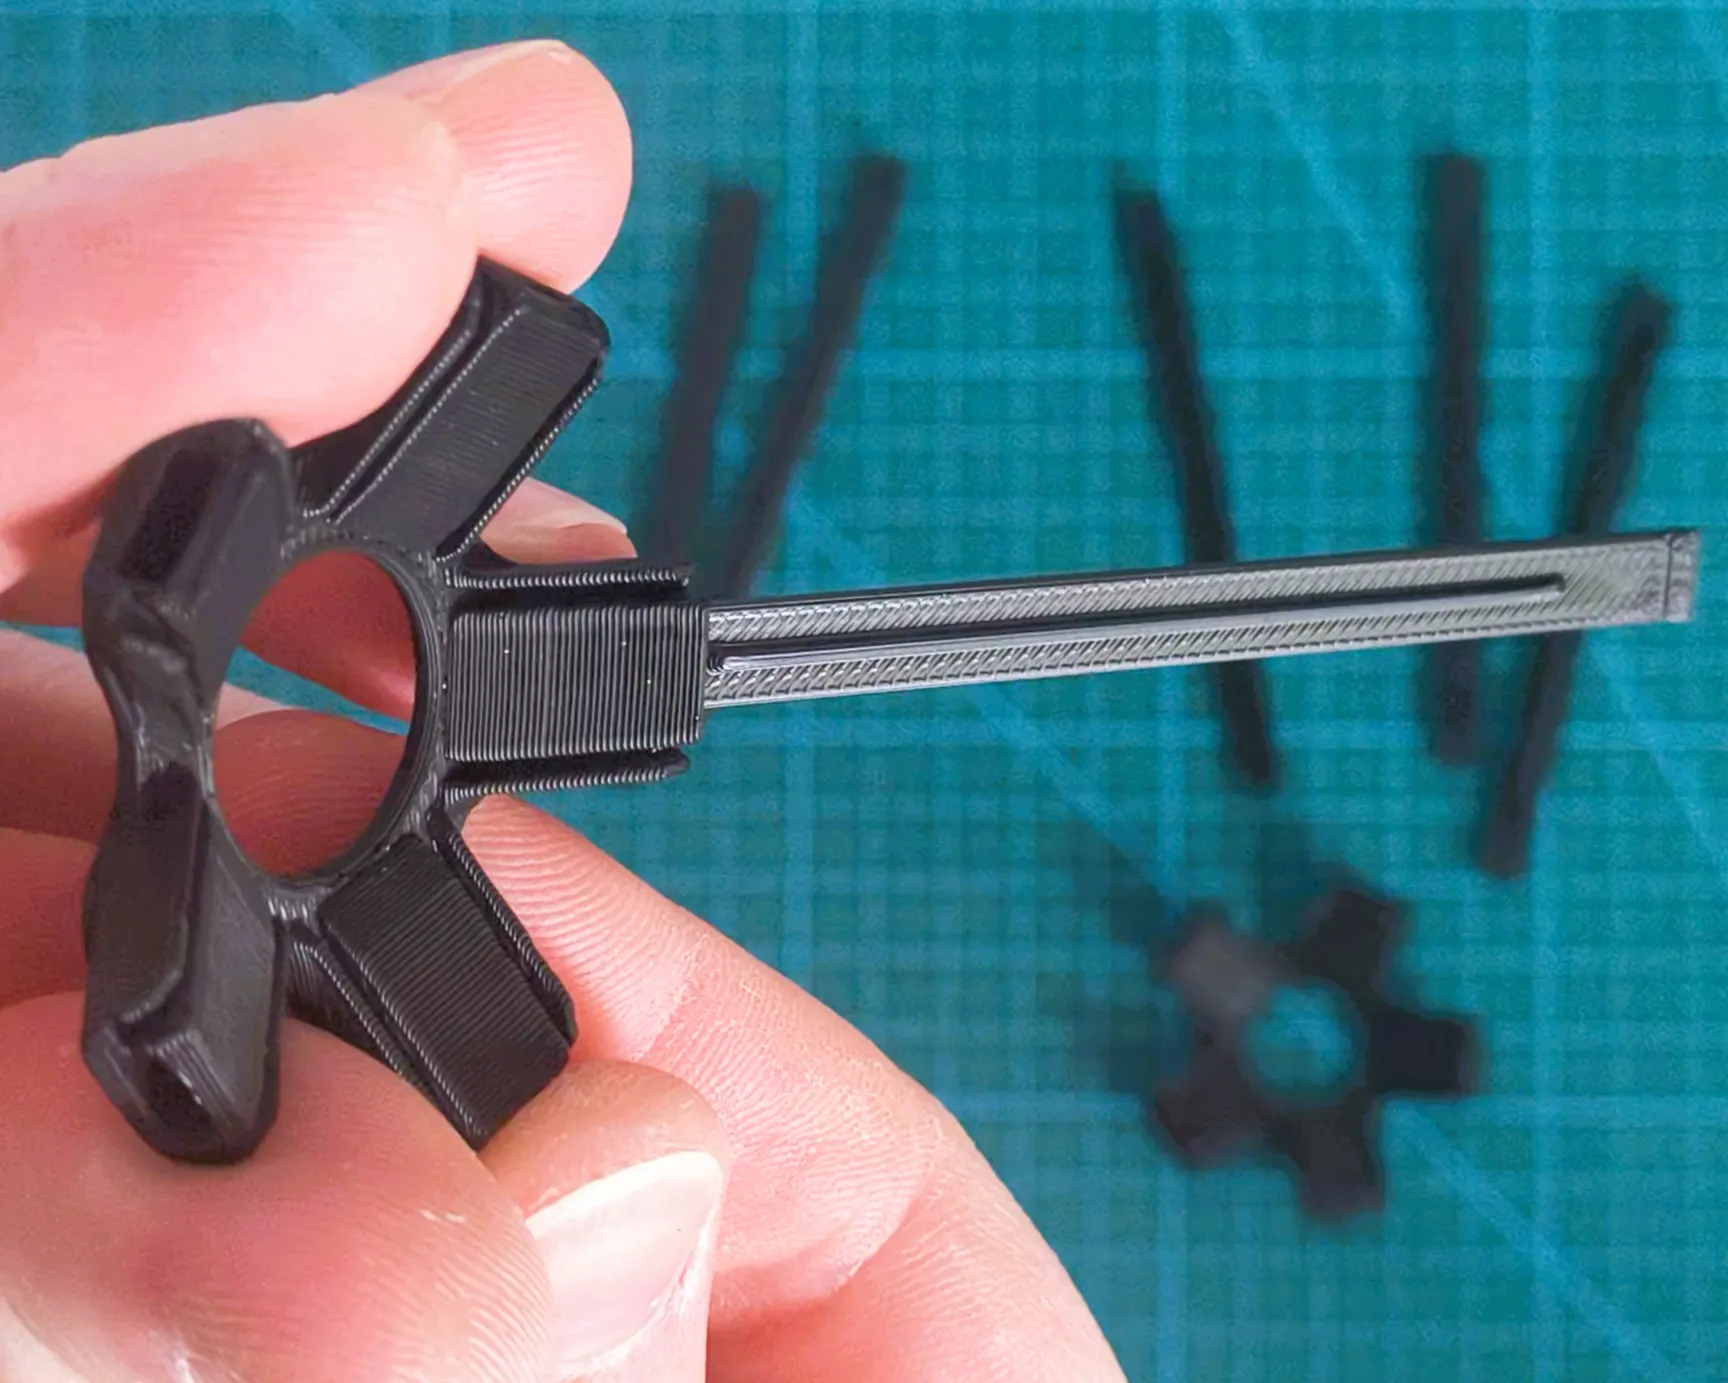
- Edges should go into the corners untill their vertical reinforcement almost touched the lip of the slot:
- please mind that sometime edges (or corners slots) come out a bit looser than others. Sometimes it can be matter of selecting a different edge from the pile that might fit more snuggly. If it's fewer than two per corner it should be fine after assembling entire geometry.
- Edges should go into the corners untill their vertical reinforcement almost touched the lip of the slot:
- Push the bearings into BearingsNS.
- Attach BearingNS to most North and most South corners of the model.
- (optional) attach TopCovers on other (non N and S) corners.
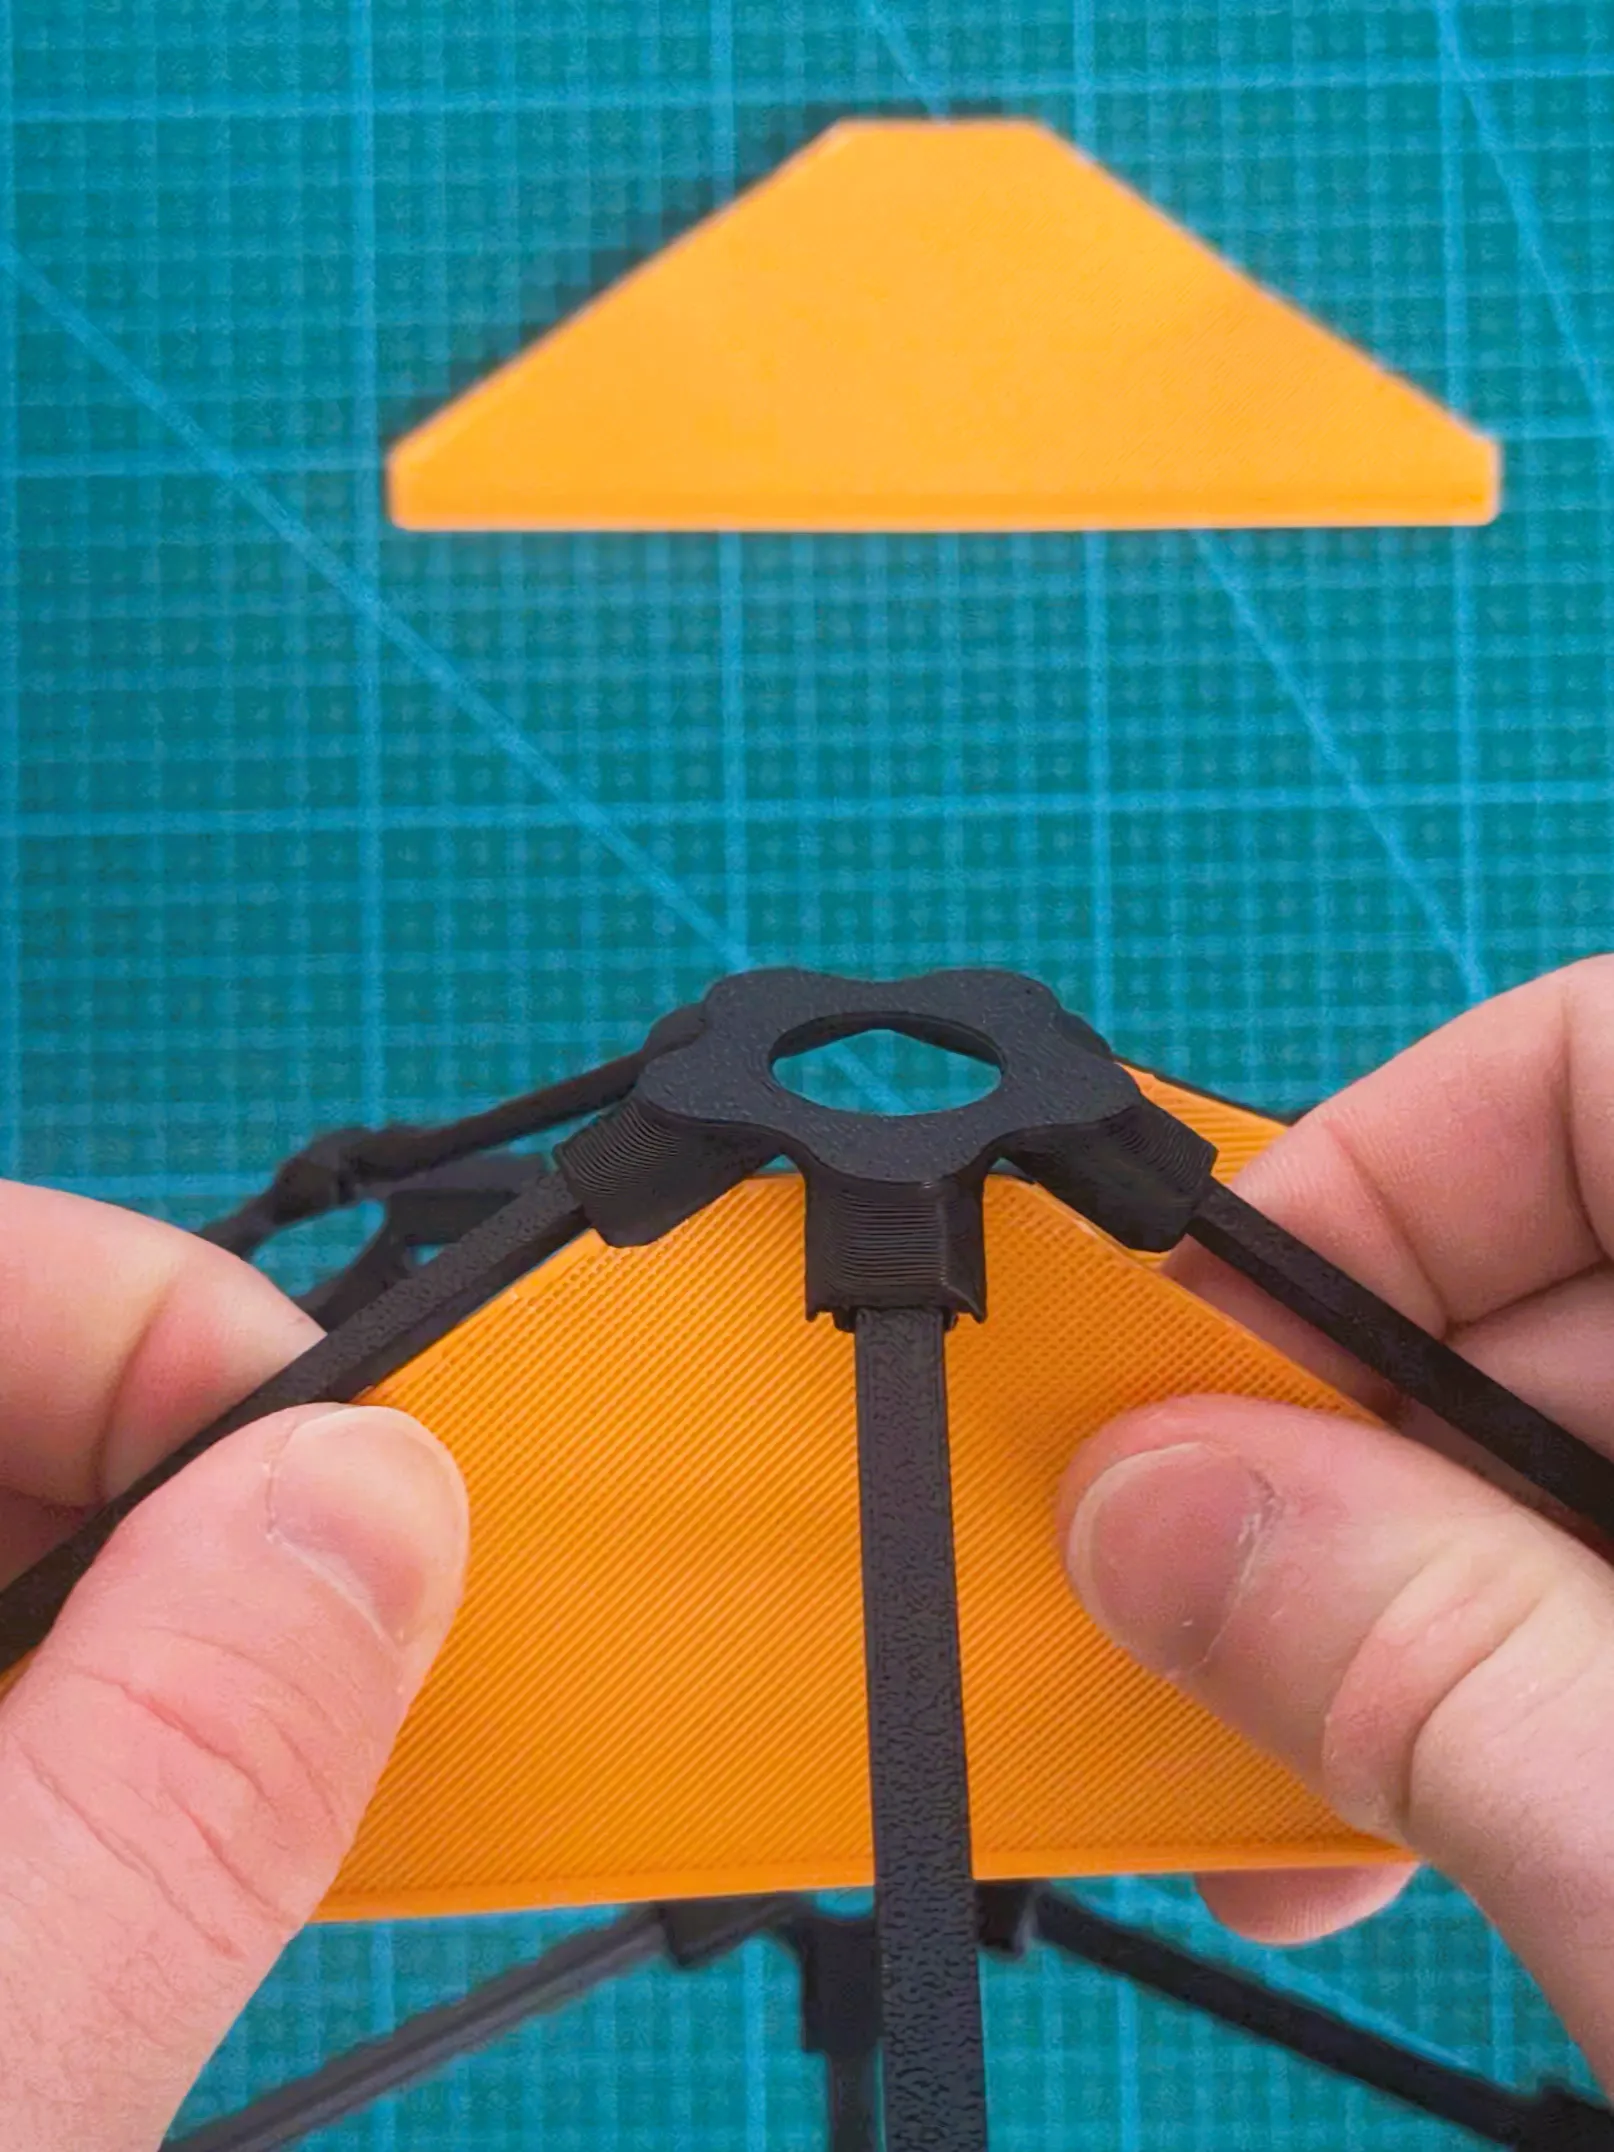
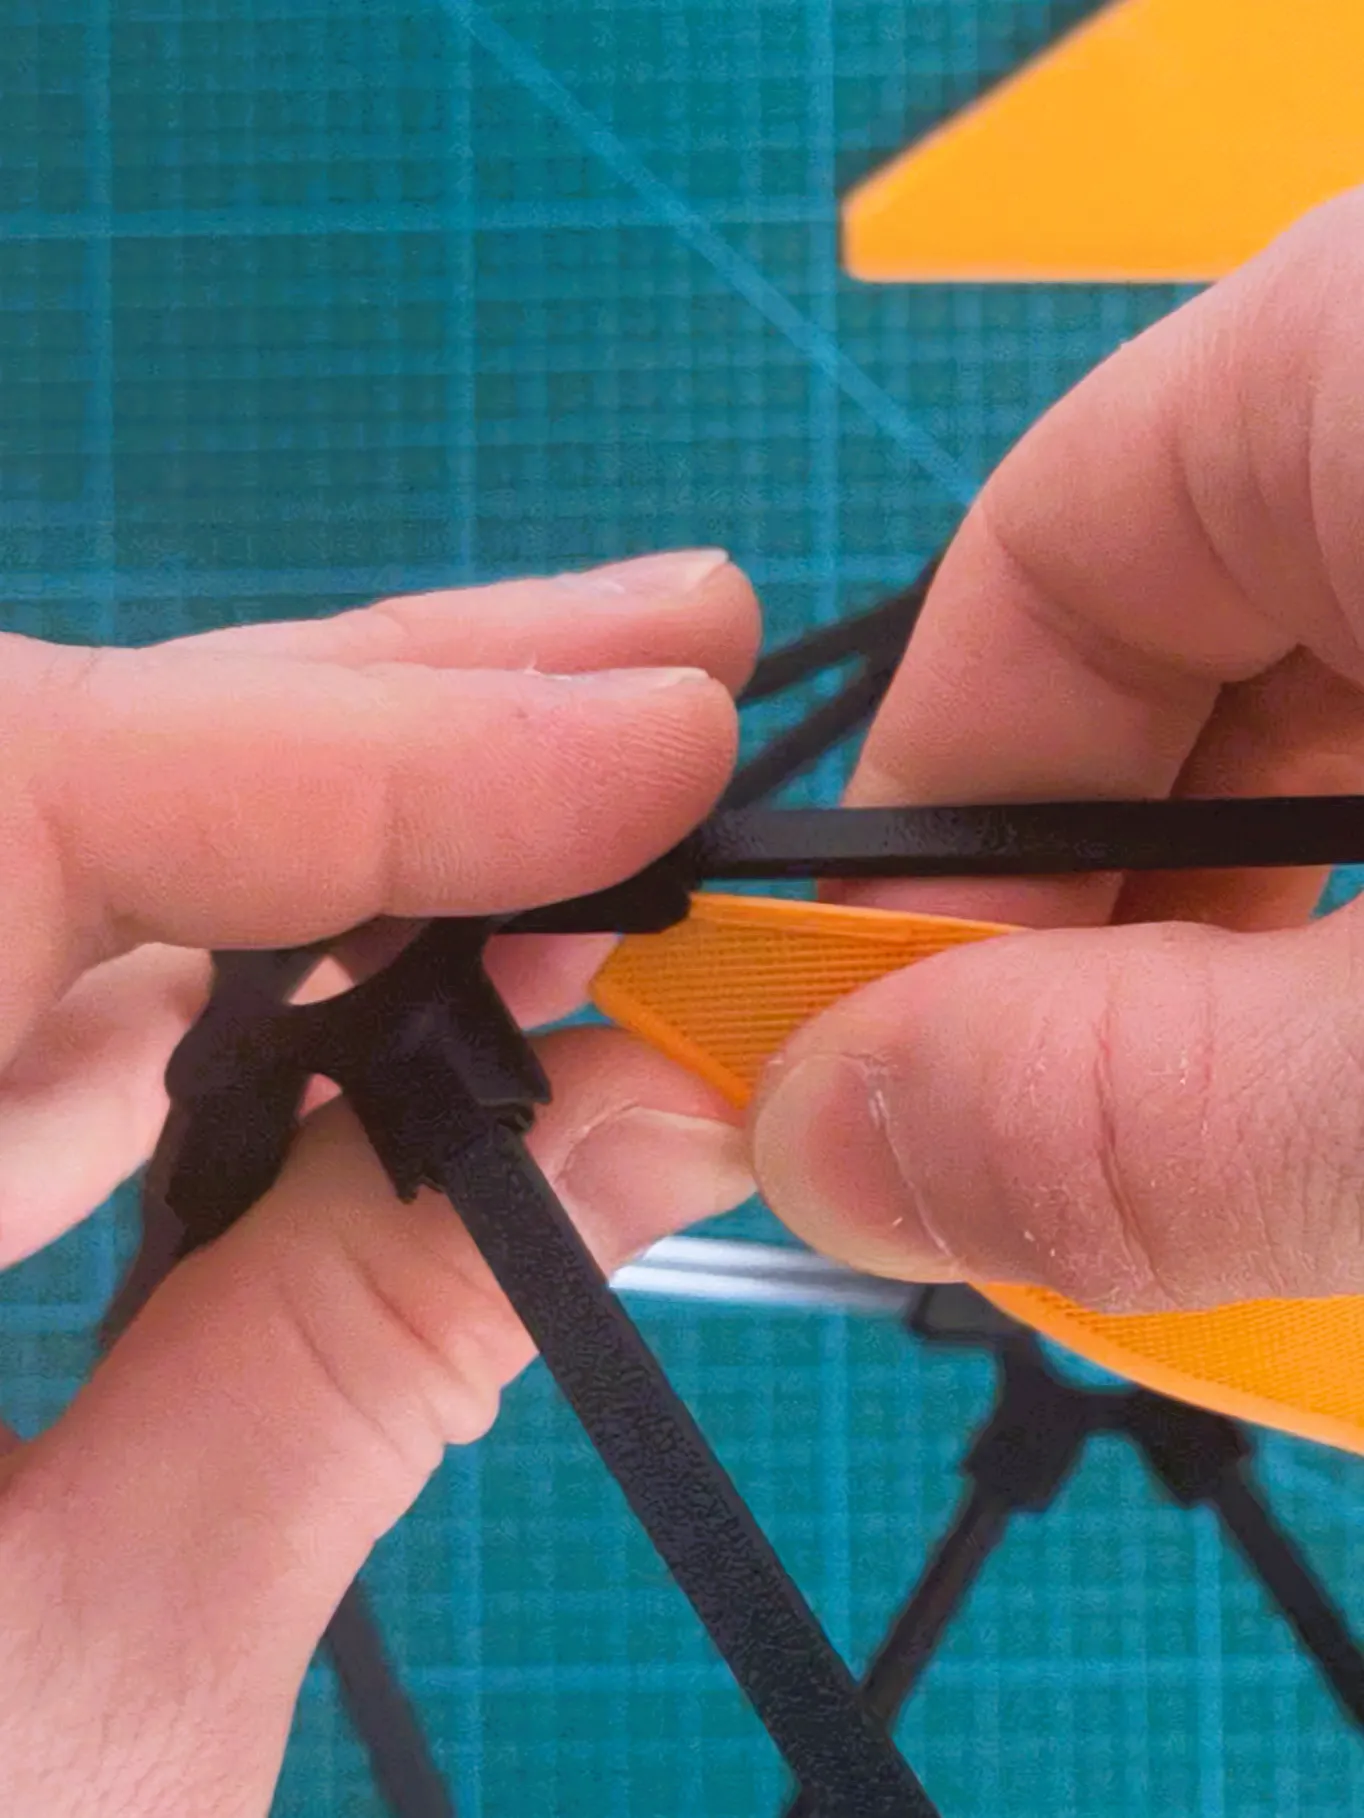
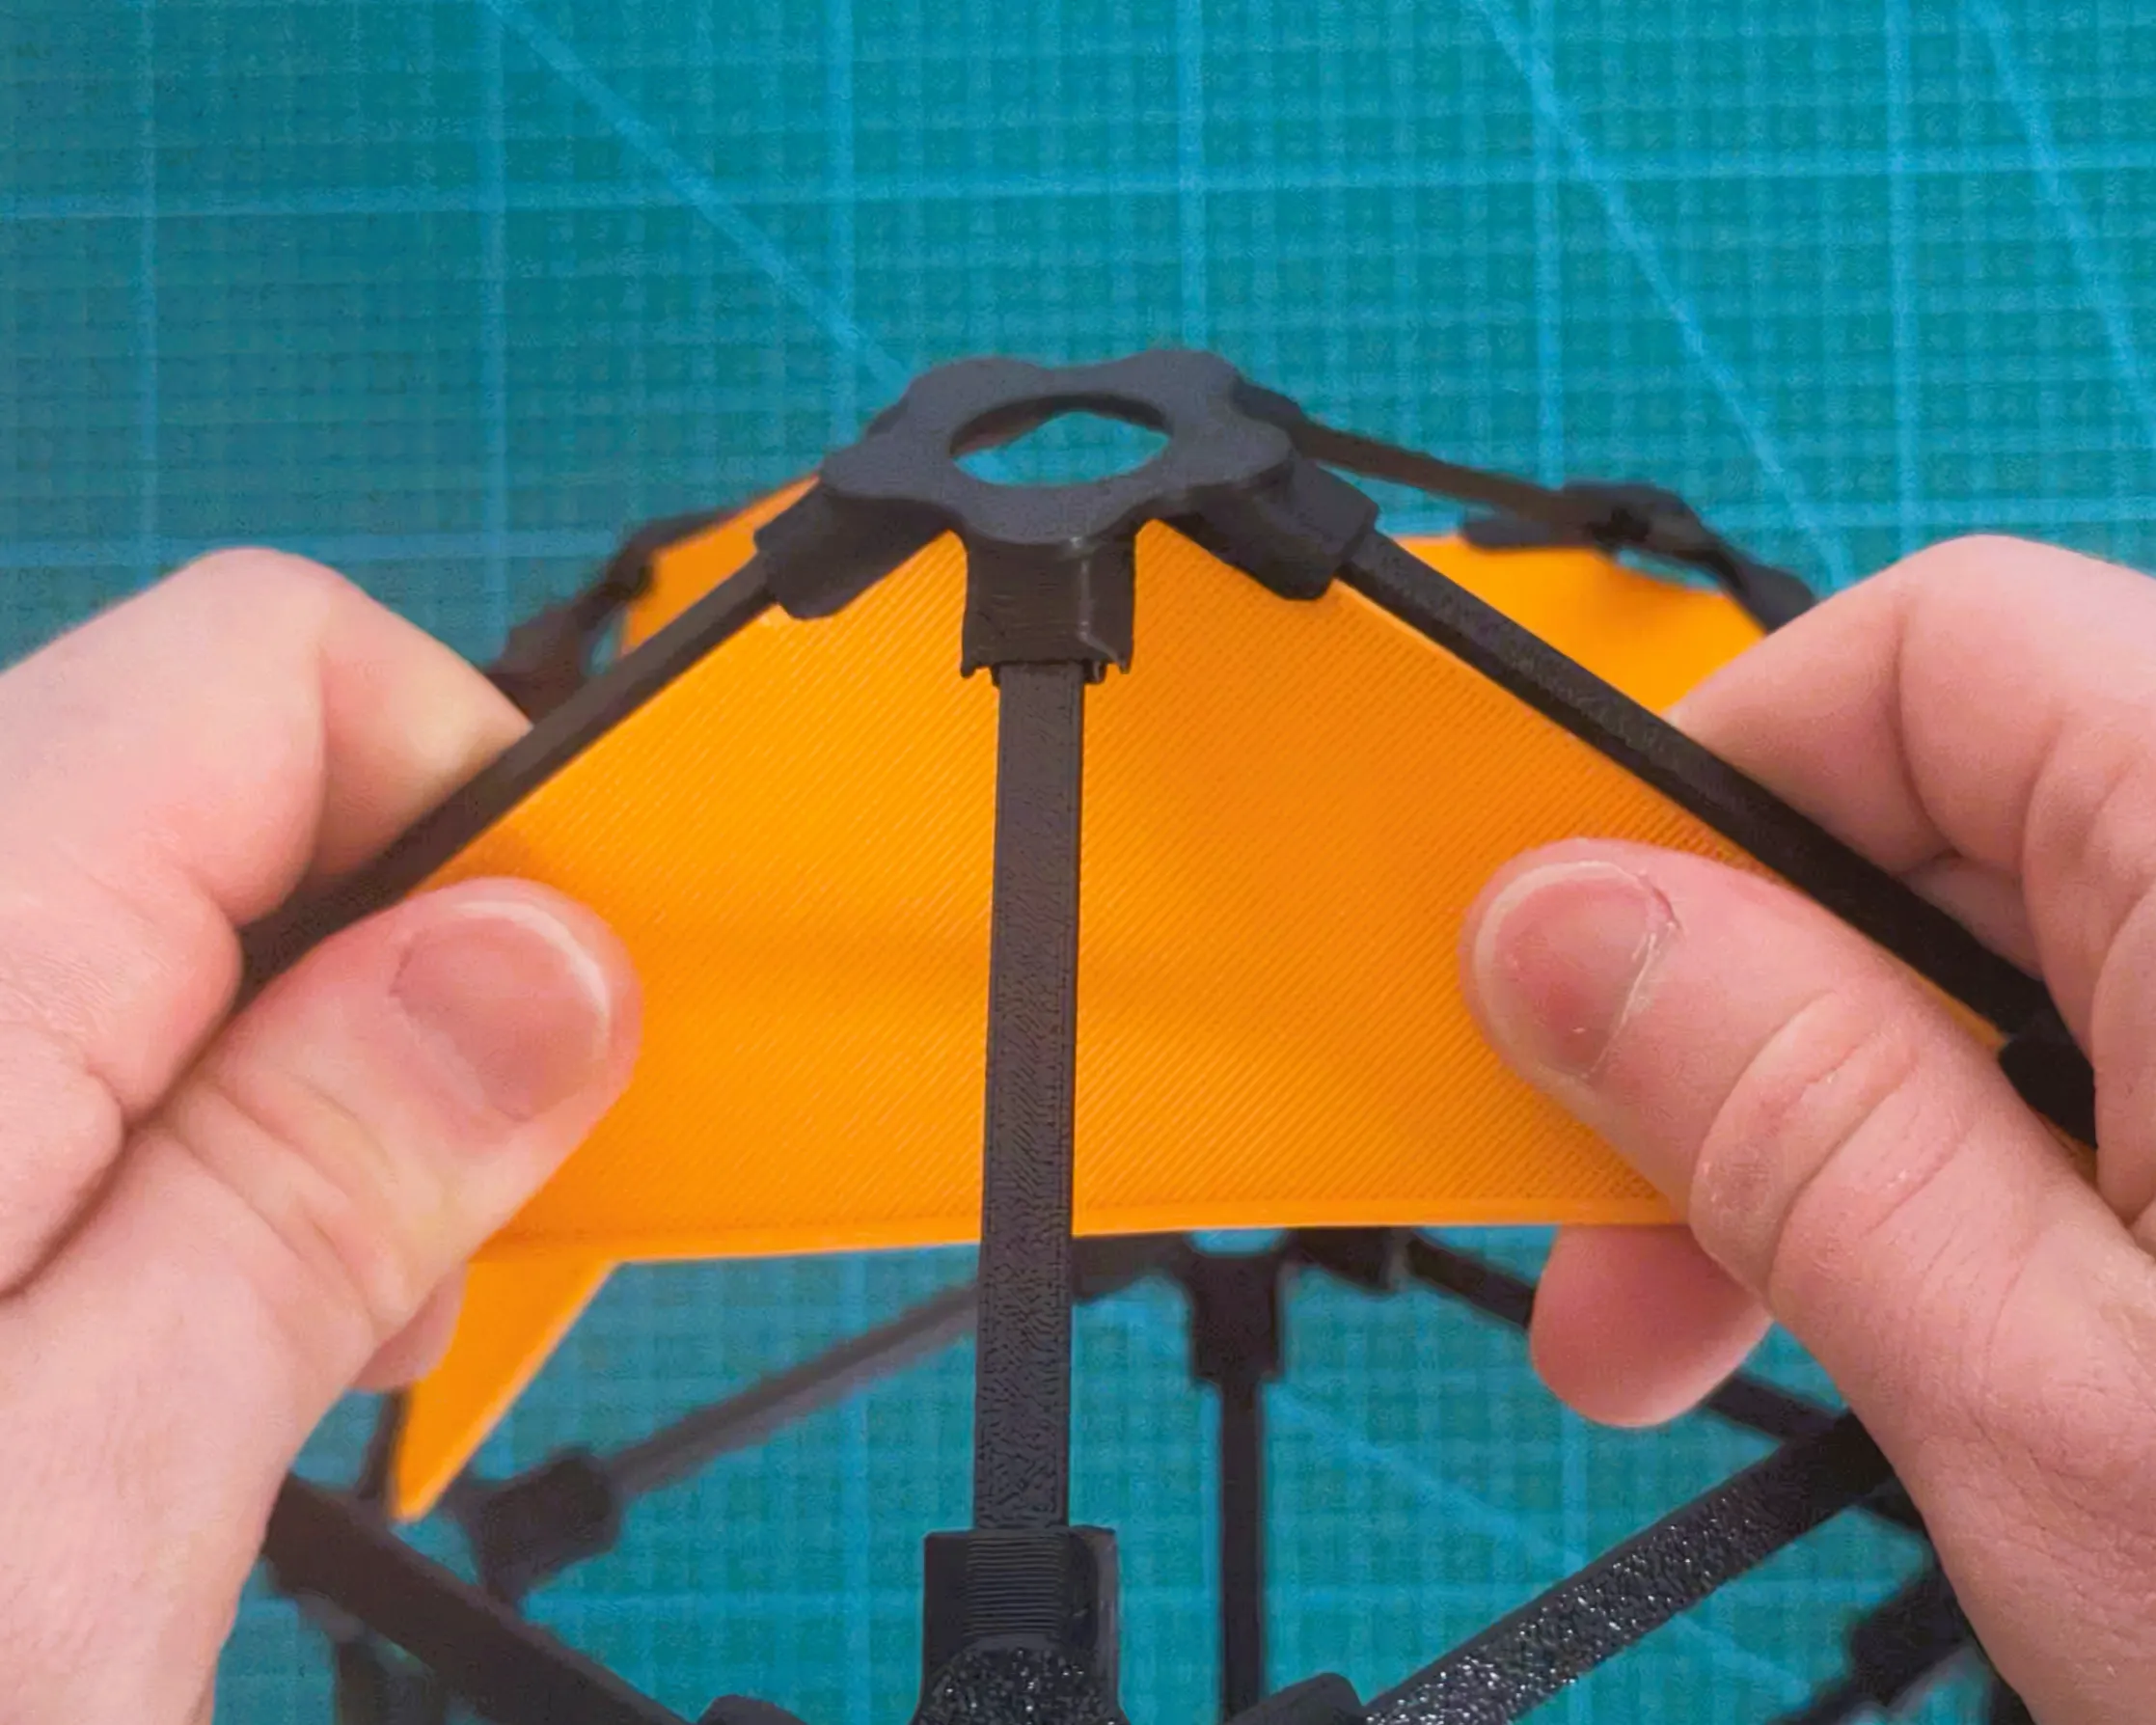
- Attach the wings - this is most likely the most difficult step, you may want to refer to the pictures first, to understand how the things should be positioned (having BearingNS in place should help keep the right orientation).
- A simple rule is: wing acute angle starts in either N or S, follows the edge to second corner where its obtuse angle is attached and then follows another edge and to the last corner - all wings in each section (N and upper or S and lower) must follow similar path, so the wing triangles are facing similar direction.
- Overview: https://youtu.be/jZJhEXP4FZQ
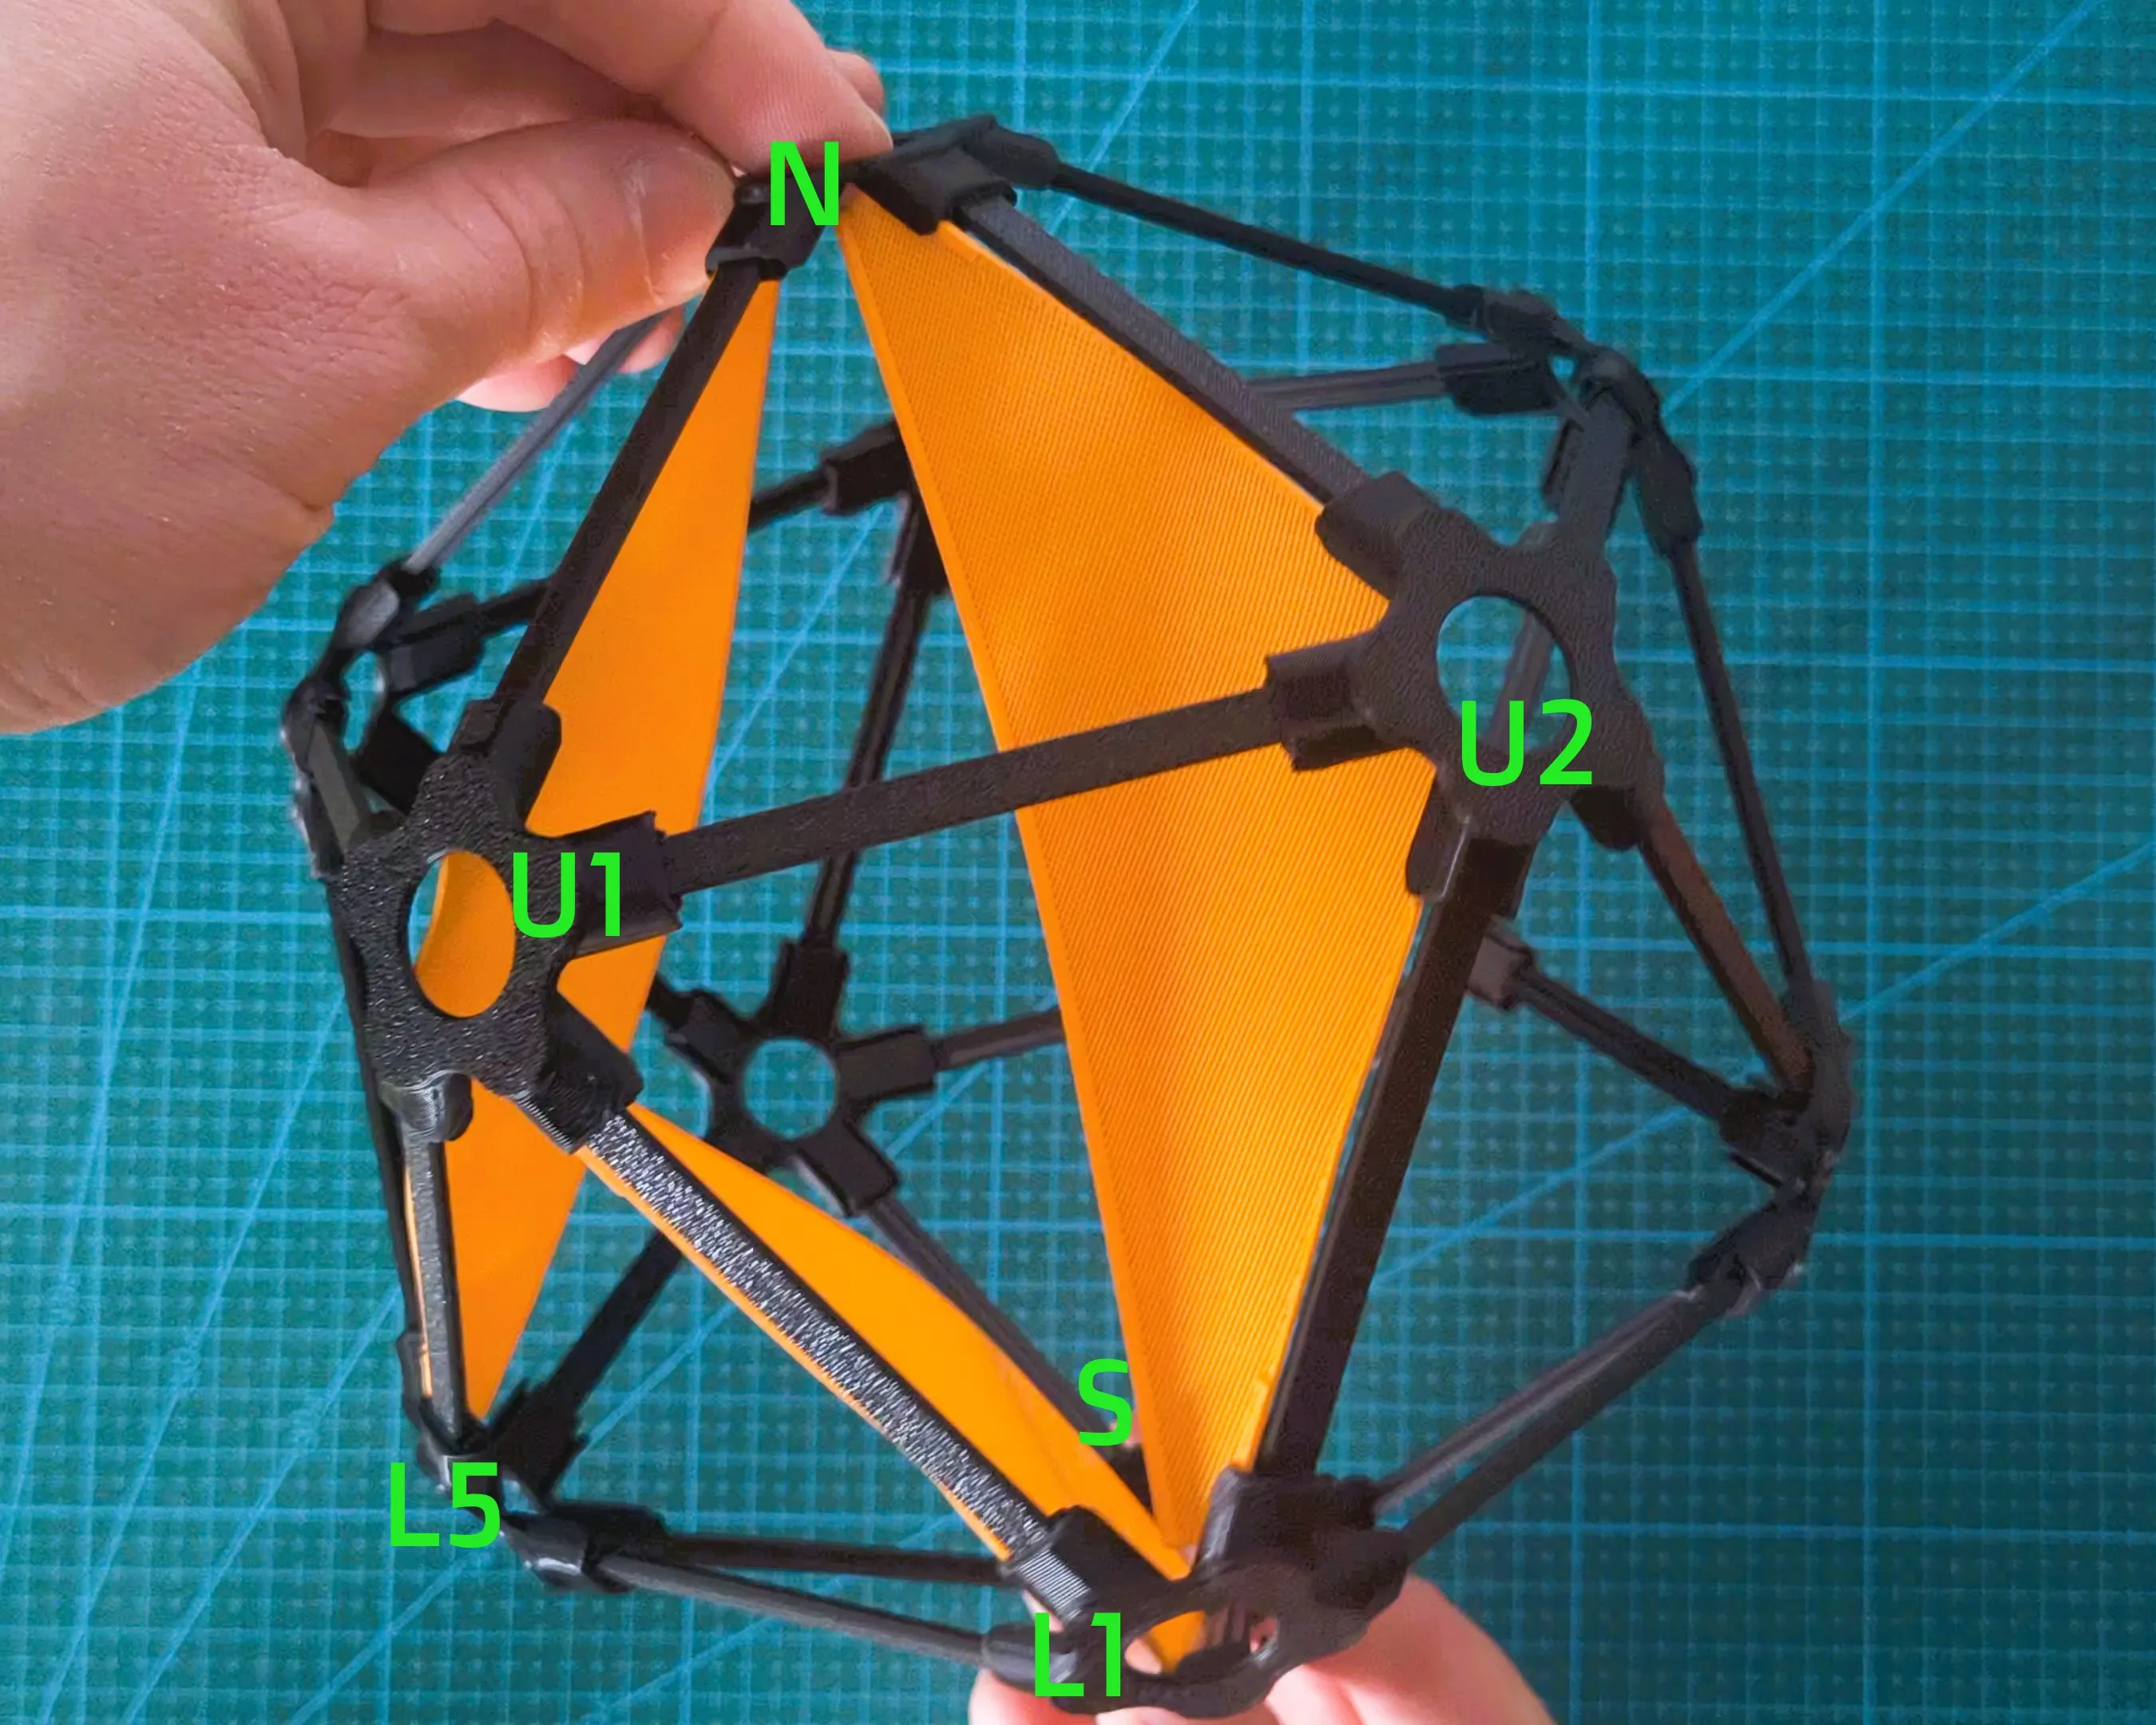
- Wings should be attached by following rules:
- Our top and bottom vertices are N and S
- The upper vertices (just below N) are U1, U2, U3, U4, U5
- The lower vertices (just above S) are L1, L2, L3, L4, L5
- There are clear upper and lower sections where wings will be located, each wing from the section always starts in it's pole:
- First top wing, starts at N, goes through U1 and ends in L5
- First bottom wing, starts at S, goes through L1 and ends in U1
- Second top wing, starts at N, goes through U2 and ends in L1
- Second bottom wing, starts at S, goes through L2 and ends in U2
- and so on...
- Each wing has 3 protrusions in its corners - two on both ends and one on the up (with the shortest edge)
- These will slide in into rails on the sides of IcoCorners.
- The order of operation is whatever suites you - myself found it easiest to start with the middle one, then put the opposite side (without protrusion) into the rail, and then fit in both left and right sides.
- Make sure the longest edge of the wing triangle is as straight as possible - this can be adjusted by pulling on the wings left and right sides further into IcoCorner rails.
---
License

You may create derivative works based on this object, provided that all such derivative works are published exclusively on the MakerWorld platform and include proper attribution to the original creator. You may not share, upload, host, distribute, or publish this object—or any derivative work of this object—on any other digital platform, marketplace, or distribution channel. Commercial use of this object and any derivative works is strictly prohibited. This includes, but is not limited to, selling, renting, sublicensing, or using the object in any context in which you receive monetary compensation or other financial benefits.


Comment & Rating (2)