
Print Profile(1)
Bill of Materials


.jpg)

Description
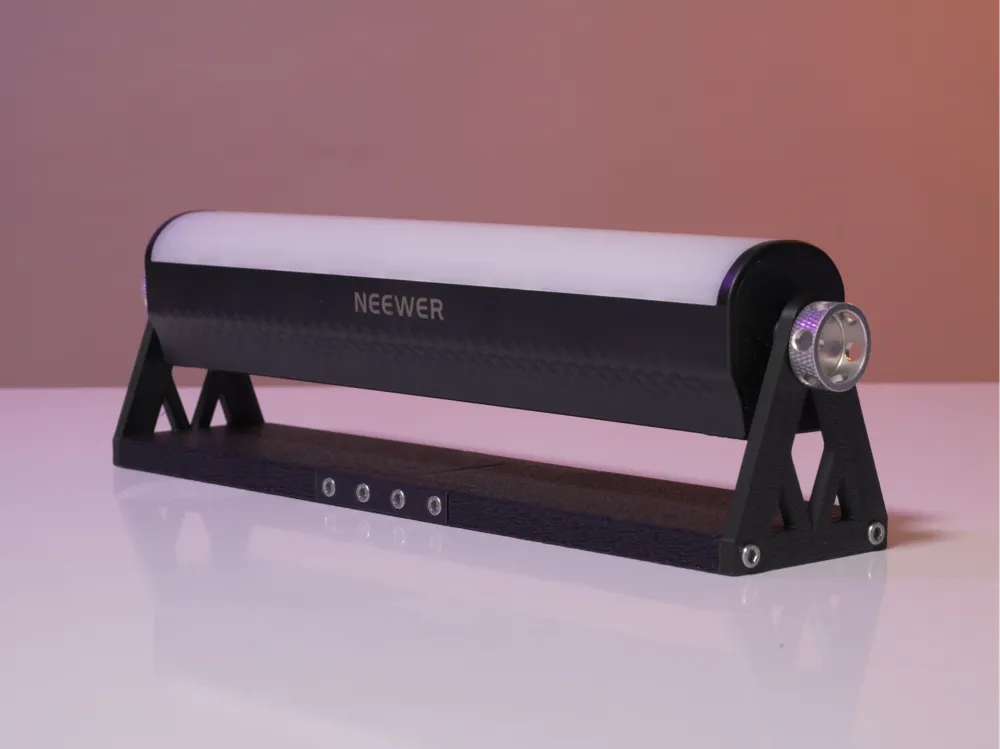
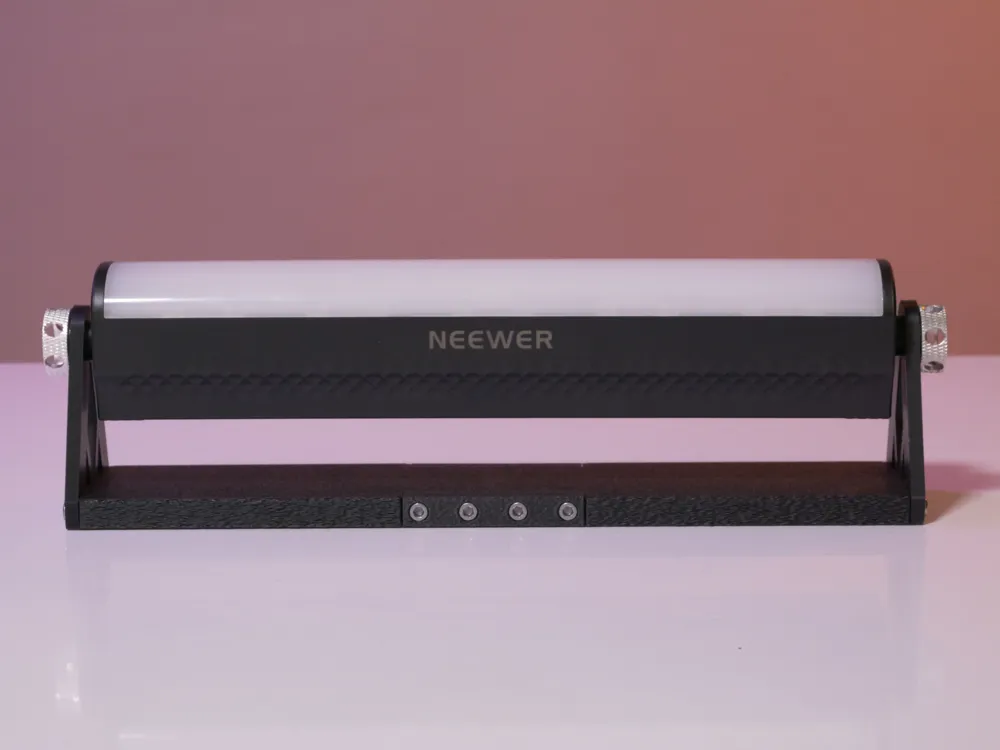
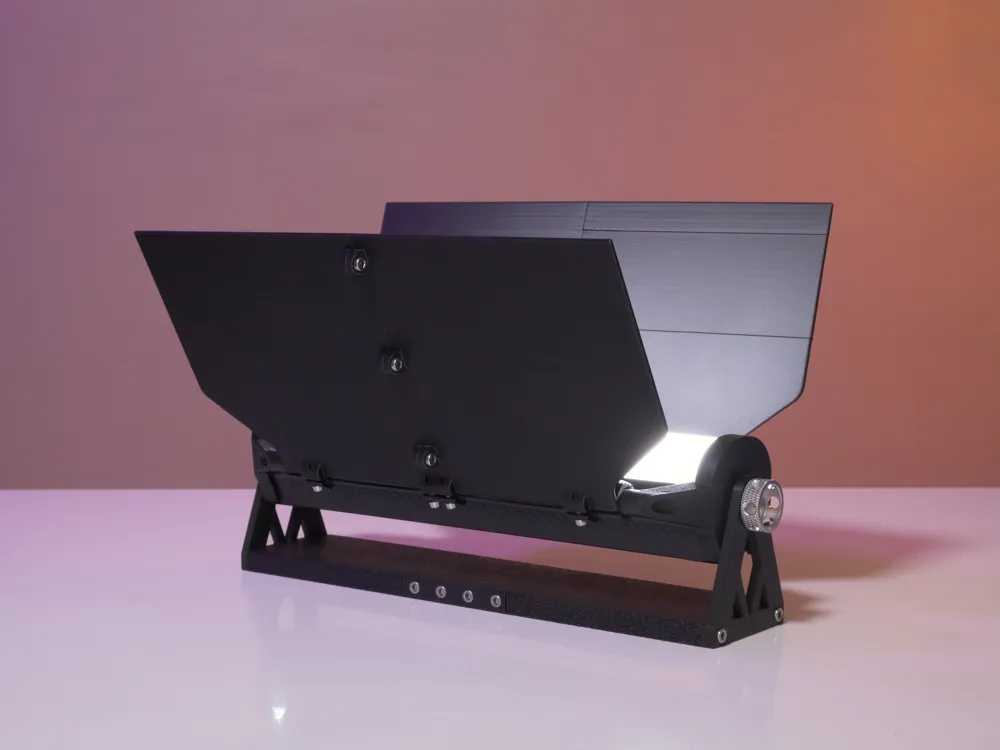
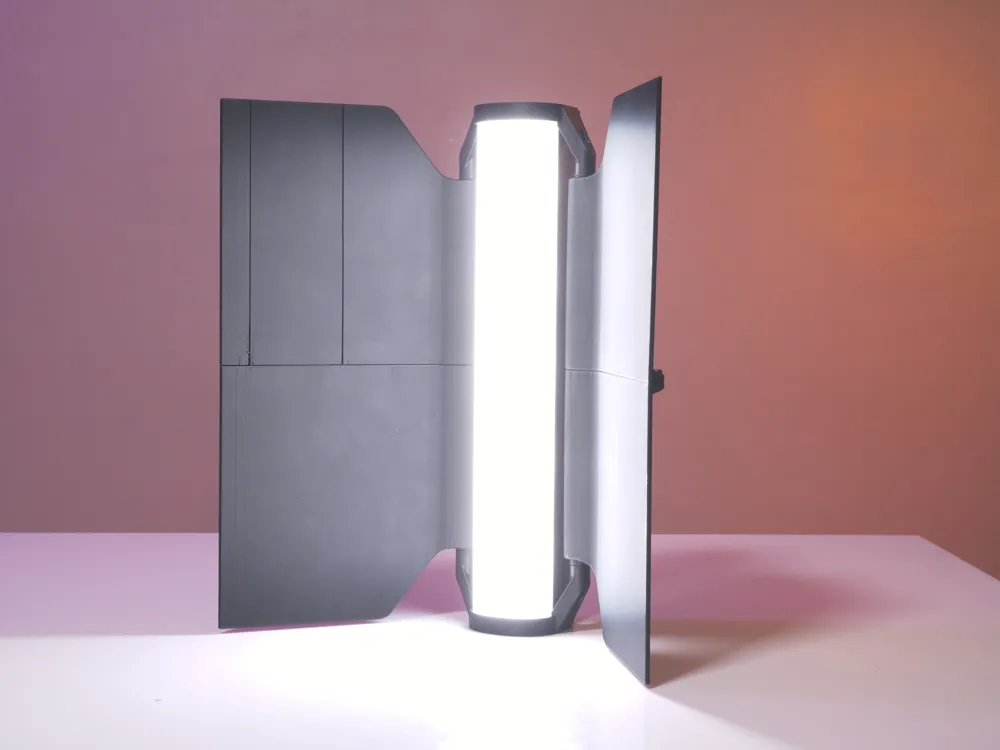
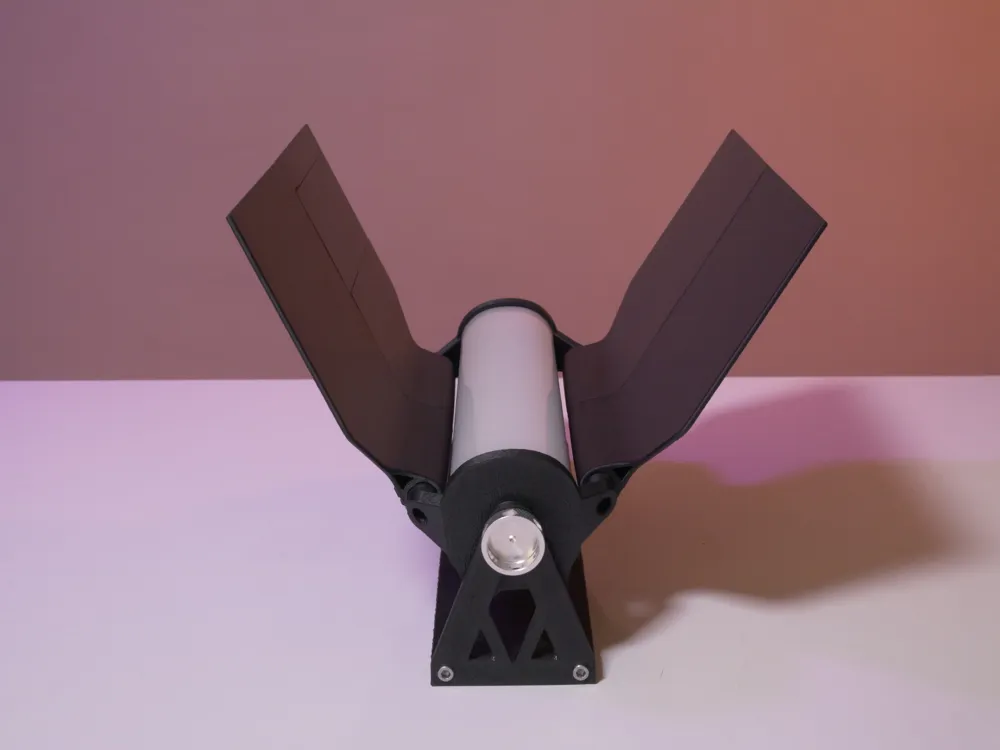
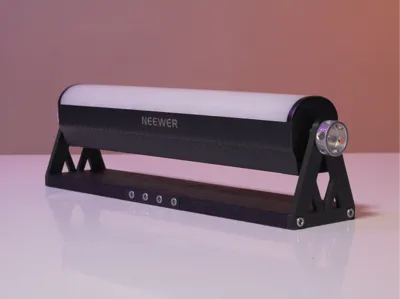
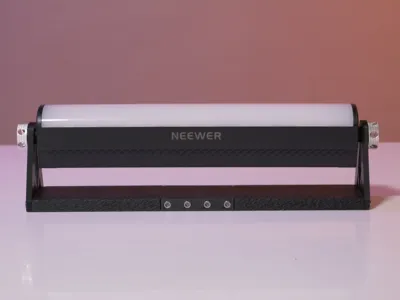
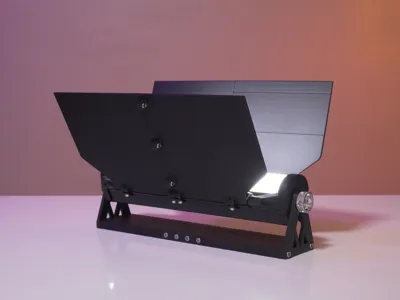
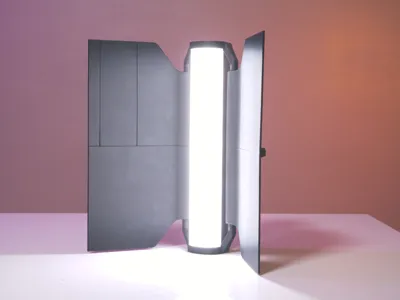
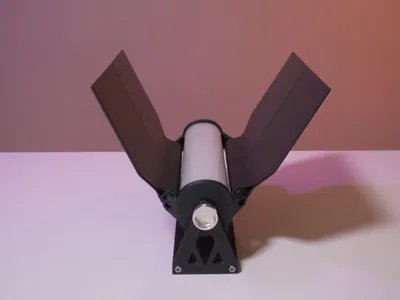
Support and barn doors for Neewer TL21C light stick
👇read carefully
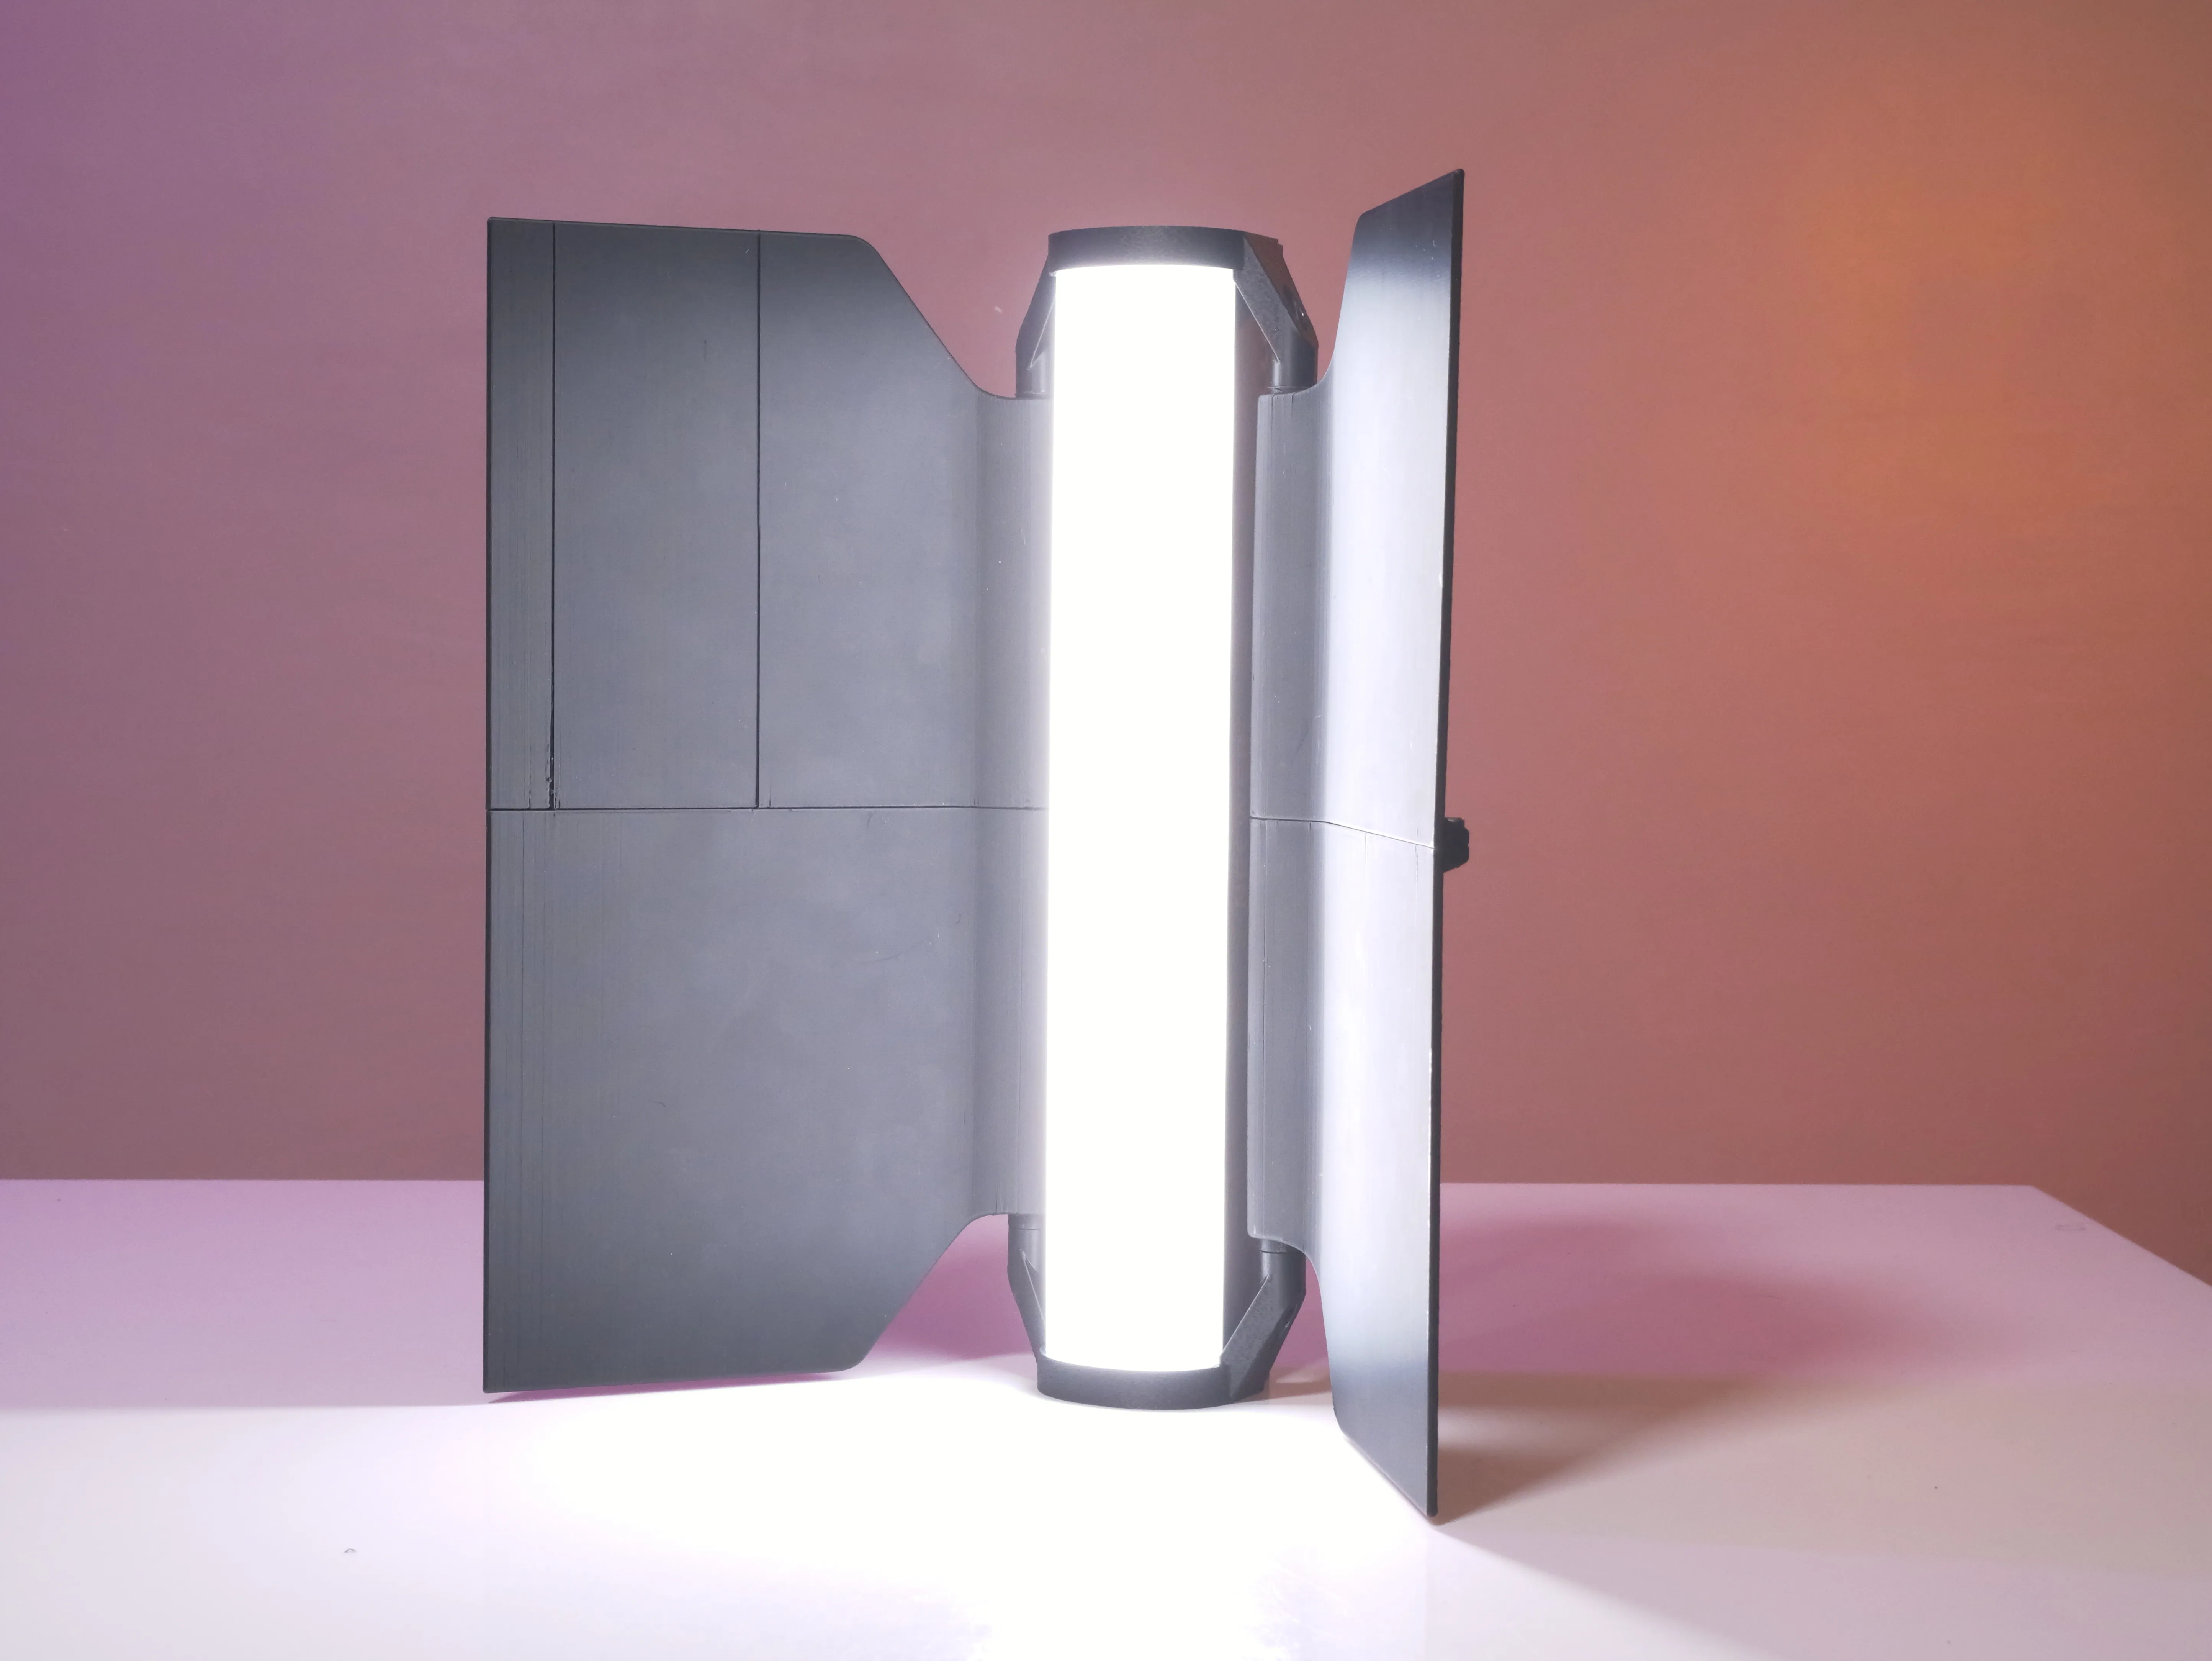
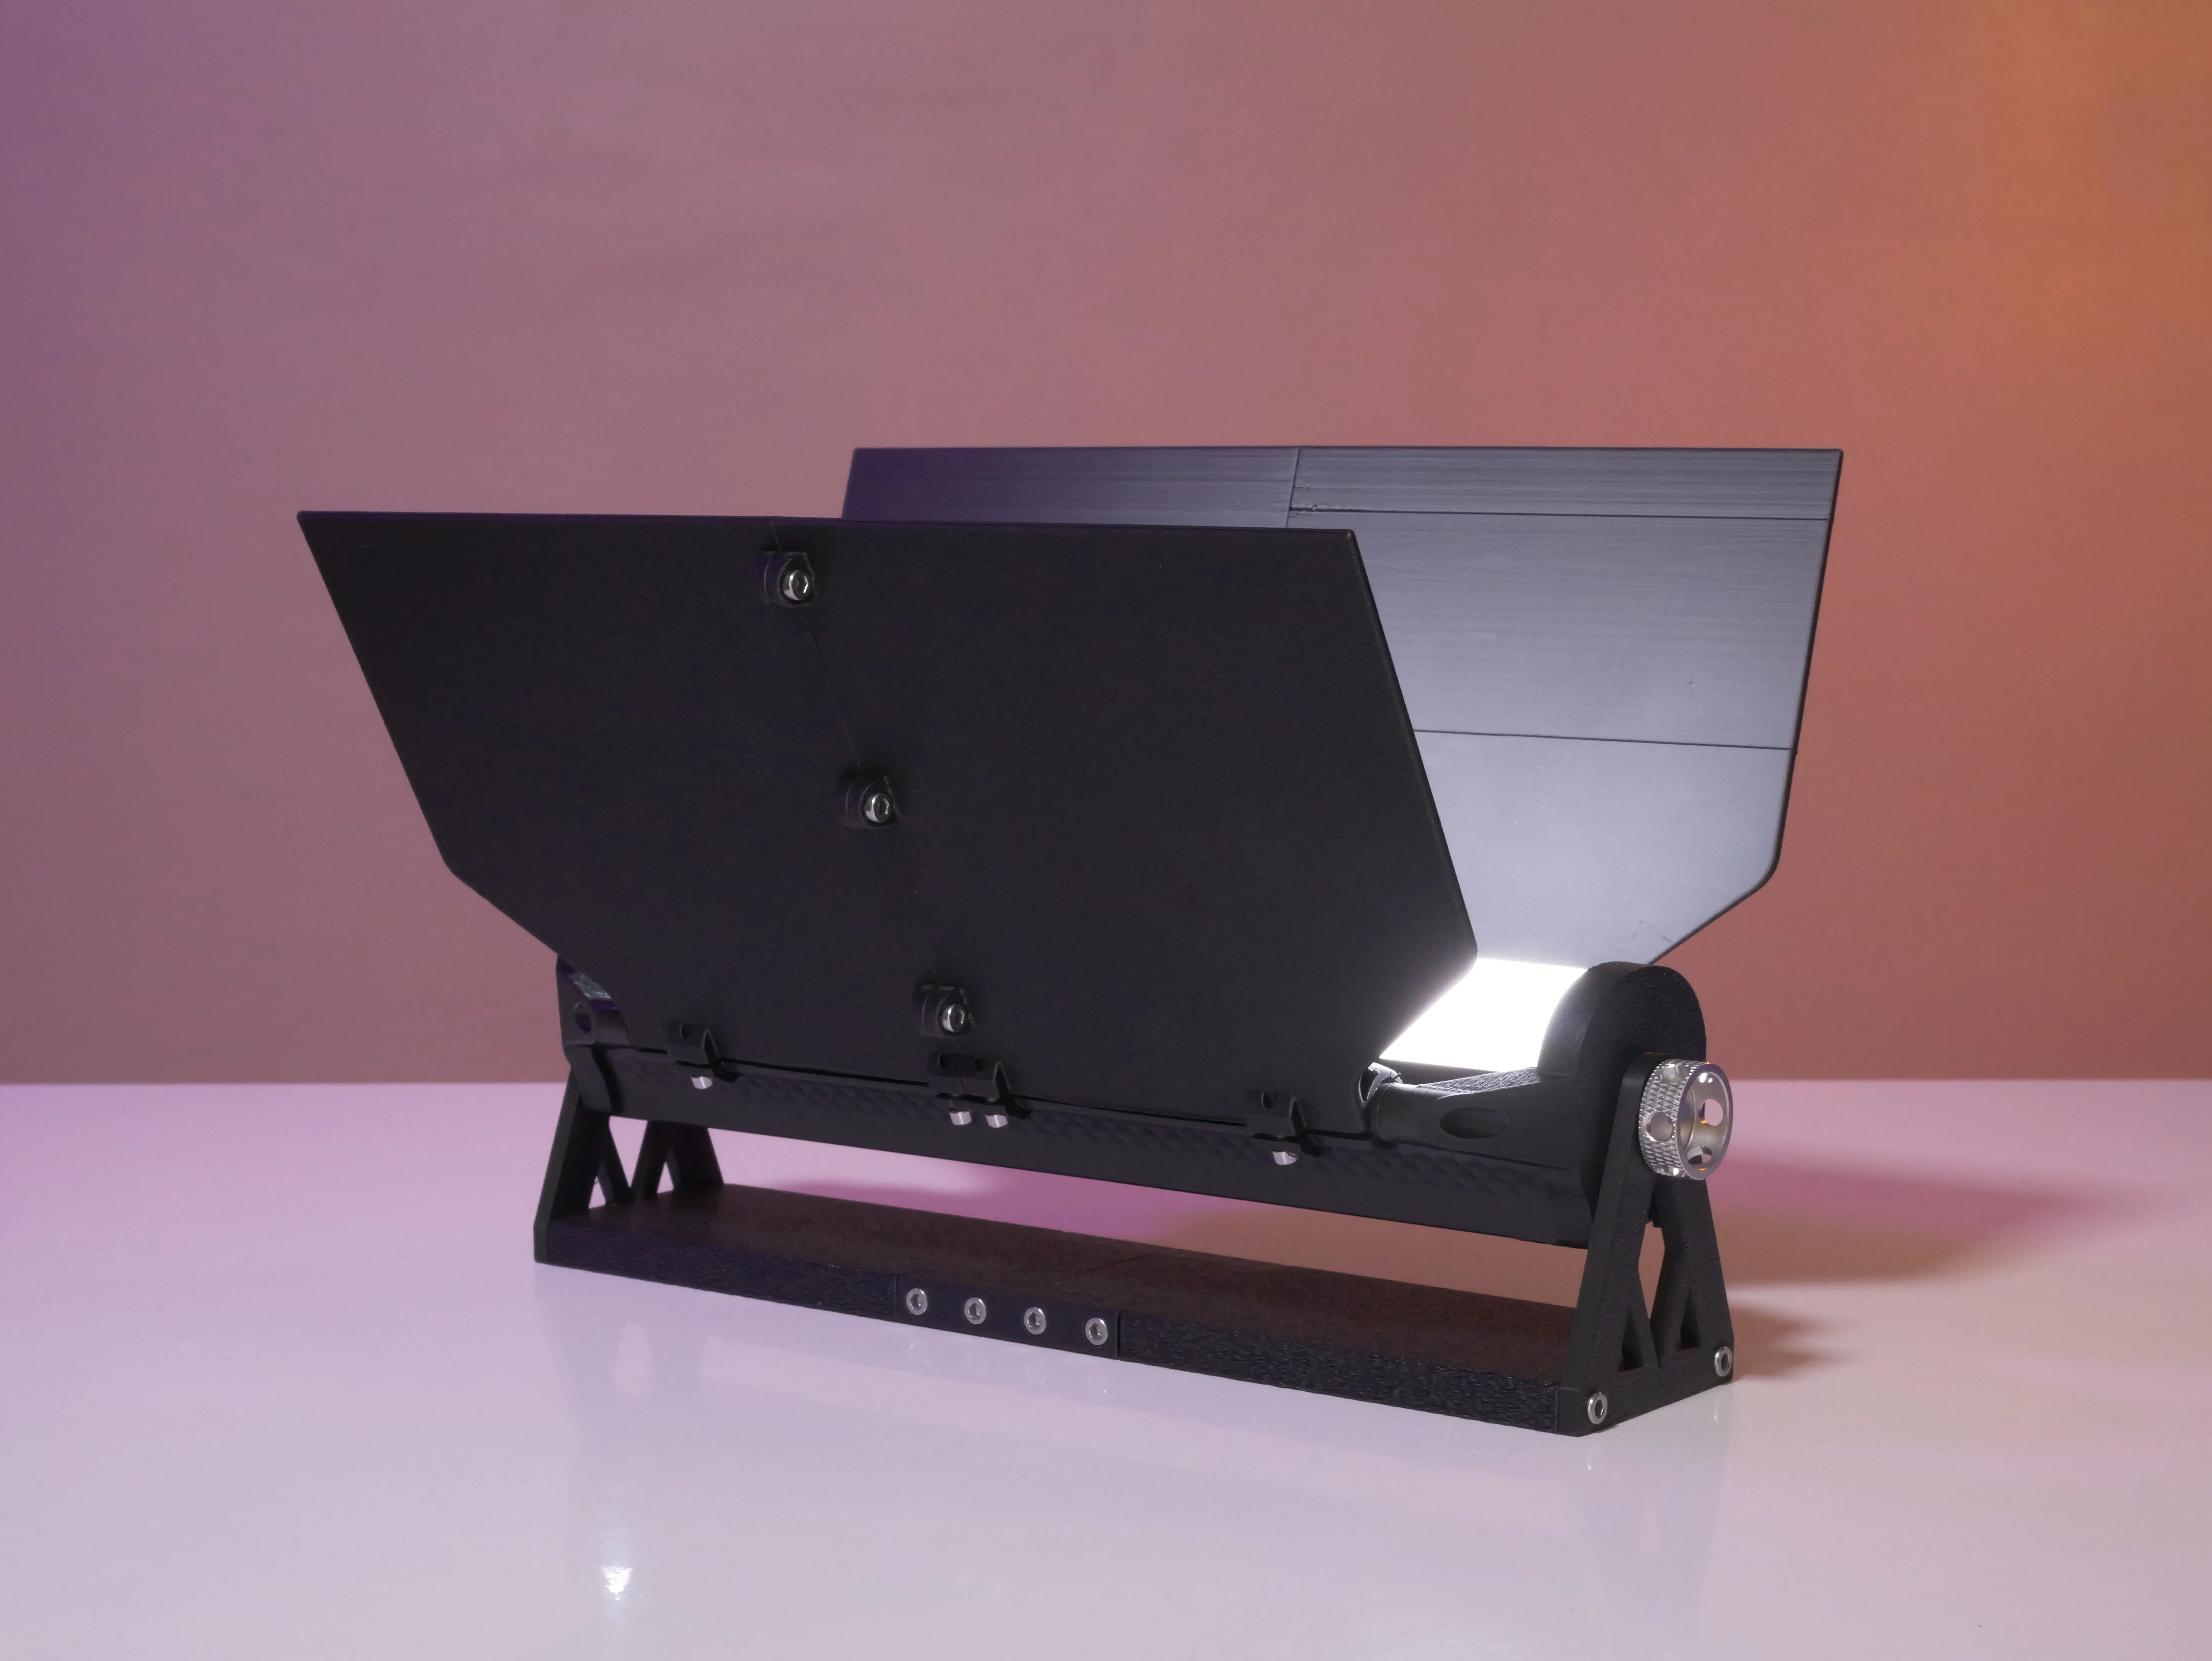
I created this complete support + barn doors kit inspired by photographic spotlights,
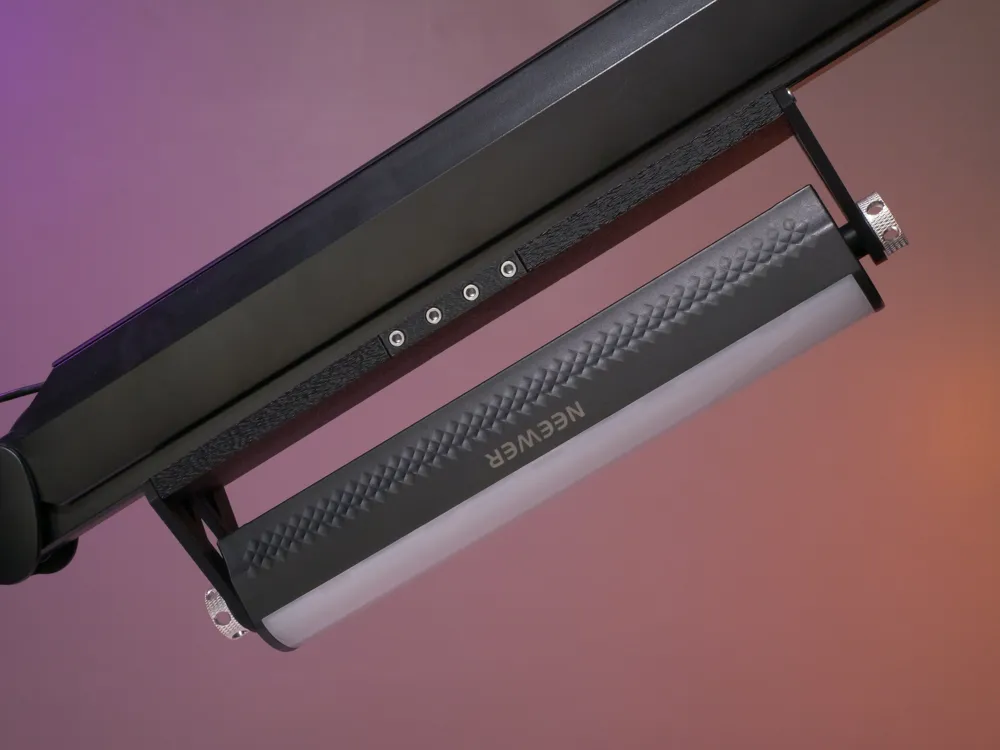
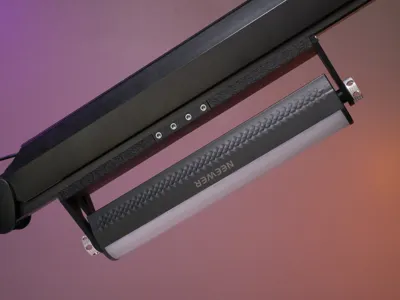
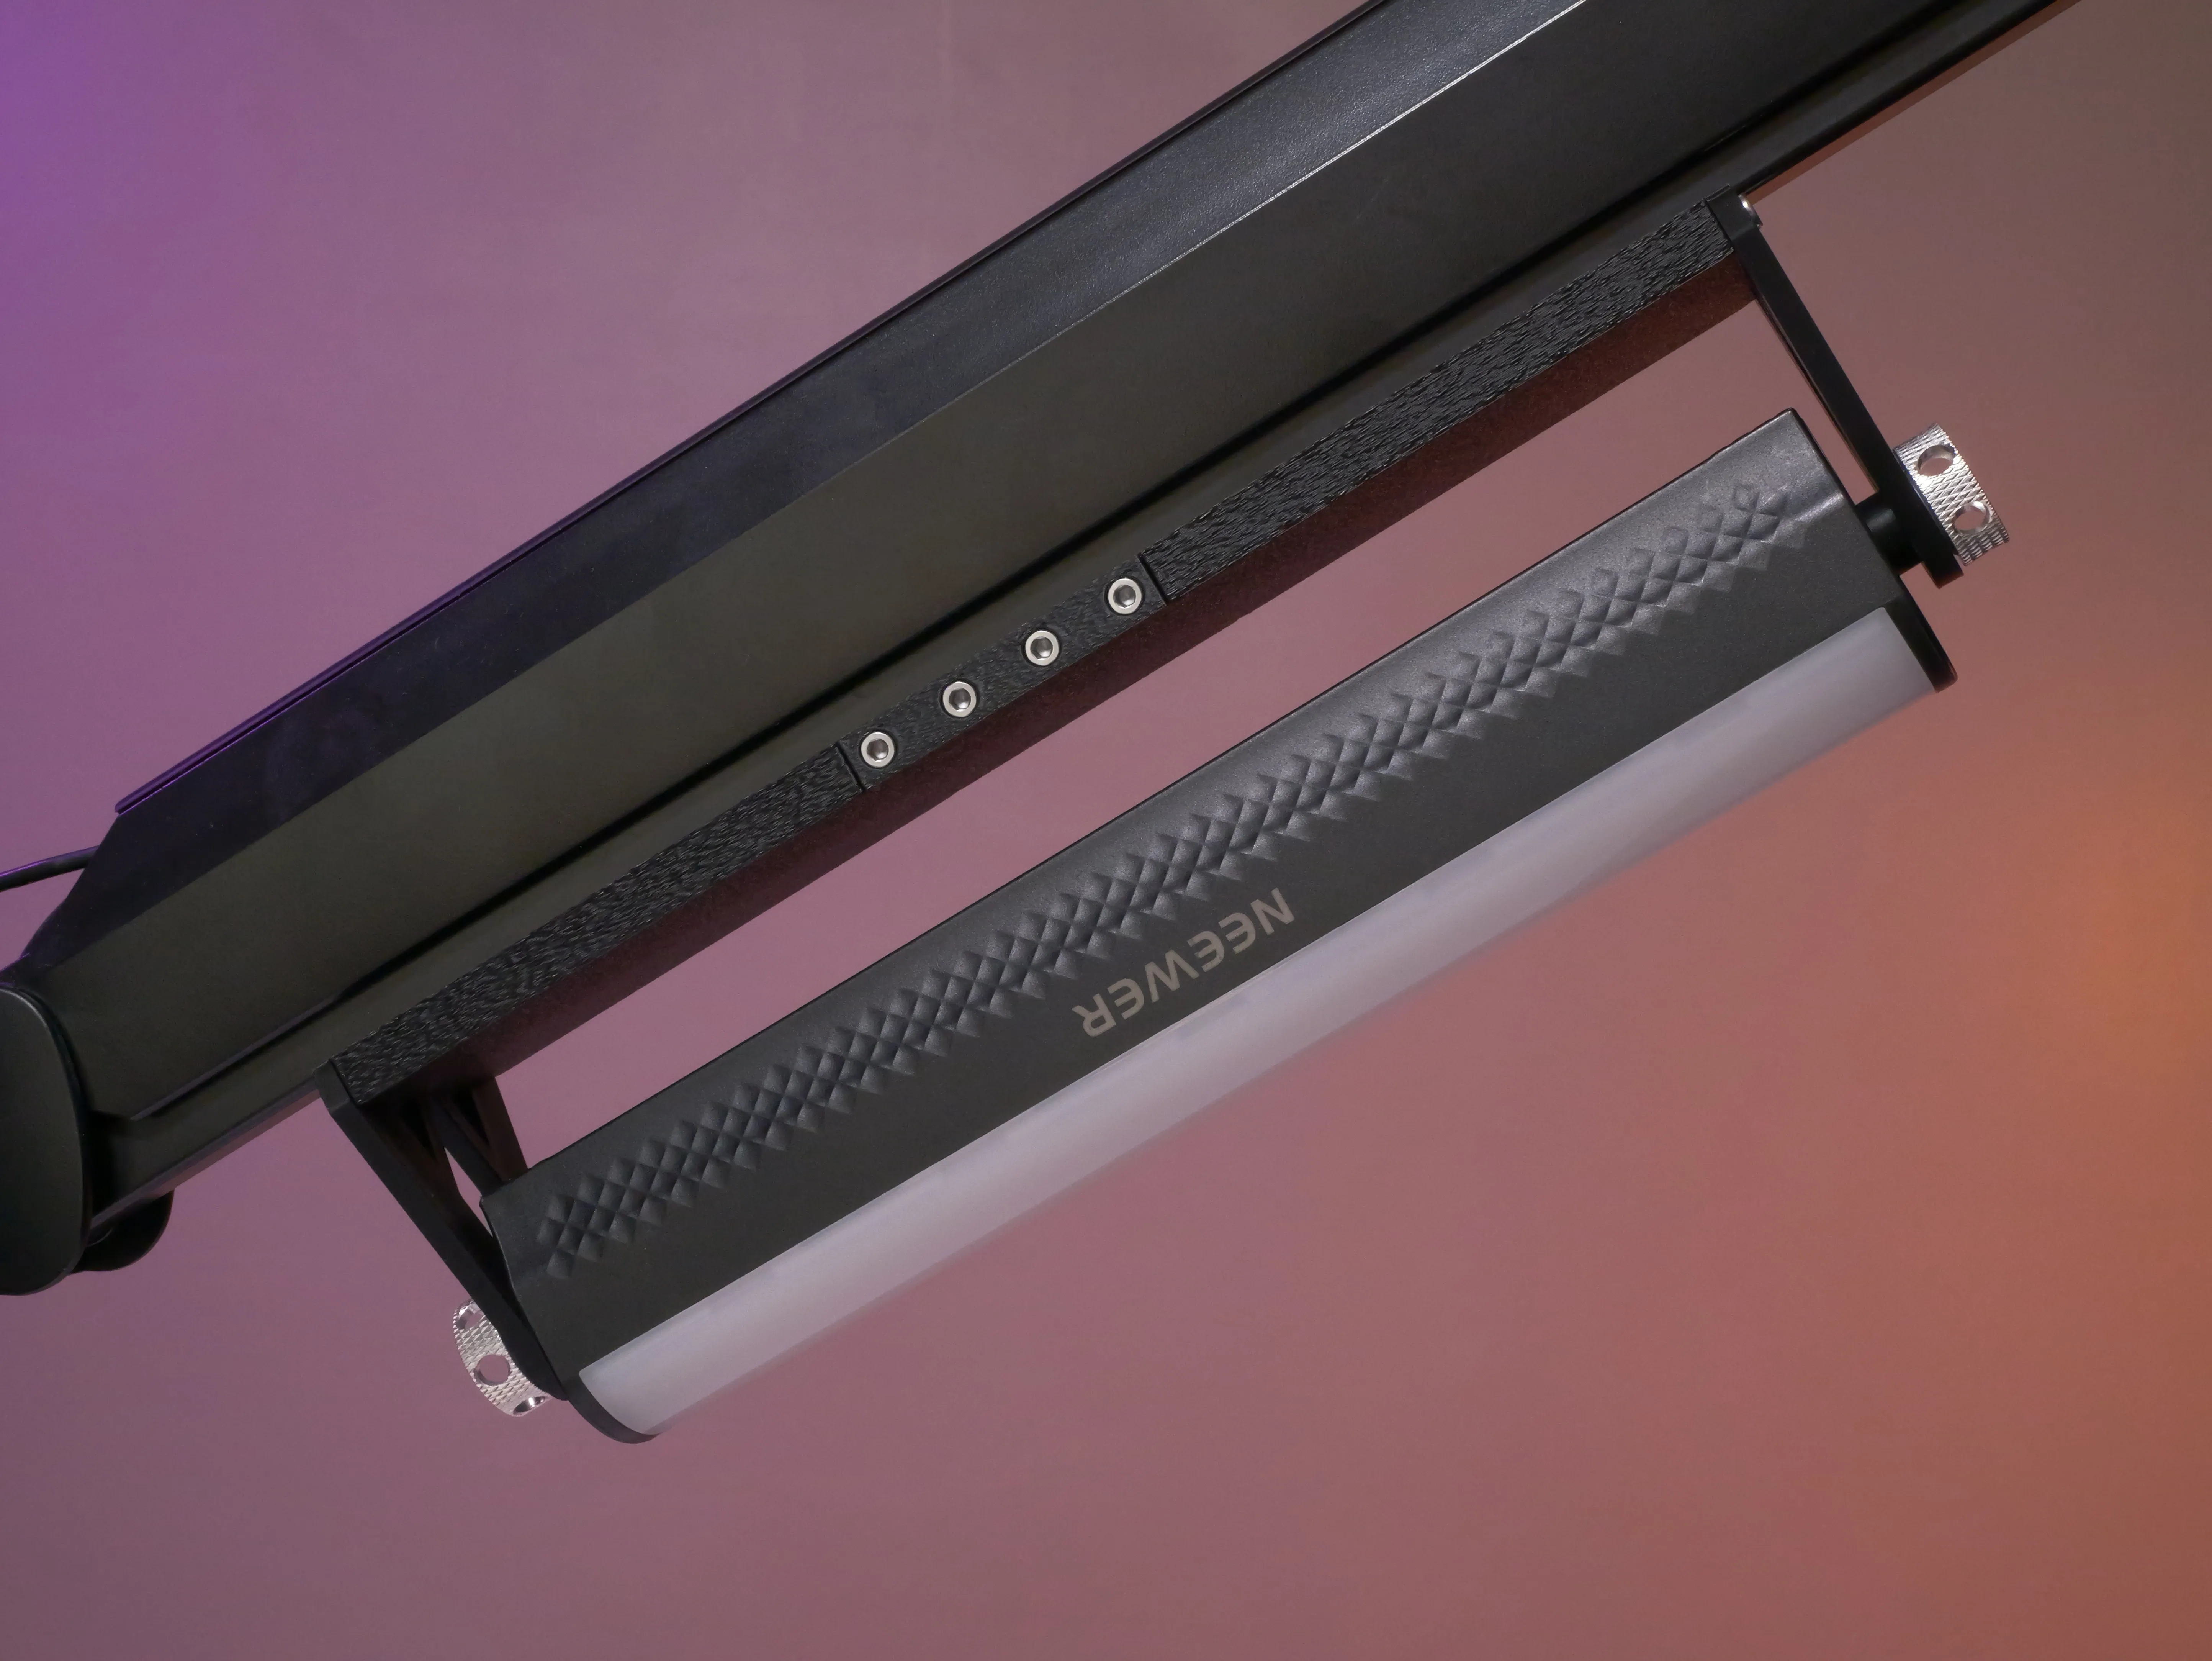
I am proud to present a magnetic mount to maintain its original function, along with additional barn doors,
To redirect the light beam as you wish, you can also charge your light stick while using it with a right-angle USB Type-C cable.
Boost Me (for free)
A small boost to support a small independent creator! This model was entirely designed by me in Fusion 360, and if you feel like it, show your support and don't hesitate to give your best boost, it gives strength and motivation!
👇 Important points, tips, tricks and materials 👇
The models below were printed in PLA TOUGH+
- PLA Tough+ offers better flexural and impact resistance; it will be more resistant than Classic PLA.
- Each part was printed on an A1 mini with a Textured PEI plate,
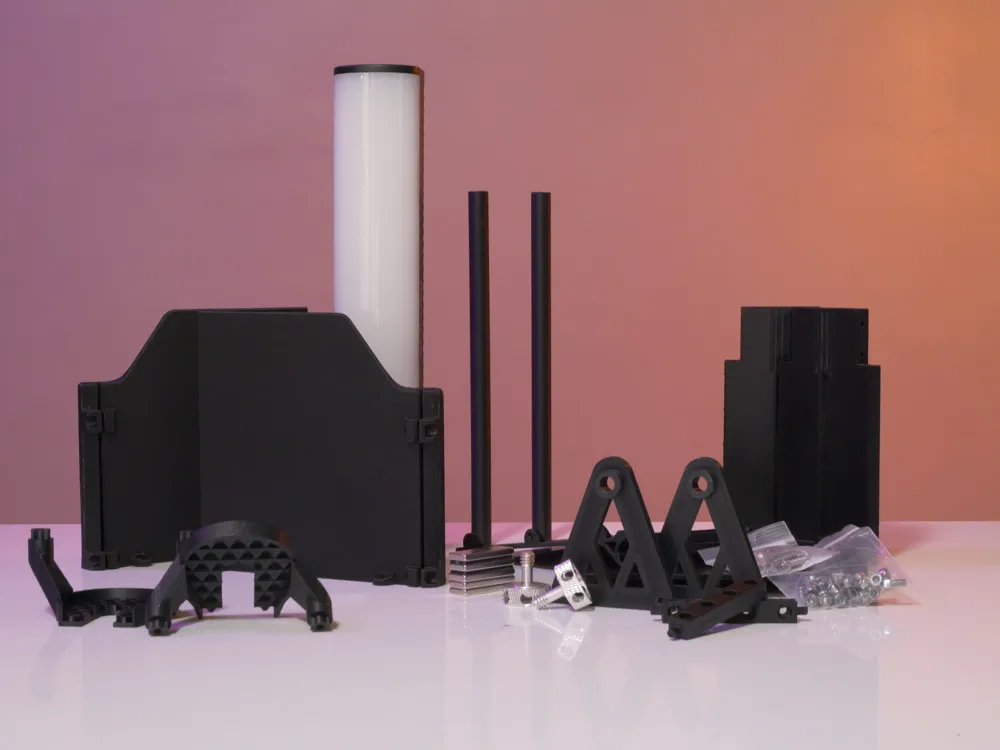
You will need to gather the following:
- Hex key- Needle-nose pliers
- x14: M3x8 mm screws for the barn doors
- x16: M3x14 mm screws for the supports
- x2: 1/4 inch aluminum alloy screws
- x4: 30x30x3 mm magnets- No glue required.
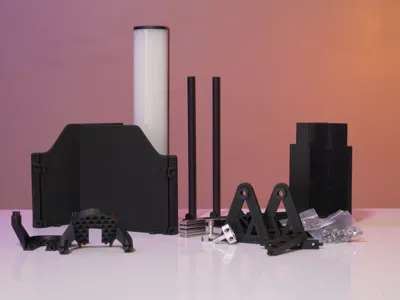
- List of printable parts per plate
Plate - 1
x1 : Support Plate - Right and Left.
Plate - 2
x2 : Support Turret - Right and Left.
Plate - 3
x2 : Central Link - Right and Left.
Plate - 4
x1 : Barn Door Rods x2 - Right and Left.
Plate - 5
x2 : Barn Door Support - Right and Left.
Plate - 6
x1 : Barn Doors .type A. to be printed x2
Plate - 7
x1 : Barn Doors .type B. to be printed x2
- Assembly guide, tip :
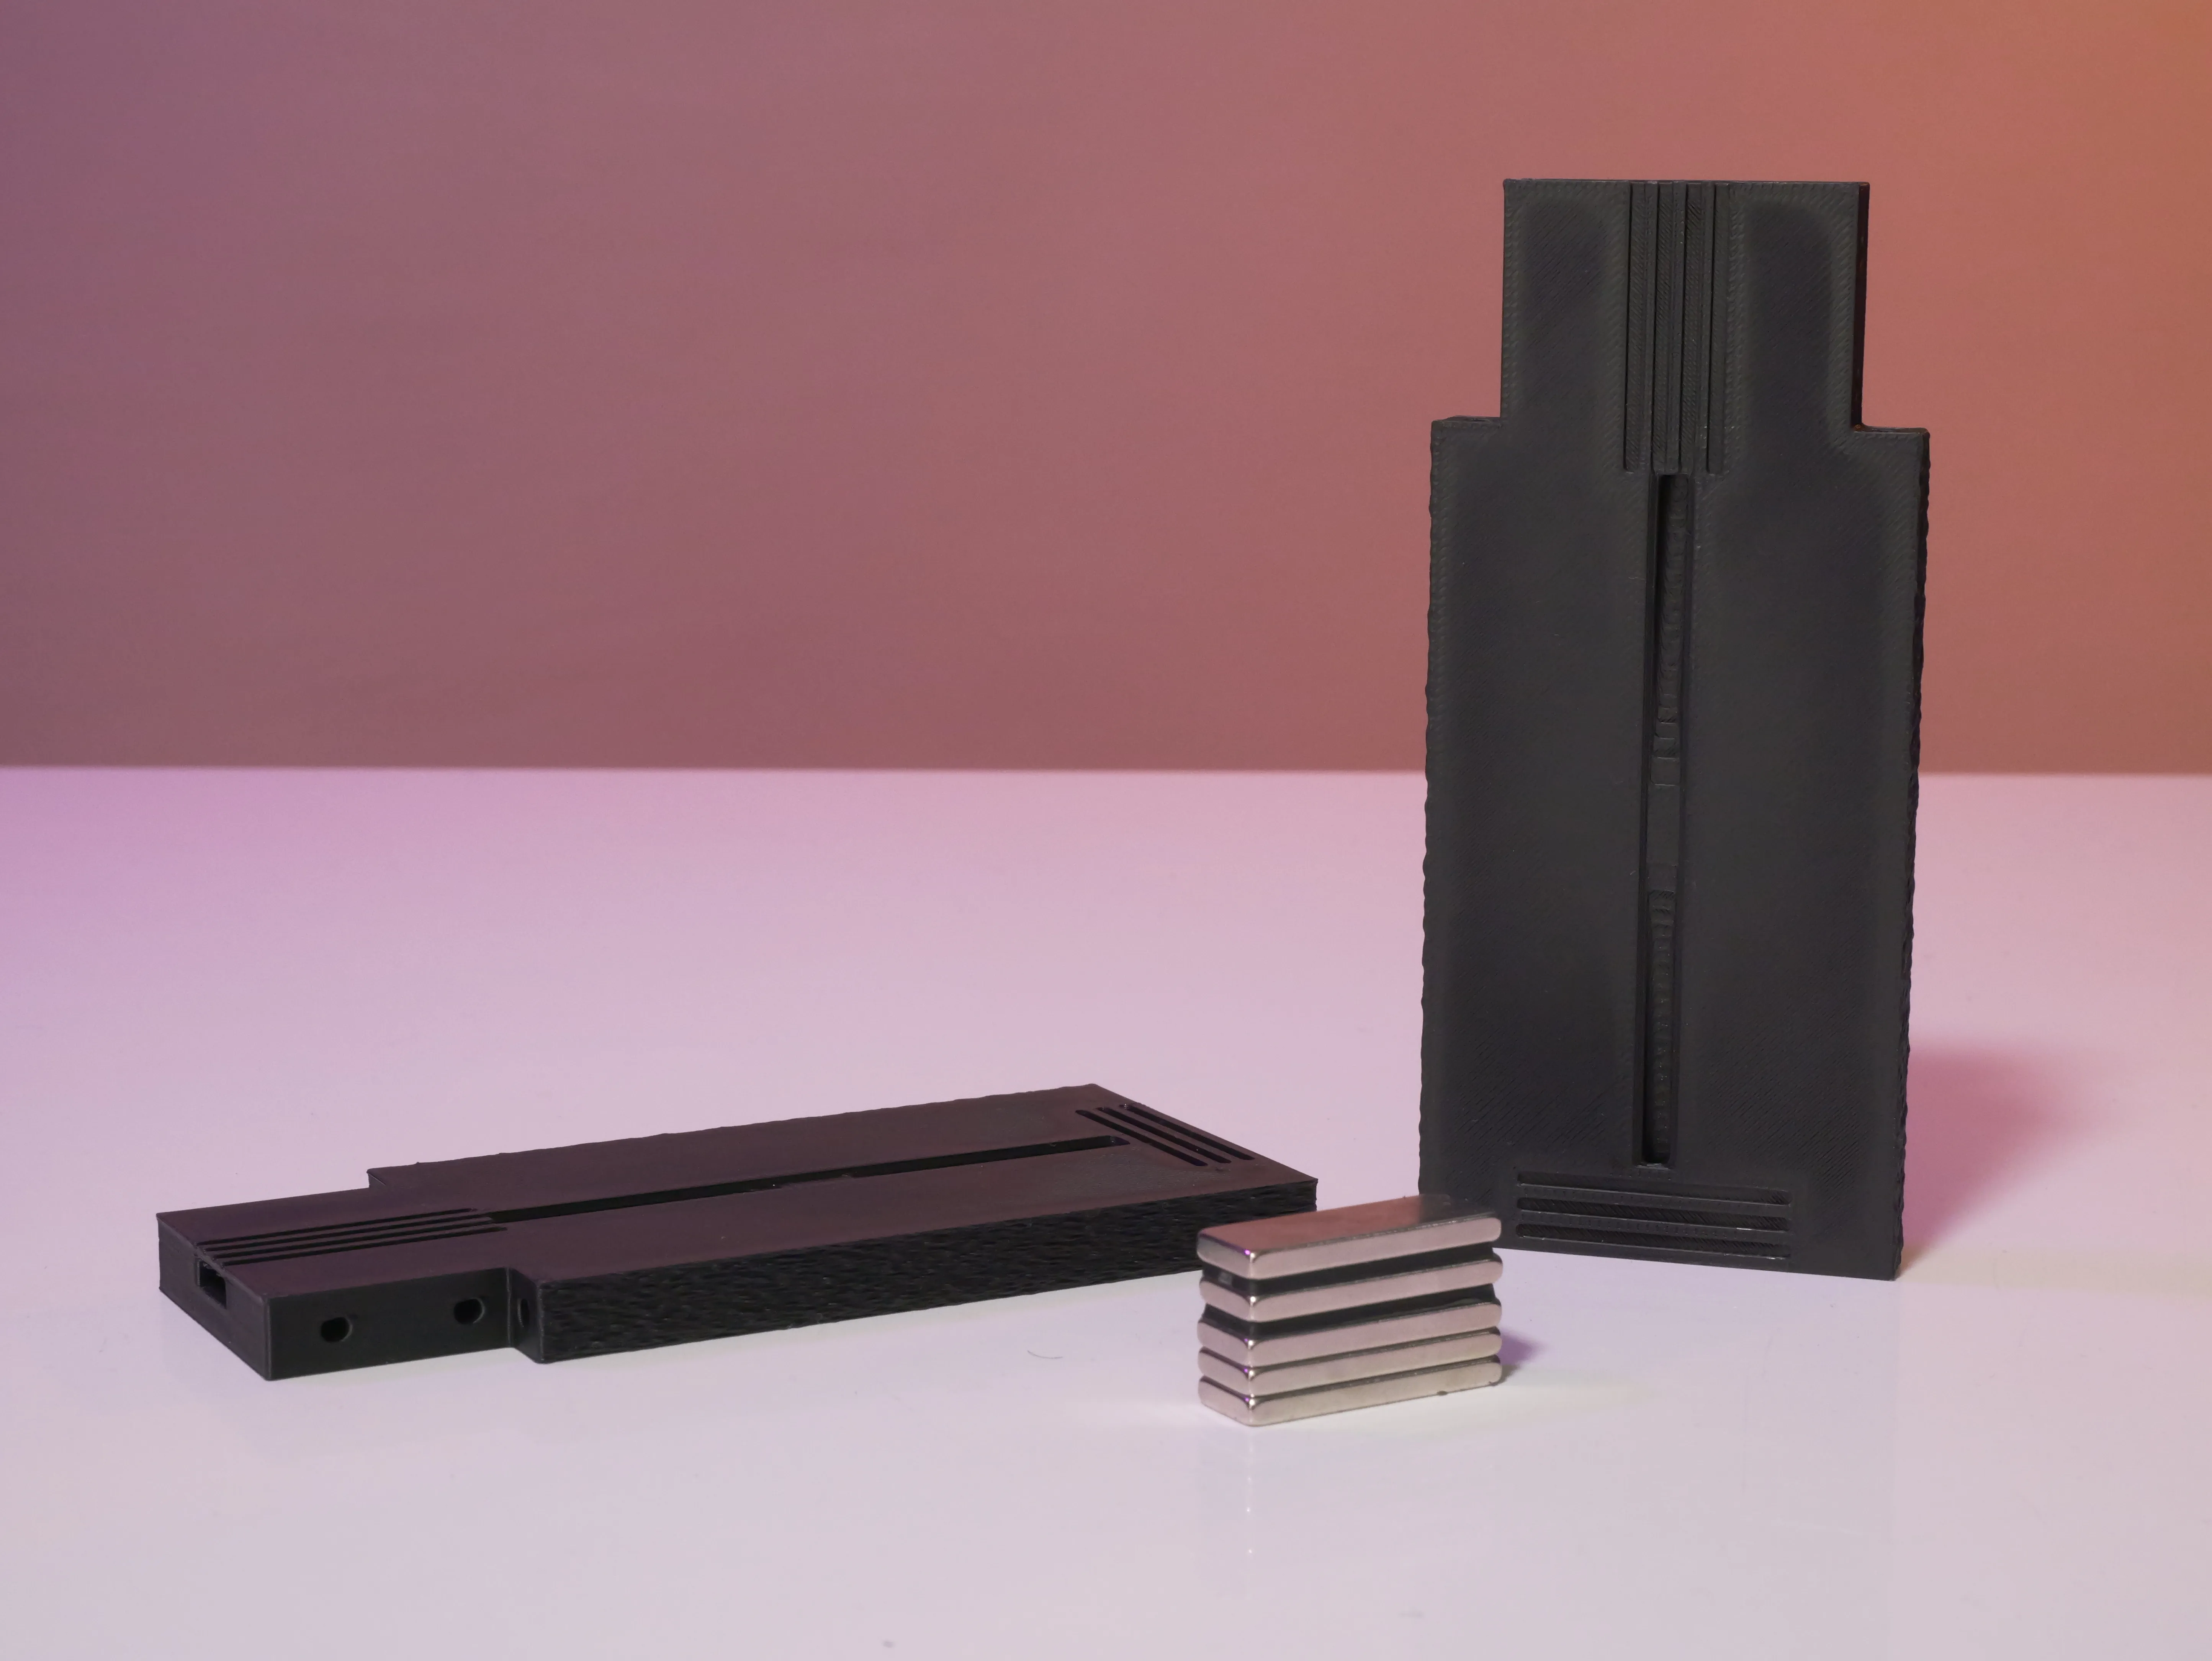
1 - Start by inserting the 30x30x3 mm magnets into both support plates.
2 - Pay attention to the magnet orientation; place them all in the same direction.
👇
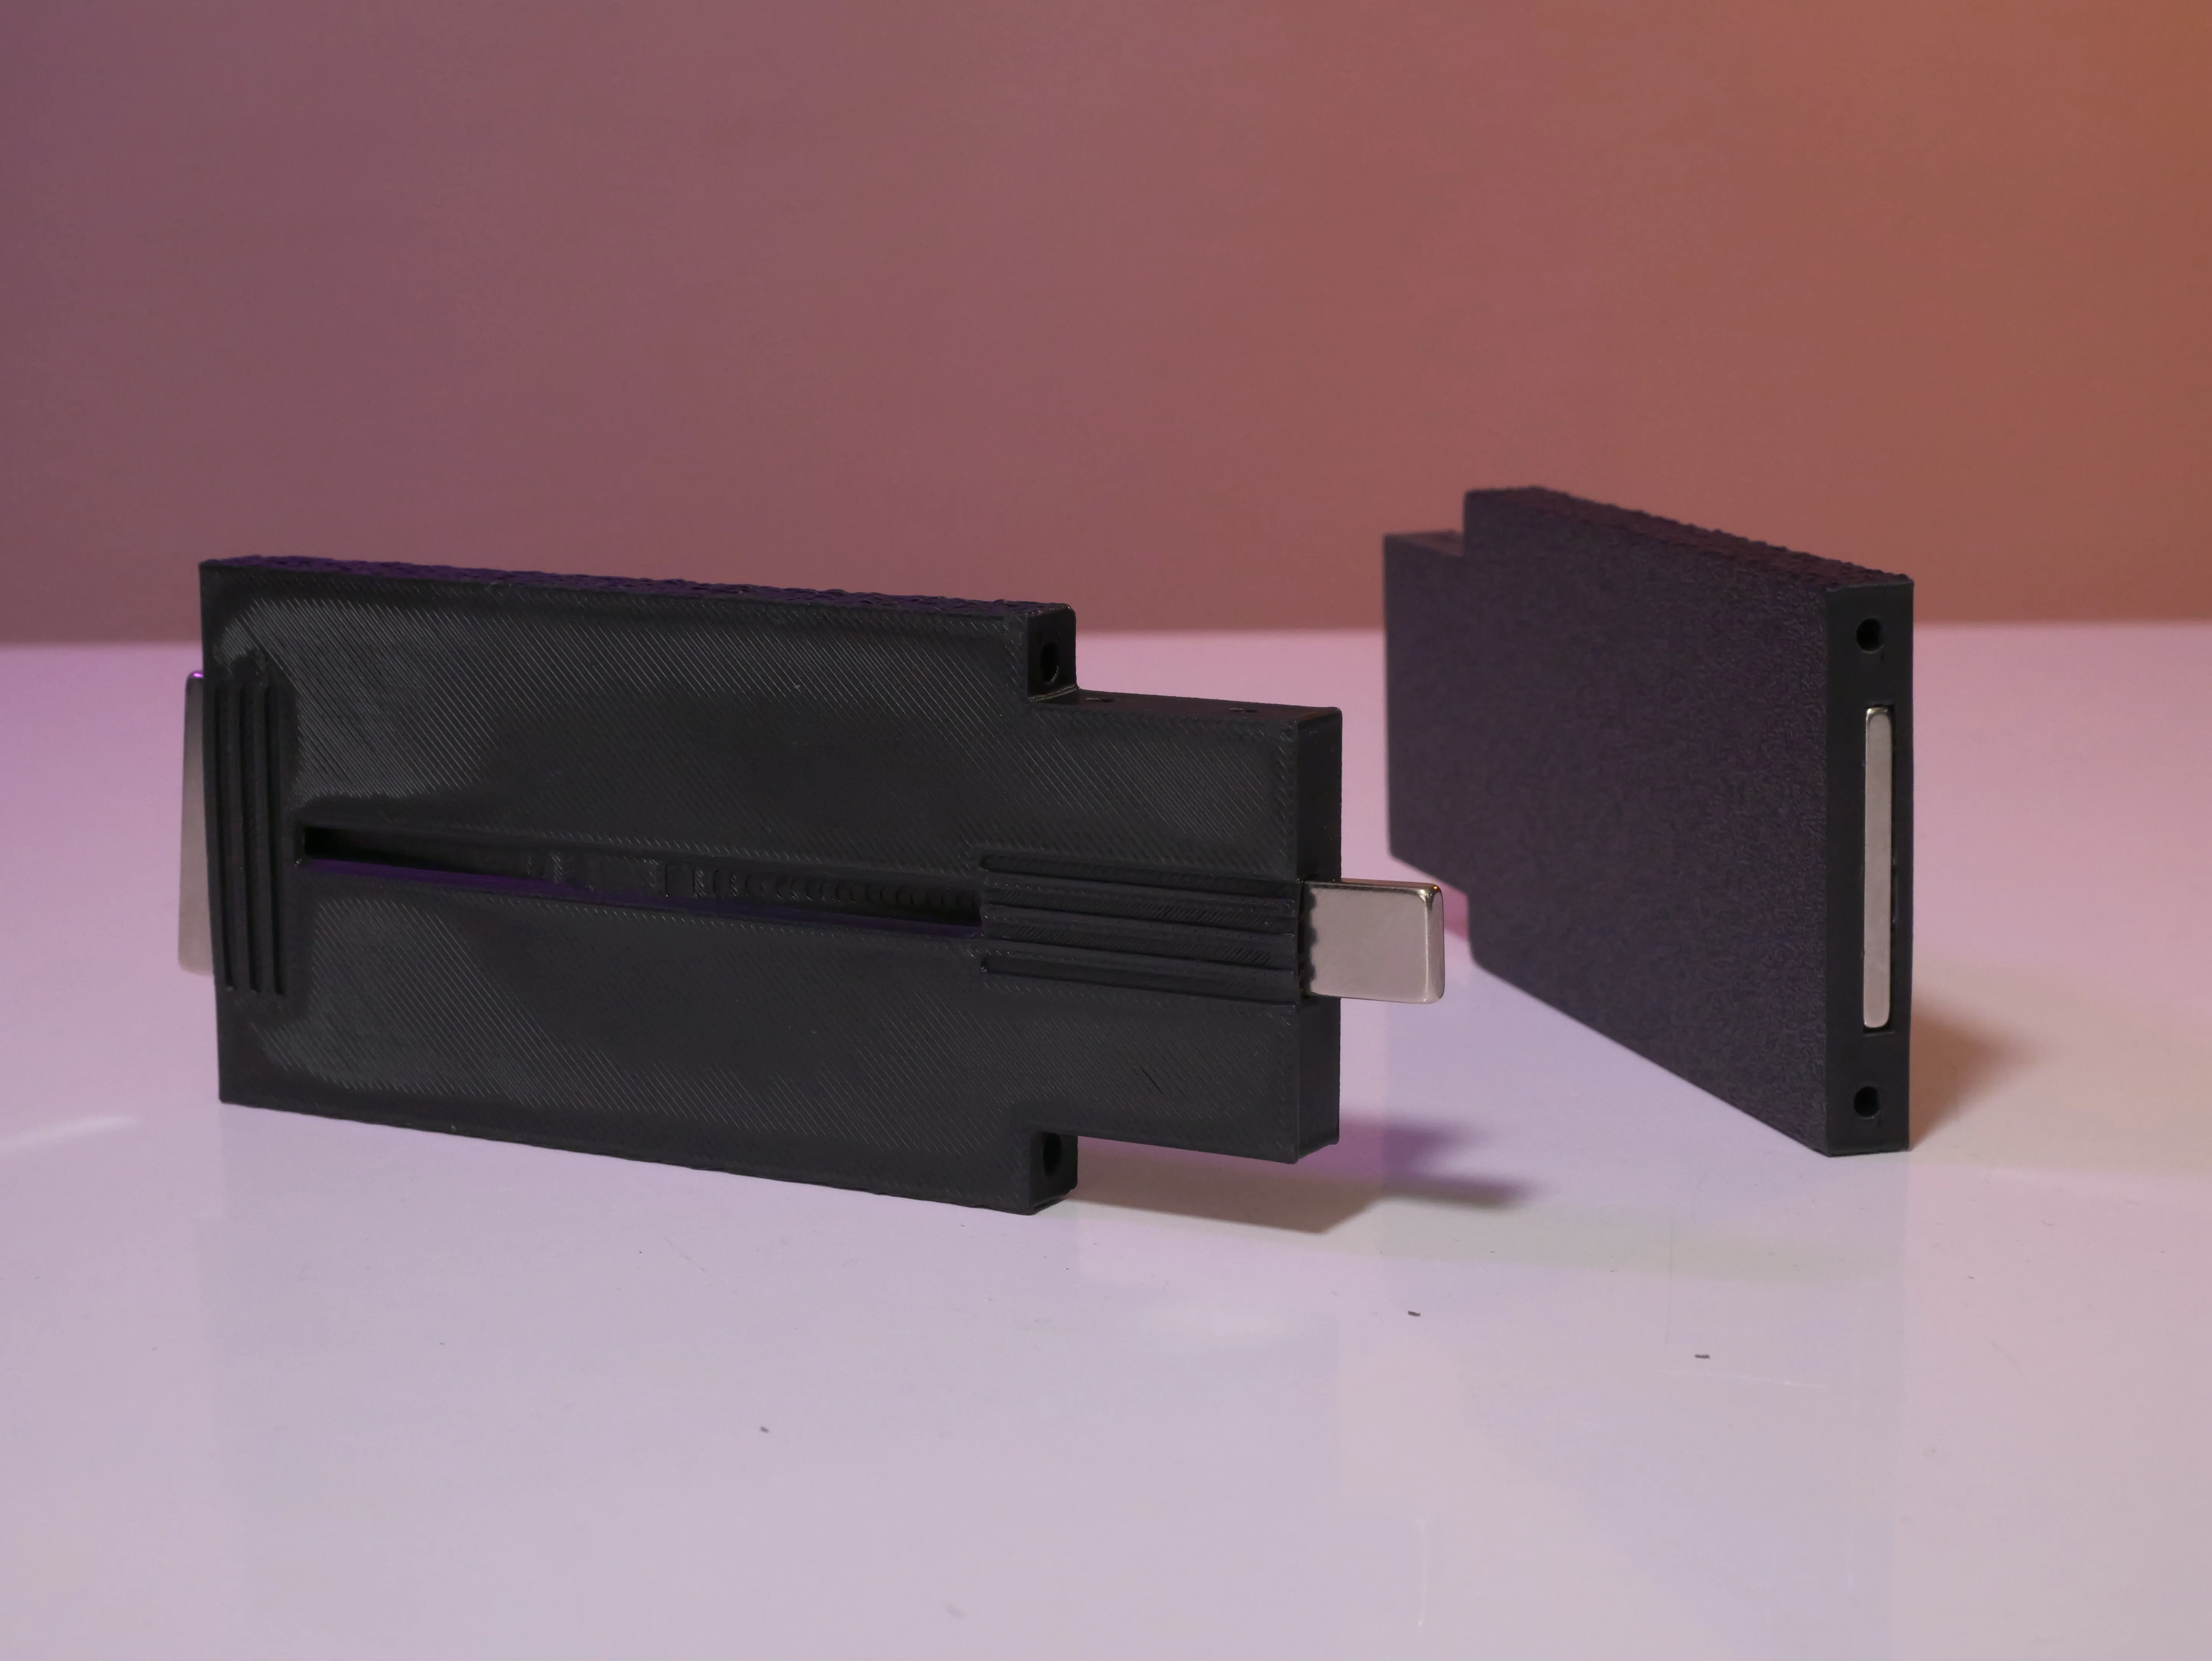
3 - Take your two central links and attach them to one of the two support plates using 4 M3x14mm screws.
4 - Take your second support plate and slide it onto the already attached central links, then secure it with 4 M3x14mm screws.
⚠️ Check the assembly direction; the textured side should face up and the smooth side down.
👇
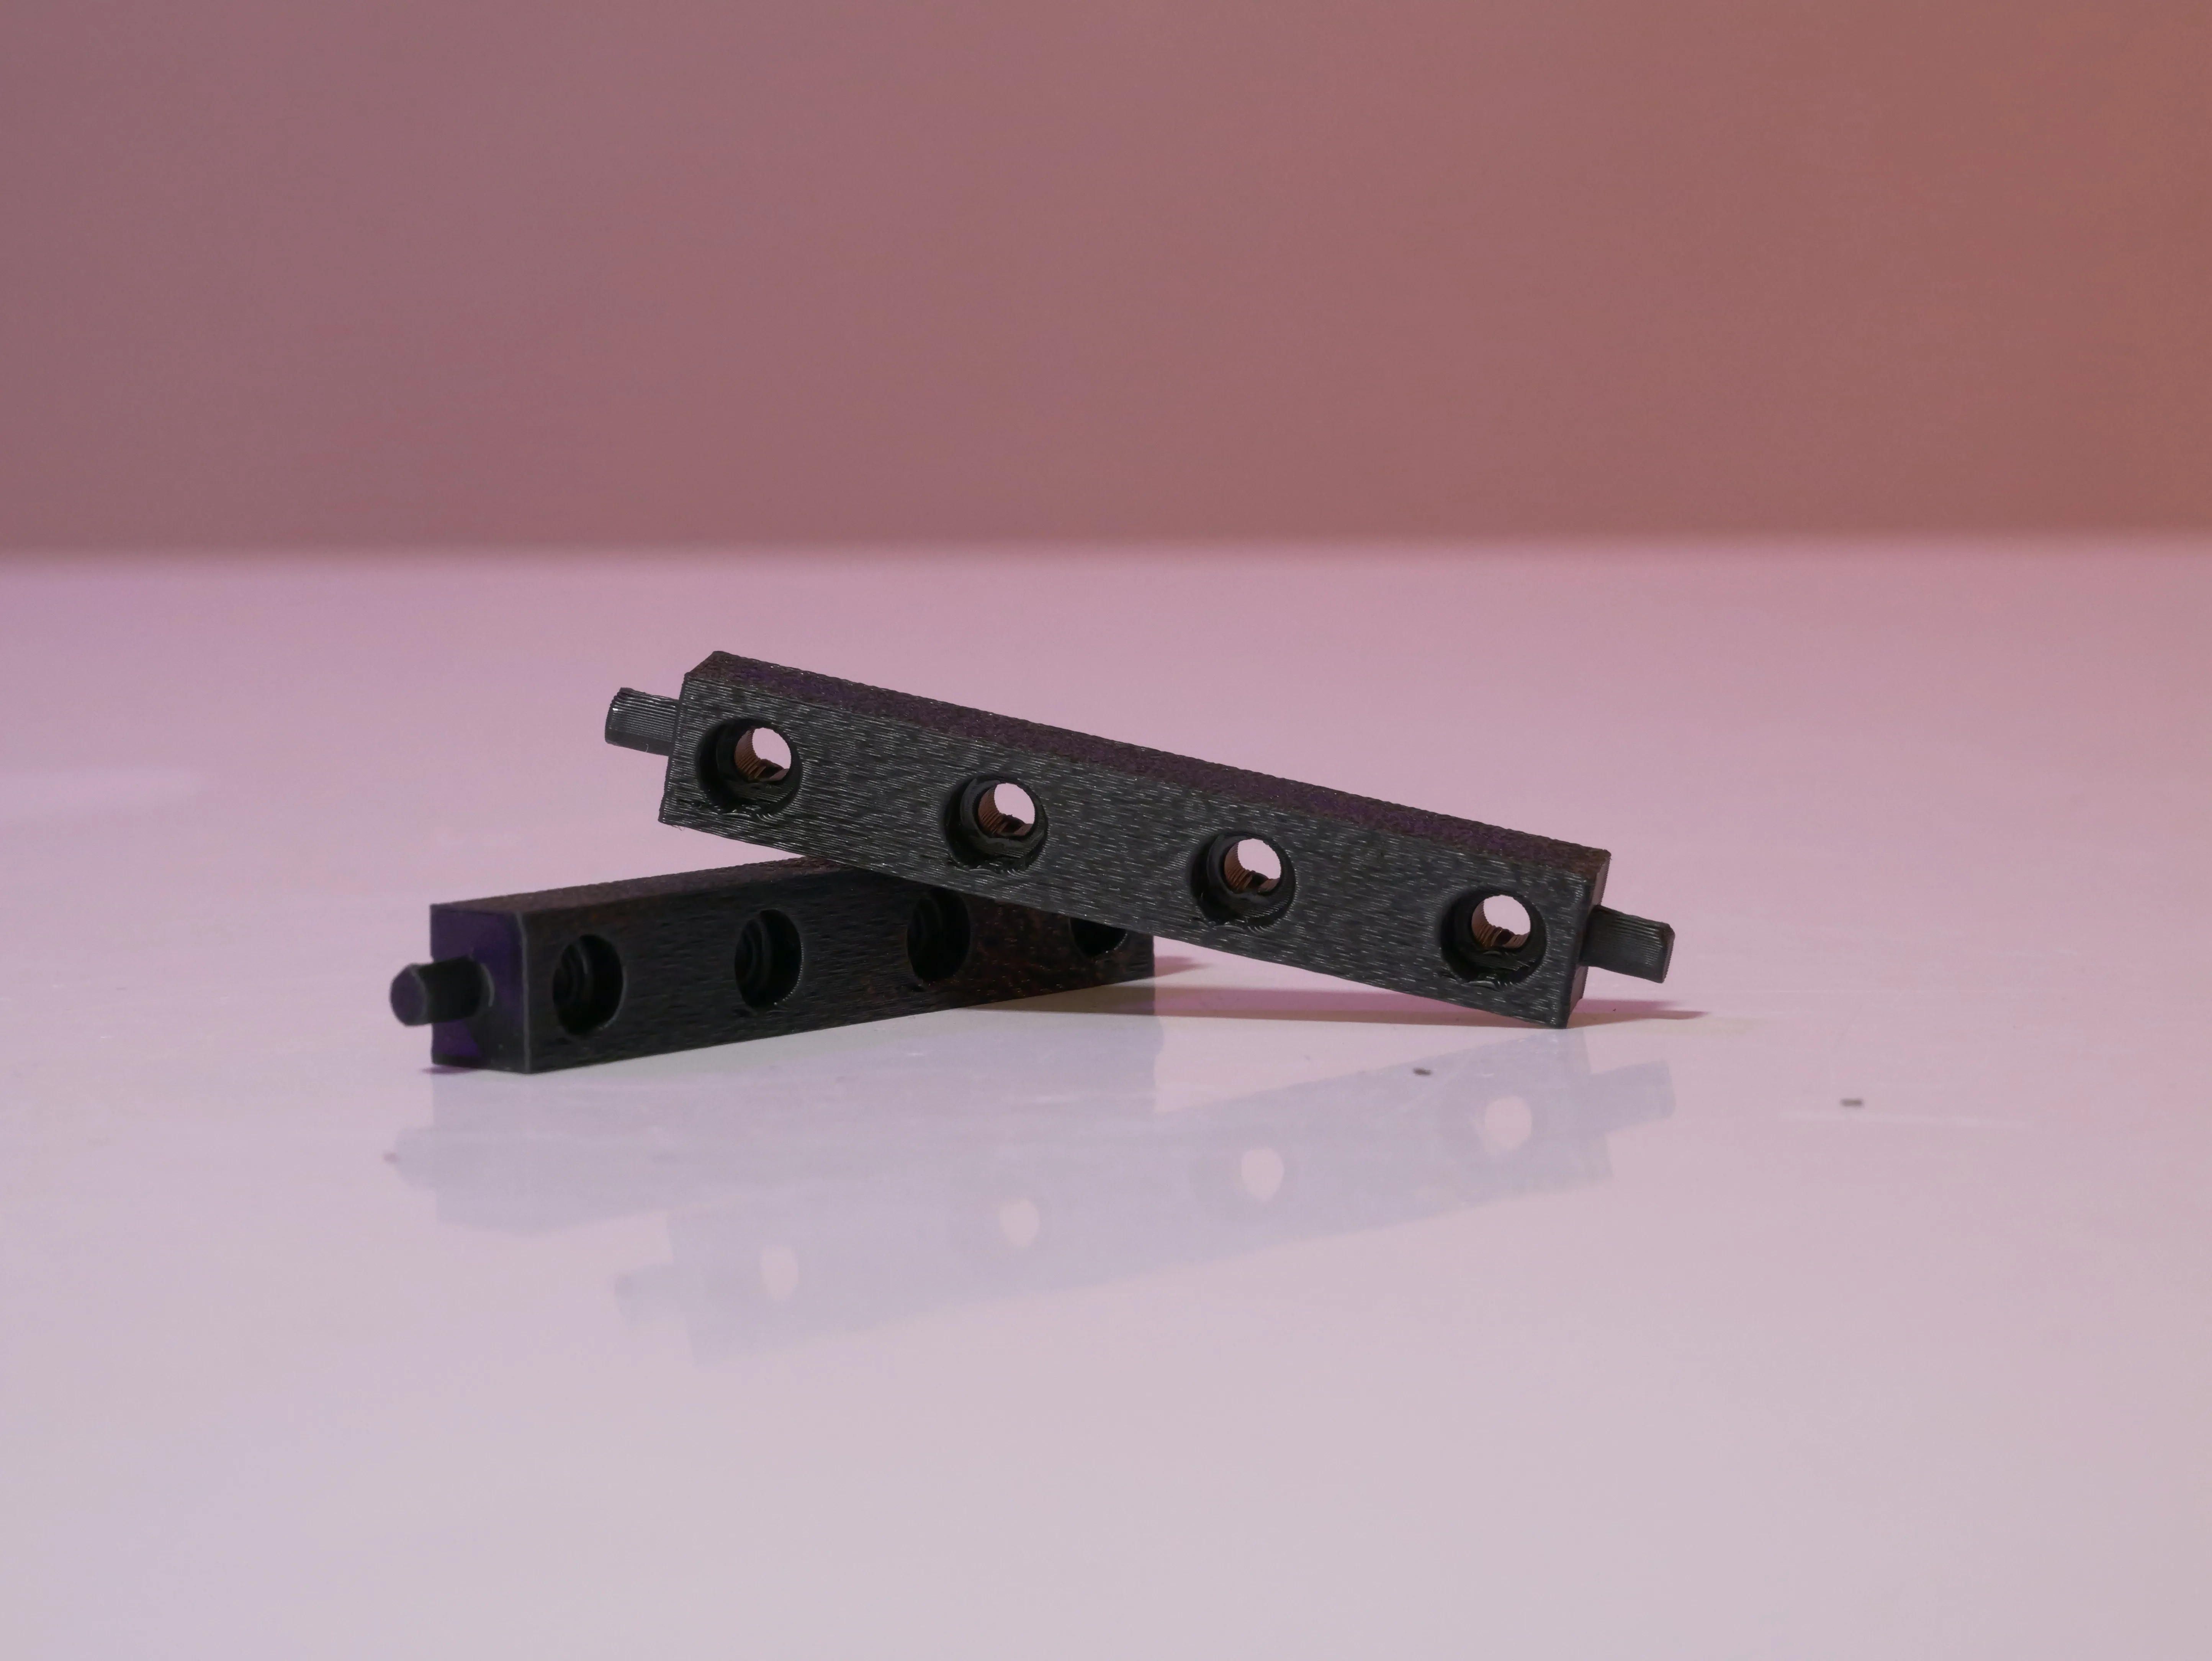
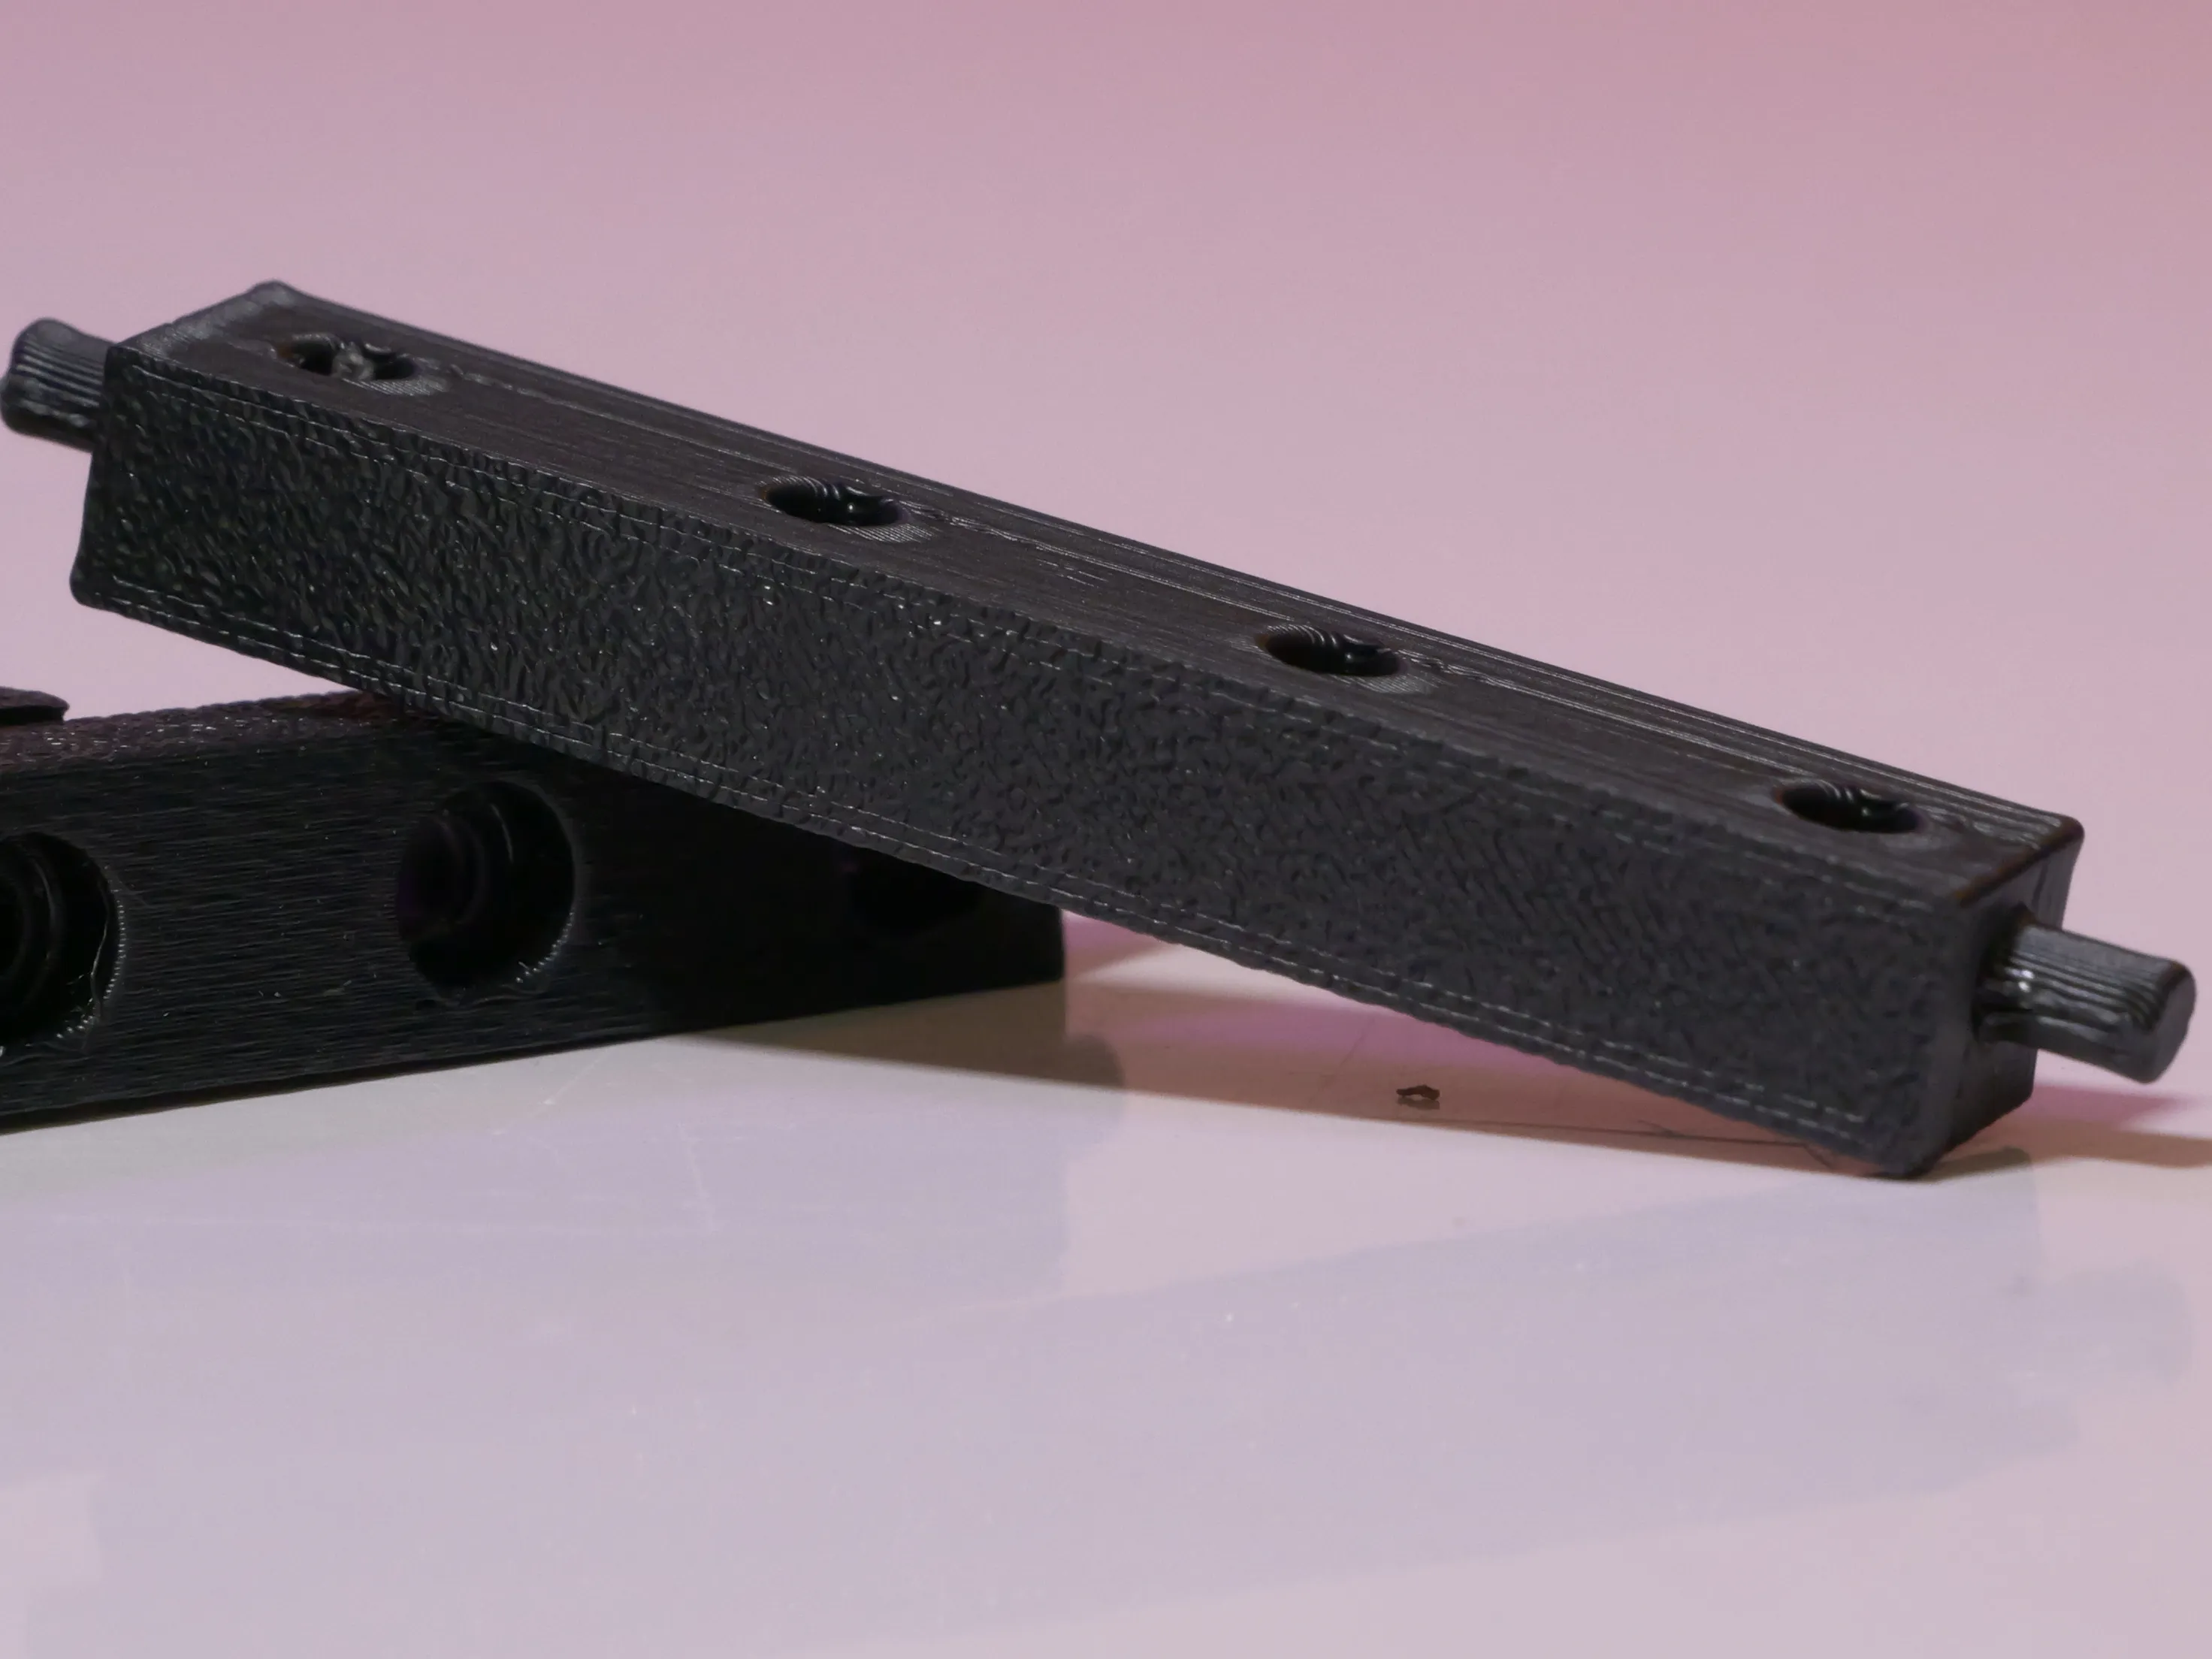
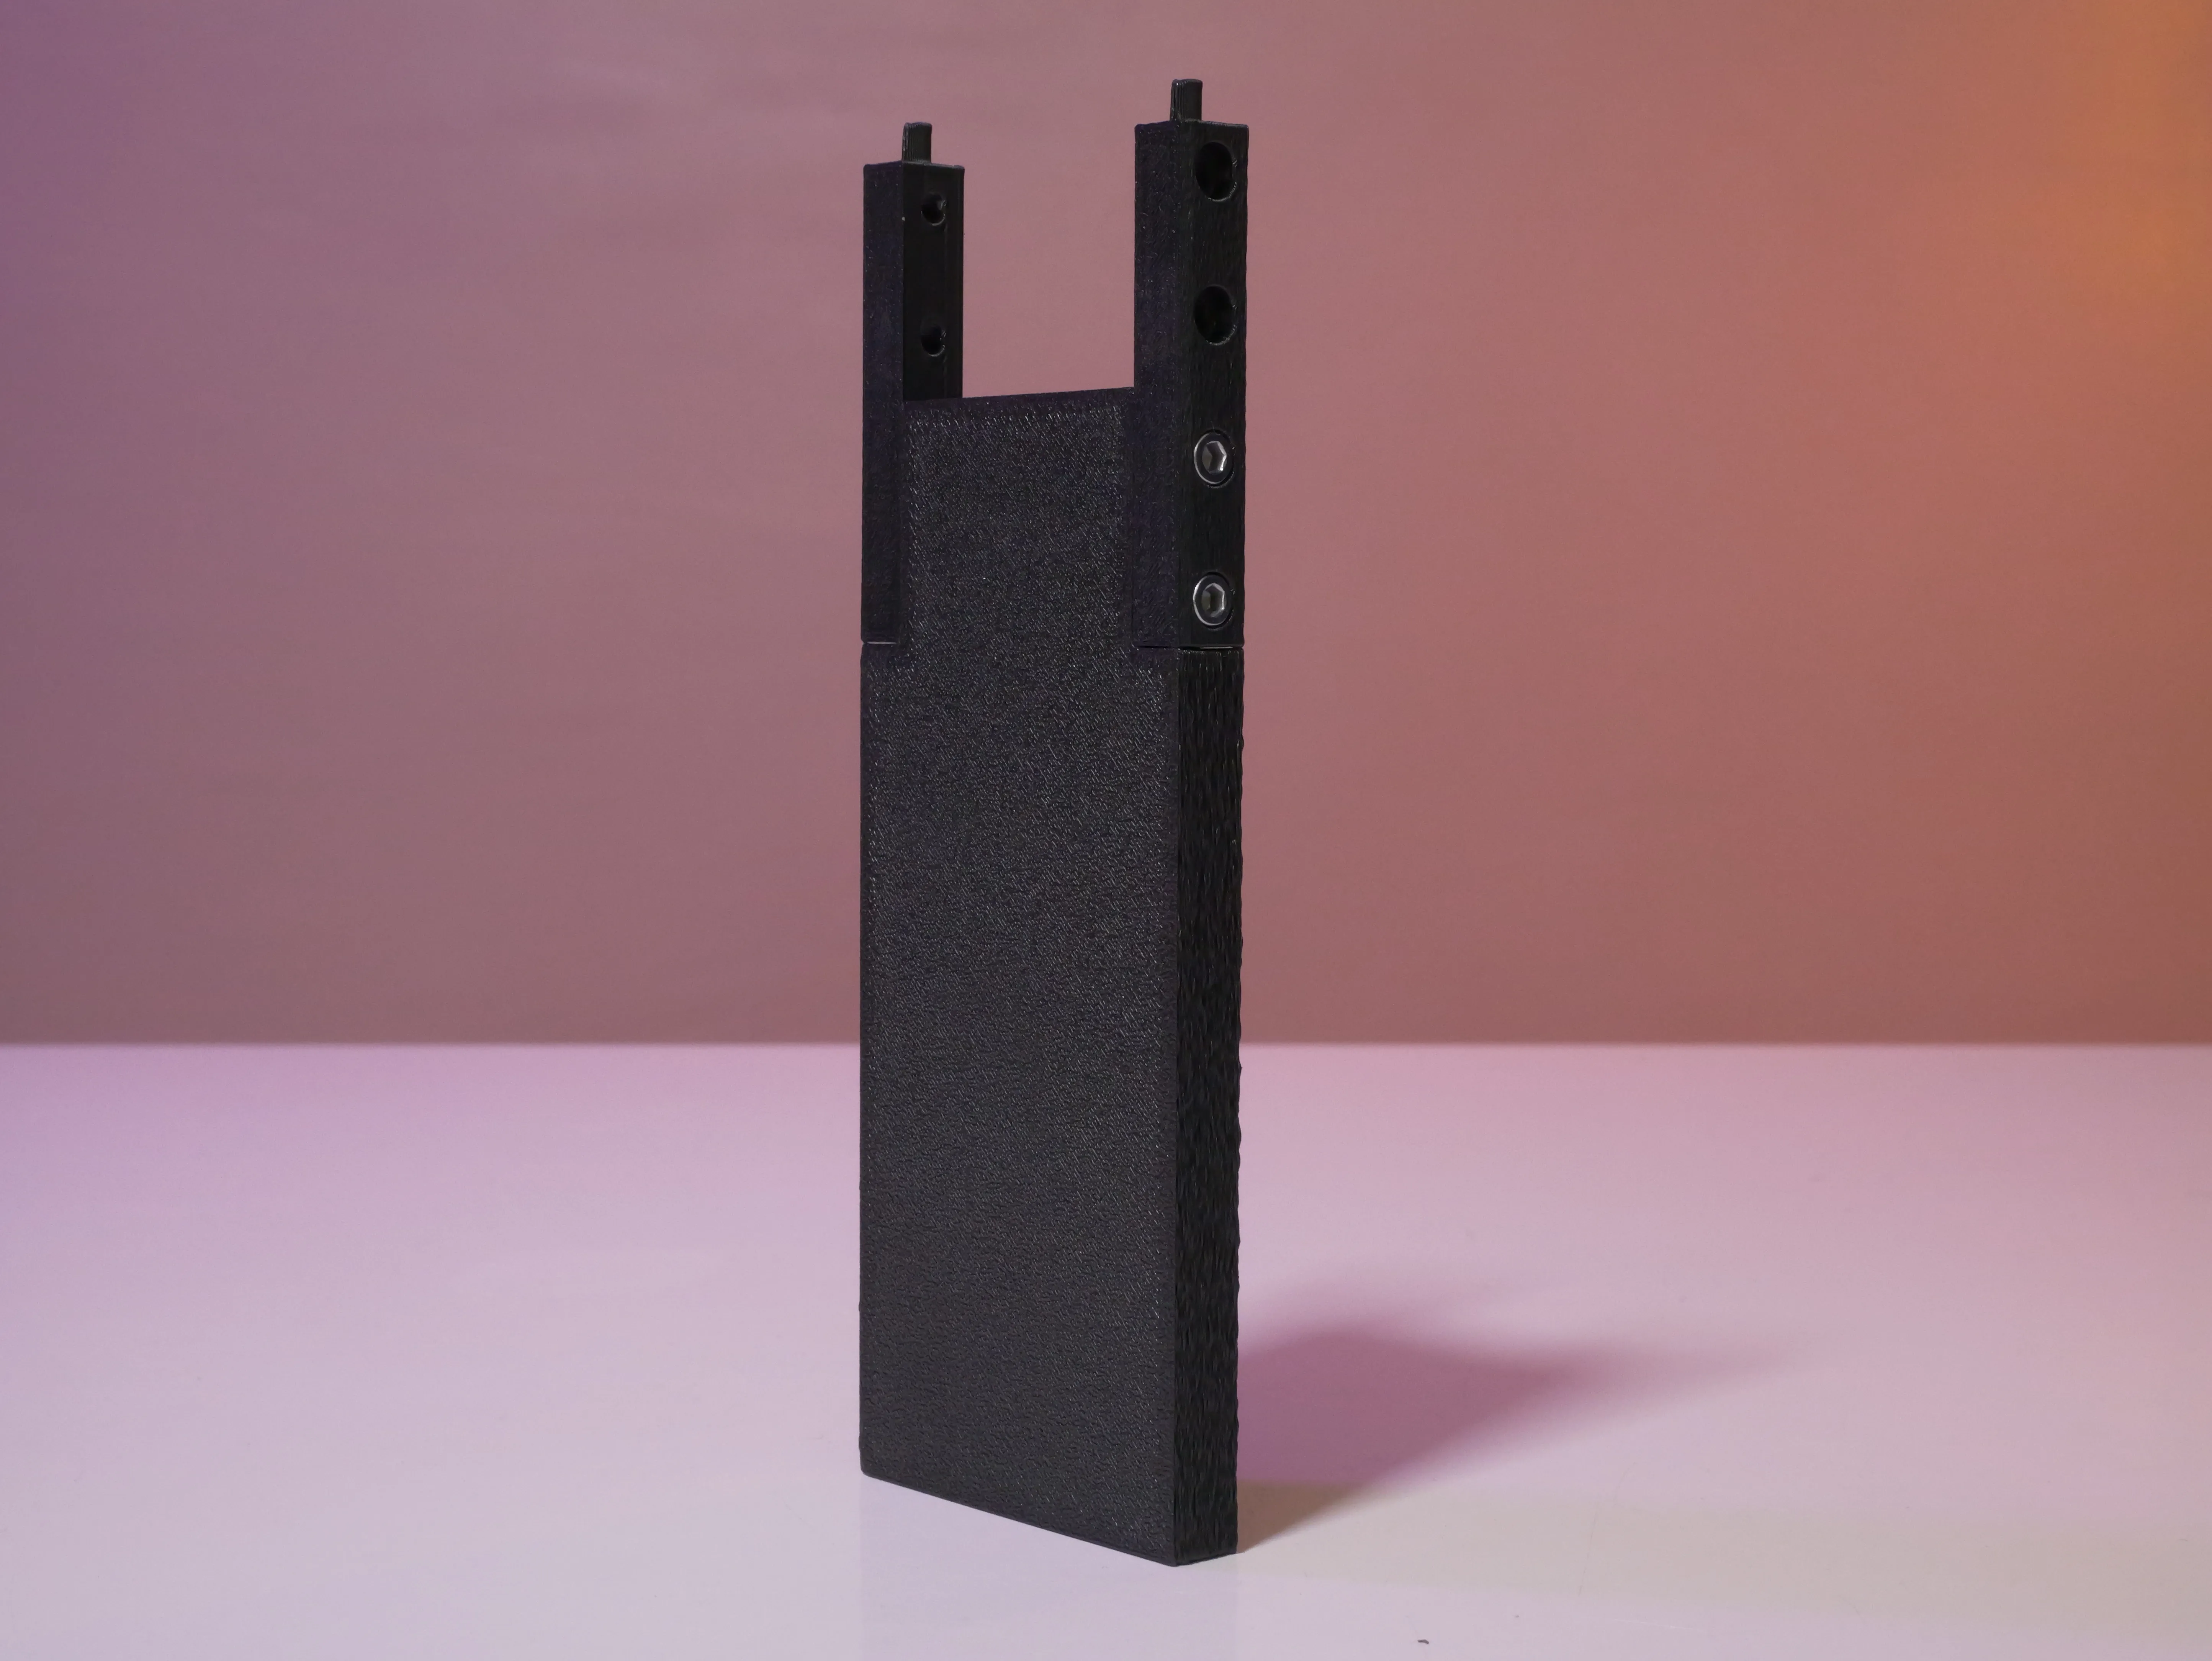
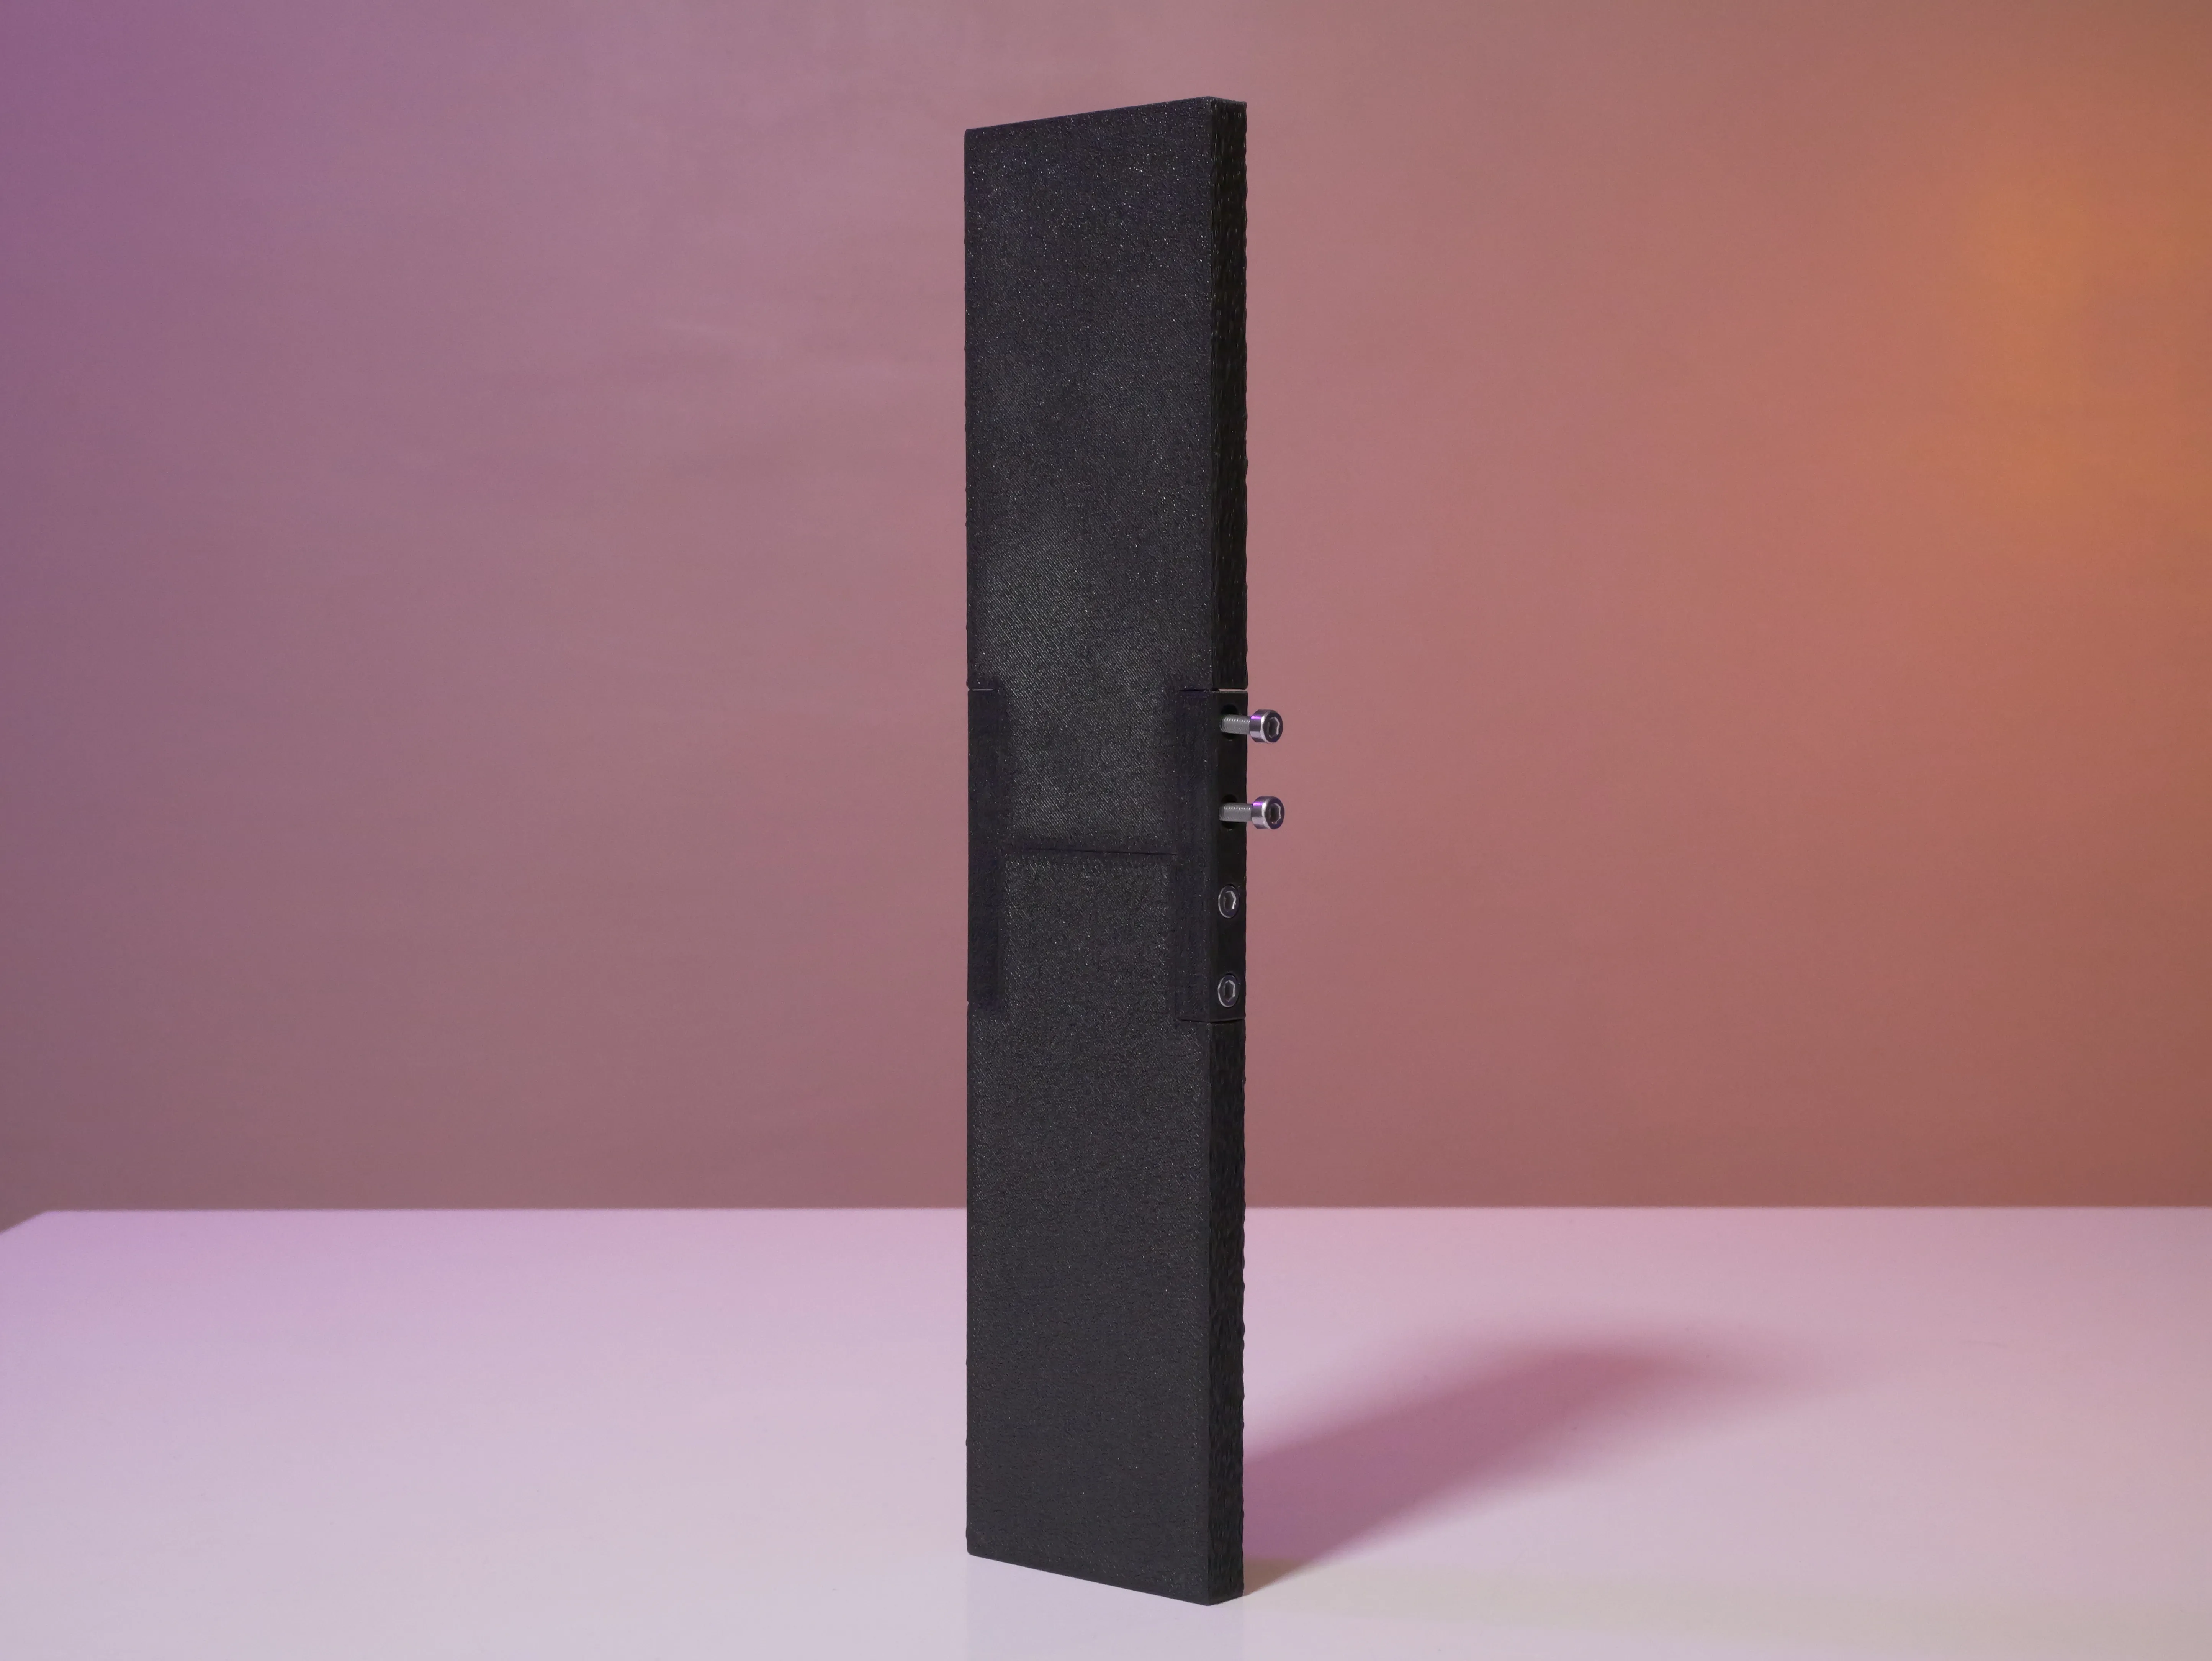
5 - Take your two support turrets and attach them to the support plates using 4 M3x14mm screws.
👇
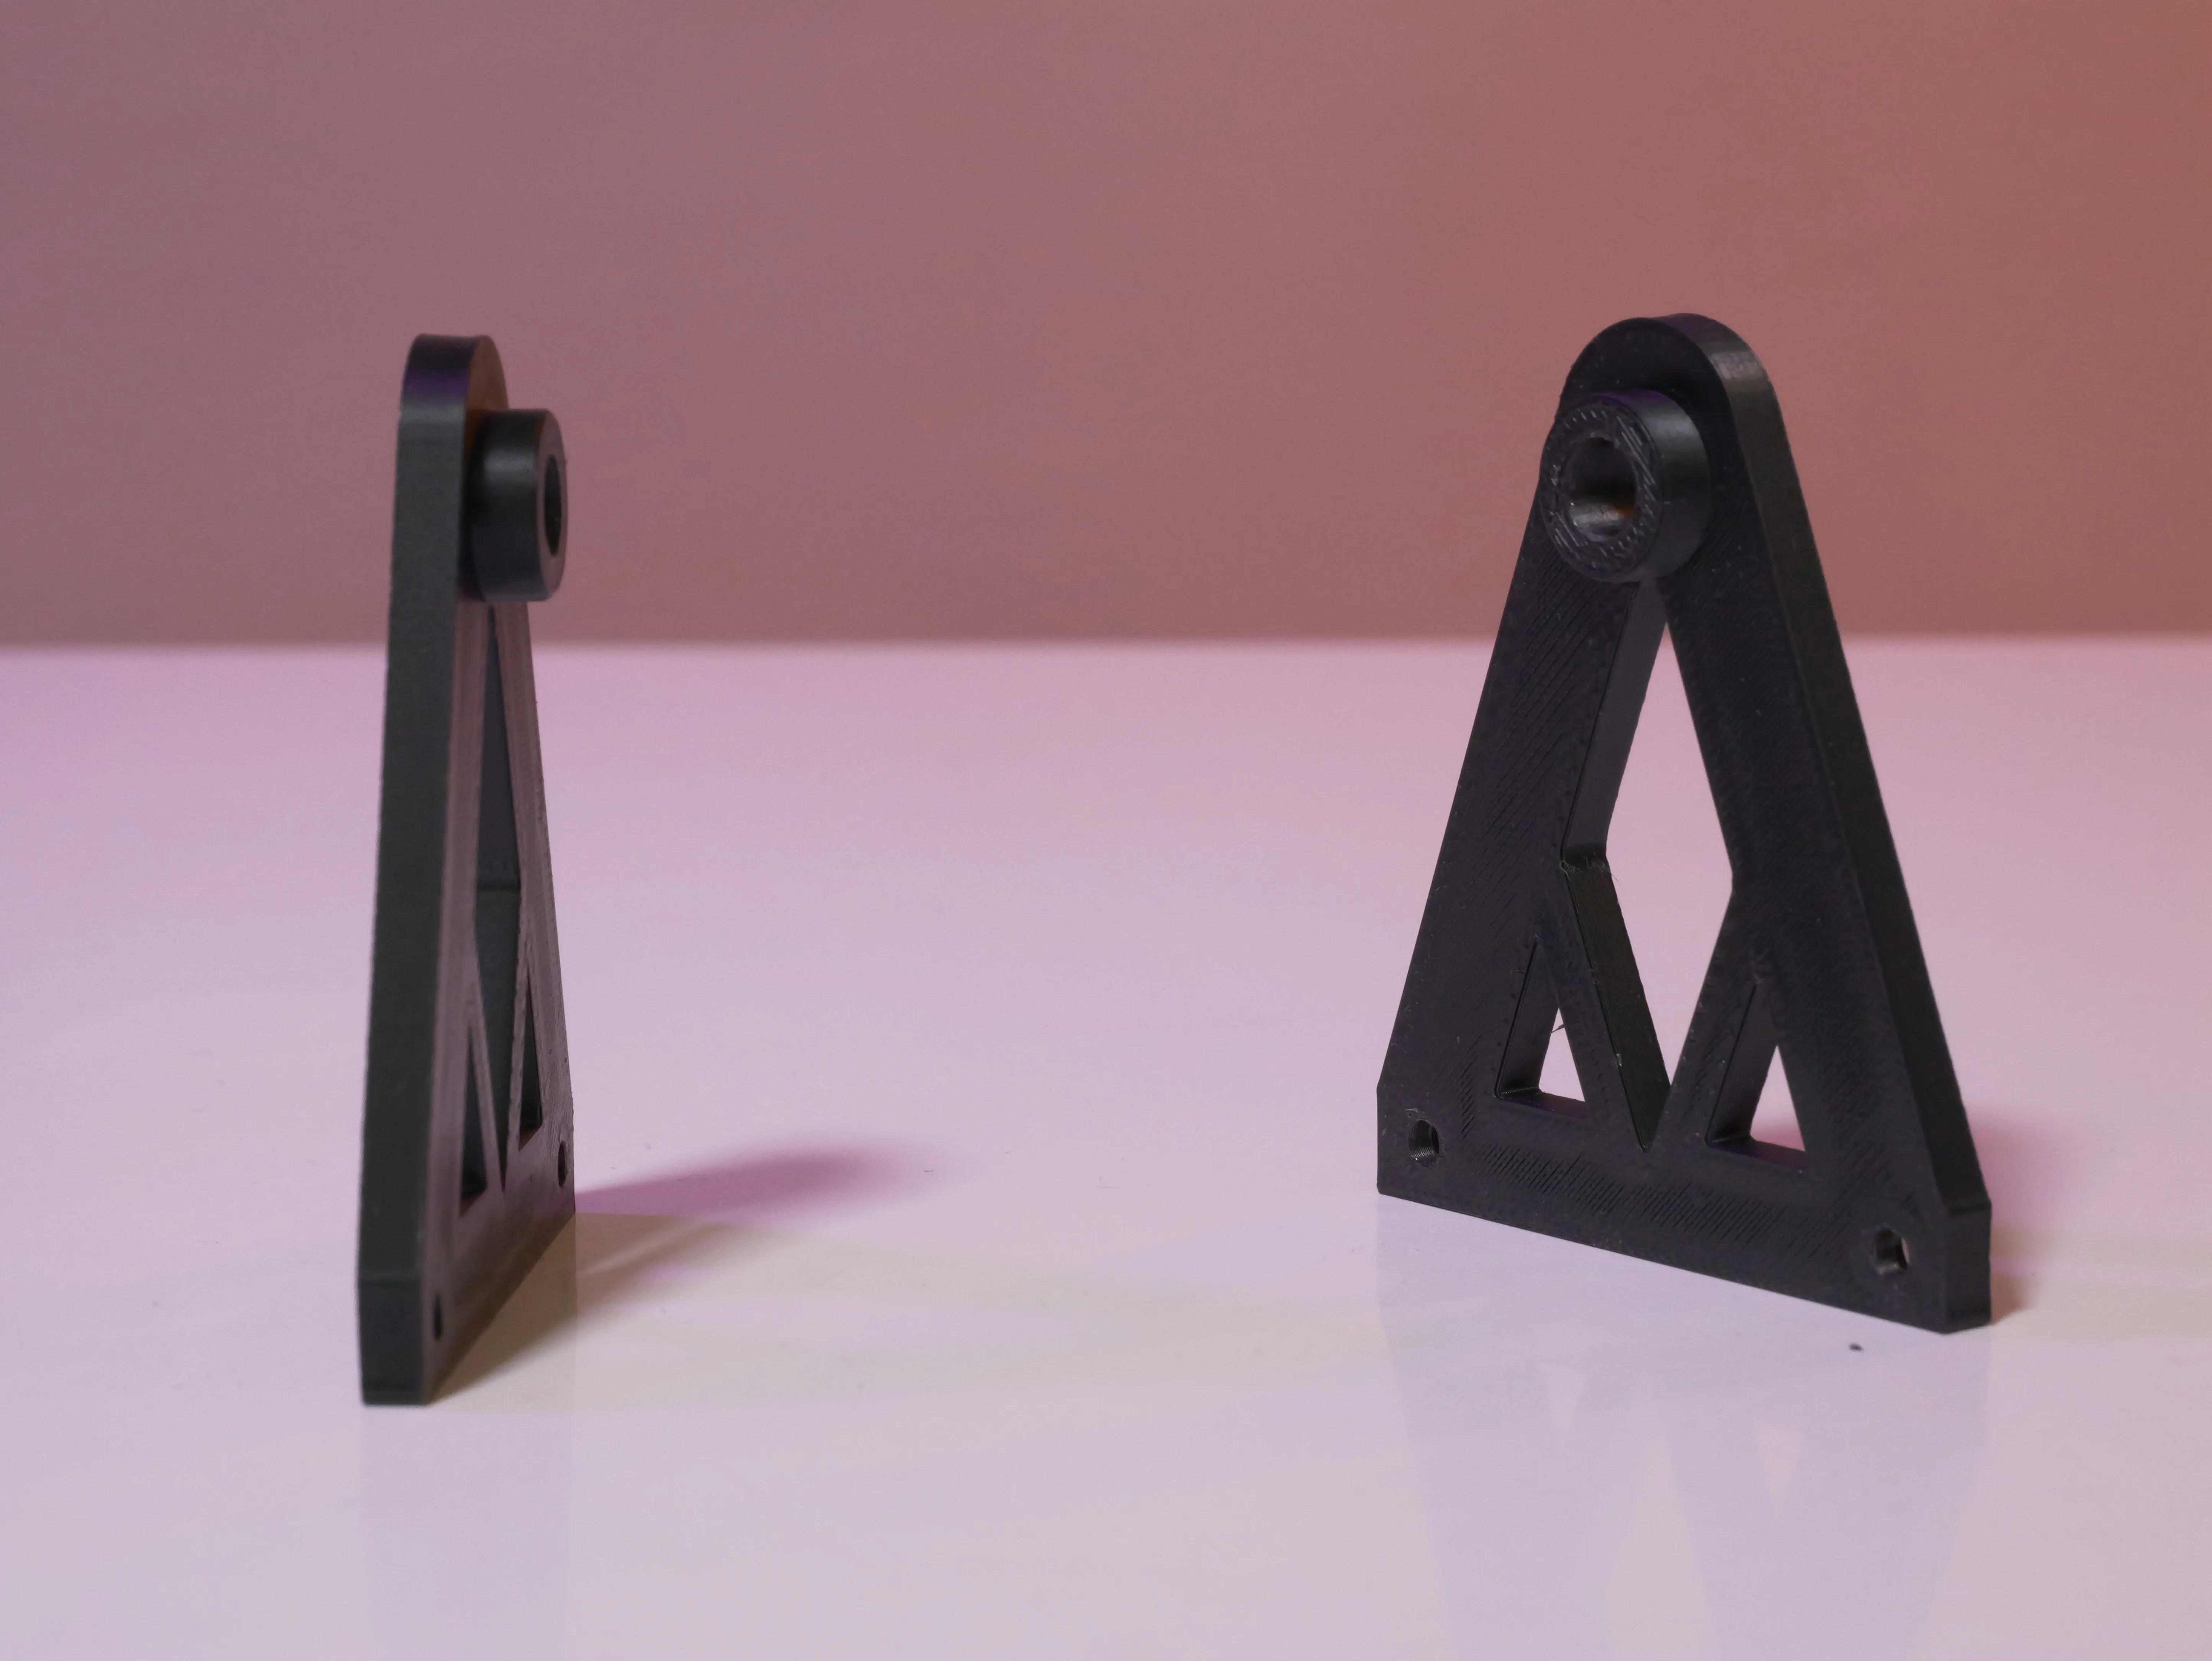
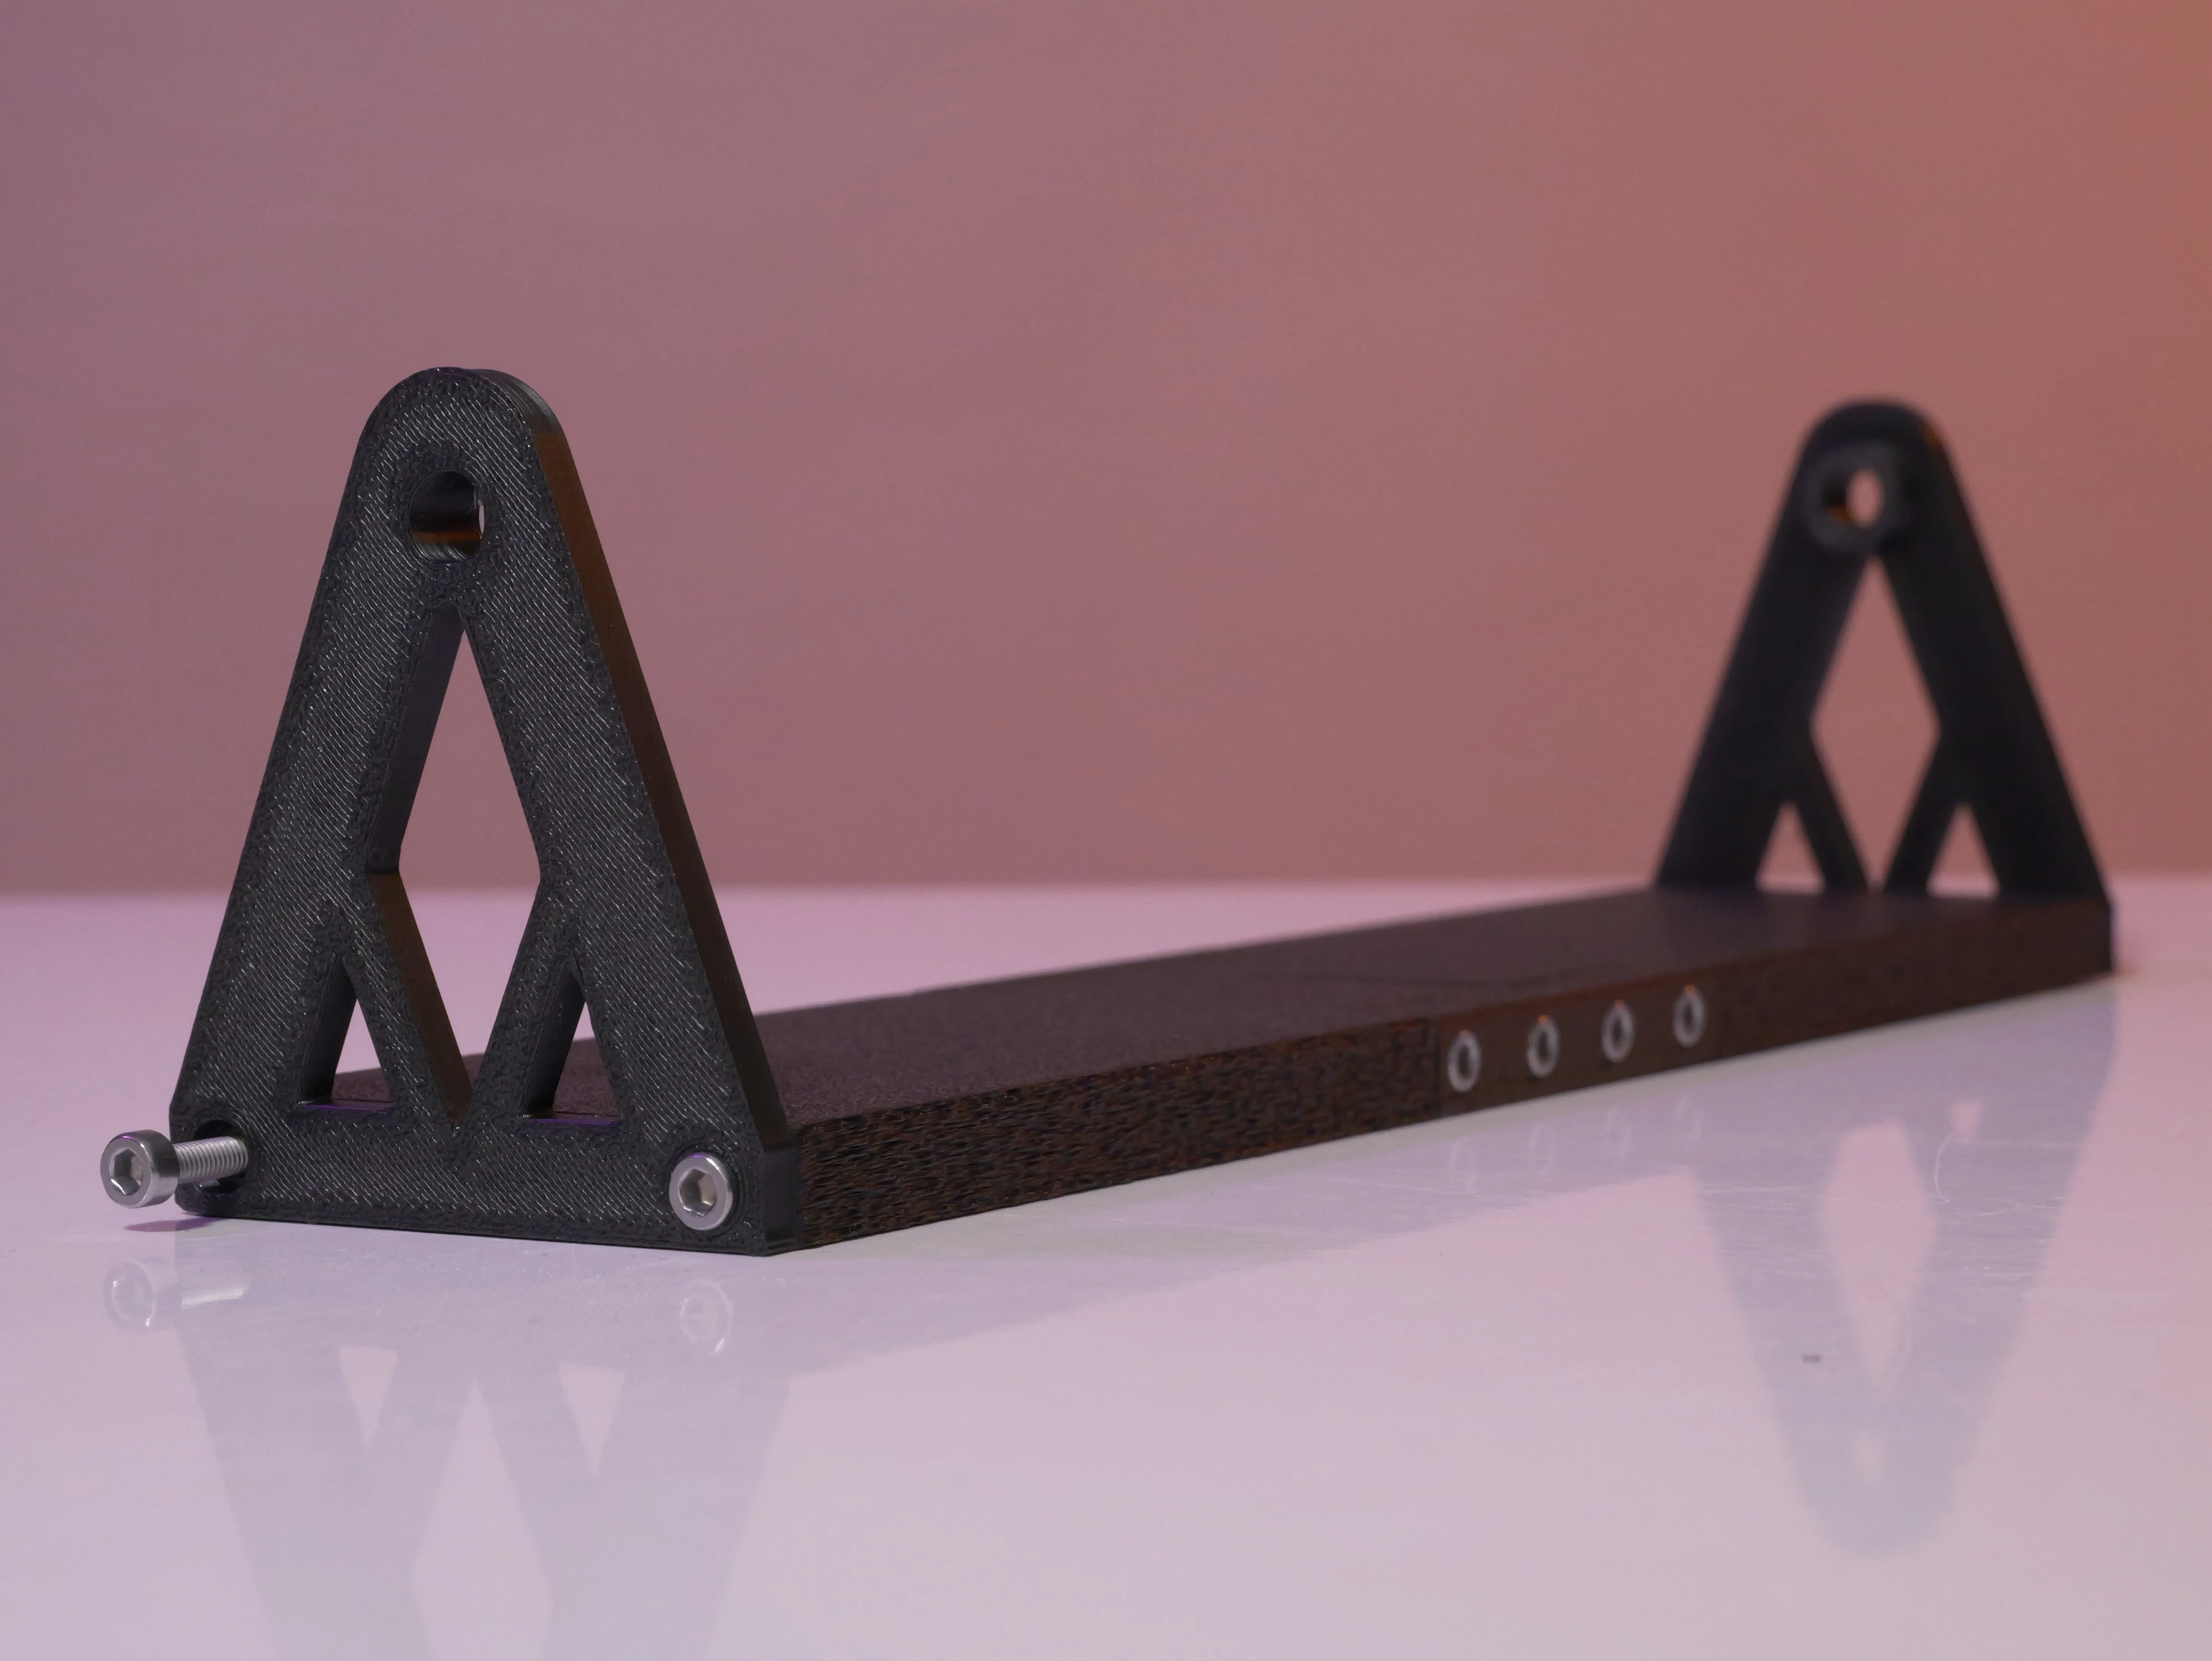
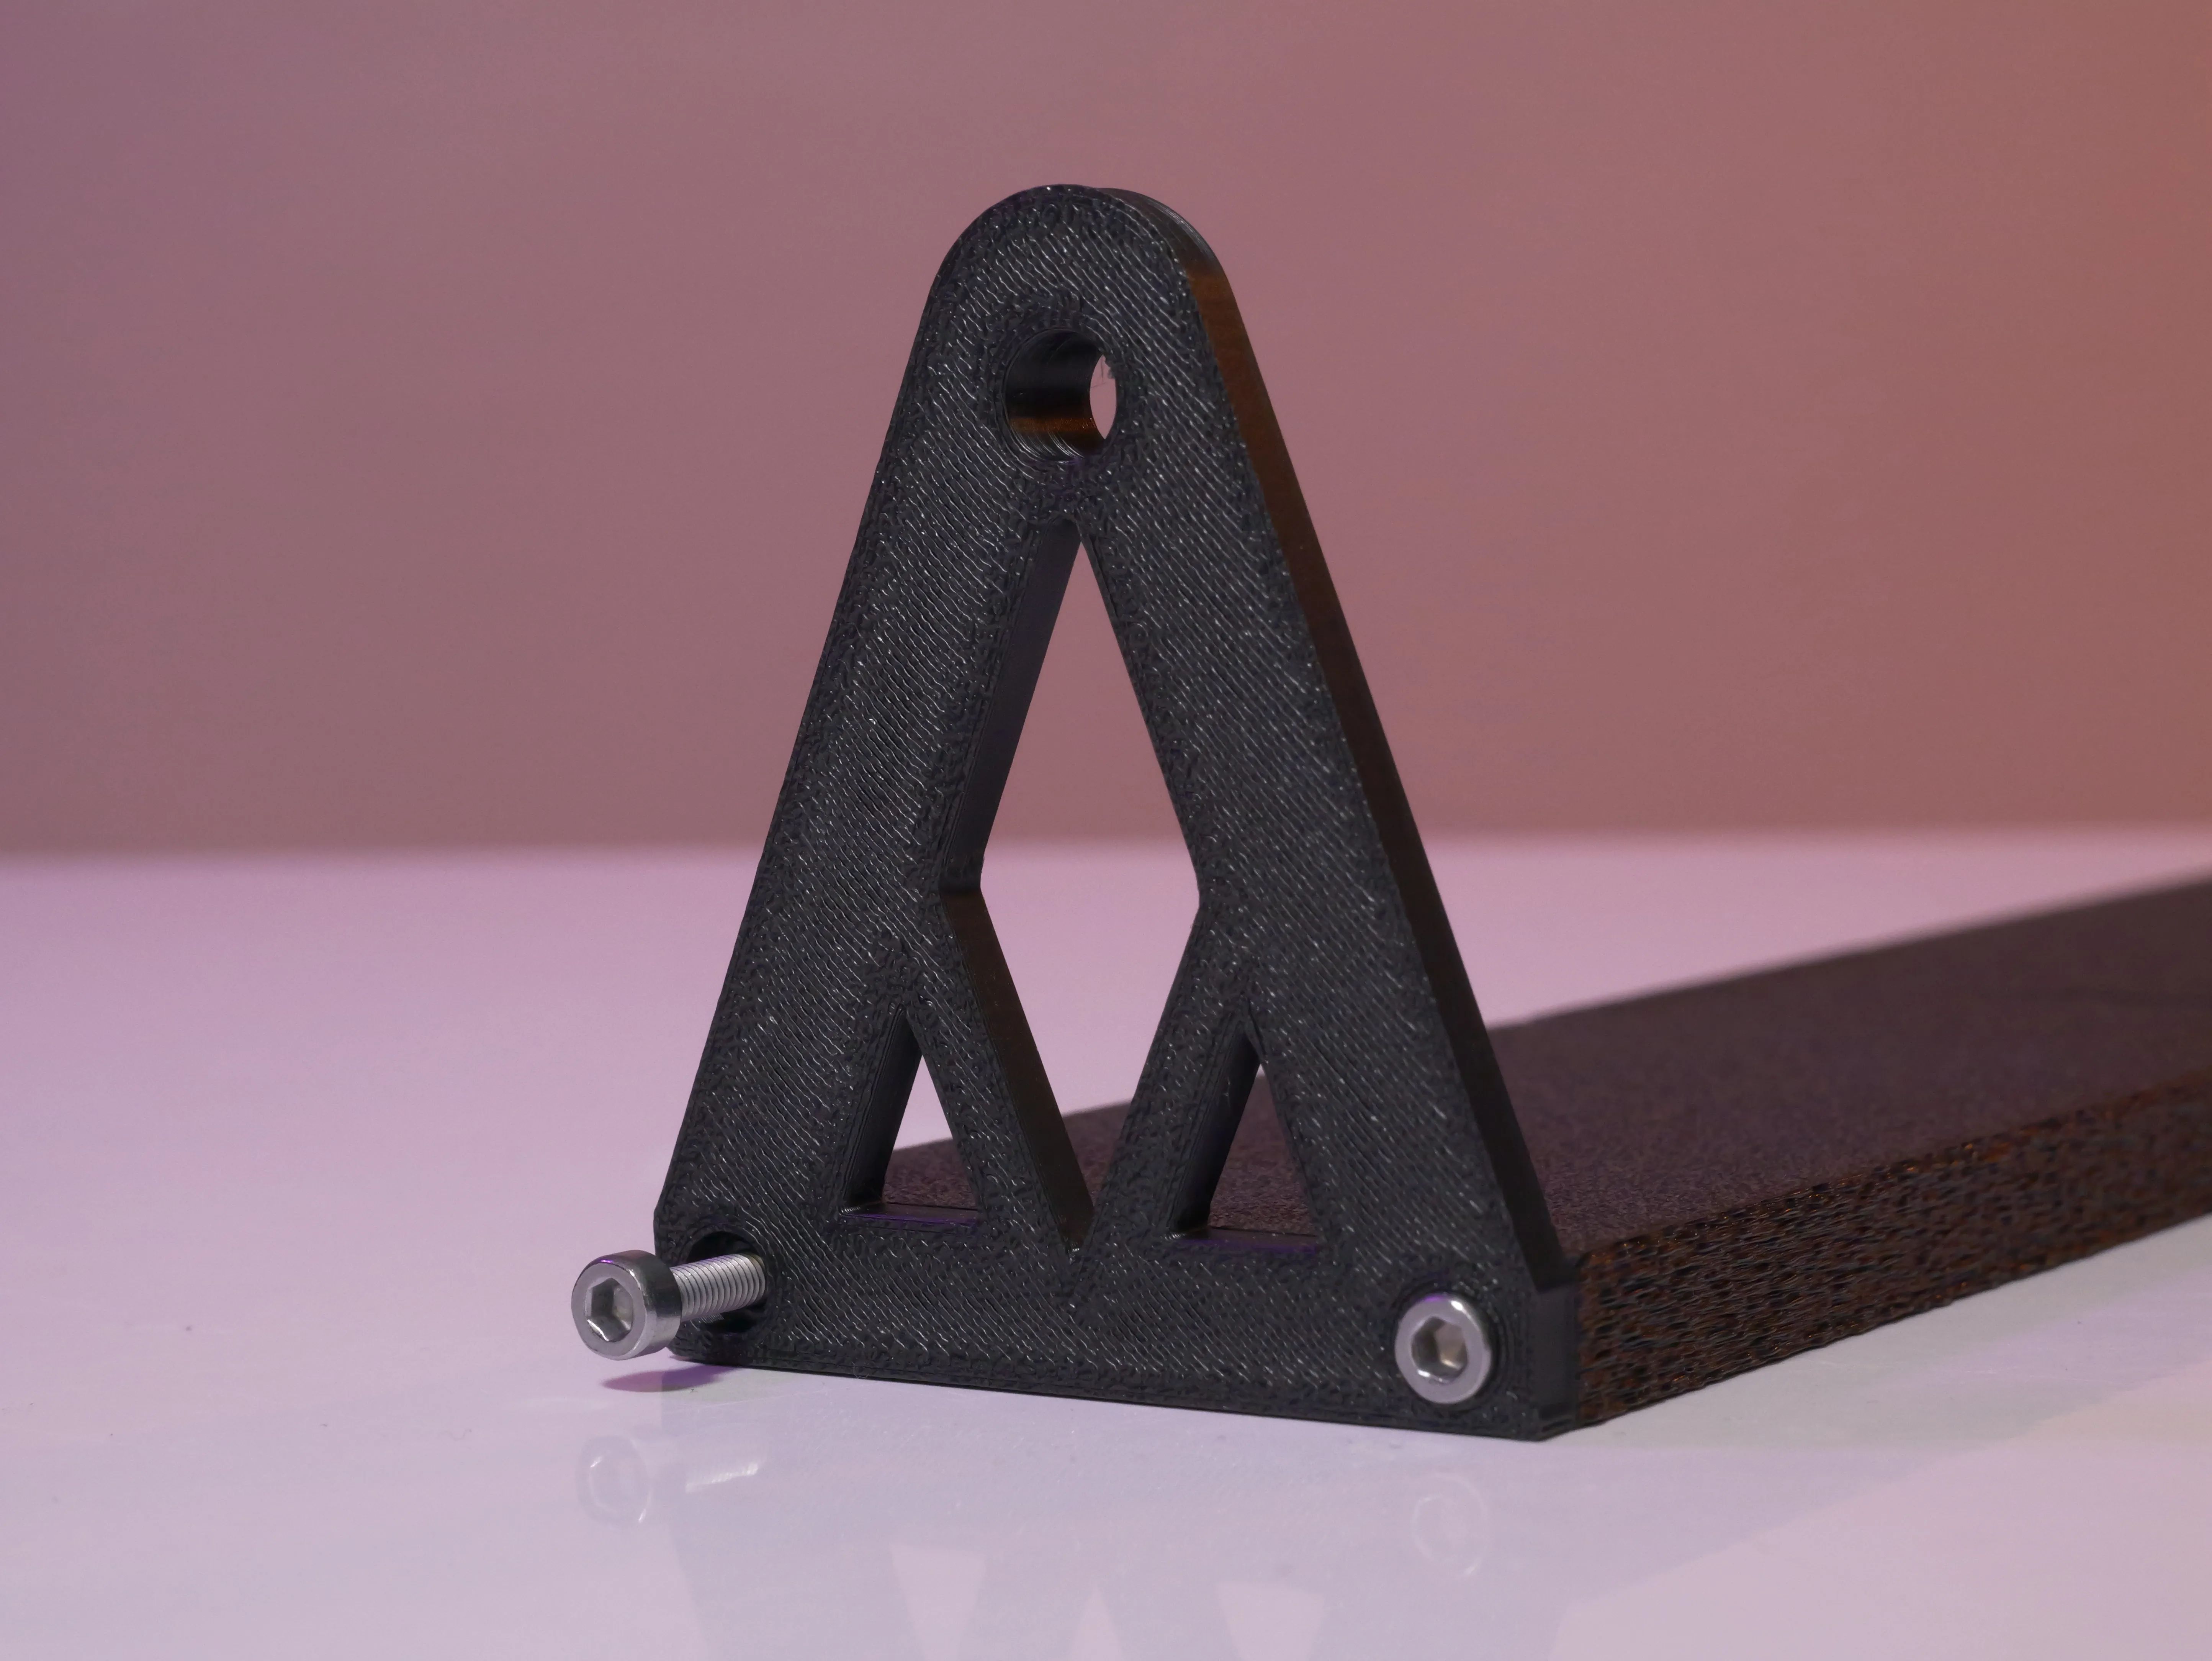
7 - Take your Neewer TL21C light stick, insert it, and secure it with 2 1/4 inch aluminum alloy screws.
👇
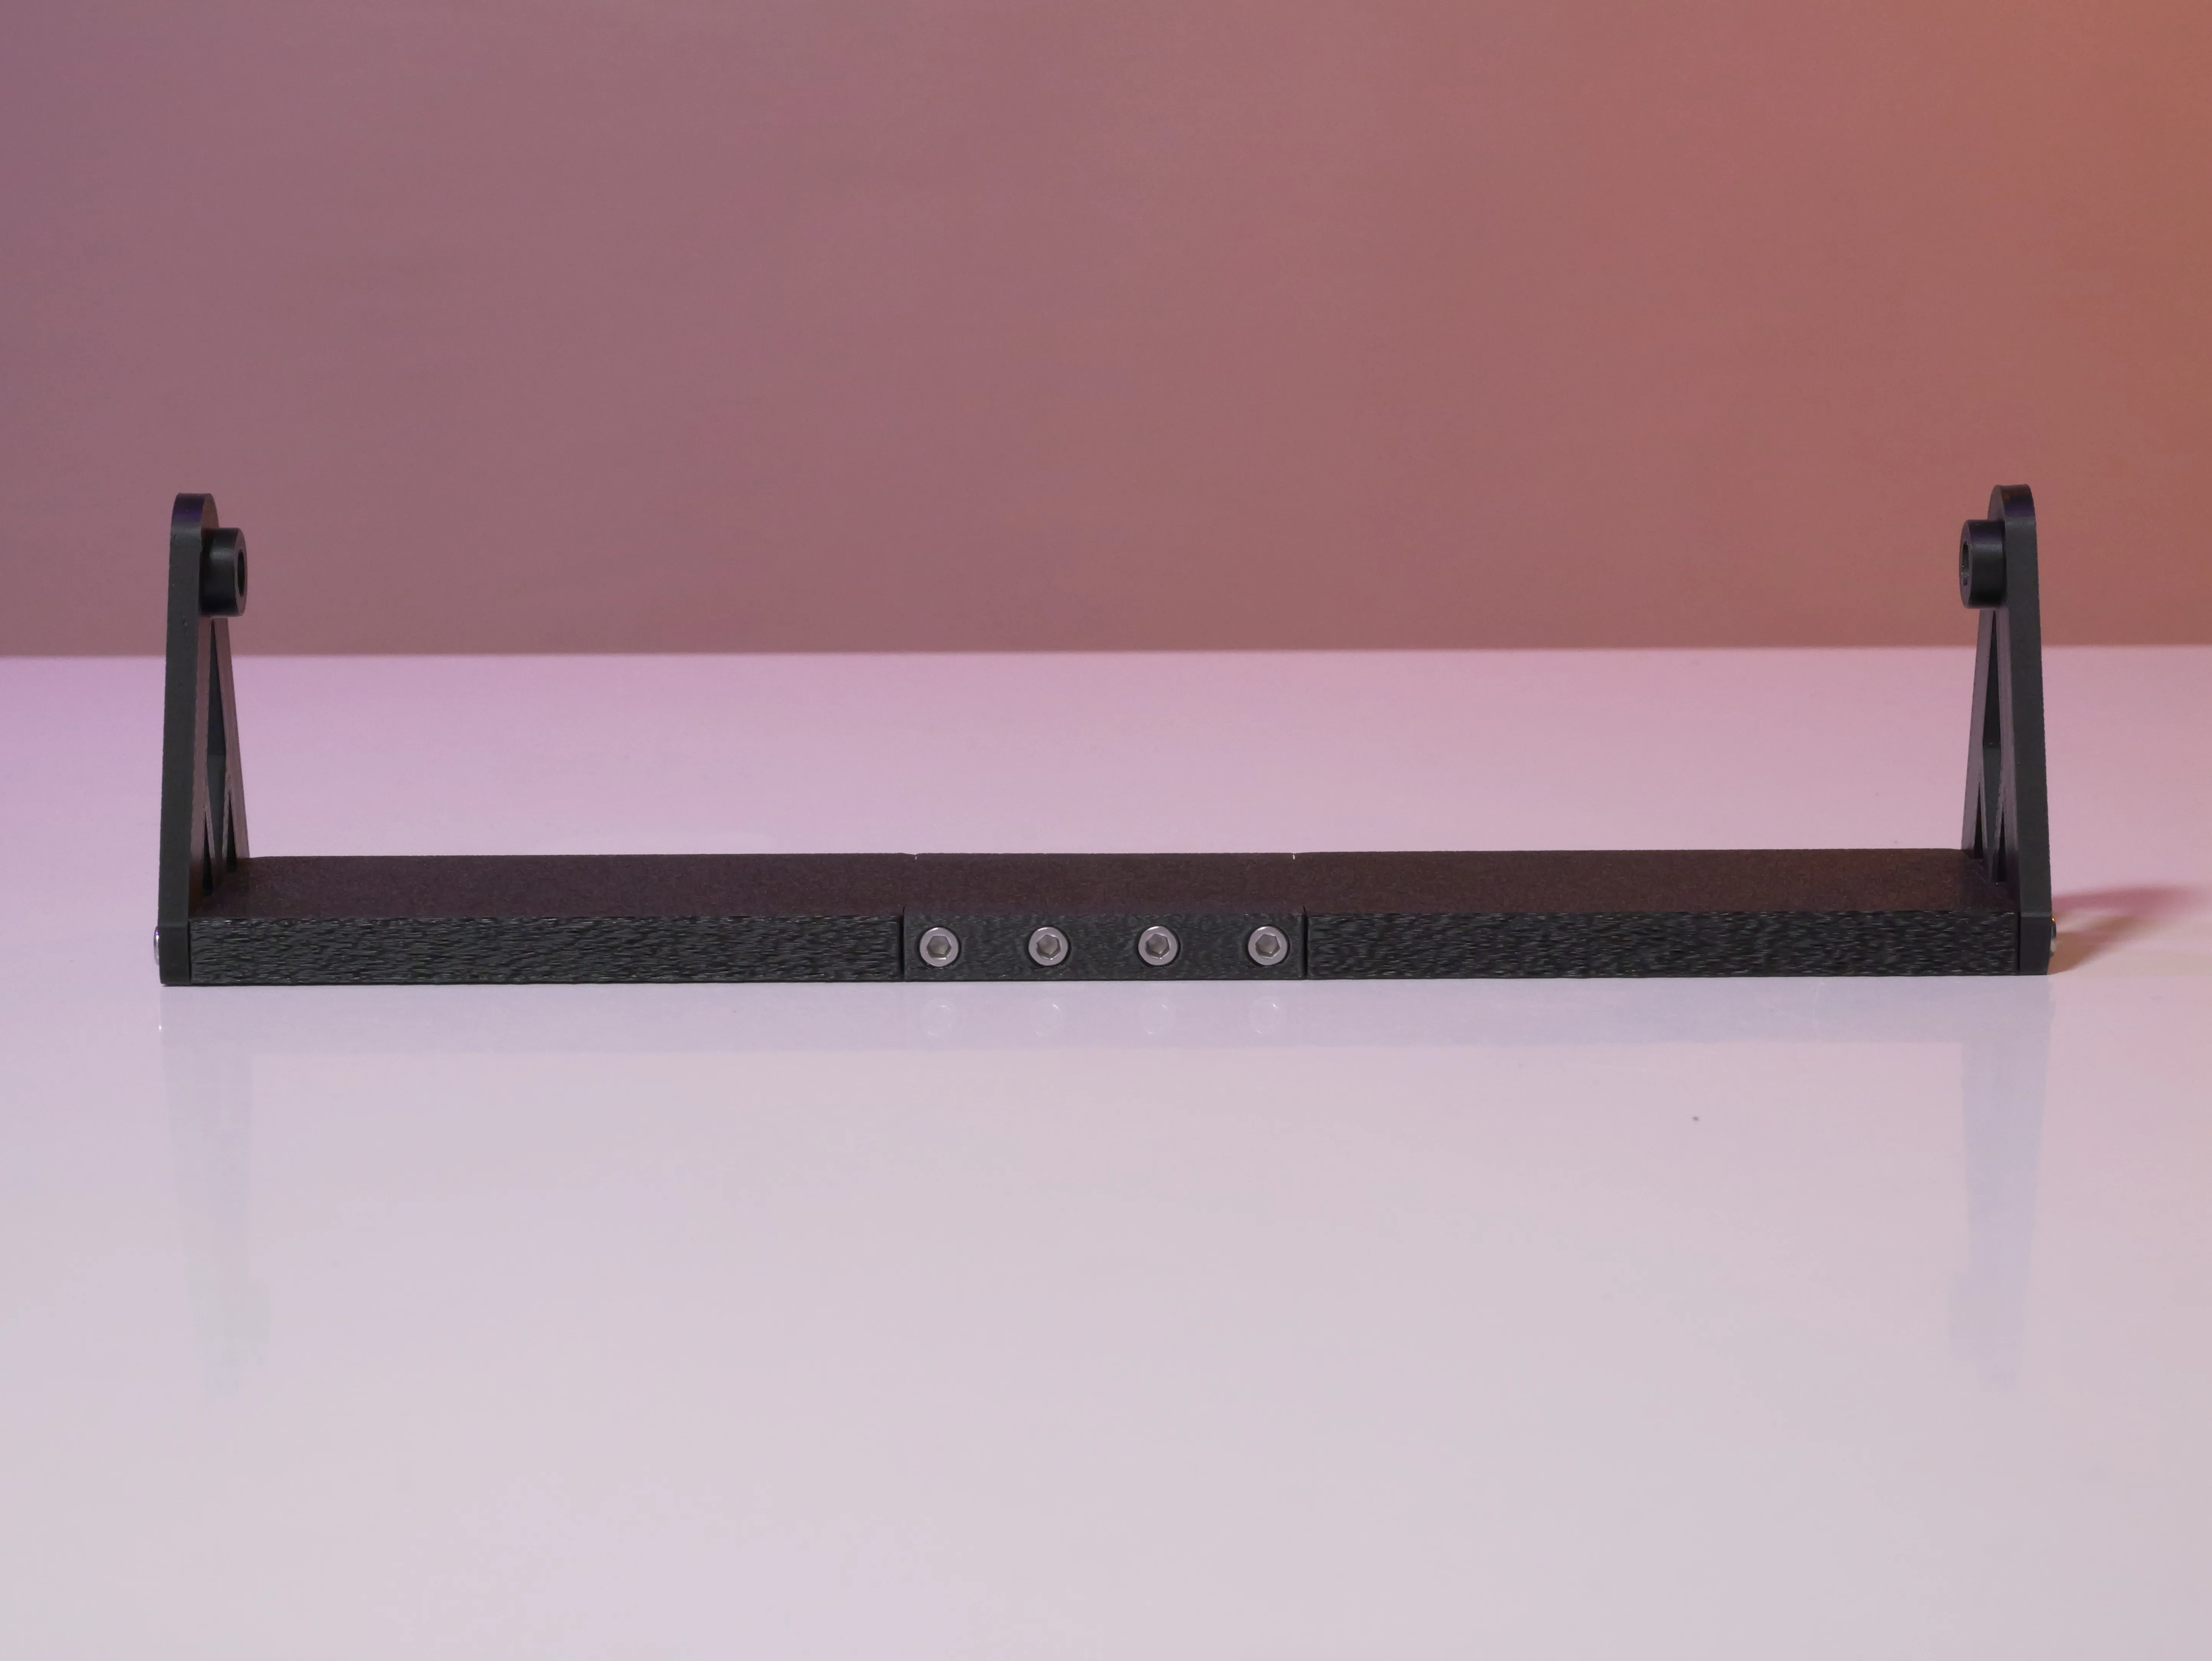
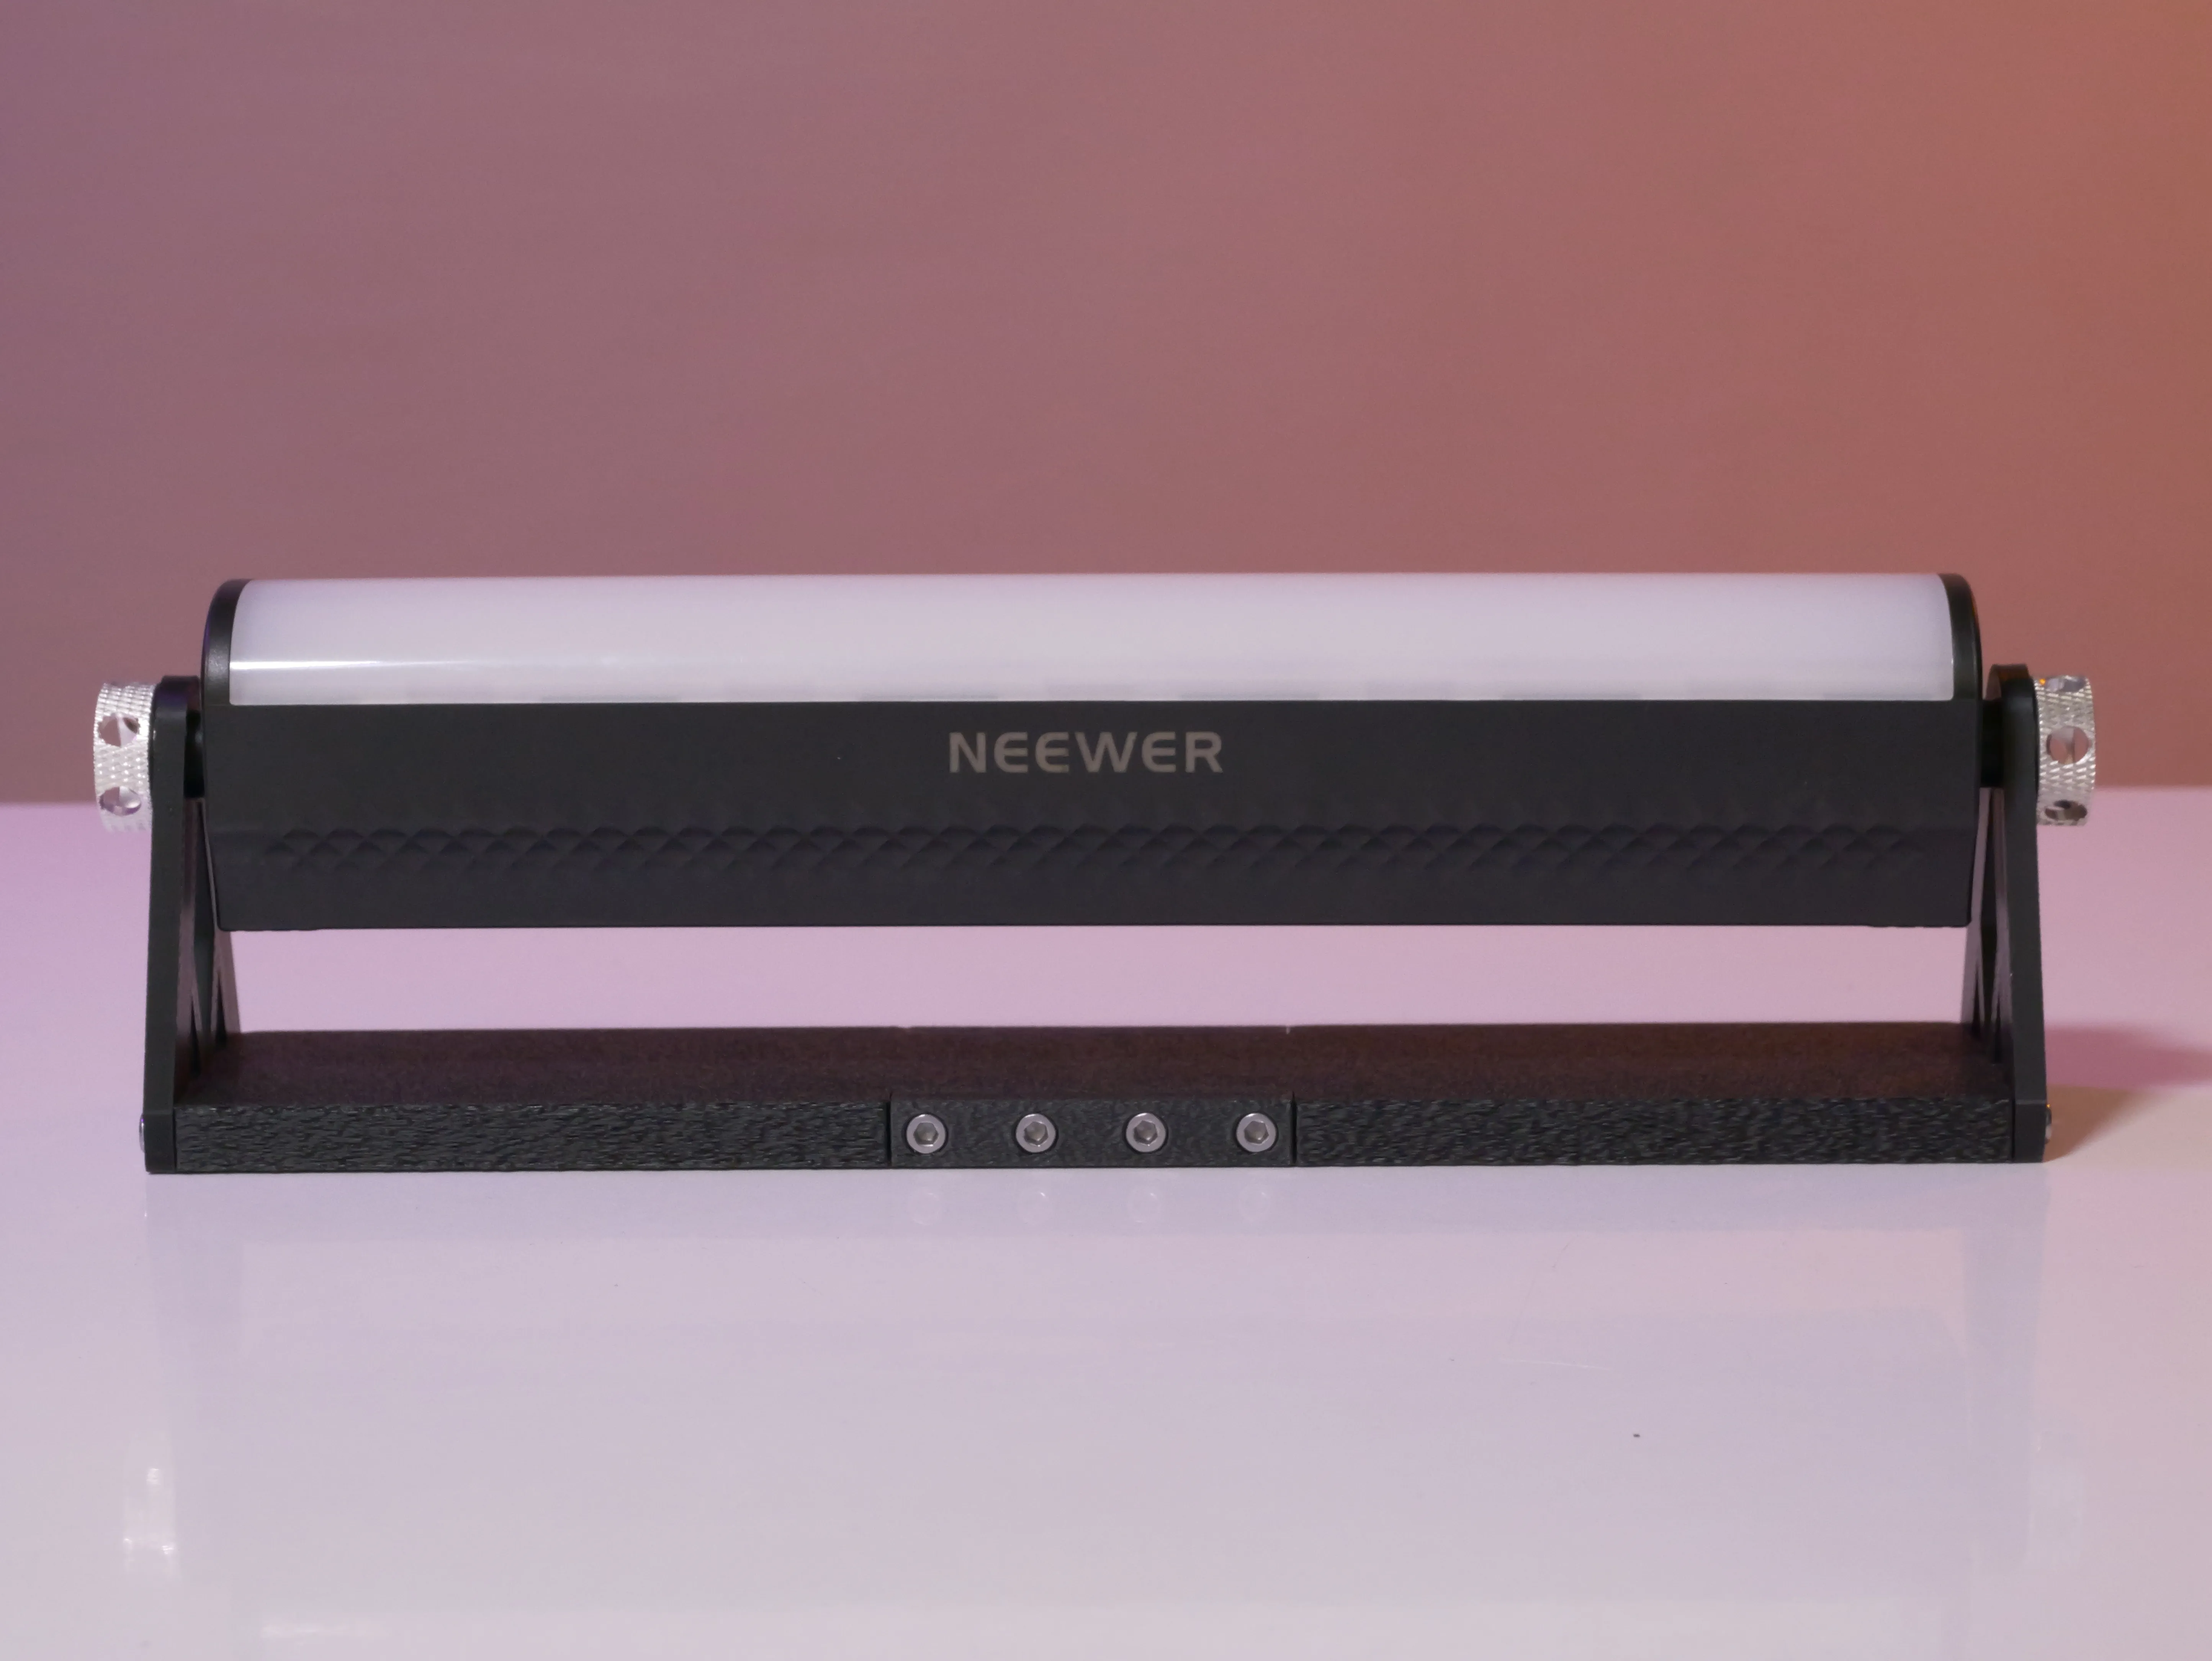
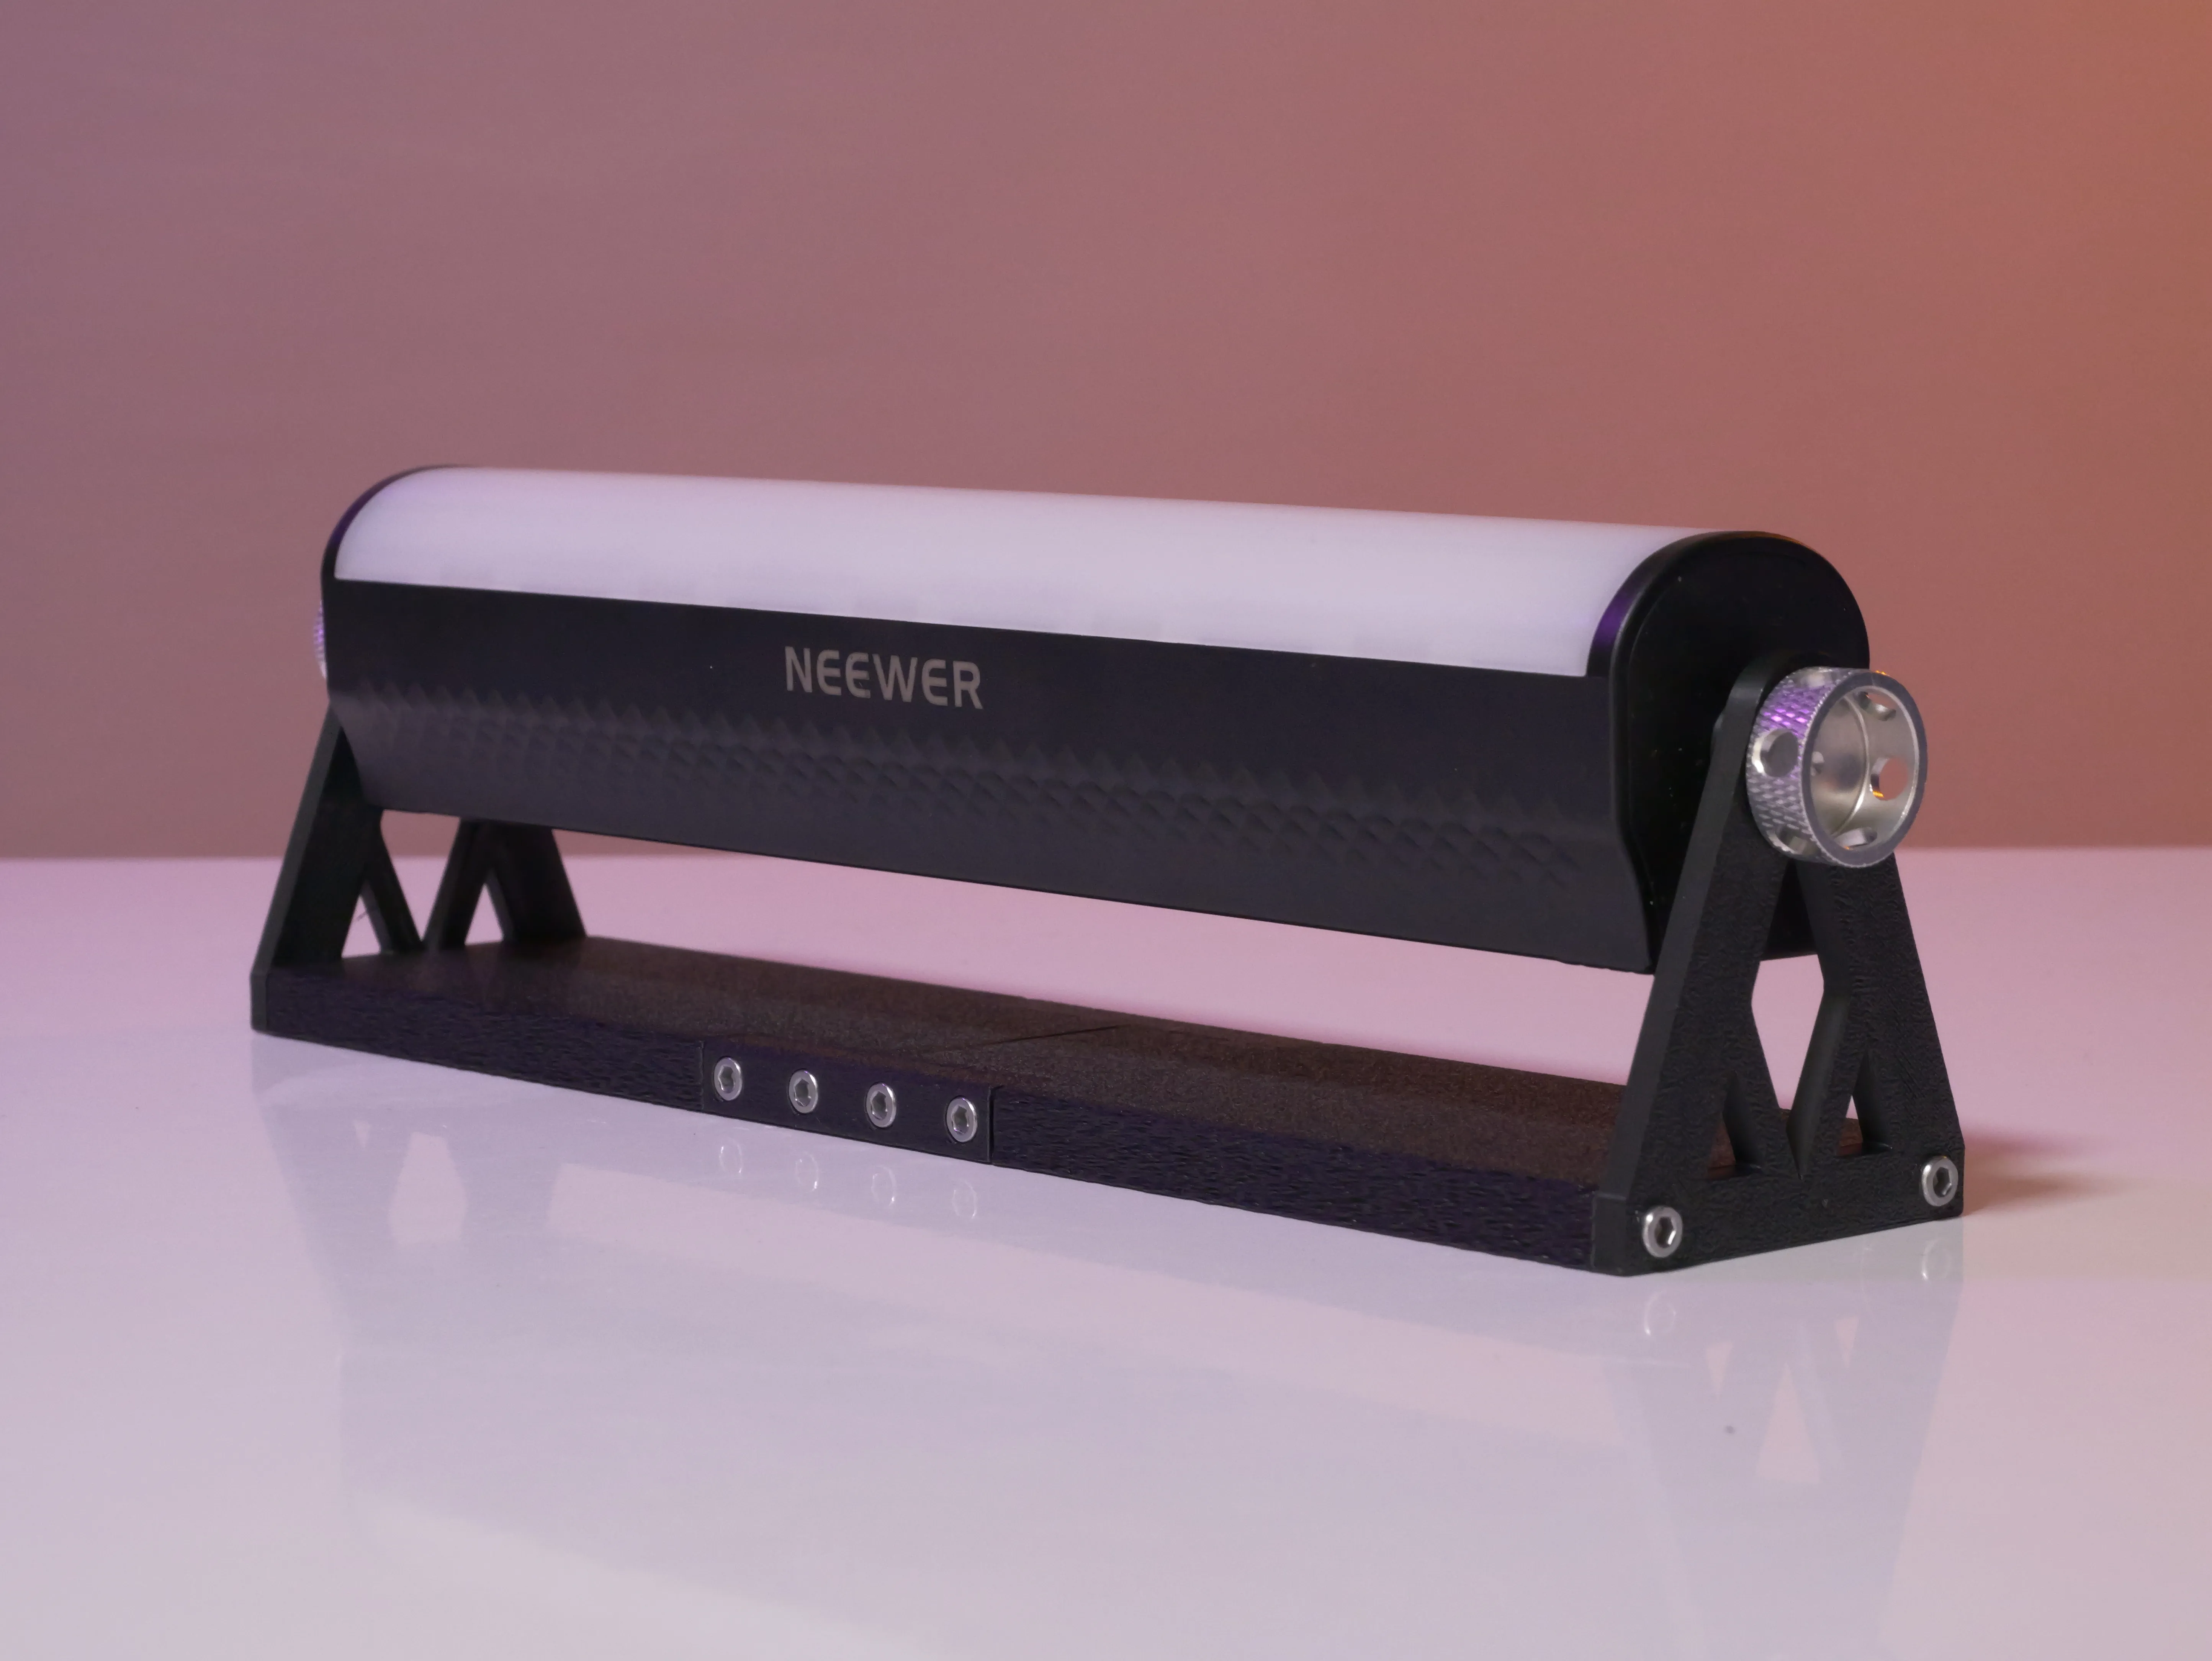
⚠️If you want to use the barn doors, follow these steps.
Remove your light stick from the support before starting.
8 - Take your barn door supports and your barn door rods and ⚠️ 2 M3x14mm screws, attach your two rods to a single barn door support.
👇
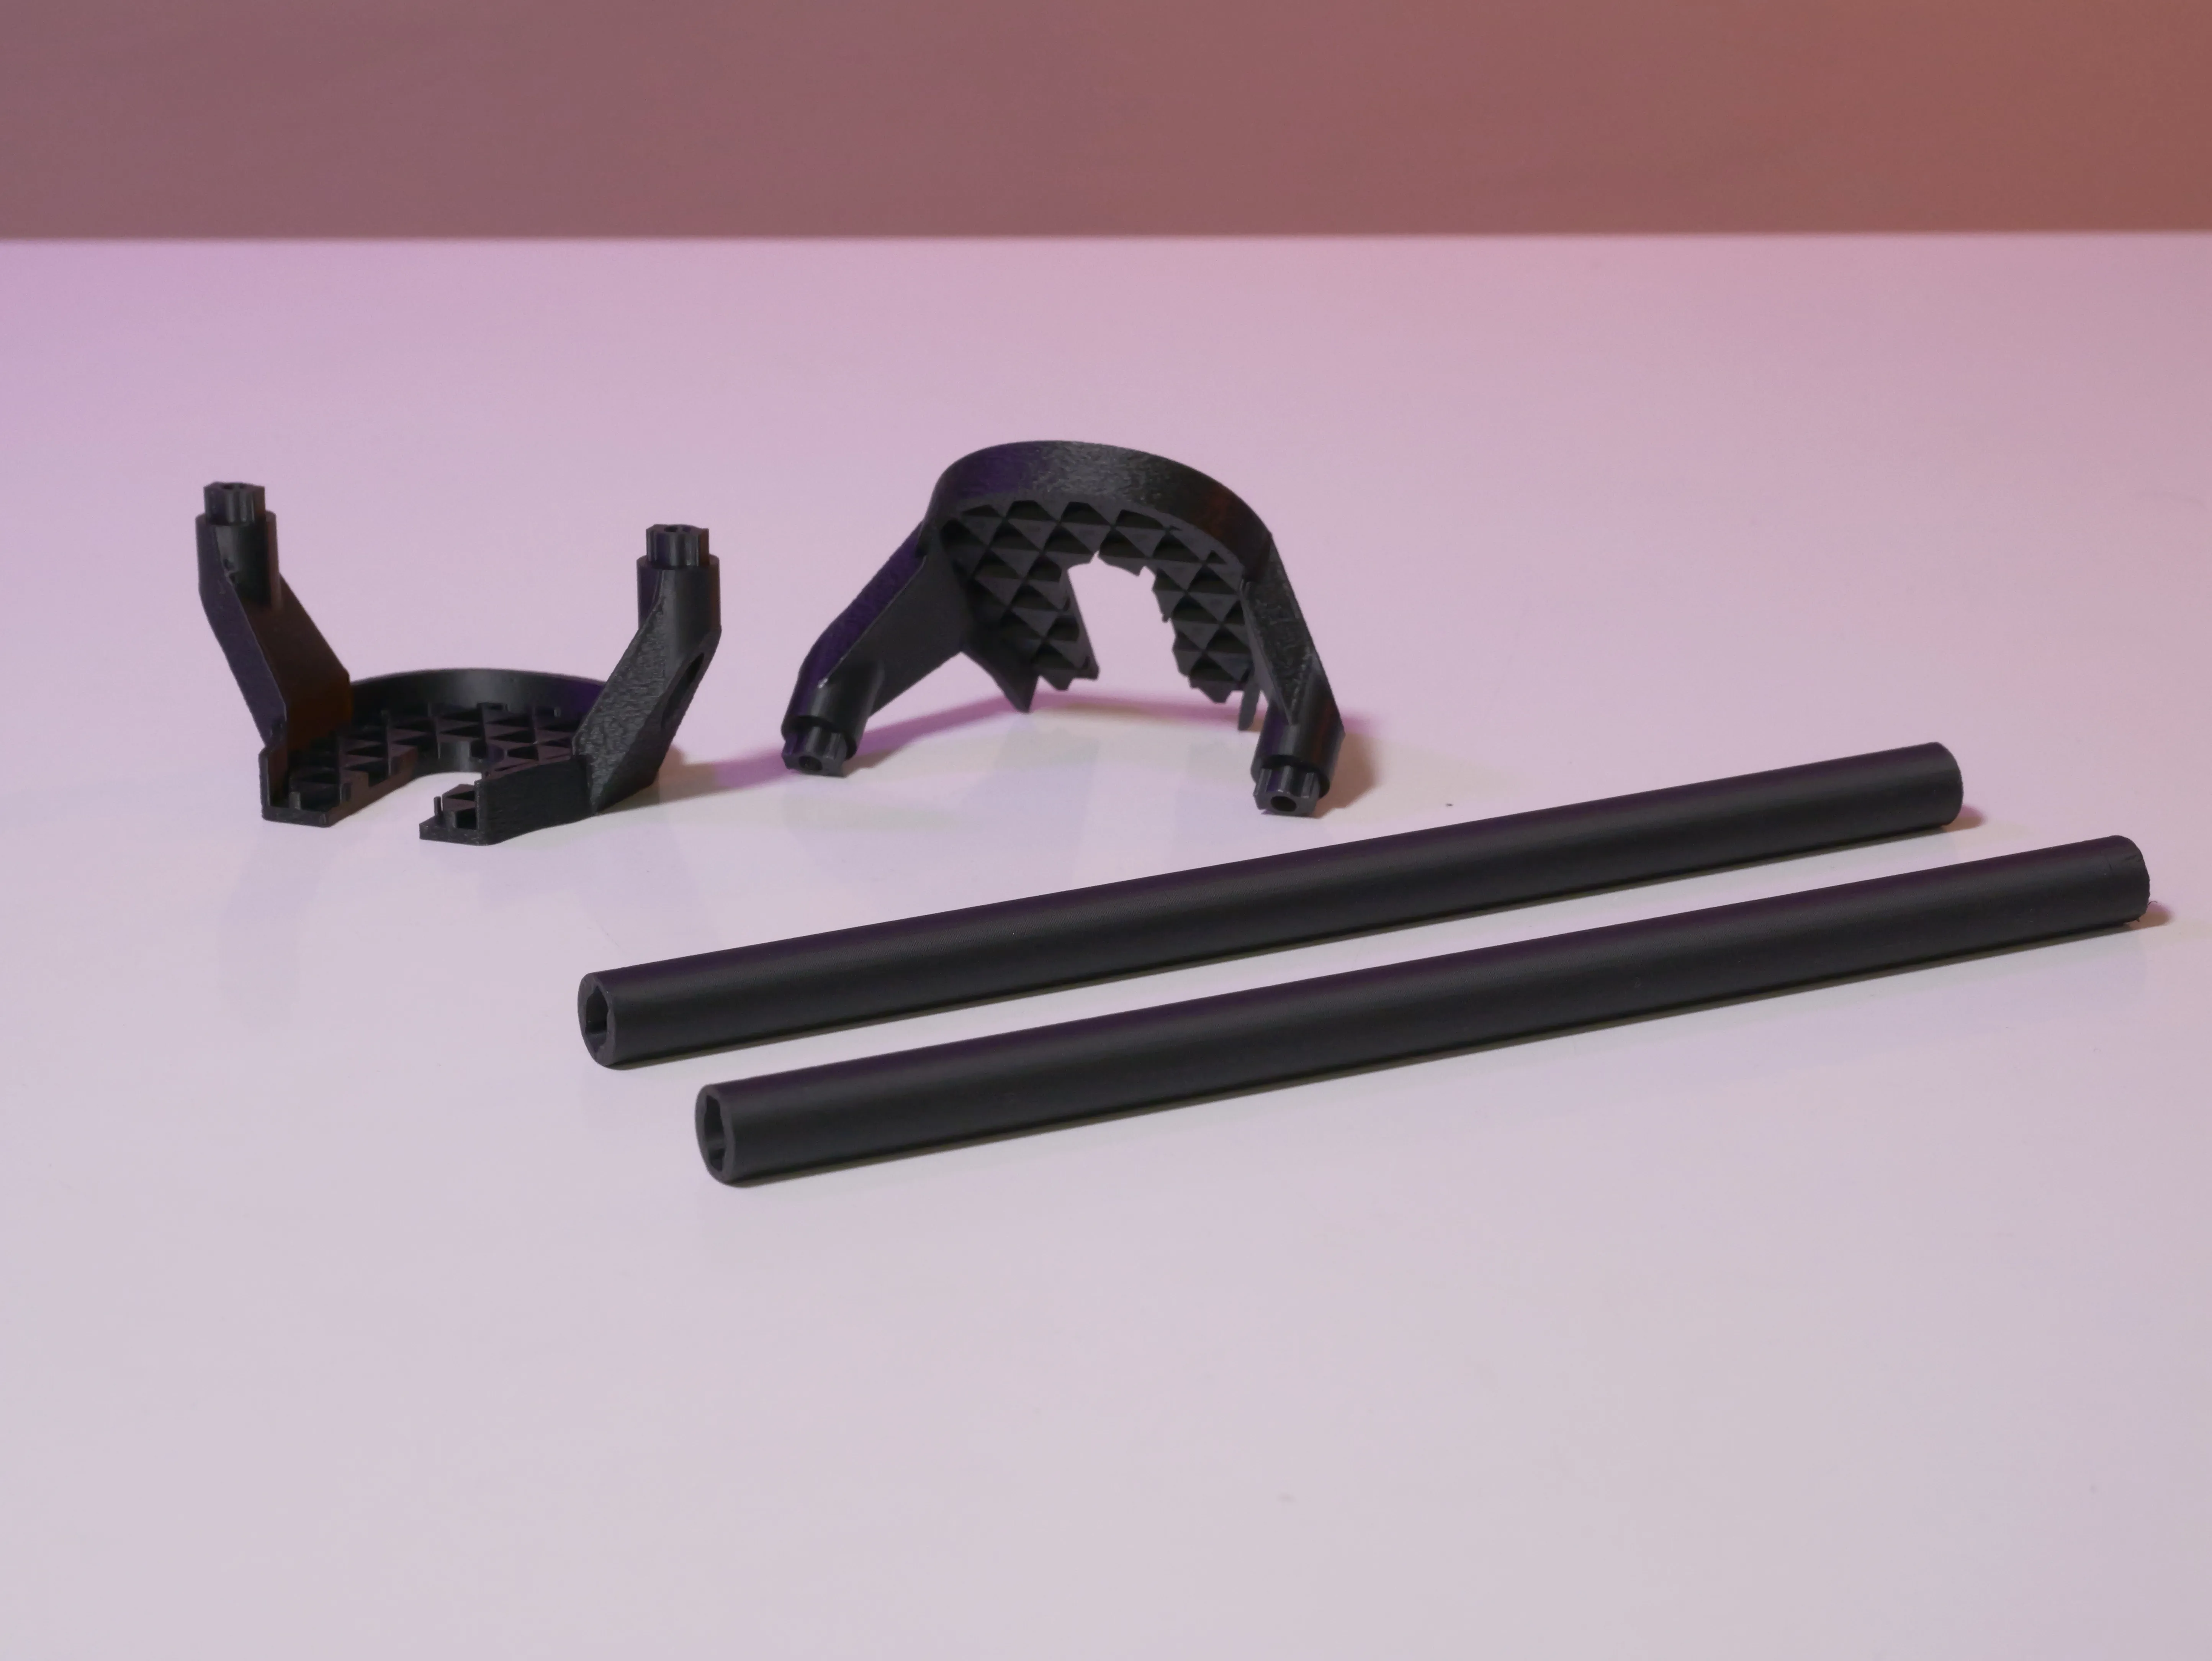
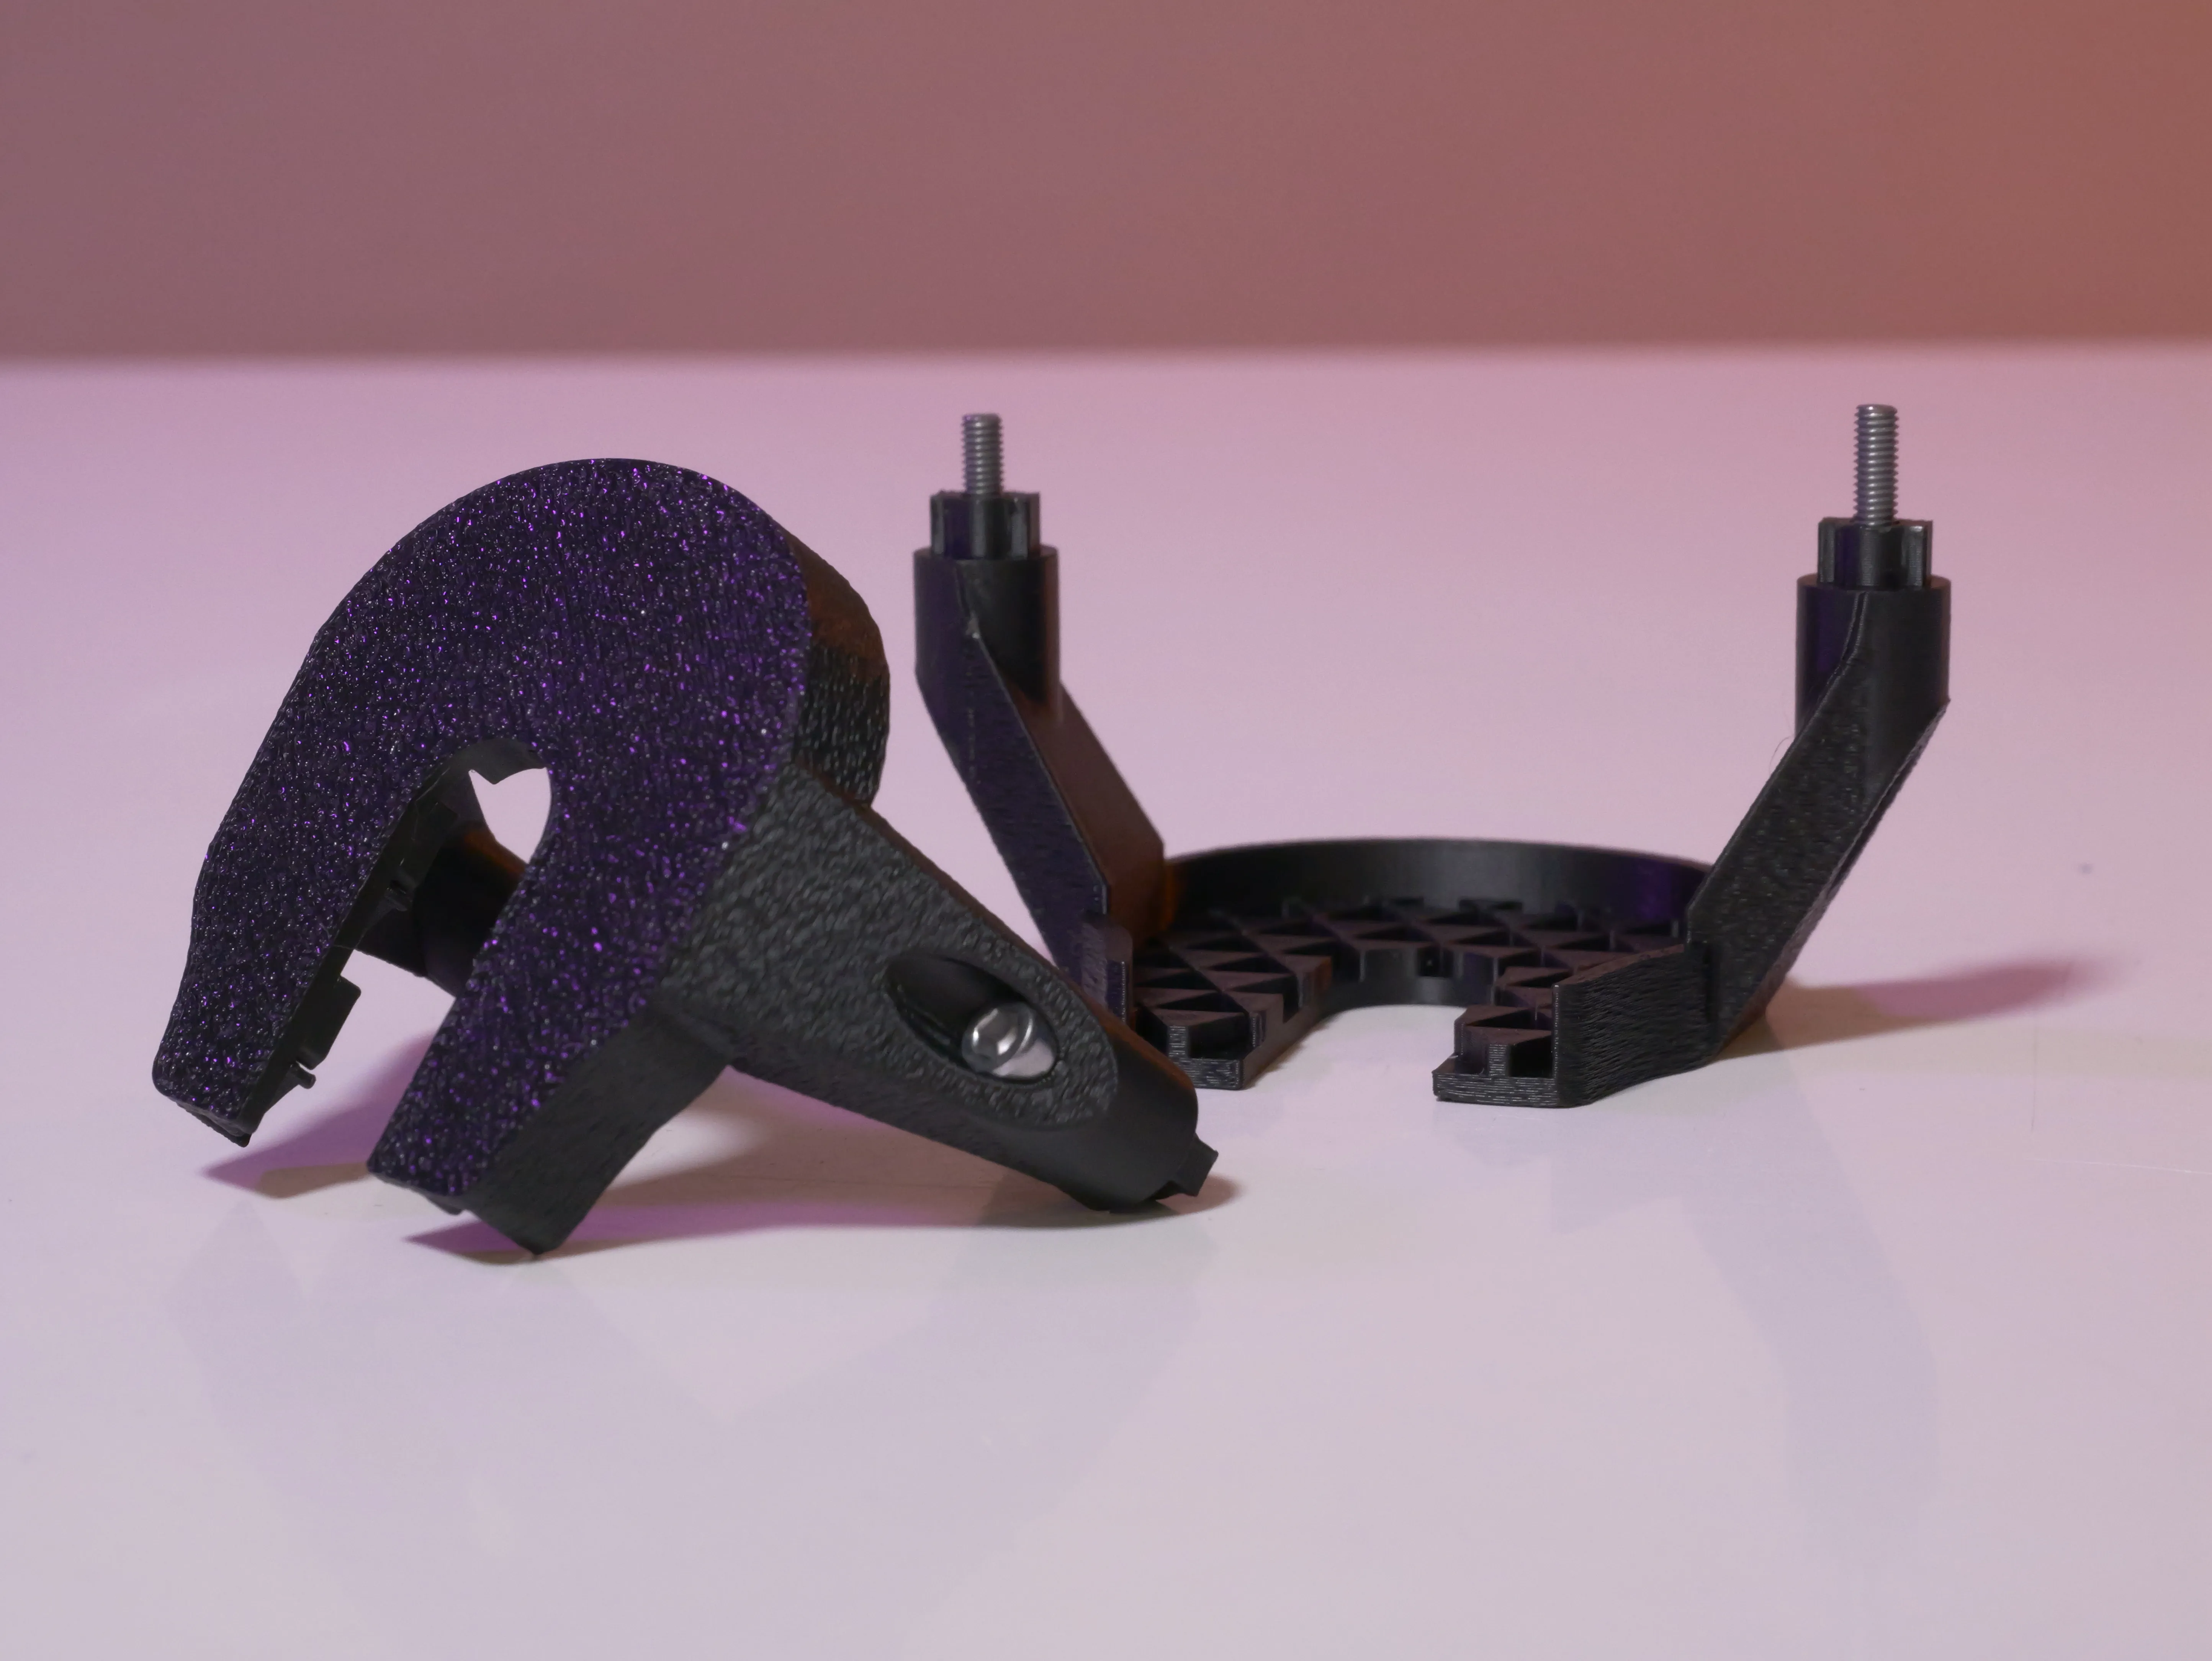
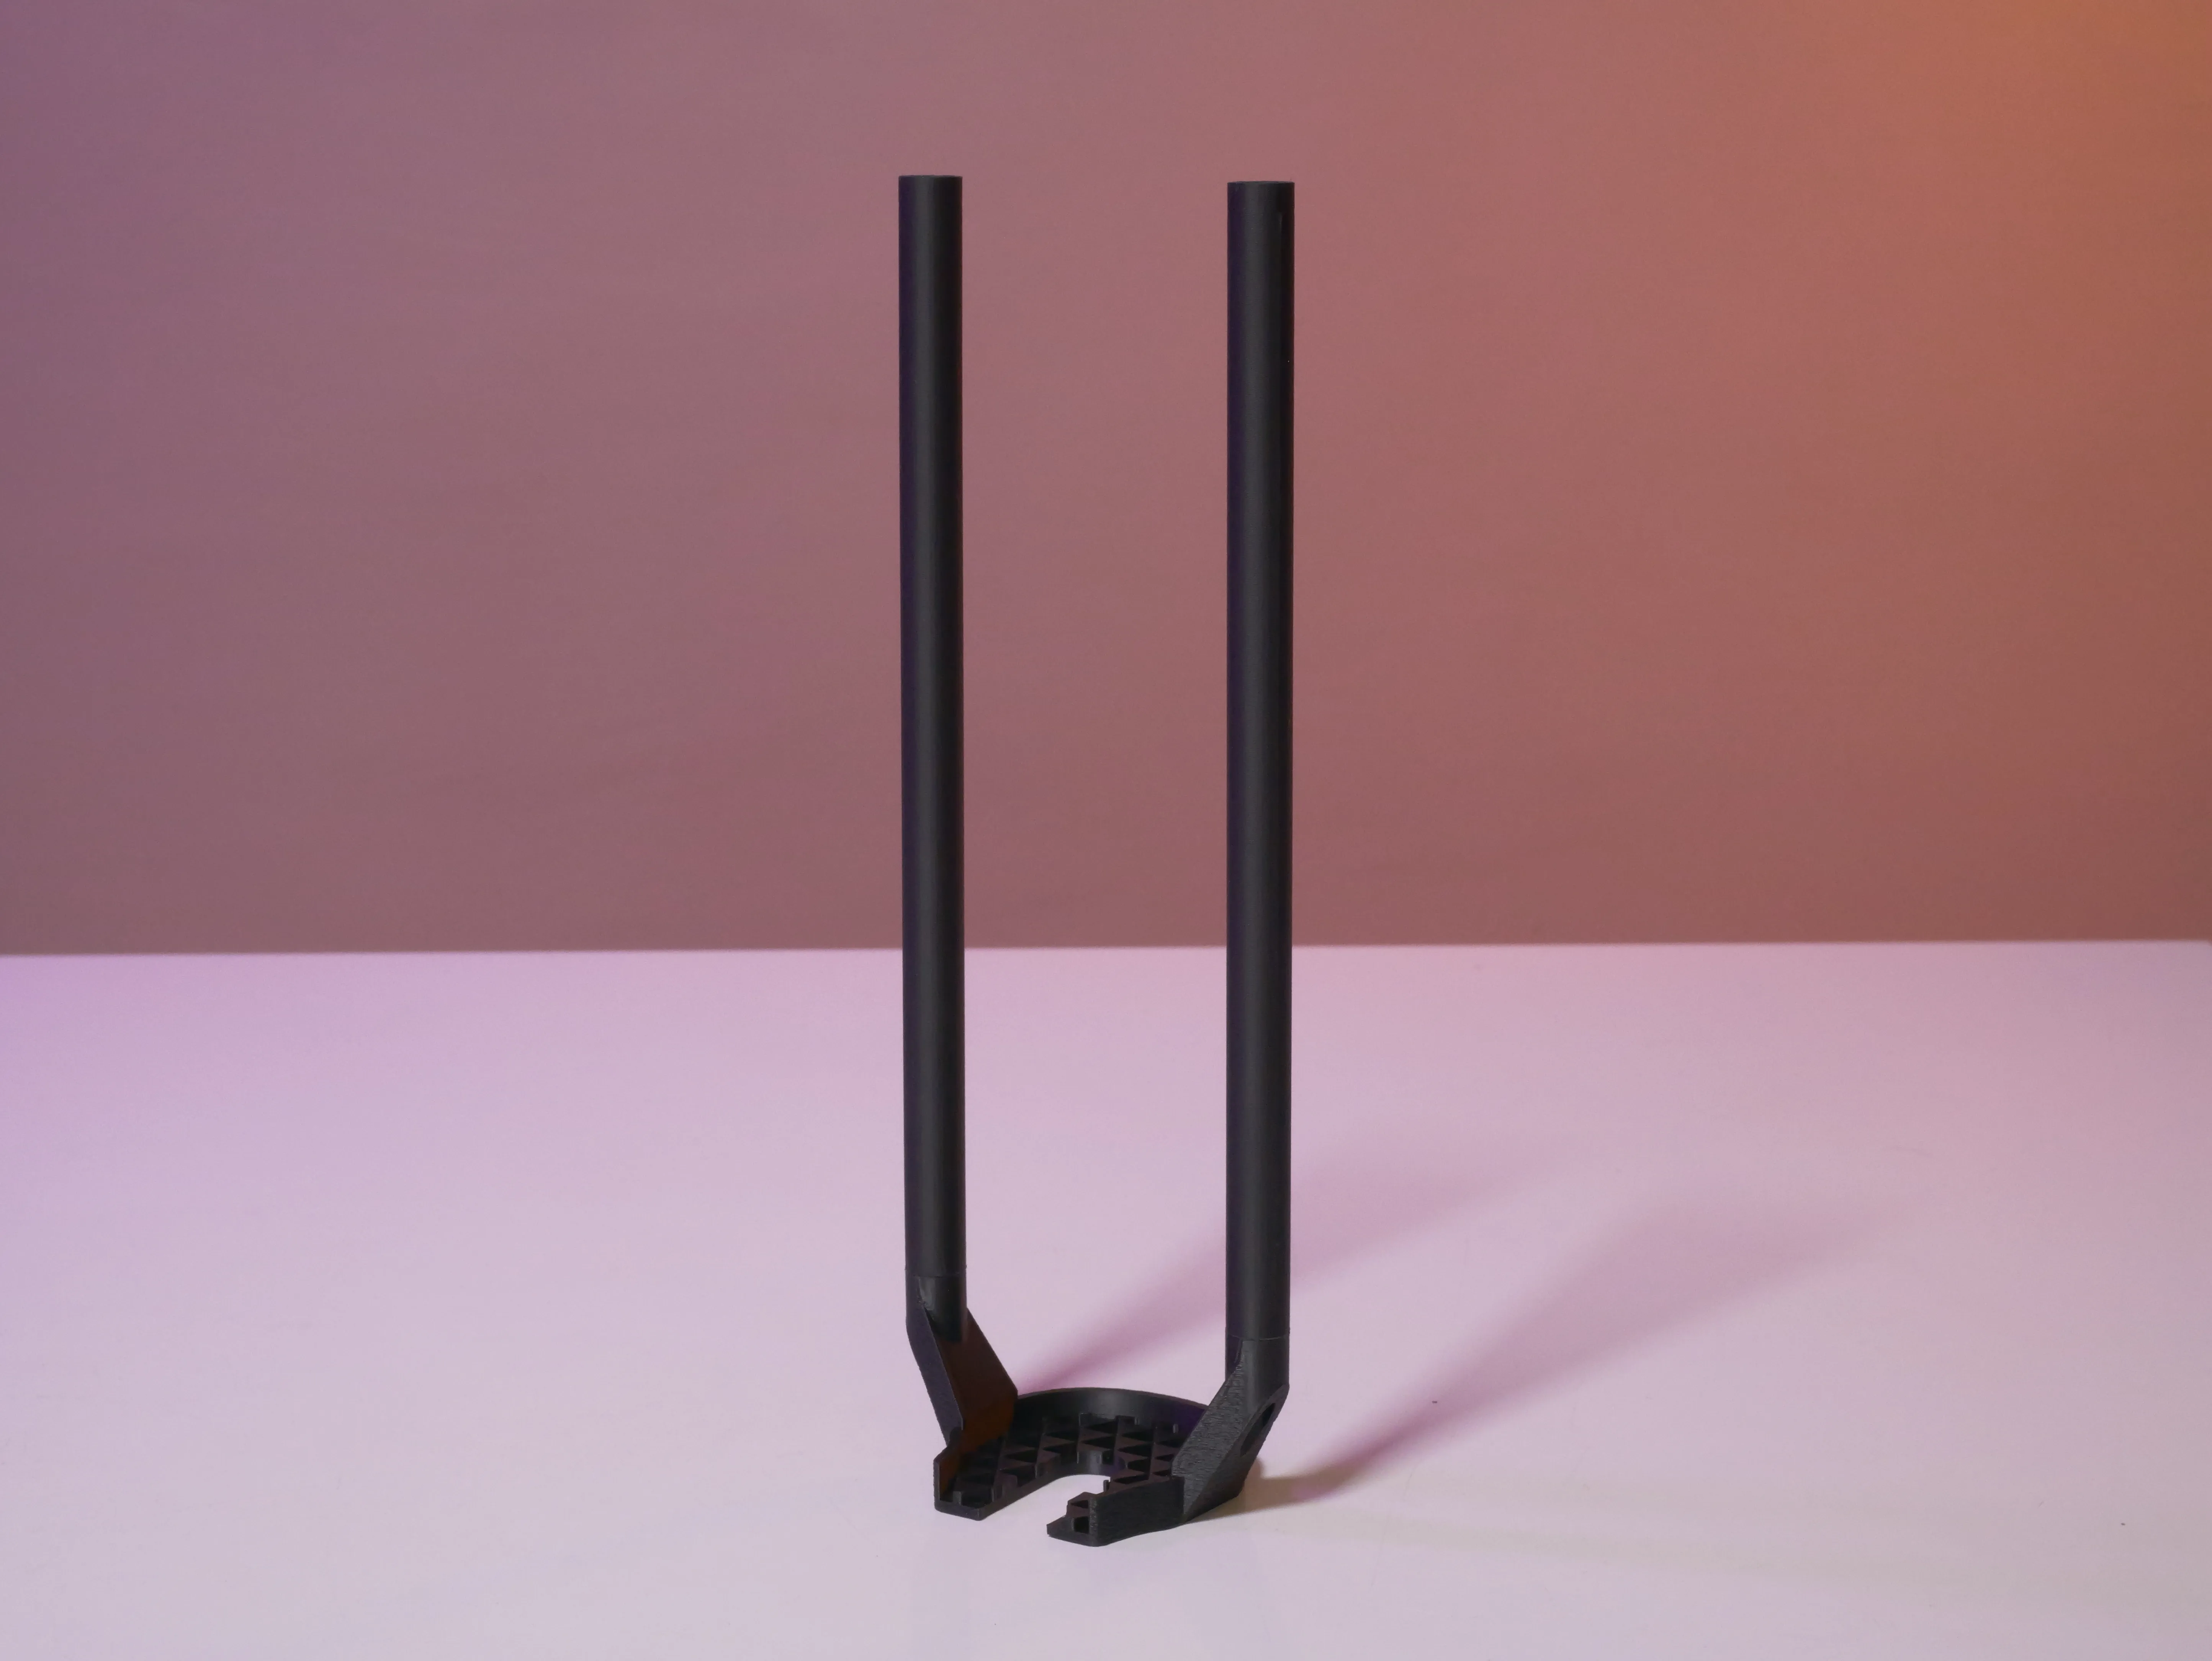
9 - Now, take your Type A and B barn doors and attach them together using 14 M3x8mm screws.
⚠️ Do not fully tighten the 4 bottom screws before sliding your barn doors onto the rods; the screws help increase the movement resistance of the barn doors on the rods.
10 - Slide your barn doors onto the barn door support rods.
👇
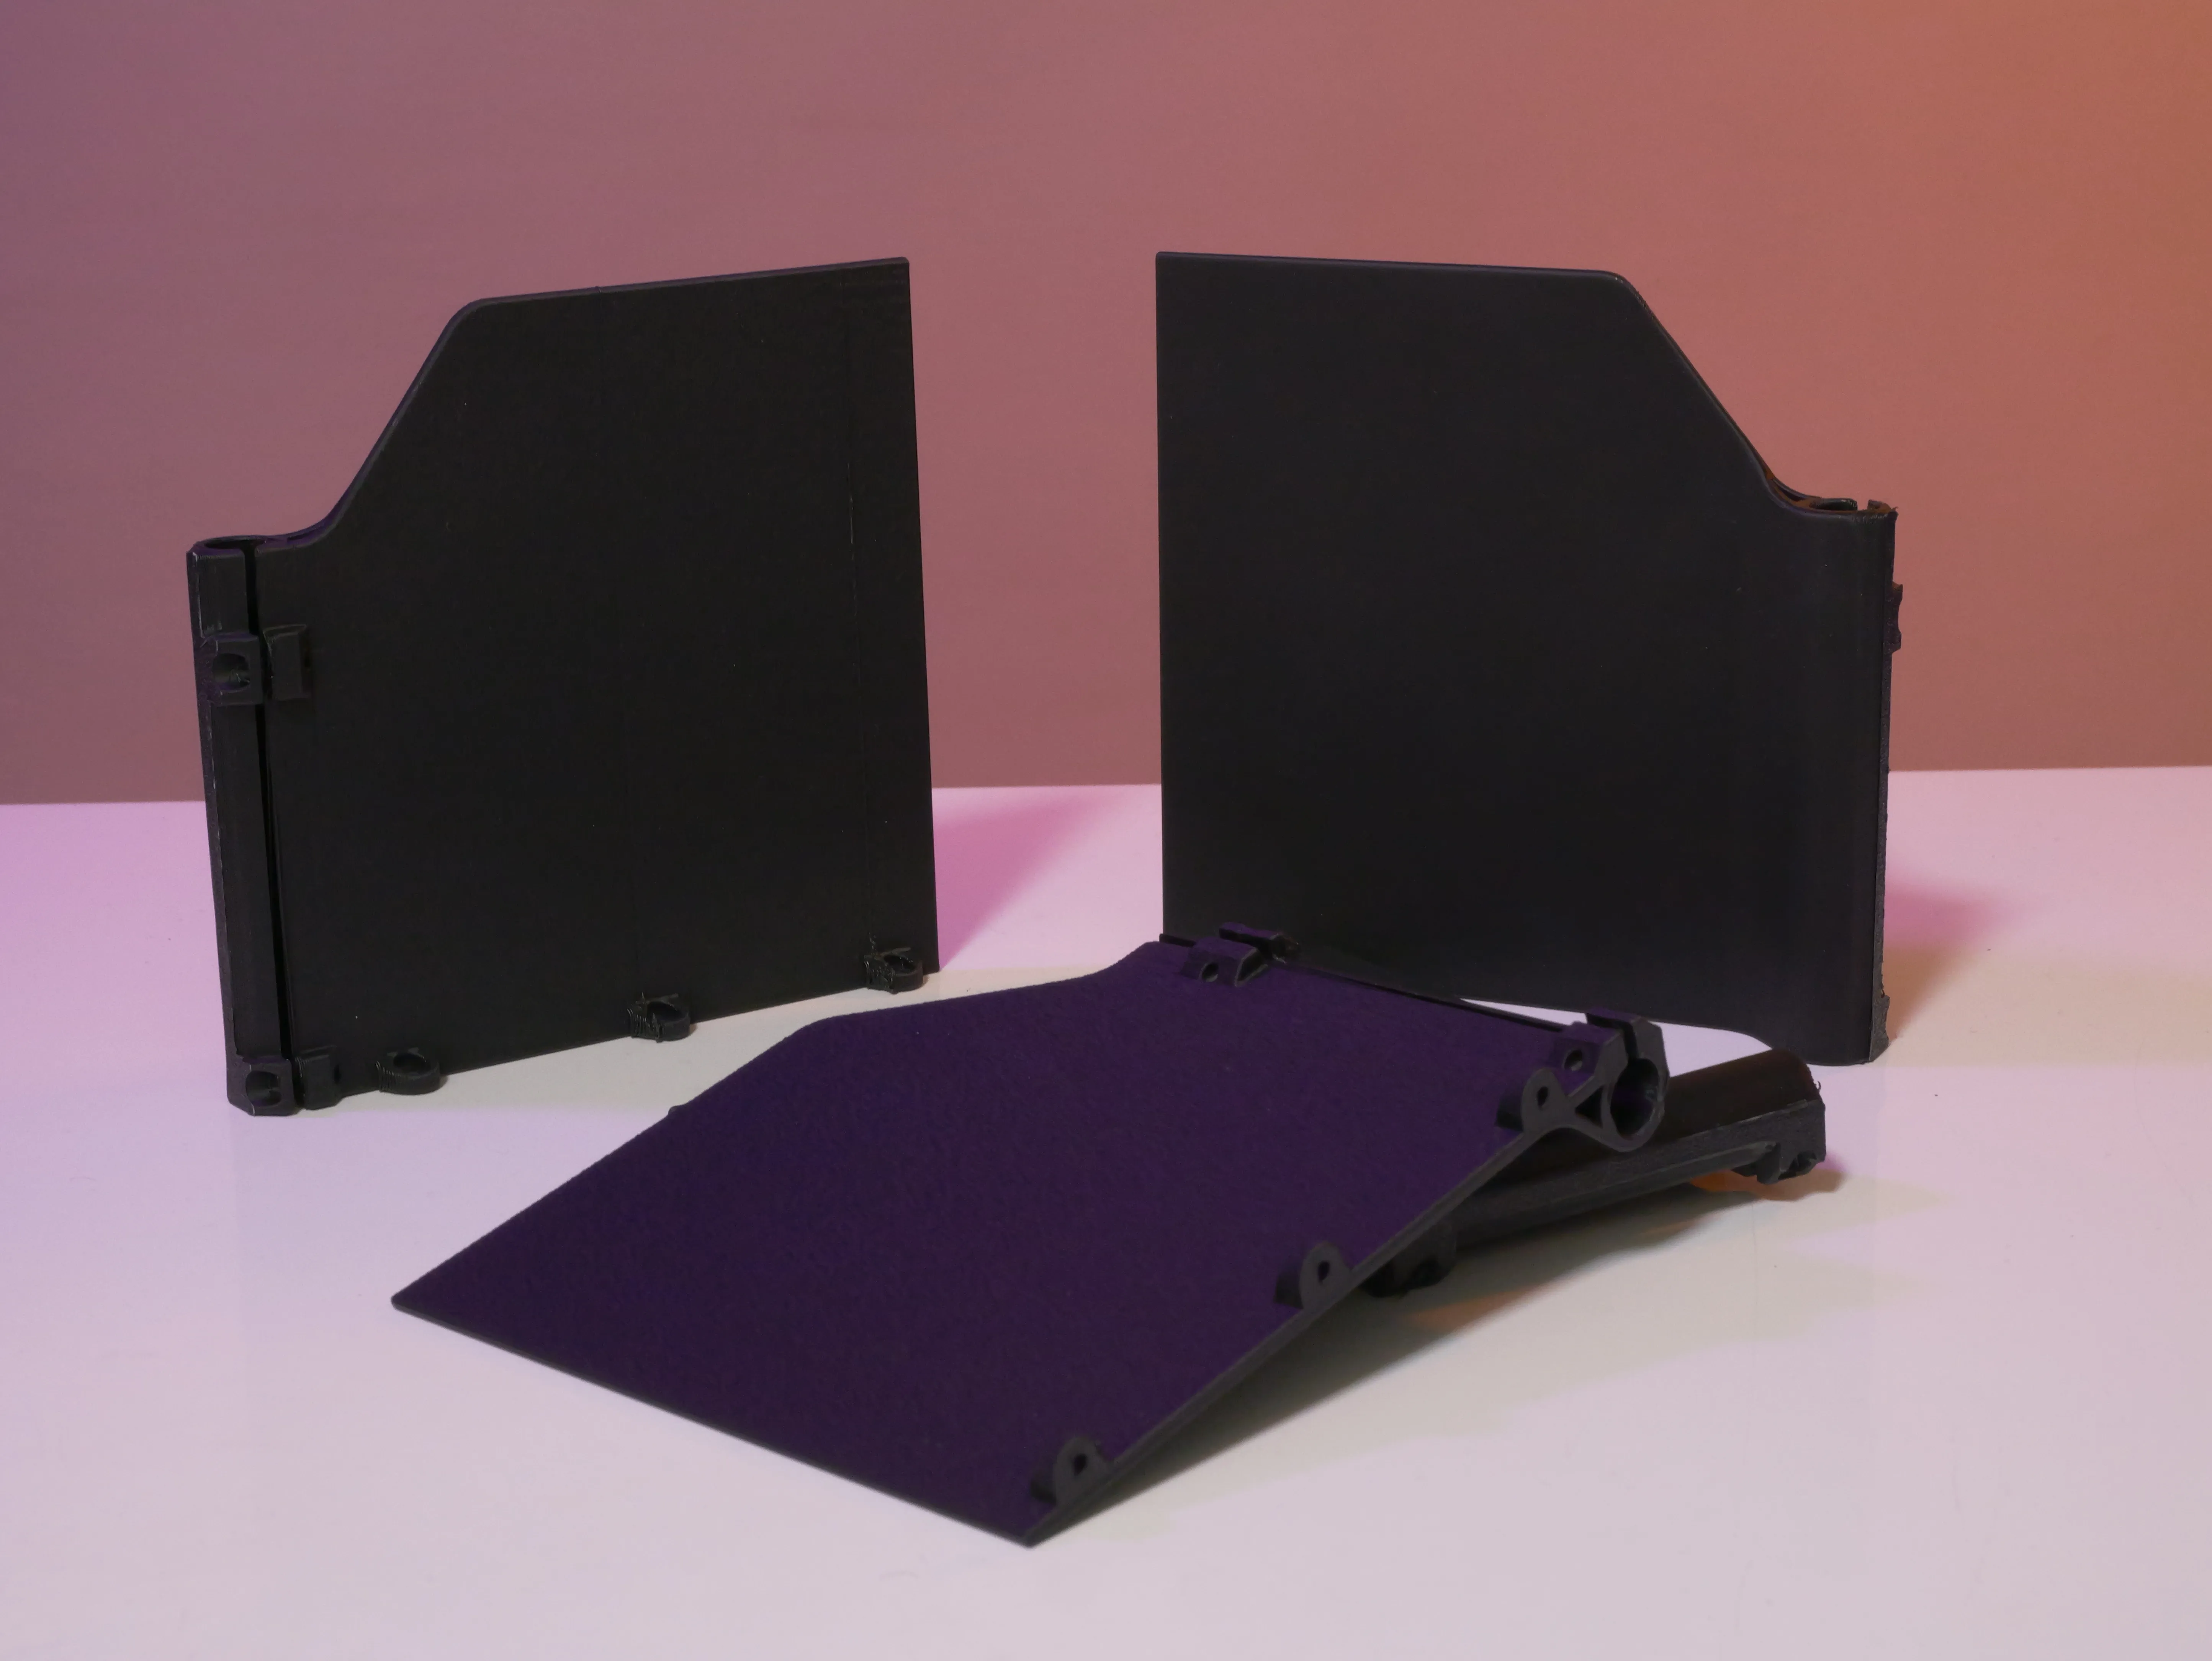
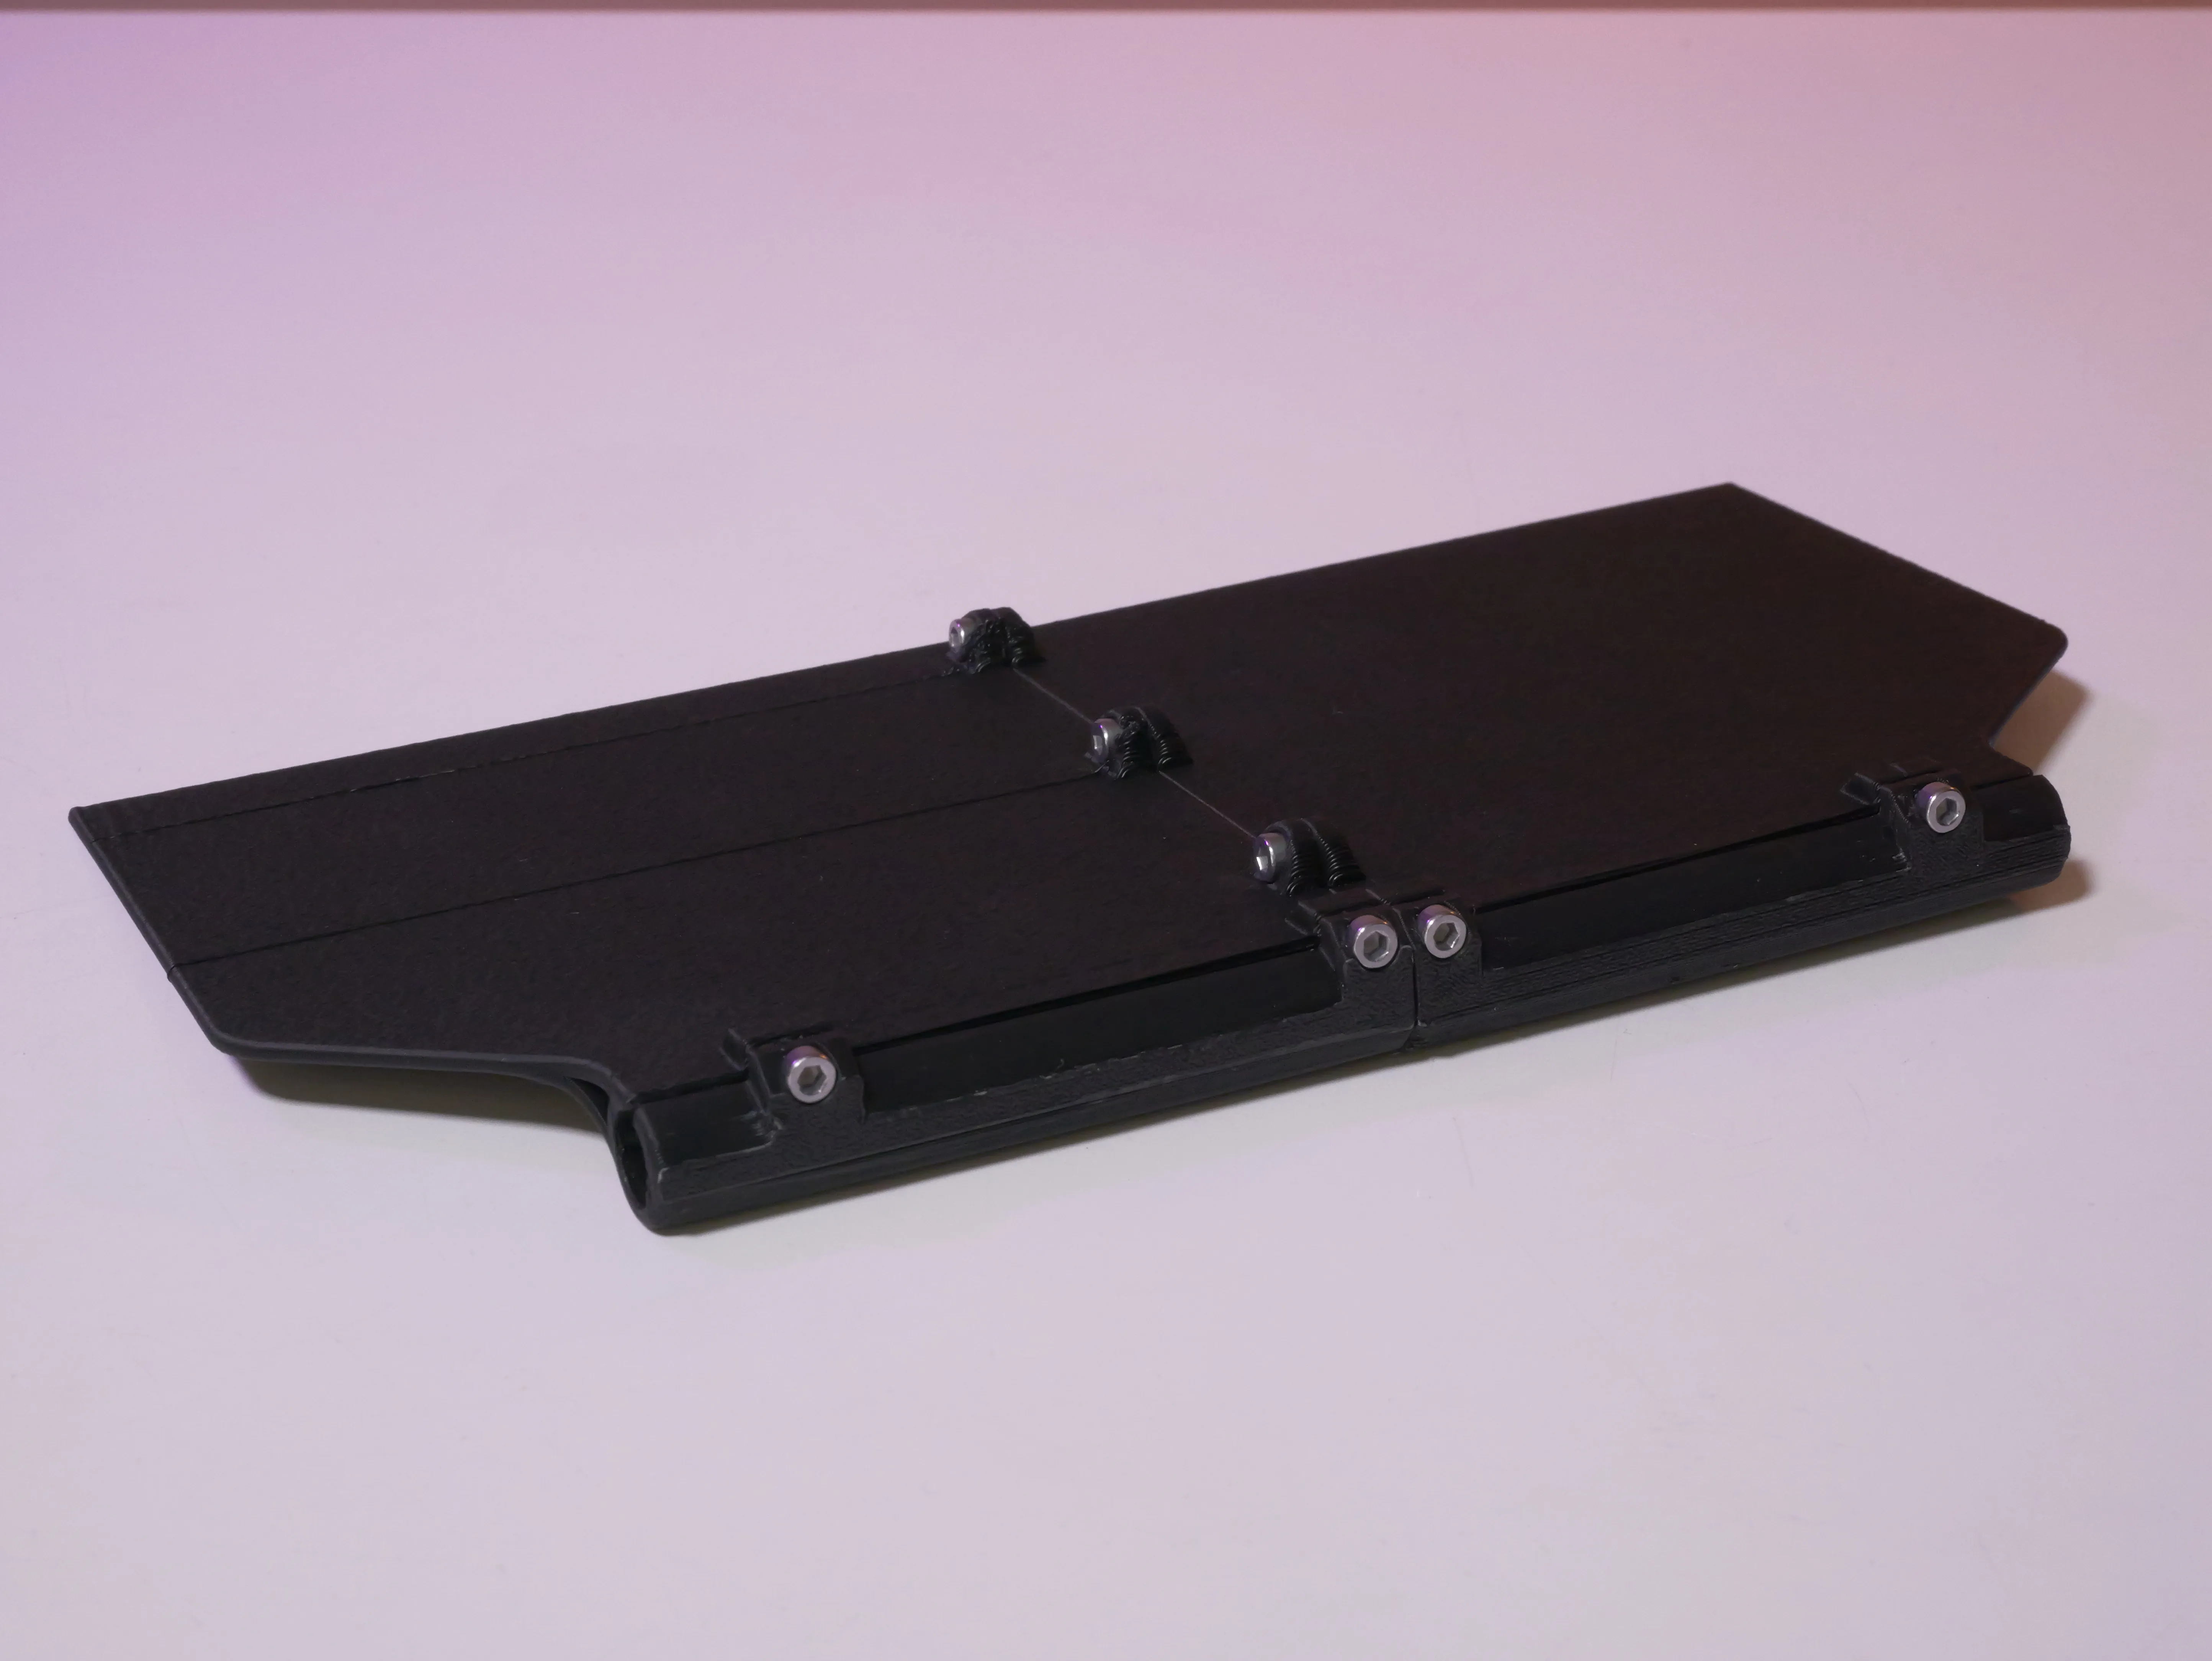
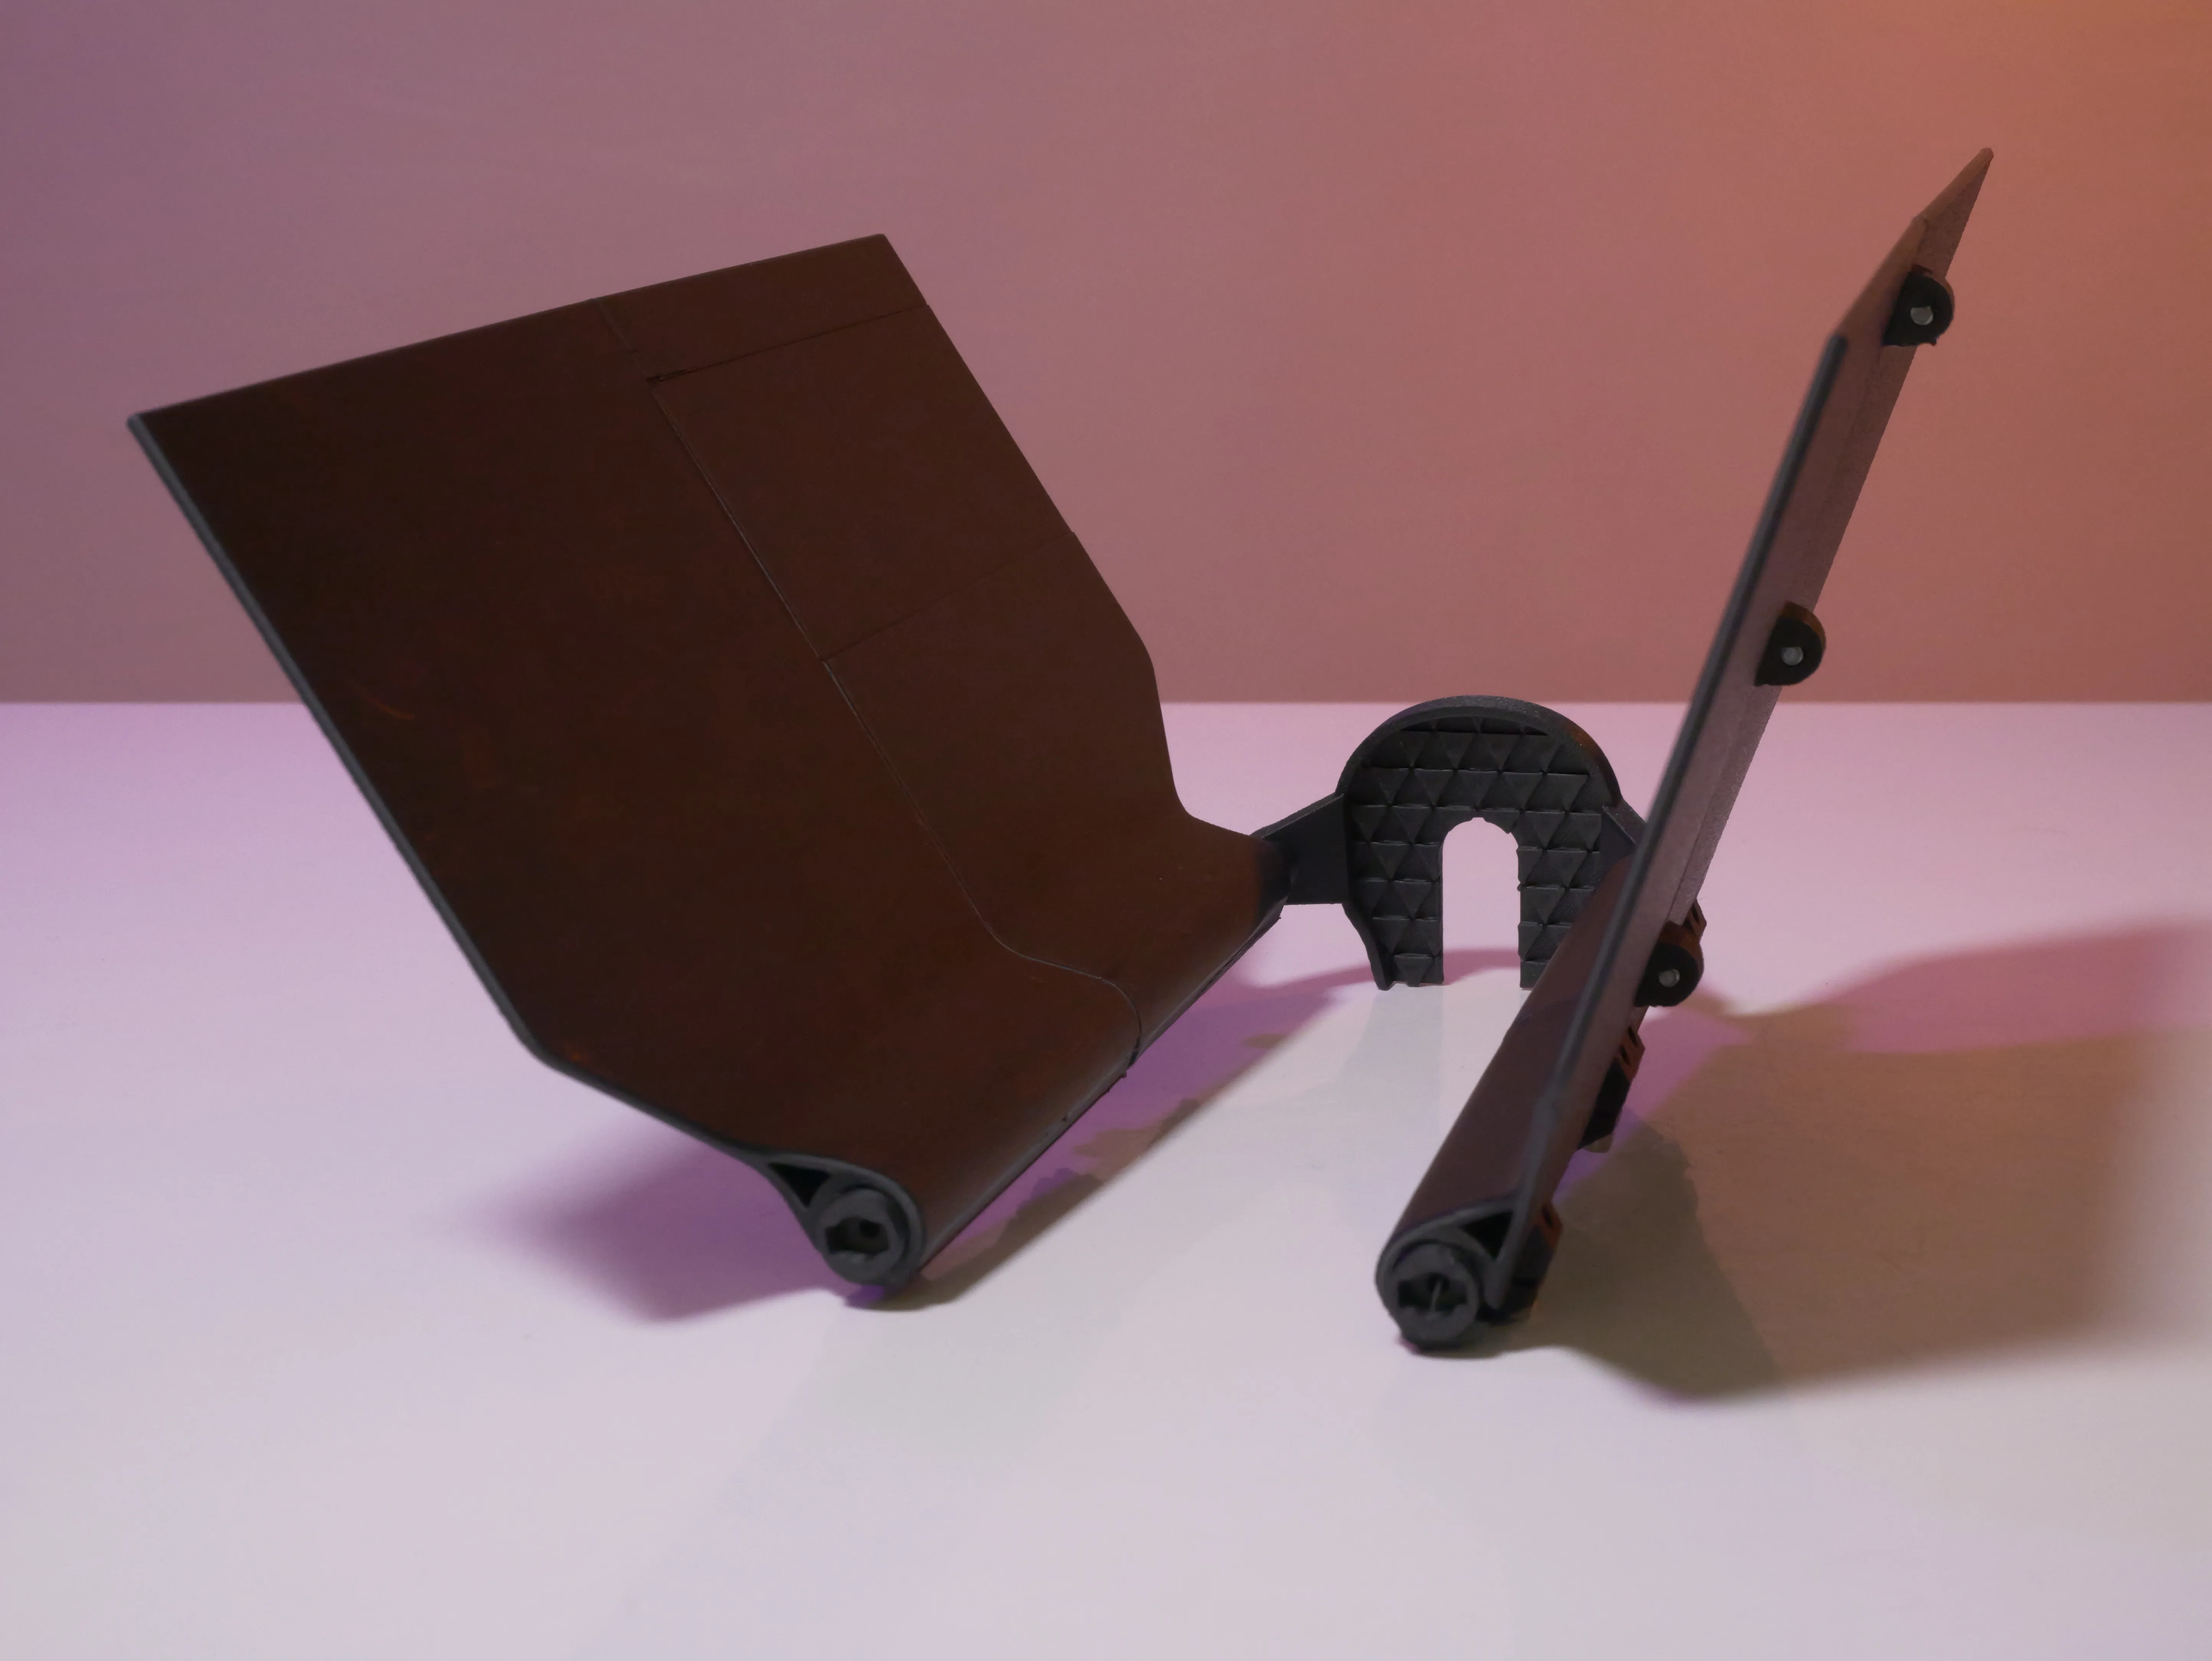
11 - Now, place your light stick into the barn door support and, using the last two M3x14mm screws, attach the second barn door support.
12 - Then reattach it to the main support.
👇
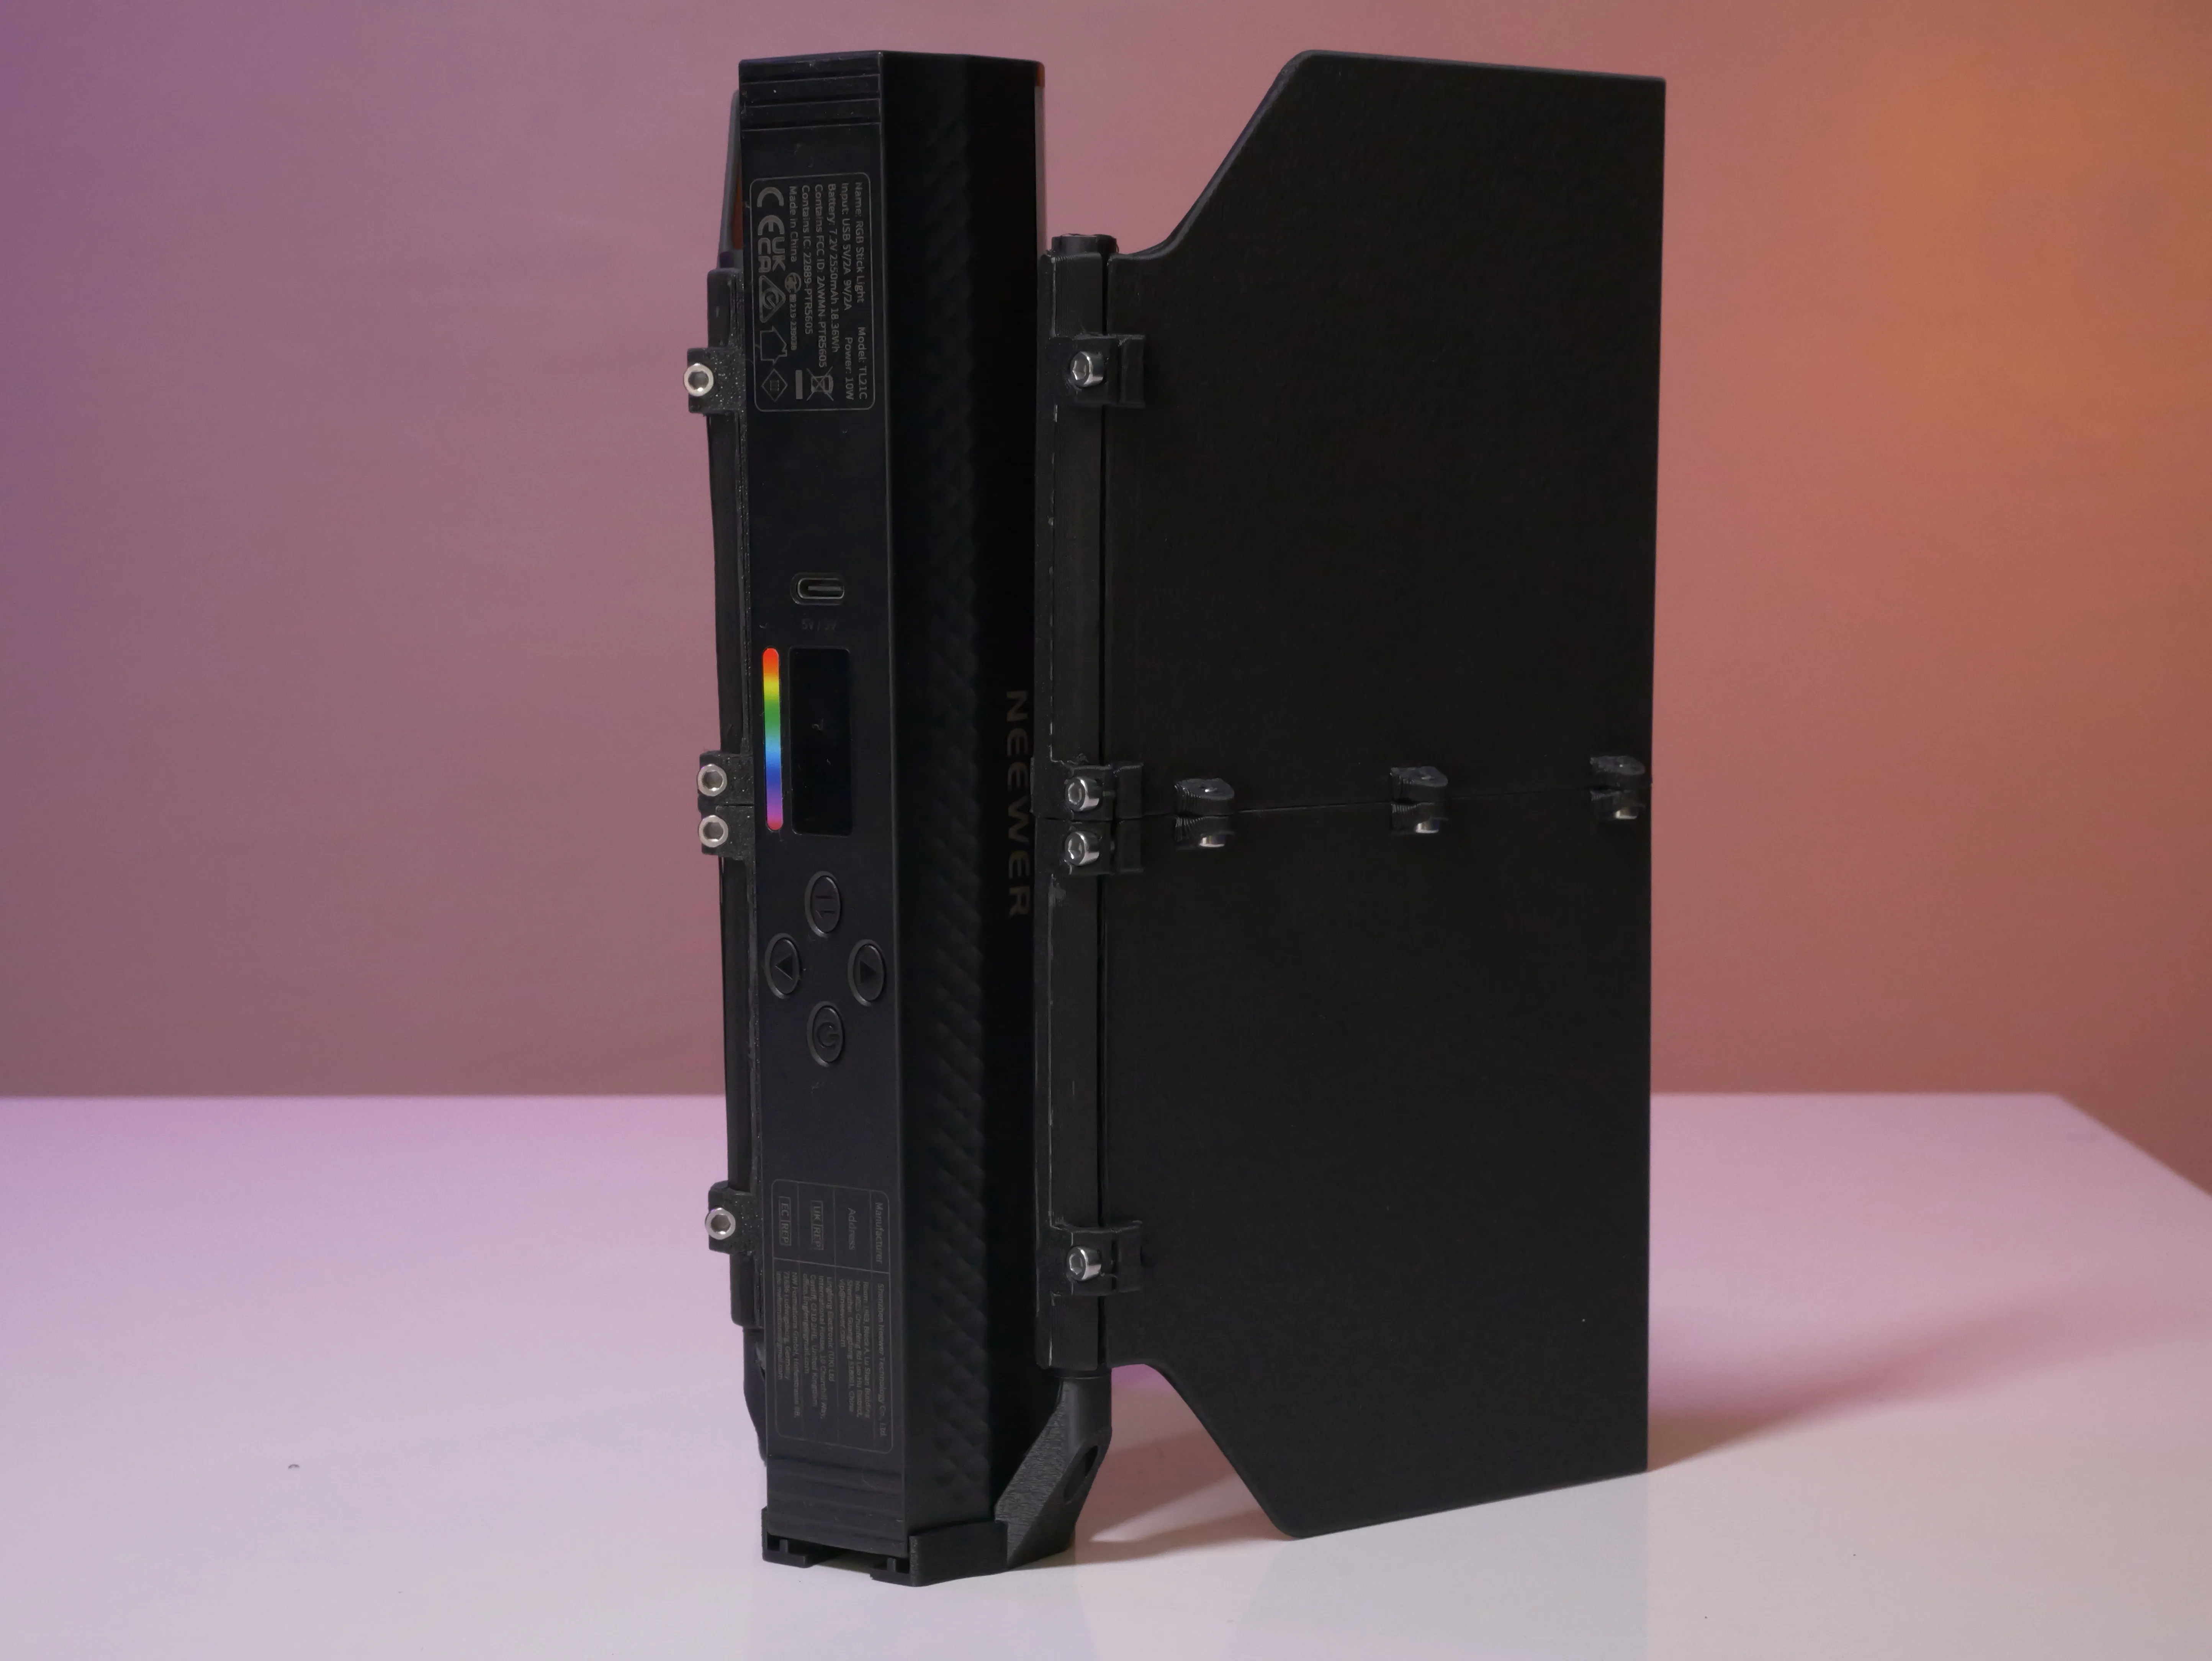
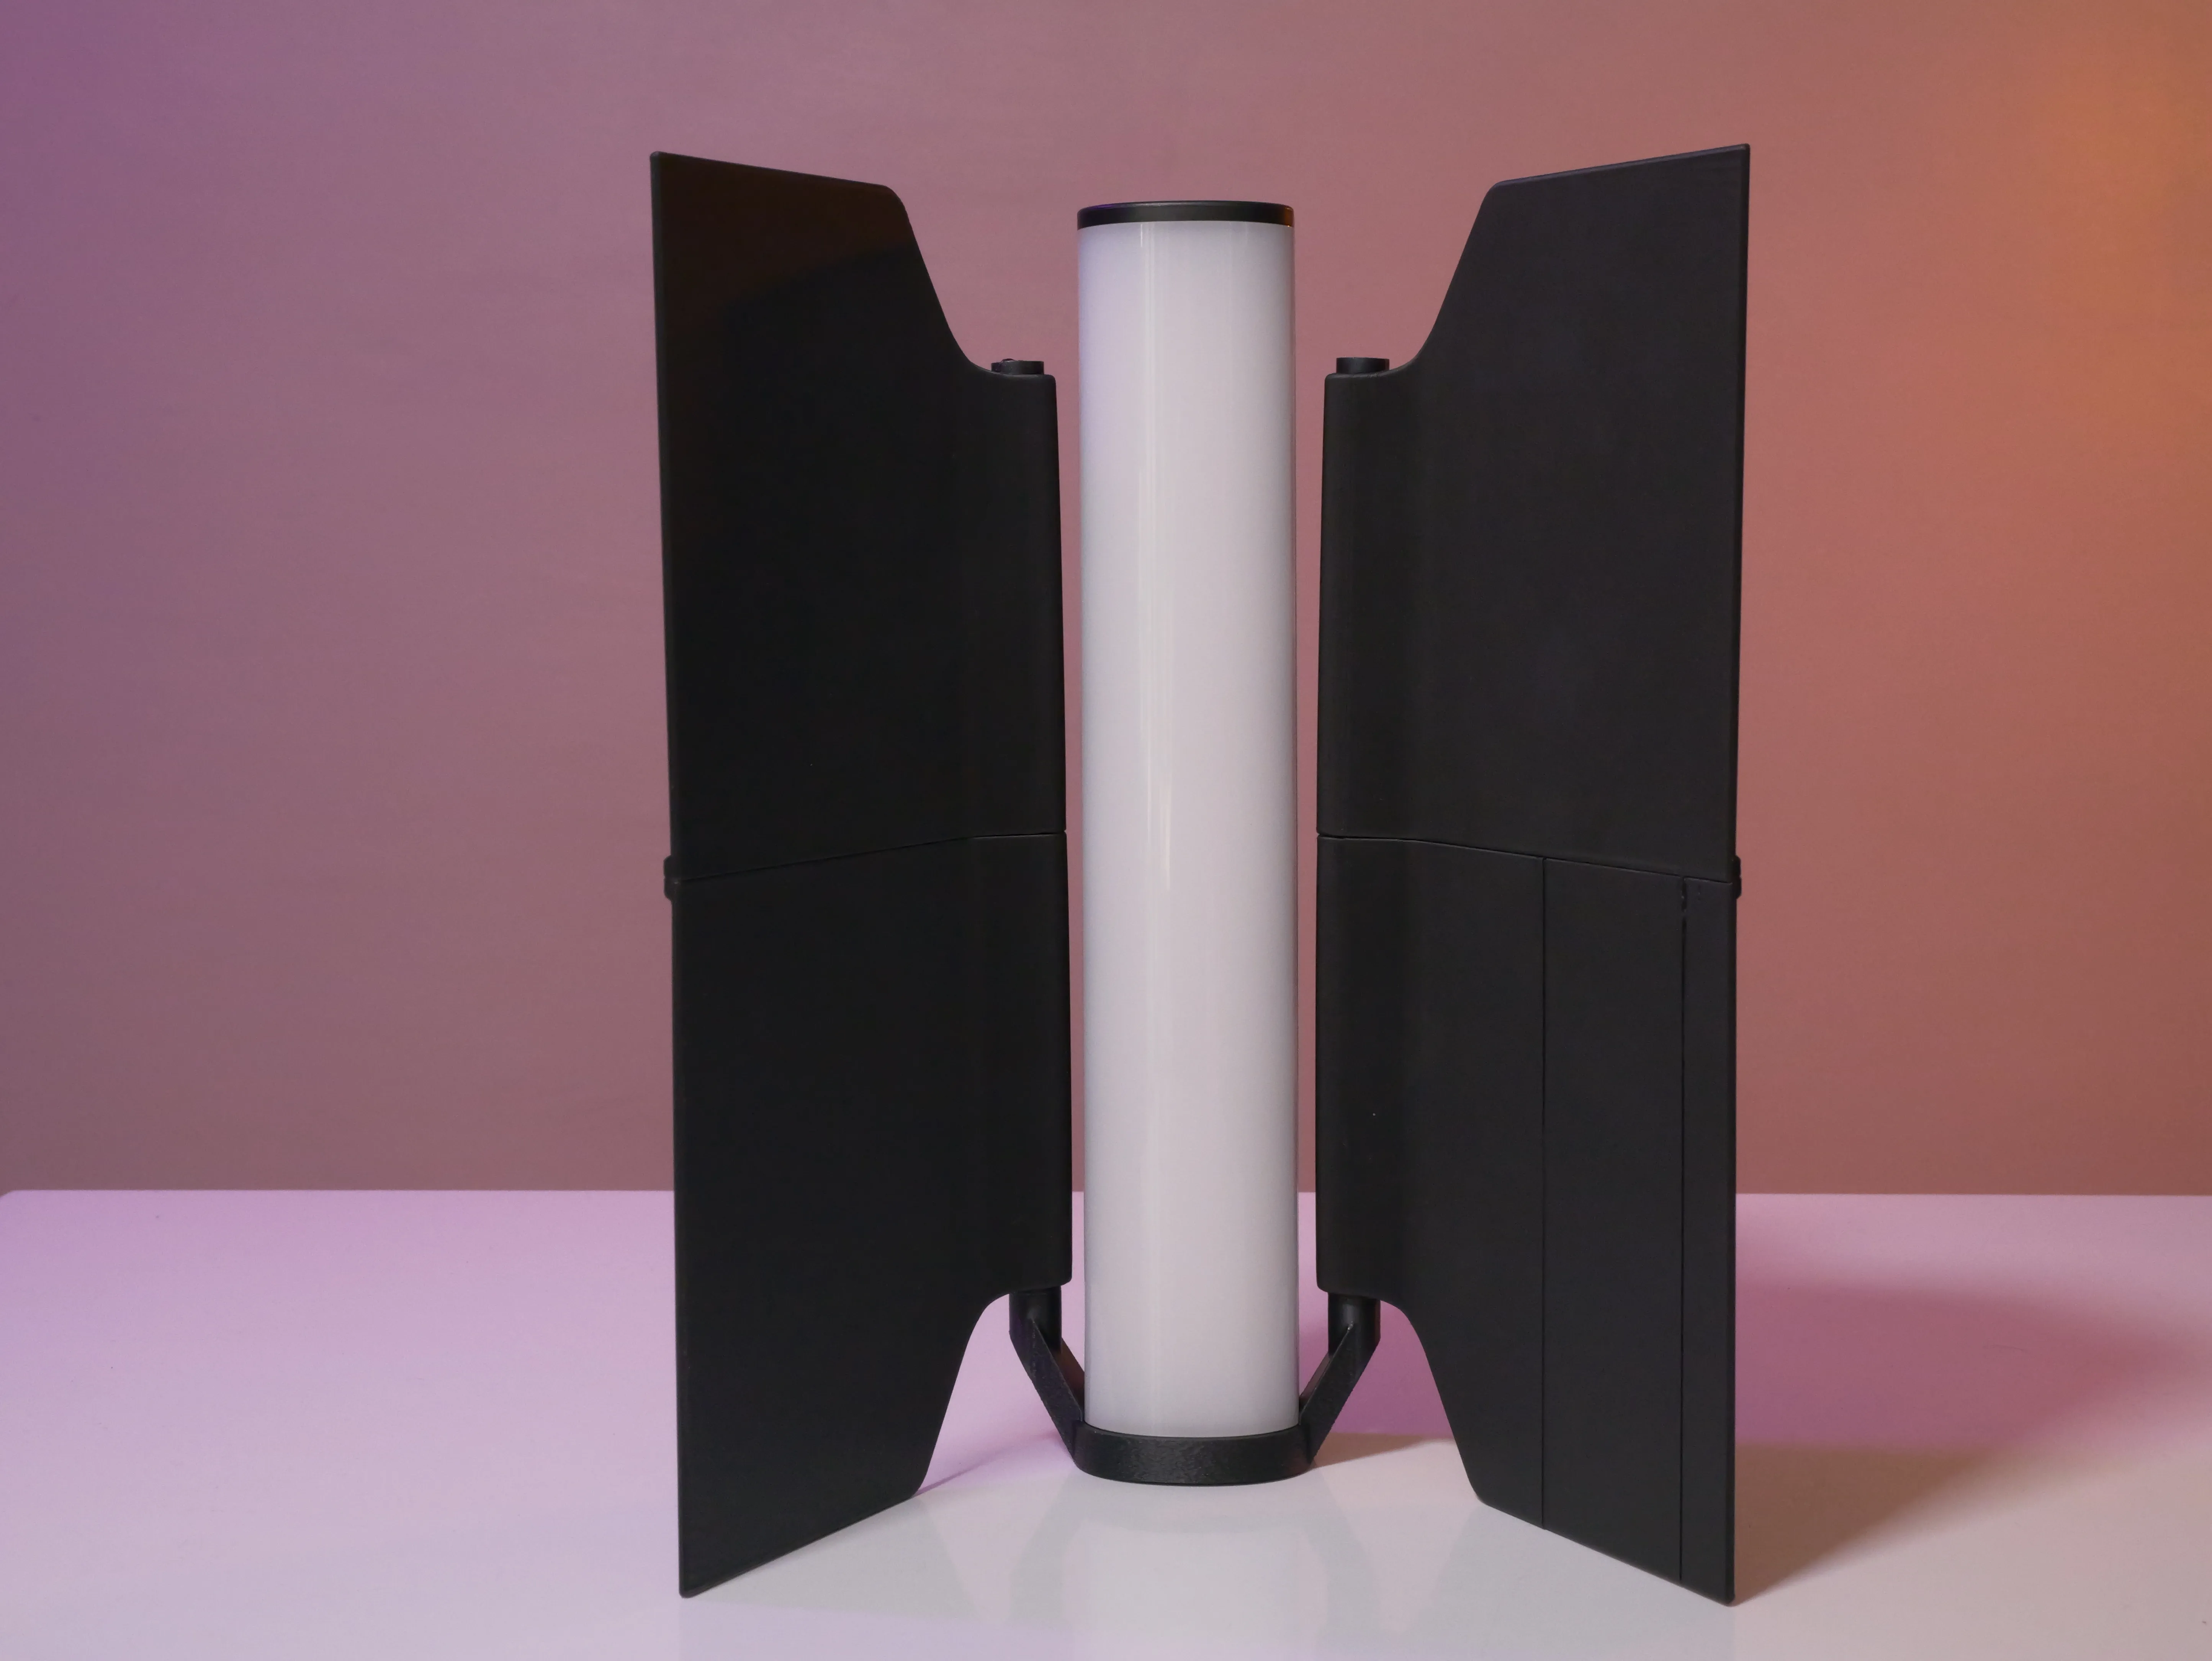
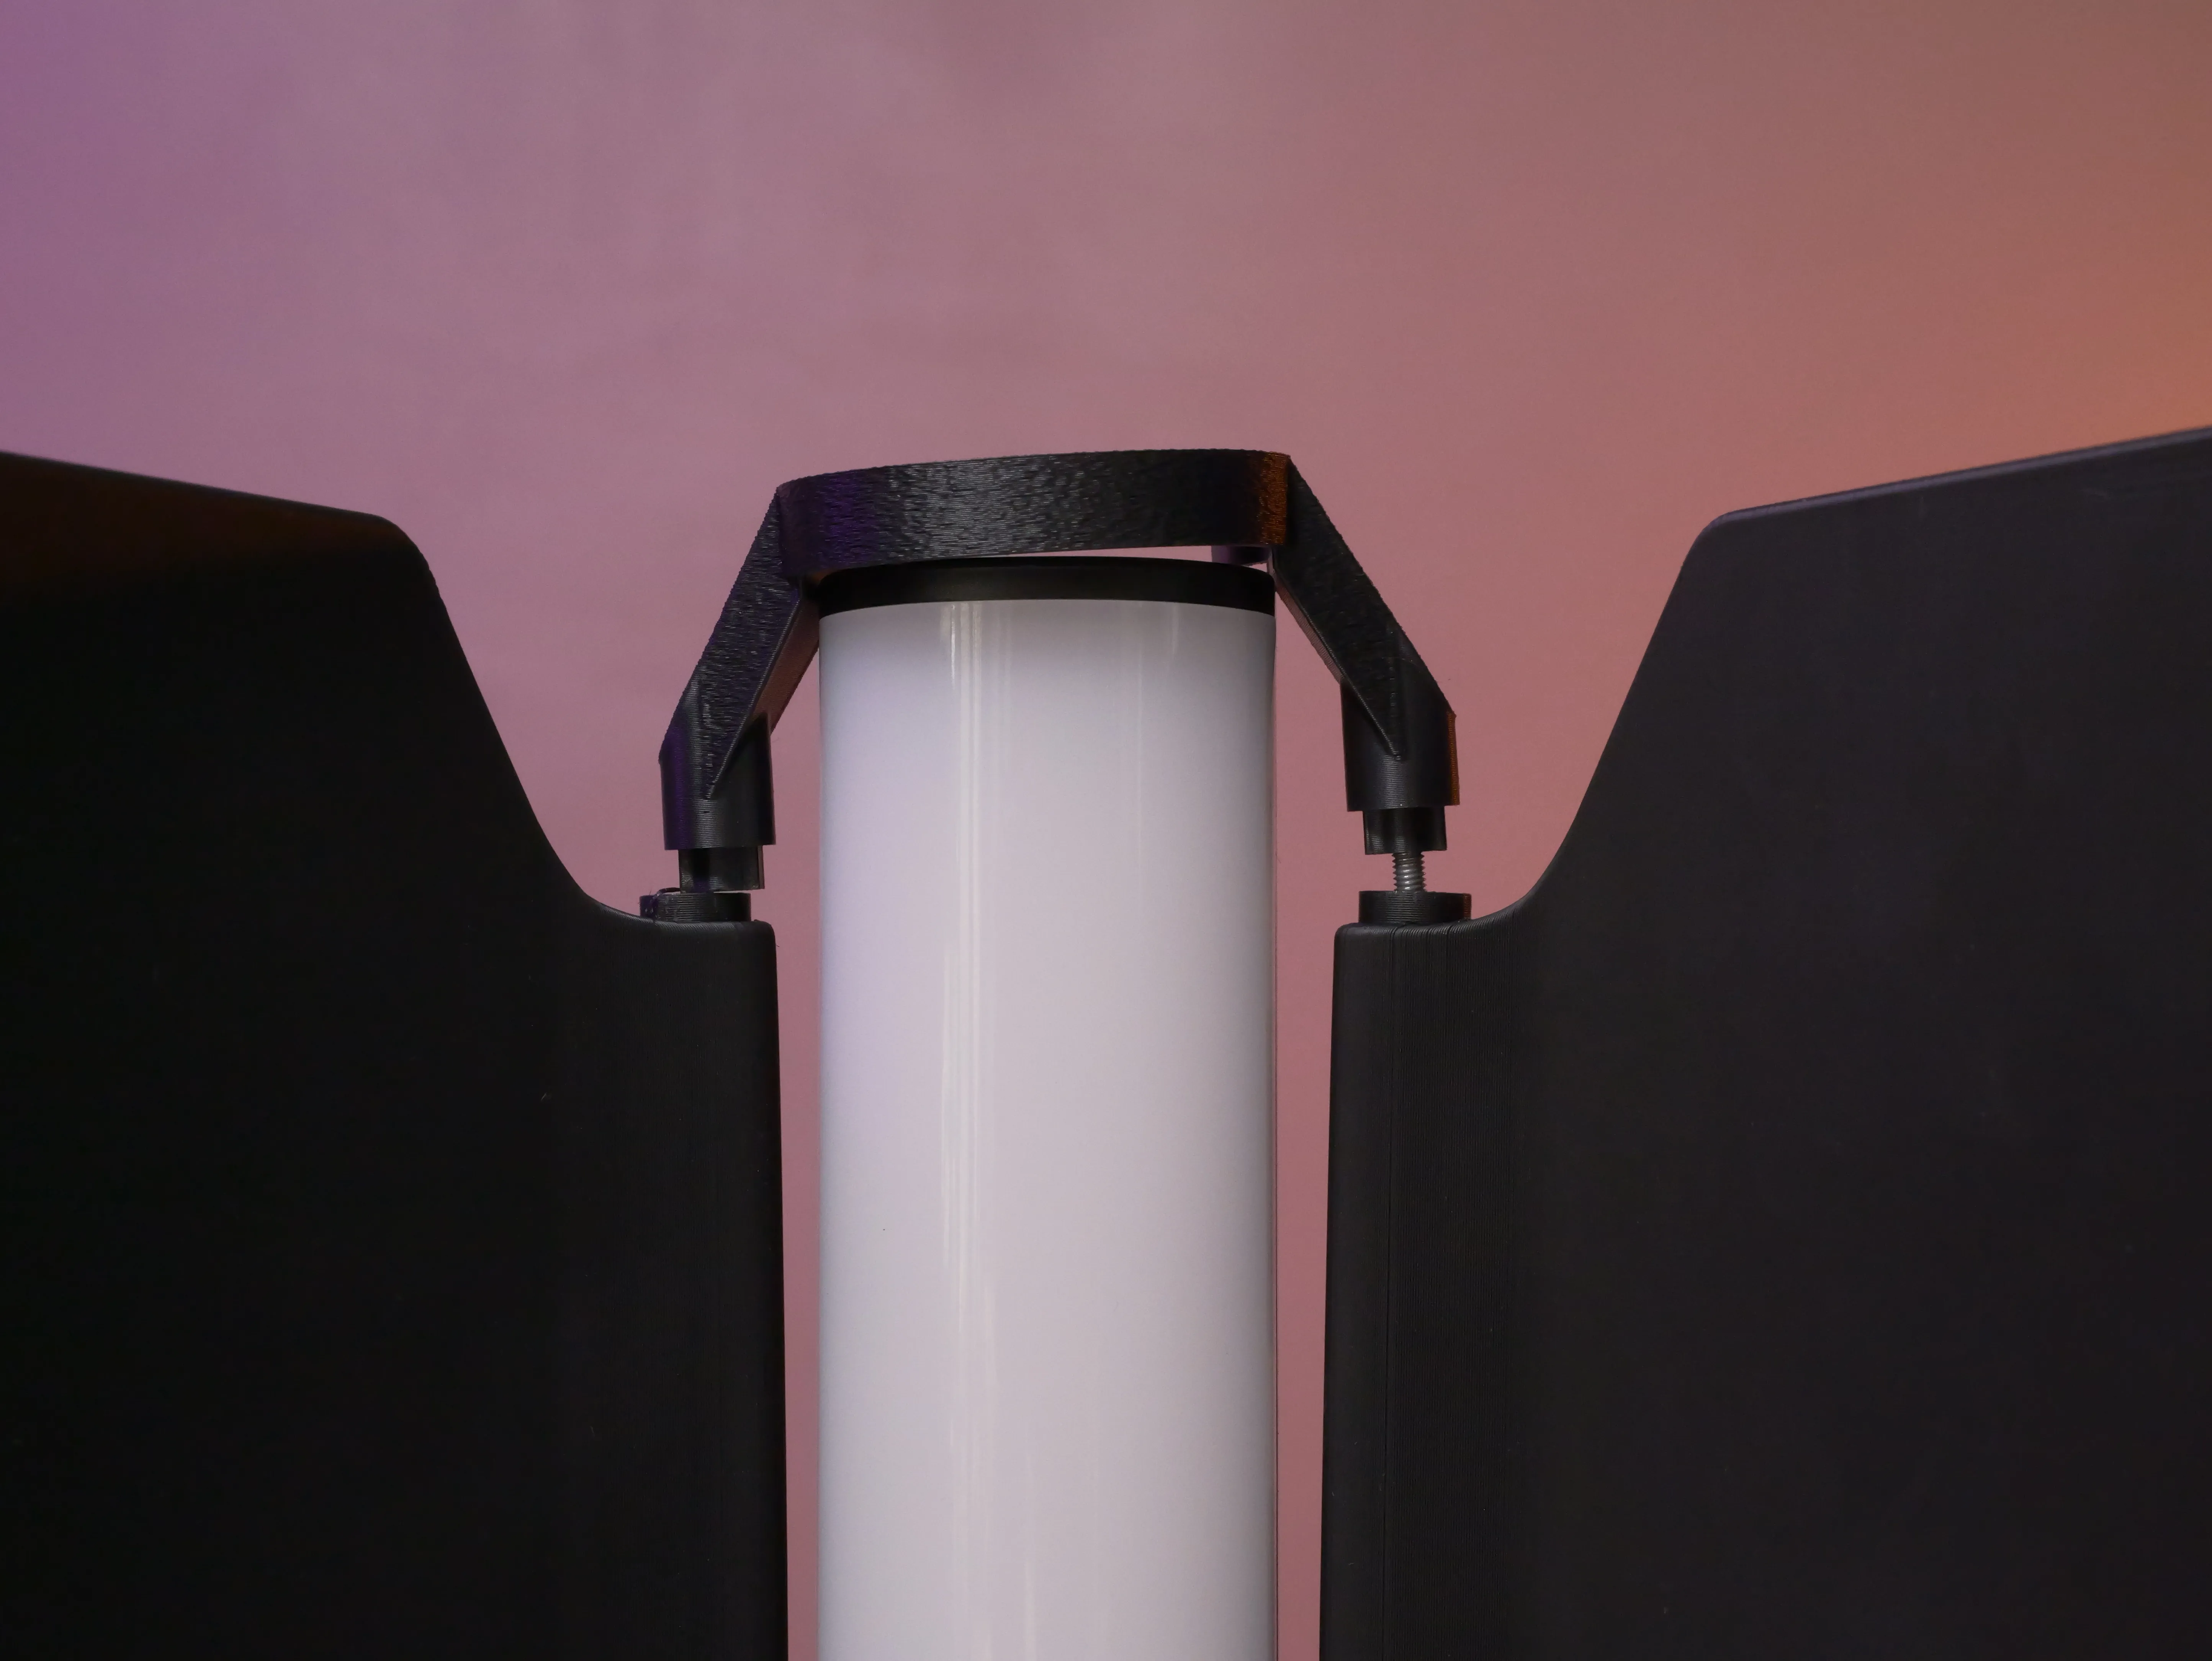
13 - Enjoy your magnetic support.
👇
⚠️allow the build plate to cool before removing the 3D printed parts⚠️
License

You may create derivative works based on this object, provided that all such derivative works are published exclusively on the MakerWorld platform and include proper attribution to the original creator. You may not share, upload, host, distribute, or publish this object—or any derivative work of this object—on any other digital platform, marketplace, or distribution channel. Commercial use of this object and any derivative works is strictly prohibited. This includes, but is not limited to, selling, renting, sublicensing, or using the object in any context in which you receive monetary compensation or other financial benefits.


Comment & Rating (0)