xTool F2 Ultra UV - Adjustable Jig - 2 axis Jig


Print Profile(1)
Bill of Materials


Description
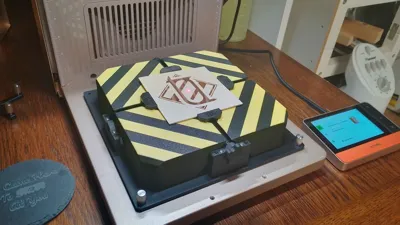
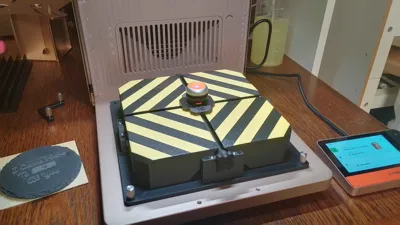
-=-xTool F2 Ultra UV - Adjustable Jig-=-
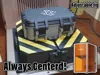
Sick of not having your engraved object fully centerd? I sure was!
While custom Jig's are nice for mass production i noticed a difficulty in centering random one off objects i wouldnt normaly construct a jig for. After looking for solution i sadly didnt find anything that centers a object in both axises.
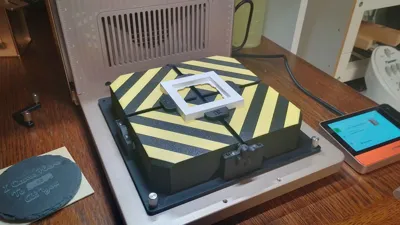
To solve this i designed this custom jig that uses 2 bi directional screws to bring two clamps to the center. This ensures the object is always centerd. Because the 2 axises are seperatly operated it doesnt matter if the object is square, rectengular or round. Rectengular is often a problem with the round jigs you commonly find as it doesnt touch the rig in 1 axis.
Print Settings Tips
The threats itself are quite difficulty to print. We tested this model on the X1C and H2D series printers with succes. If it fails double check the settings with our stock profile and if the modifiers are still working as intended. The threat will also loosen up a bit more after running in!
How to assamble?
Assambly is pretty straight forward but requires some TLC. Its important to beforehand check all holes and if needed clean them out of print defects. Also you should ensure you turn the clamps on the right way to ensure they actualy center! If you rotate them 180 degrees it still works but it be off center!
Step 1 - Prepare the thread
Included in the 3MF are 2 threats. They marked with L (Left) R (Right) B (Bottom) and T (Top). When putting the clamps on the thread make sure R and B are near the sprocket while L and T are near the end. Keep in mind L and T use a diffrent threat then R and B so need to be threated on the oppisite way.
WARNING To ensure it centers it perfectly make sure L and R are correctly installed. You can put them onto the Threat in 2 diffrent ways as there 2 entry points. Check if both used the correct entry point by putting them on the end of the threat as seen below. If they both face up its correct. if one faces down and the other up its installed wrong way around. If so take it off and rotate it 180 degrees before reinstalling it. Do the same for T and B!

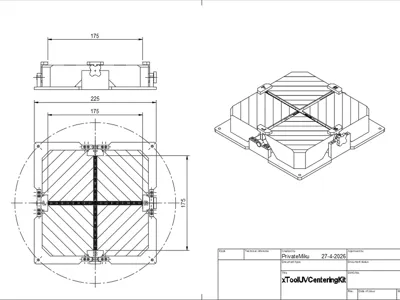
Step 2 - Installing the threats on the baseplate
Take the baseplate lay the screws inplace. make sure R and B are at the biggest opening. L and T have narrower ones so the clamp can be installed. Afterwards install the 4 clamps to secure the threats inplace (2 examples are marked red below). Keep in mind those also have a narrow and bigger variant that look verry simulair!
Each clamp has 4 screw holes but in reality you only need 2. The other 2 are added incase you strip one or want more security.

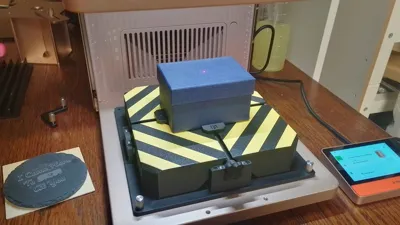
Step 3 - Installing the table
And last install the 4 cornor pieces. They can be a bit difficult to wiggle inplace but it shouldnt be to hard when you get the hang of it. In the bottom you find 12 holes with wich you can secure the 4 table pieces. This procces can be a bit hard to allign but should work perfectly if you checked if all holes are clear after printing.

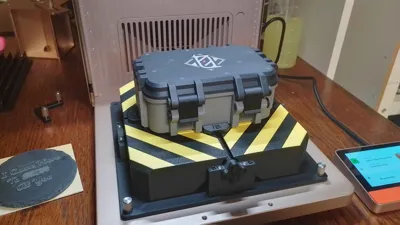
Assambly Complete!
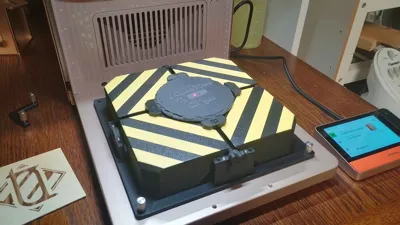
Afterwards if installed correctly you would have 2 sprockets you can turn. Now lay your object into the frame and turn the 2 knobs till all 4 touch it. keep in mind if you turn them to thight the other axis might not be able to push it. The sprockets are kept small for this reason to be sure there isnt to much stress on the printed parts. I hope you enjoy this and it makes your engraving yourny a bit easyer!

Check out the full xTool F2 UV Collection here!
https://makerworld.com/nl/collections/25498421-xtool-f2-uv

Boost Me (for free)
Support our work!
Need Support?

To help us assist you more effectively, please include which printer and filament you’re using, along with any modified settings. If a manual is available for your model, we recommend reading it and starting with the stock settings for best results.
❌ No AI Use: This model may not be used for AI training, dataset creation, or any other AI-related purposes under any circumstances.
❌ No Commercial Use Without Permission: This model may not be sold, redistributed, or used for profit (including reselling printed versions) unless a separate commercial license has been obtained from the creator.
Membership
Want to sell these models commercially? Buy a commercial license here!

Documentation (1)
License
You shall not share, sub-license, sell, rent, host, transfer, or distribute in any way the digital or 3D printed versions of this object, nor any other derivative work of this object in its digital or physical format (including - but not limited to - remixes of this object, and hosting on other digital platforms). The objects may not be used without permission in any way whatsoever in which you charge money, or collect fees.
Comment & Rating (2)