
Print Profile(2)
Description

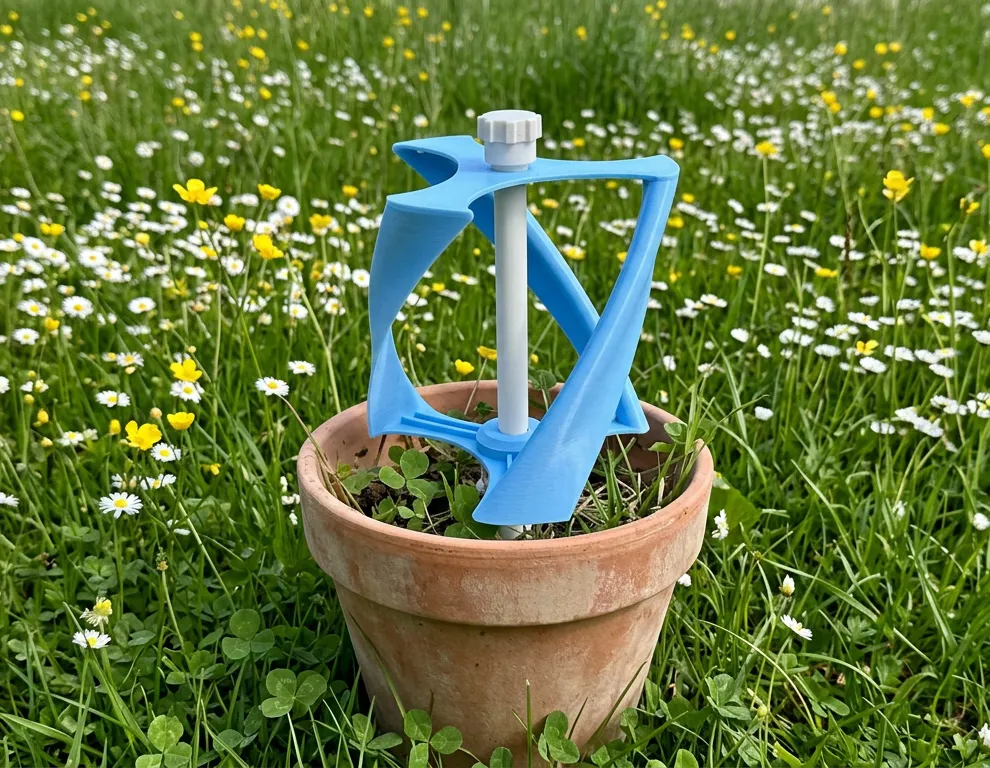
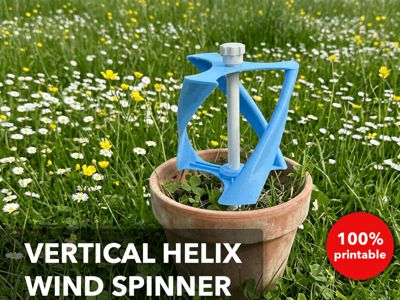
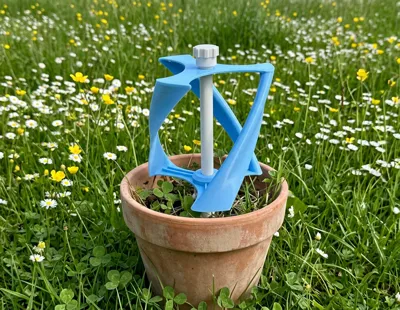
Inspired by the Darrieus helix rotor, this vertical axis wind spinner creates a mesmerizing twisting motion in the breeze. It features three vertically curved rotor blades and requires no extra hardware or tools, making assembly as simple as snapping and screwing the parts together.
Usage
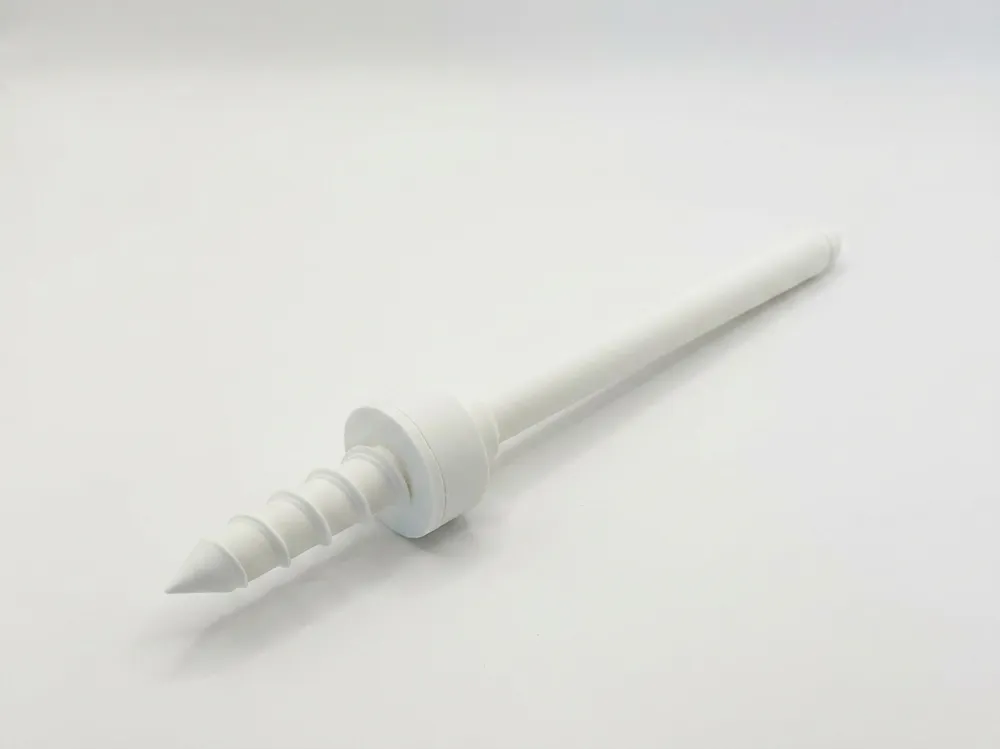
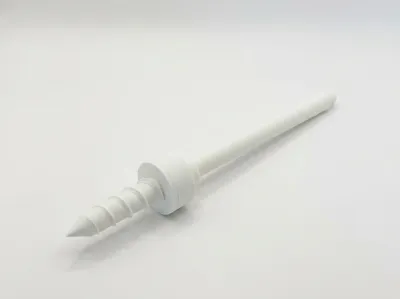
You can install this spinner in two ways. For ground mounting, twist the included printed screw into soft soil and attach the base. Alternatively, thread a string through the hole in the top knob to hang it. Note that hanging may cause slight swinging in stronger winds rather than a clean spin. Keep in mind that due to the weight of the rotor and its compact height, the spinner generally requires a decent breeze to start rotating.
Print Instructions
- Material: PETG or ASA recommended for outdoor use. PLA works great for visual results but is less suitable for long-term outdoor exposure due to UV and heat sensitivity
- Infill: 5-15%
- Supports: Use organic for the threaded parts
- Bed adhesion: Pay close attention to bed adhesion when printing the rotor. On Bambu A1 and A1 Mini, I strongly recommend using adhesive on the print plate to ensure the part stays put
- Special notes: Print all parts in their default orientation. Click the top cap onto the rotor to secure the assembly before mounting
Assembly Instructions
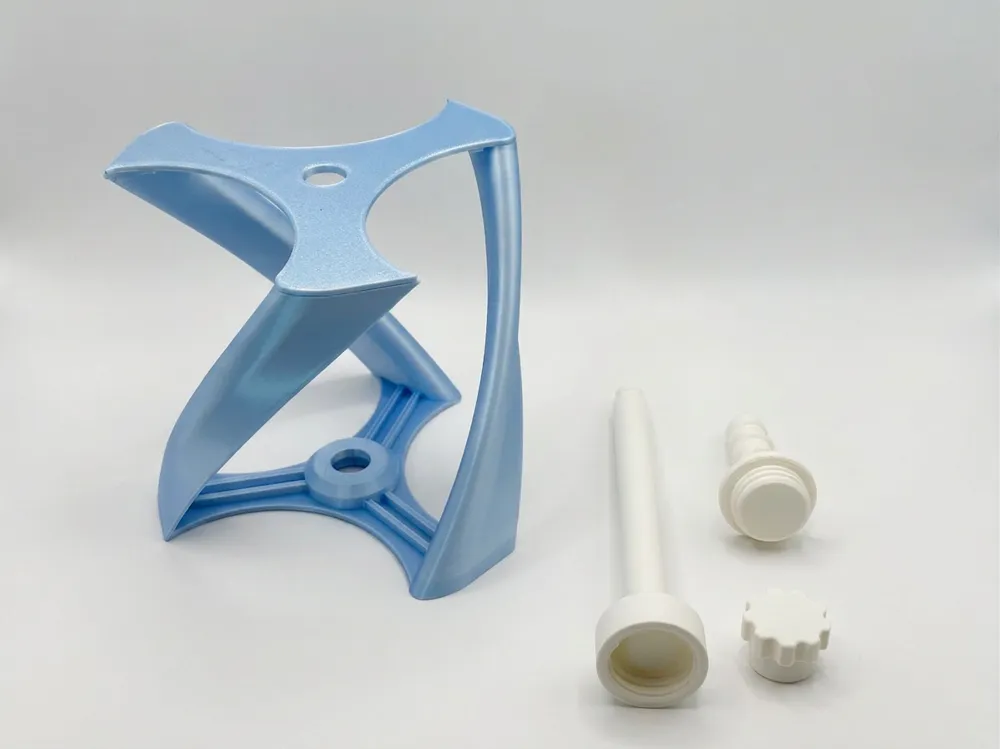
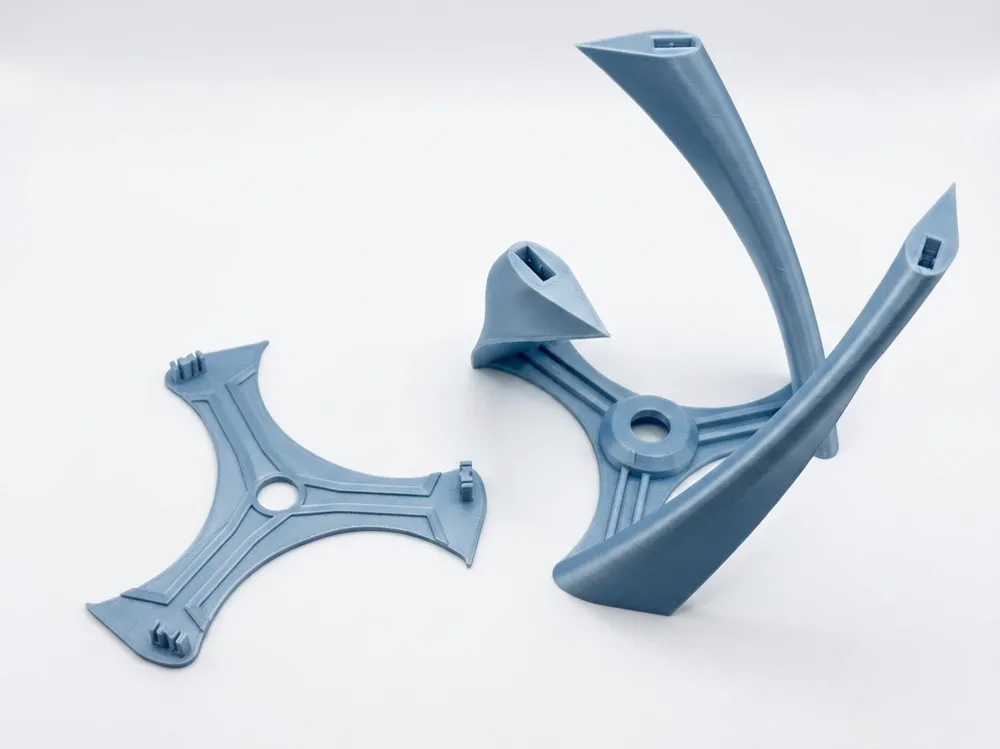
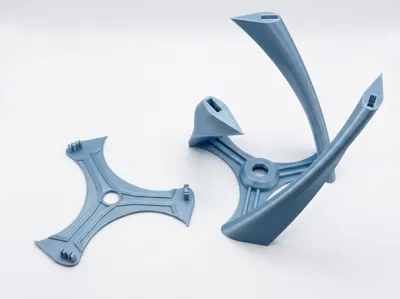
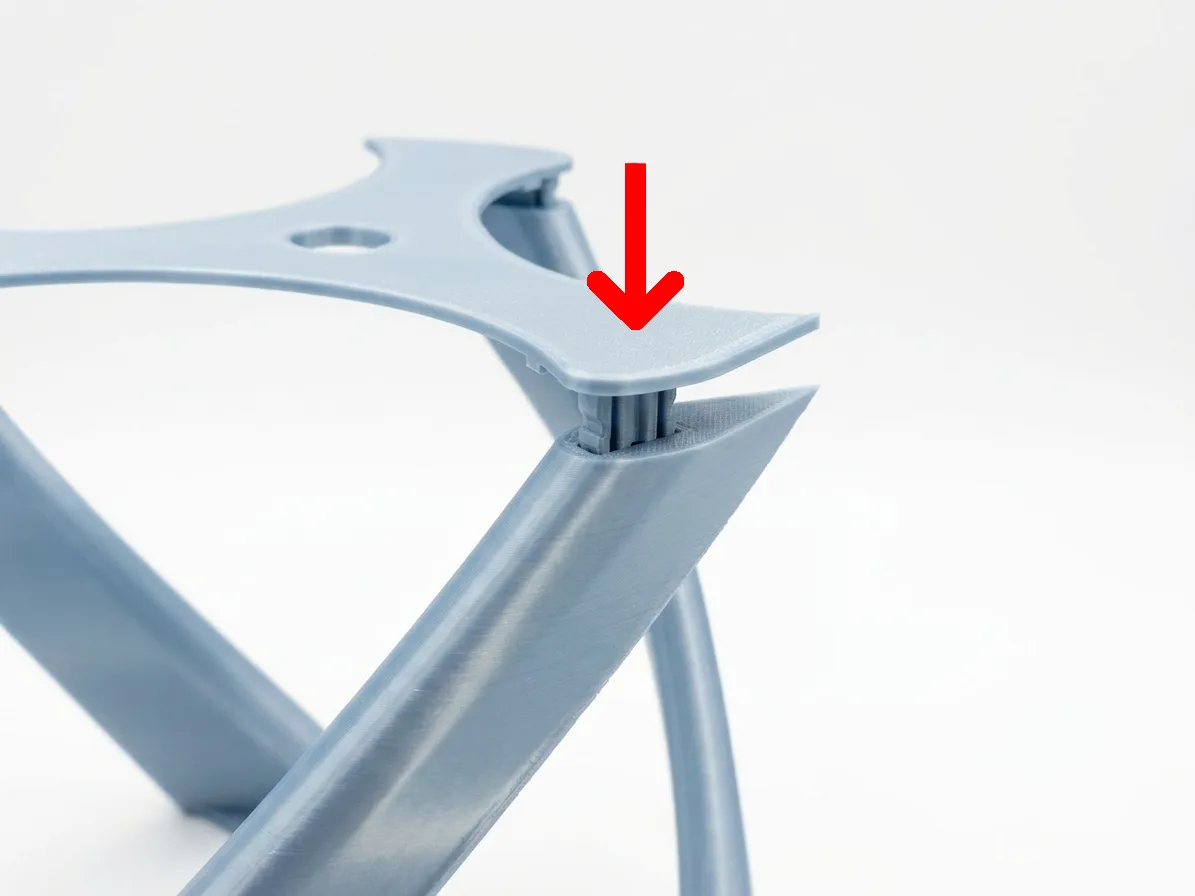
Assembling the Rotor Struts: Snap the rotor struts into the designated slots. Handle the rotor blades with care, as they are relatively fragile before they are fully assembled. Proper and careful assembly of the rotor elements ensures smooth rotation without unwanted friction or damage. Once the snap hooks click into place, the struts are permanently secured and cannot be detached from the rotor.
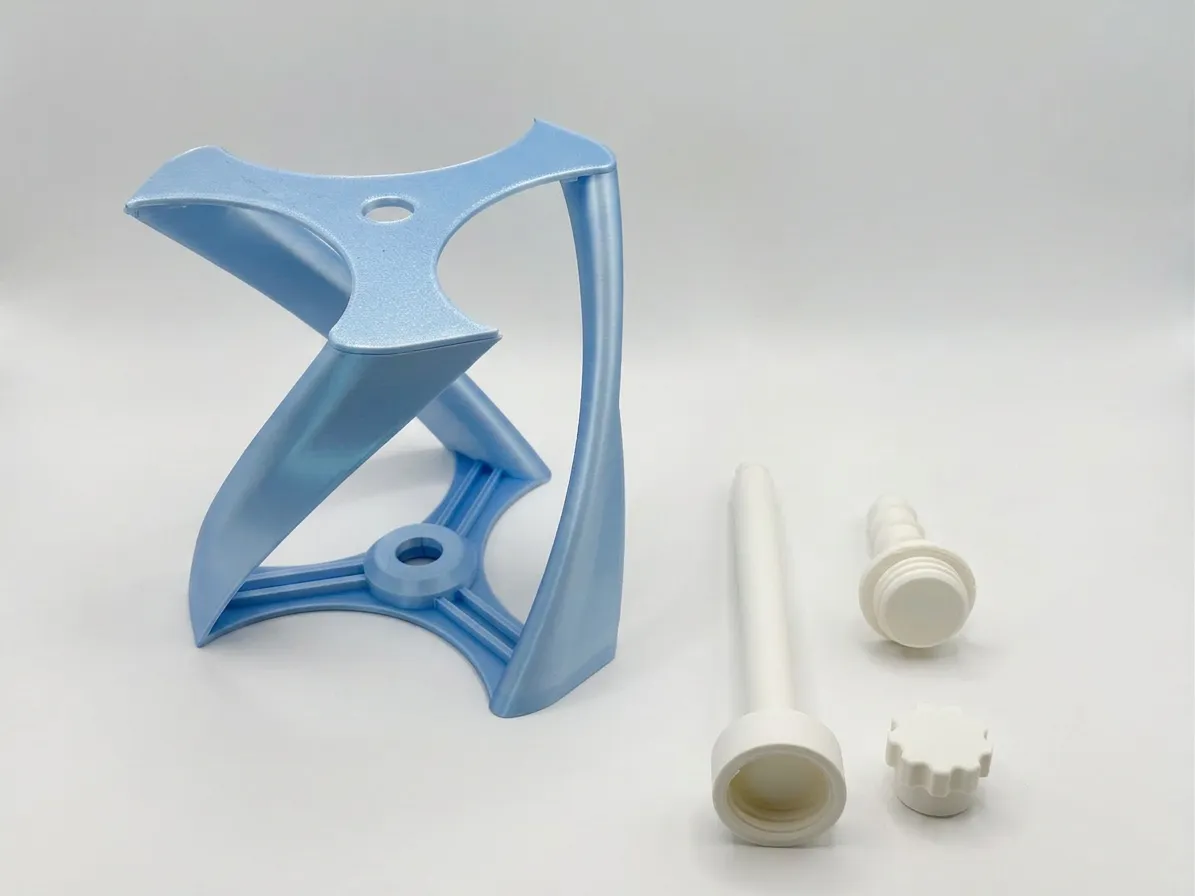
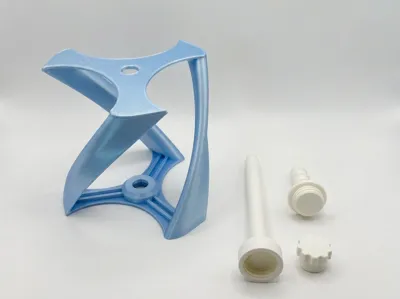


- Assembling the Axis: If desired, screw the ground screw into the bottom of the axis. Next, slide the fully assembled rotor onto the axis. Finally, secure everything by screwing the knob onto the top of the axis.
 |  |
Boost Me (for free)
I would be absolutely thrilled if you supported my work with a free Boost!
License

You may create derivative works based on this object, provided that all such derivative works are published exclusively on the MakerWorld platform and include proper attribution to the original creator. You may not share, upload, host, distribute, or publish this object—or any derivative work of this object—on any other digital platform, marketplace, or distribution channel. Commercial use of this object and any derivative works is strictly prohibited. This includes, but is not limited to, selling, renting, sublicensing, or using the object in any context in which you receive monetary compensation or other financial benefits.


Comment & Rating (6)