
V6 Stream Deck Plus XLR Compatible Swivel Mount
Print Profile(1)
Description
Hey everyone!
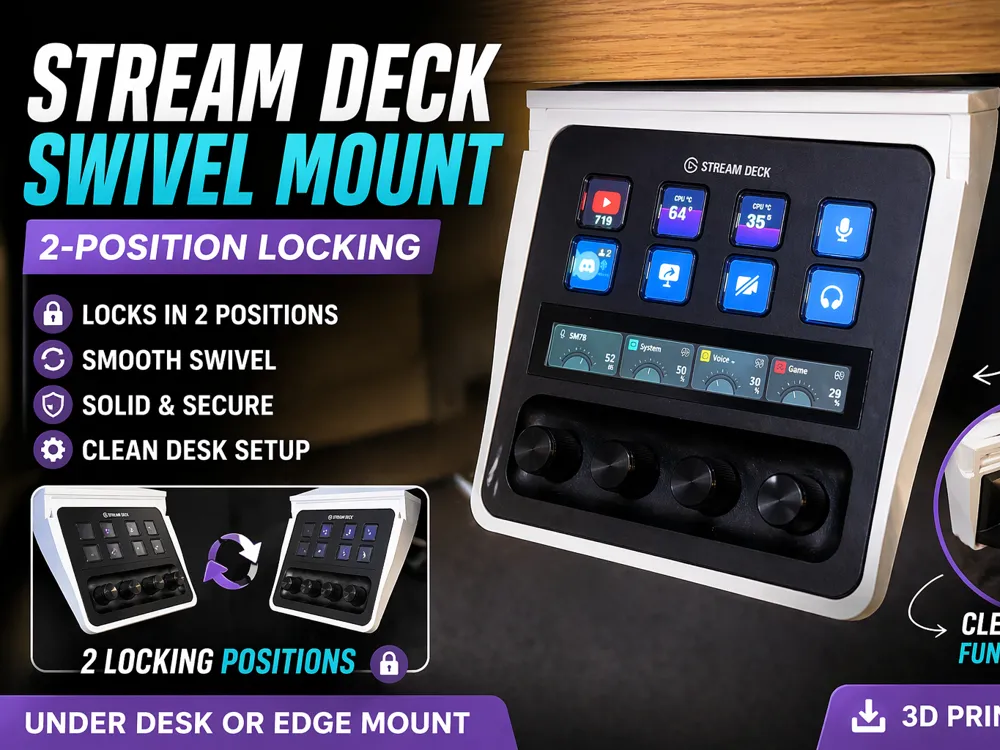
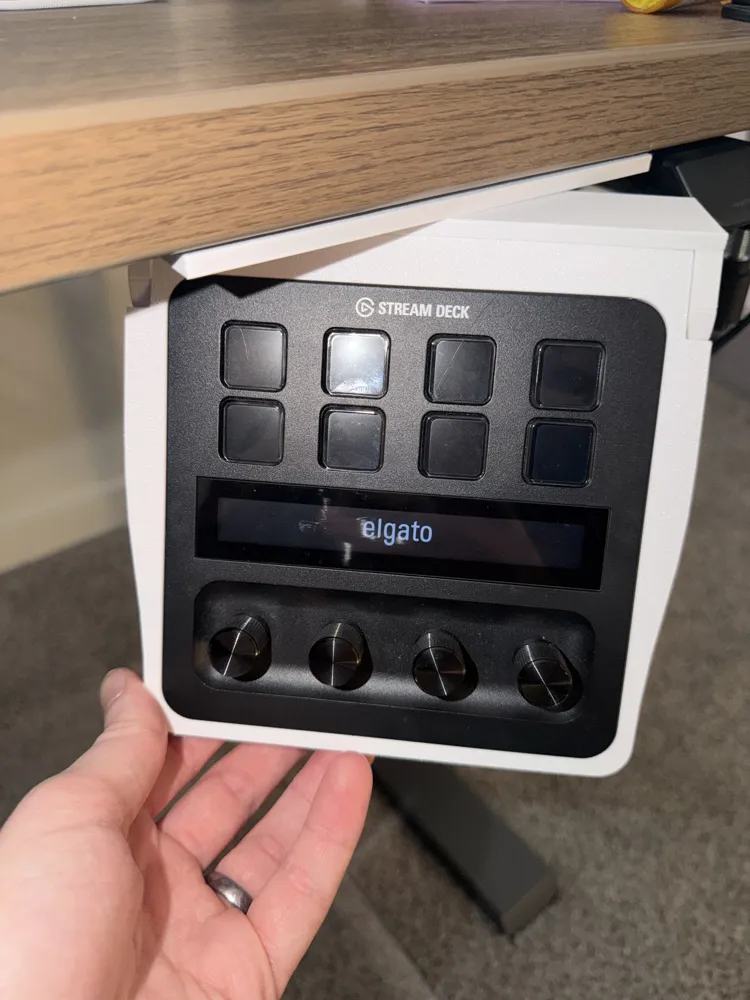
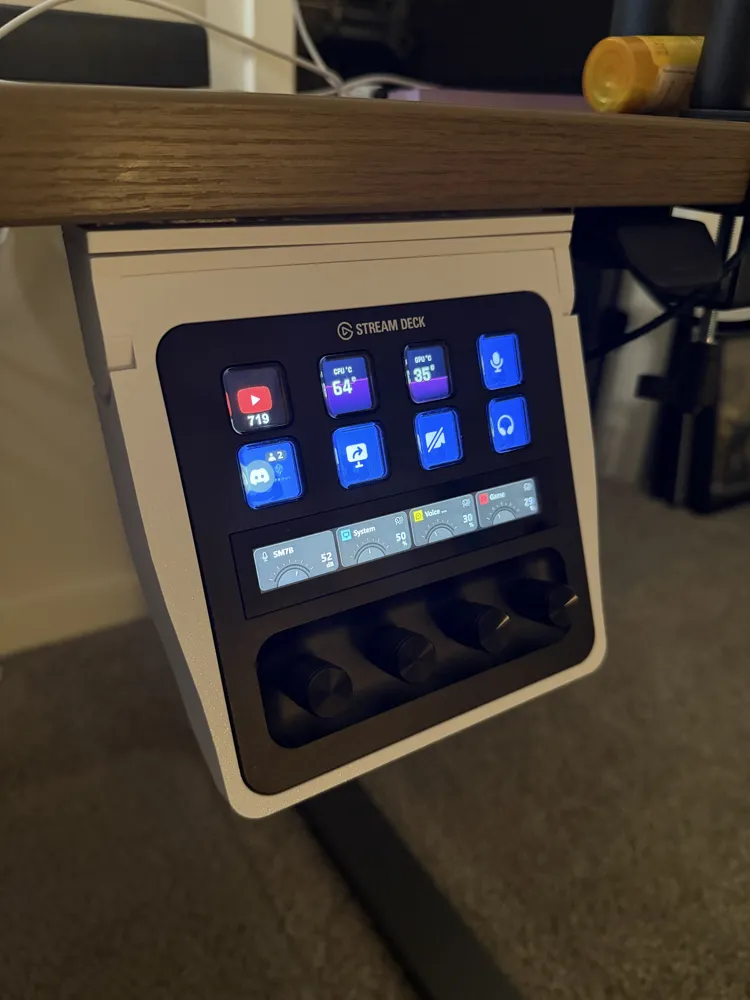
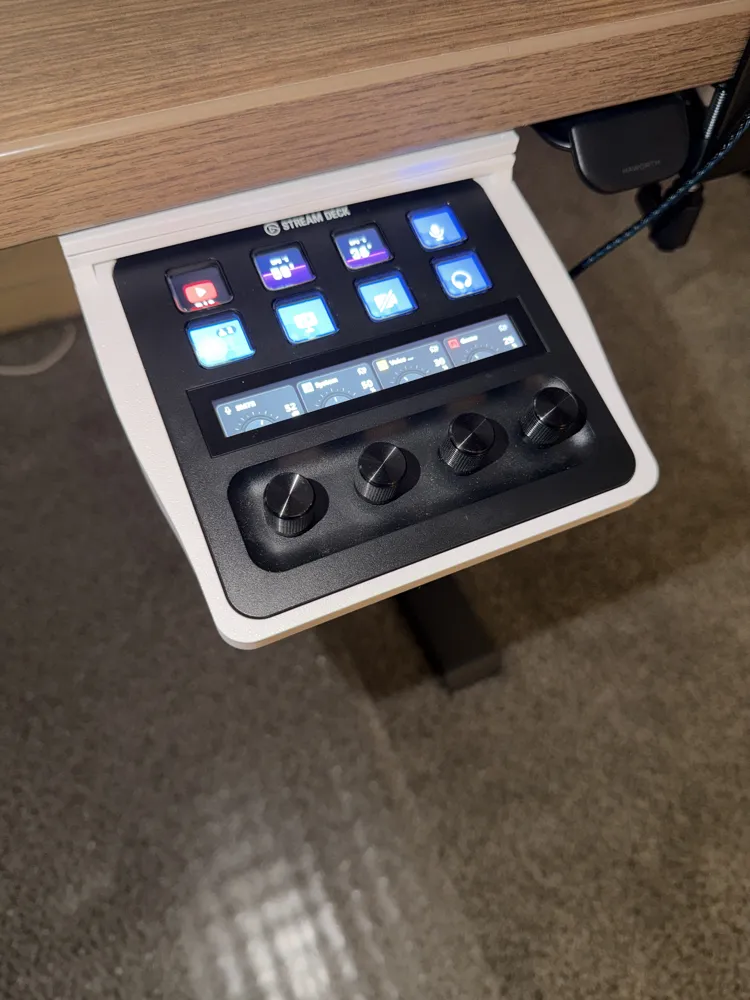
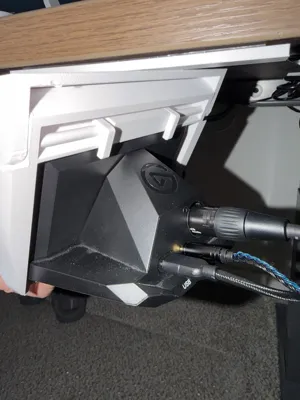
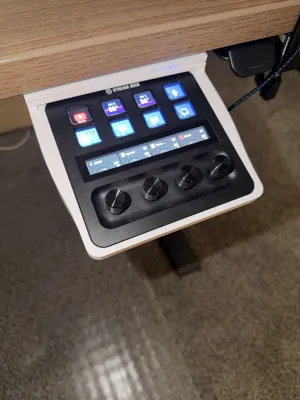
A clean, functional mount for the Stream Deck Plus XLR that adds something I felt was missing: controlled movement.
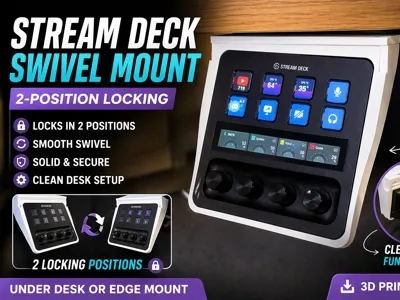
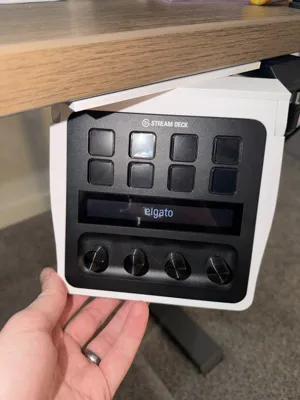
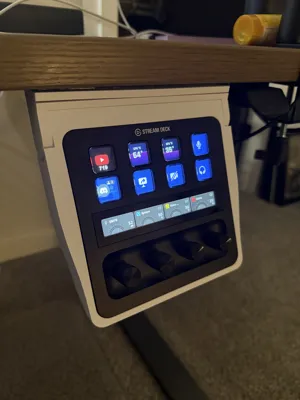
This version features a swivel mechanism with two locking positions, so you can quickly adjust your angle depending on how you're using your setup — then lock it in place so it doesn’t move around.
Designed specifically for a clean desk setup, whether mounted underneath or on the edge.
Inspired by Mountabl designs on Etsy, but reworked with a focus on a simple locking swivel system and print-friendly modular parts.
Features
- 🔄 Swivel mechanism with 2 lockable positions
- 🔒 Positive locking design (no sagging or drifting)
- 🧲 Friction-fit Stream Deck Plus XLR holder
- 📐 Clean, minimal design to match modern setups
- 🖥️ Ideal for under-desk mounting or edge mounting
- 🧩 Modular design (easy to tweak or remix)
Assembly
- No glue required (press-fit design) - *Depending on your printer tolerances*
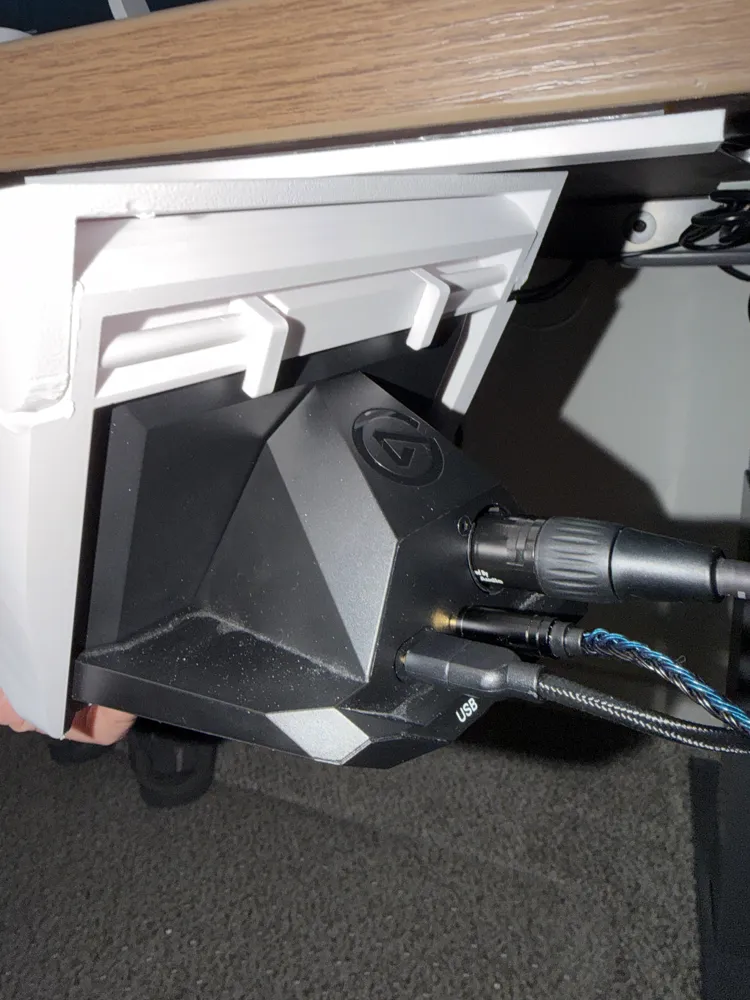
- Attach “Spin” object with the “Ratchet” object by press fitting together (should snap together)
- Add springs into the two holes in the back of the main holder
- Insert poles into each side and connect them with the right and left clip respectively. (Glue might make this better)
- Attach Holder to the Ratchet and Spin object
- Mount Stream Deck into Holder
- Mount to desk using screws or adhesive (depending on your setup, I recommend adhesive)
Notes
Tolerances with this model are pretty tight. The fits were different between my X1C and my H2S. I had to use a deburring tool to trim the poles and the connection point on top of the Ratchet object in order to make sure things fit well when I printed it on my H2S. For the two springs, I ended up just taking two pens apart and used the springs from within them
I plan to attach photos of the step by step process for assembling it once I have some extra time. Please leave any feedback for me in the comments as this has taken me well over 40 hours between modeling, printing, and testing. A fresh set of eyes could really help.
Finally, I really made this with the intention to help those like me who saw Mountabl's design on etsy but could not justify paying $50 when I myself have a 3D printer and am capable enough to design my own similar enough to his. I hope this helps at least one person.
License

You shall not share, sub-license, sell, rent, host, transfer, or distribute in any way the digital or 3D printed versions of this object, nor any other derivative work of this object in its digital or physical format (including - but not limited to - remixes of this object, and hosting on other digital platforms). The objects may not be used without permission in any way whatsoever in which you charge money, or collect fees.


Comment & Rating (3)