
Bow/Crossbow Launcher – Customizable Barrel Length and Power Unit (Rubber Band or Spring)
Print Profile(1)
Description
Boost Me (for free)
Creating is not easy, please give me a boost~ Many thanks, and I wish you all the best!
Model Introduction:

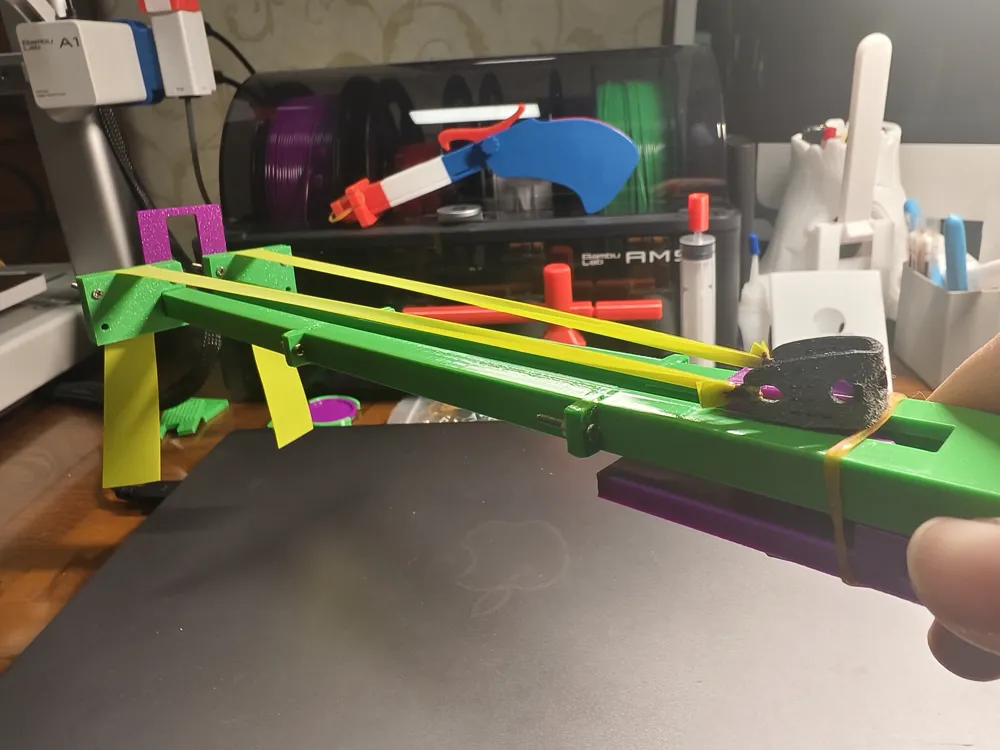
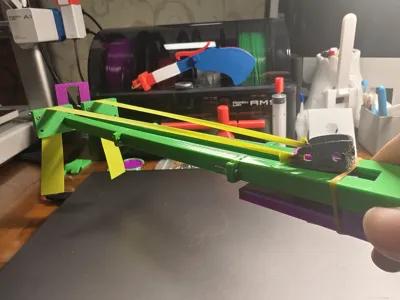
This is my latest launcher. It not only has a long range and high accuracy (compared to previous rubber band guns), but also boasts two excellent advantages:
1. Customizable barrel length. Specifically, by installing different numbers of extended barrels, it can accommodate rubber bands of various lengths.
2. Power unit compatible with both rubber bands and springs. The model has built-in spring slots that can fit springs from the “Bambu Lab Starter Parts Pack” (specifications: 0.5×5×25mm); however, due to the small elasticity of this spring, I ultimately chose rubber bands as the power unit.
All parts of the model are printed on a single plate. The model adopts a modular design, so if any part is damaged during use, you only need to re-print the corresponding accessory.Welcome to download and print! Have fun~
In addition to the printed parts, you will also need the following accessories:1 launch rubber band (high-elasticity rubber band), 1 trigger rubber band (ordinary rubber band is sufficient), 1 tail rubber band (ordinary rubber band is sufficient), 6 sets of bolts and nuts with a diameter of 2mm and a length of no less than 15mm – 6 sets for the basic configuration. If you need to extend the barrel, each additional pair of extended barrels will require 2 additional pairs of bolts and nuts.
PS: A pair of extended barrels is built into the printing plate, and you can decide whether to install them based on actual needs.
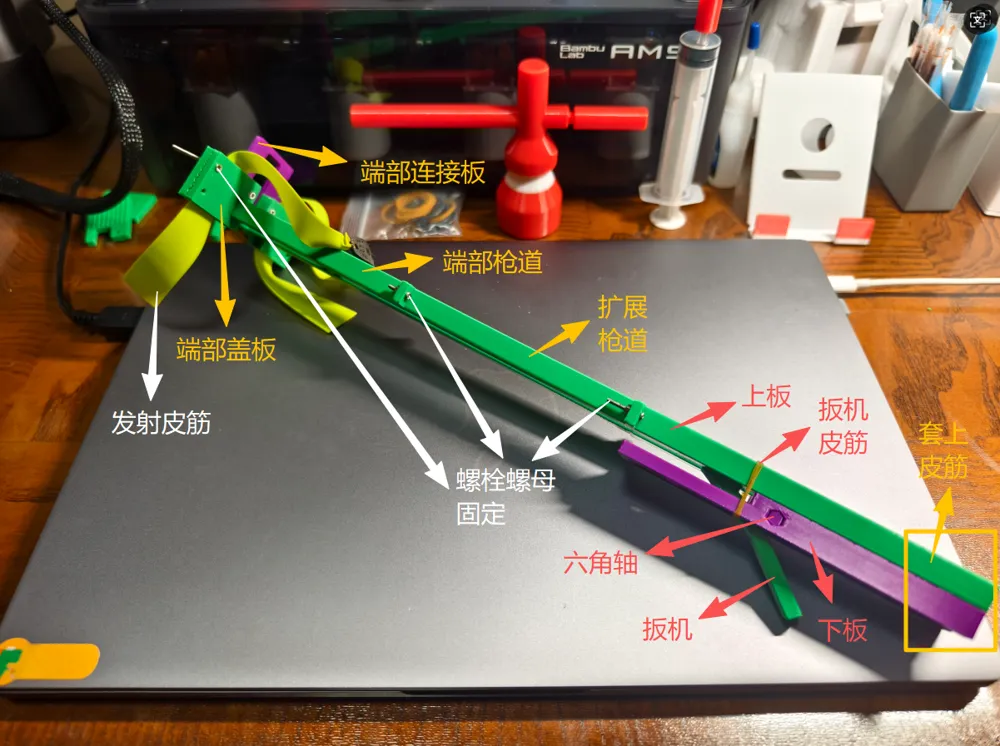
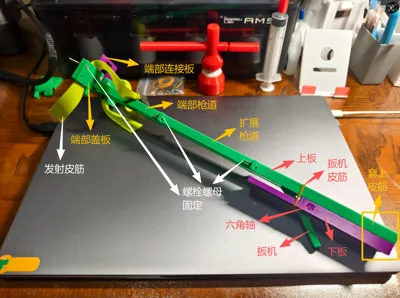
Parts Diagram:
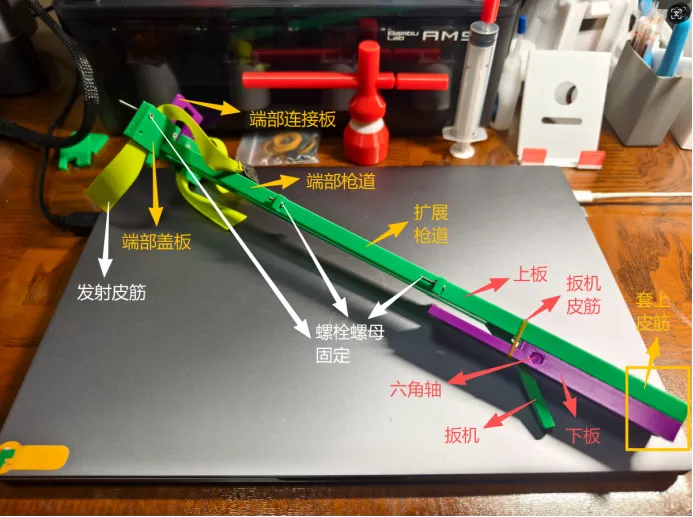
Installation Process:
This model consists of 12 types of parts, namely: top cover plate, bottom plate, hexagonal shaft, trigger hook, slider arrow, middle extended barrel (left), middle extended barrel (right), end barrel (left), end barrel (right), end cover plate (left), end cover plate (right), end connecting plate, and the specific installation steps are as follows:

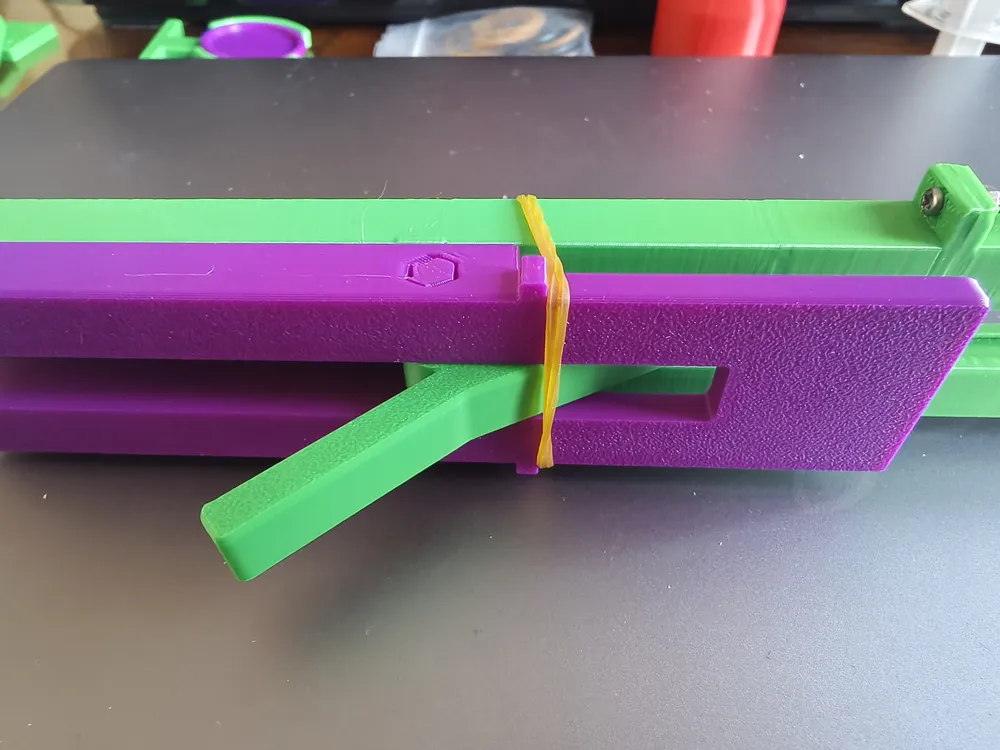
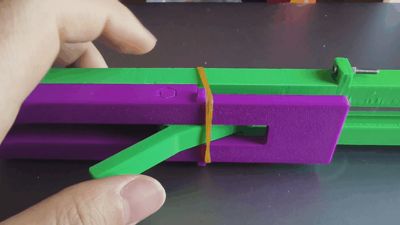
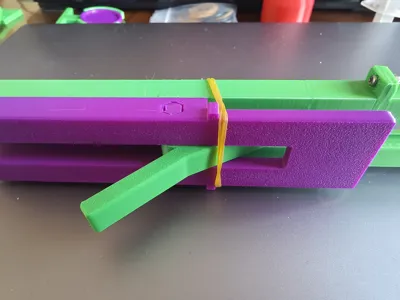
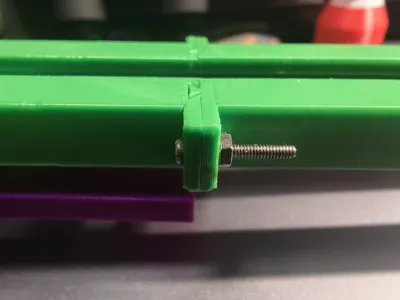
1. Place the top plate onto the bottom plate, aligning the holes. If it cannot be closed tightly (fit dimensions may be affected by printing environment and filament), it is recommended to use rubber bands to secure it (as shown in the bottom right corner of the figure); adhesive can also be used for fixation, but this is not conducive to later disassembly and replacement of parts.
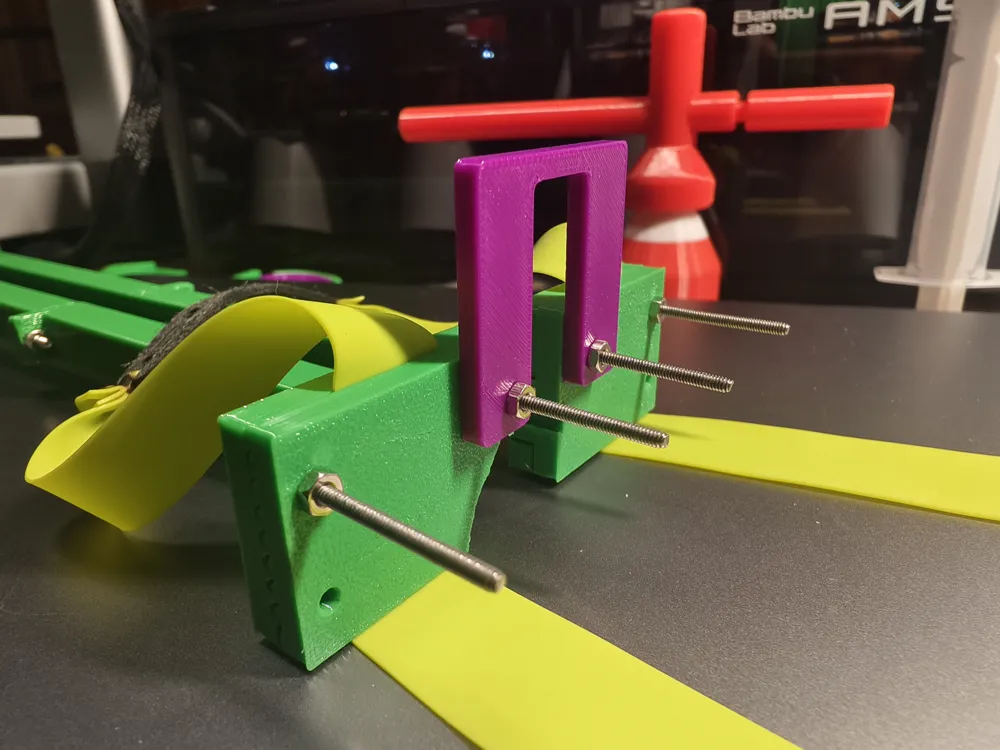
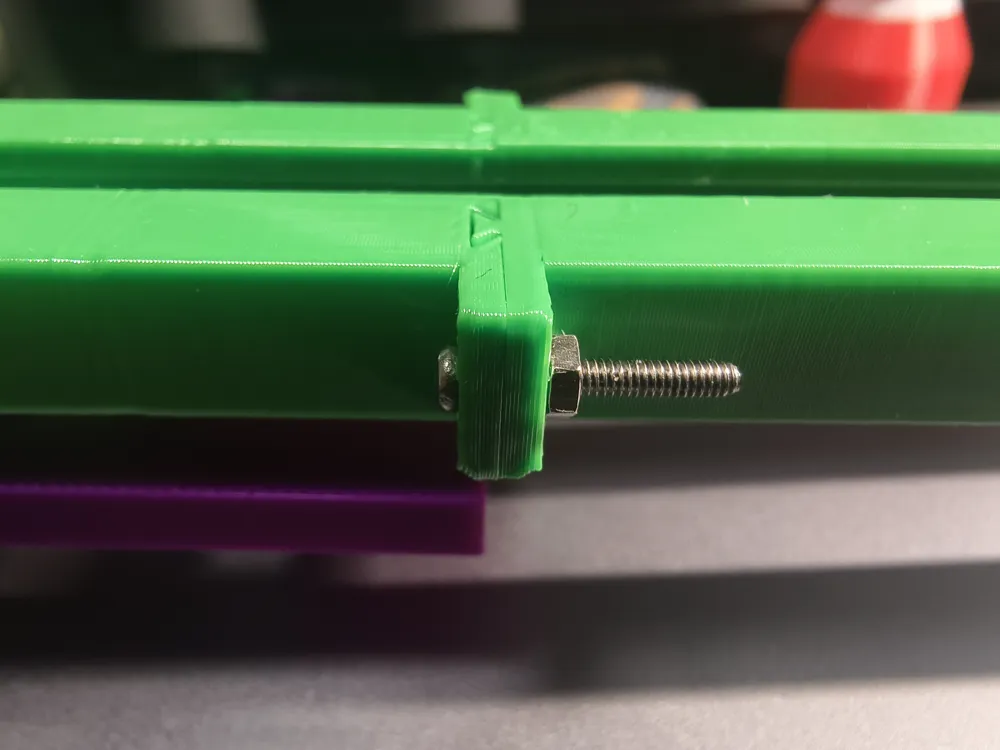
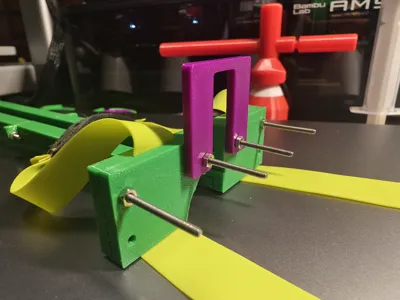
2. Connect the left and right extended barrels to the top plate using bolts and nuts, installing the appropriate number of extended barrels according to actual needs.
3. Connect the left and right end barrels to the extended barrels using bolts and nuts; if extended barrels are not needed, the end barrels can be directly connected to the top plate.
4. Connect the left and right end cover plates and the end connecting plate to the end barrels, and secure them with bolts and nuts. During installation, clamp the launch rubber band inside the teeth; to ensure launch quality, try to adjust the length of the clamped rubber band on both the left and right sides to keep them consistent.
5. Use the hexagonal shaft to connect the trigger hook to the bottom plate.
6. Attach the trigger rubber band (an ordinary rubber band is sufficient) and secure it onto the protruding catch on the bottom plate (i.e., the position of “trigger rubber band” in the figure above), so that the trigger hook can automatically reset after release. For specific operations, please refer to the animated GIF.
7. Finally, load the slider arrow, draw the bow fully and latch it onto the trigger hook, pull the trigger with your hand, and fire!
Enjoy the fun of shooting!
Important Note:
Please use with caution and do not aim at people or animals!
You are welcome to visit:
PS: Feel free to visit my homepage often, you're sure to find something you need (●'◡'●)
Homepage link: https://makerworld.com.cn/@Pbreak
License

You shall not share, sub-license, sell, rent, host, transfer, or distribute in any way the digital or 3D printed versions of this object, nor any other derivative work of this object in its digital or physical format (including - but not limited to - remixes of this object, and hosting on other digital platforms). The objects may not be used without permission in any way whatsoever in which you charge money, or collect fees.


Comment & Rating (0)