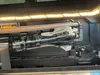
Clip Attaching New 4-in-1 Adapter to Toolhd Chain


Print Profile(1)
Bill of Materials

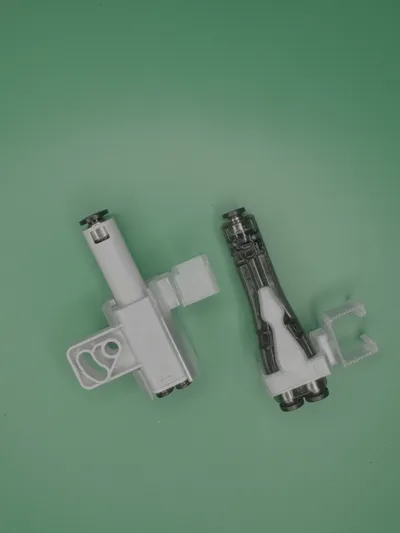
- Bambu 4-in-1 Adapter x 1: When ordering this part from Bambu Store, you may receive either the old or new style part. Print the plate that matches the received item.
Description
Bambu Lab H2D / H2C firmware version 01.03.00.00 and later allows printing TPU 90A and 95A from the left extruder. With the 4-in-1 Adapter, the H2D’s TPU inlet and left buffer inlet PTFEs can be merged into a single PTFE tube and fed into the left extruder. The right extruder can be directly fed from the top with any TPU hardness. Use this clip to avoid detaching and reconnecting PTFE tubes between the external spool and extruder.
Features:
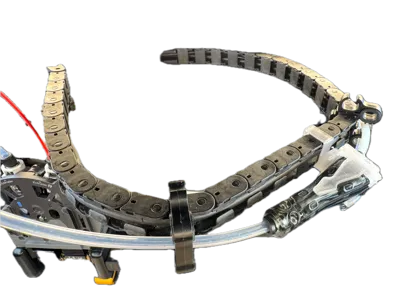
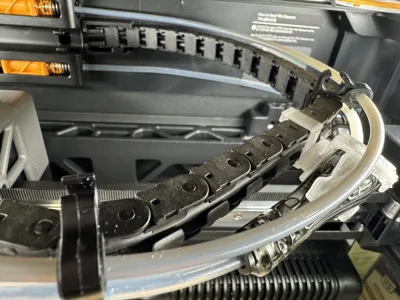
- Clip for Attaching 4-in-1 Adapter to “Print Head Chain”: This clip allows you to attach a 4-in-1 adapter to the “Print Head Chain,” making it easier to manage your filament.
- Articulated Joint Connection: The clip and adapter holder are connected through an articulated joint, which reduces stress on the PTFE tubes from the filament buffer.
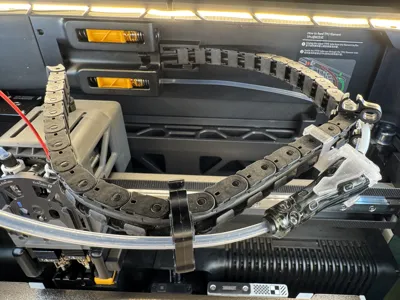
- Adapter Configuration: Placing the adapter inside the chamber, next to the chain, allows you to connect one PTFE tube from the right or left filament buffer and another from the TPU inlet to the right or left extruder after passing through the 4-in-1 Adapter.
- Adapter Output: The output of the adapter, attached to the chain, feeds into the right or left extruder of the H2D dual extruder.
- Built-in Joint: The articulated joint reduces tension on PTFE tubes, preventing kinks and minimizing wear and tear.
- Eliminating Manual PTFE Tube Switching: This setup eliminates the need to manually switch PTFE tubes between the right filament buffer and the TPU inlet in the back wall of the printer.
Benefits:
- This setup makes it easier to manage your filament and print TPU 90A and 95A from the left extruder.
- The articulated joint reduces stress on the PTFE tubes, preventing kinks and minimizing wear and tear.
- This setup eliminates the need to manually switch PTFE tubes between the right filament buffer and the TPU inlet, saving time and effort.
Expanded Multi-Material Flexibility: By combining two filament sources into a single controlled path, the 4-in-1 Adapter enhances the H2D’s multi-material flexibility while maintaining stable extrusion.
Mechanical Stress Relief: The articulated clip joint provides mechanical stress relief, ensuring long-term durability and consistent feeding performance.
Reliable and Efficient Multi-Material Workflows: This setup is ideal for users who want to balance AMS-managed filaments with specialty TPU spools, thereby enhancing the reliability and efficiency of complex multi-material workflows.
Usage Notes:
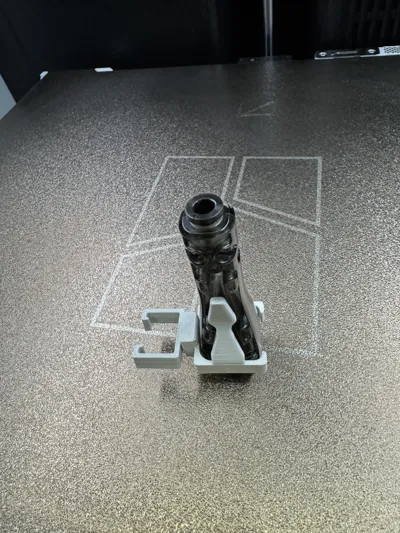
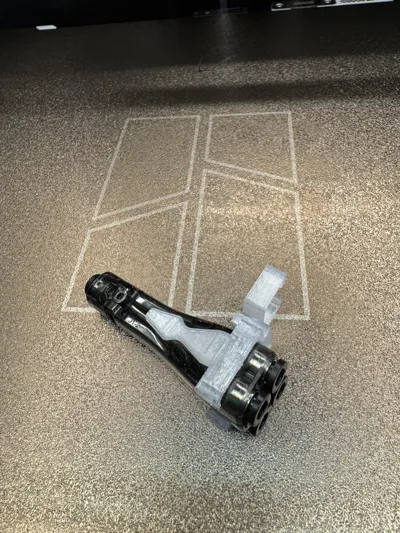
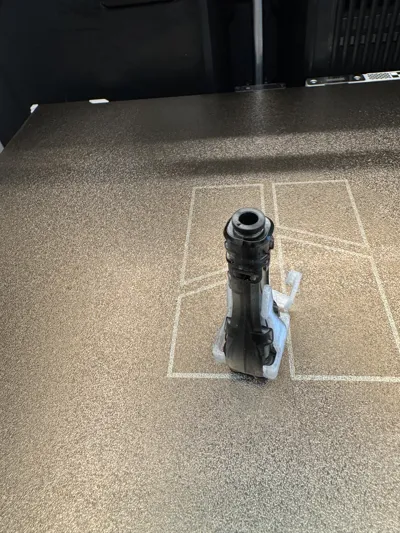
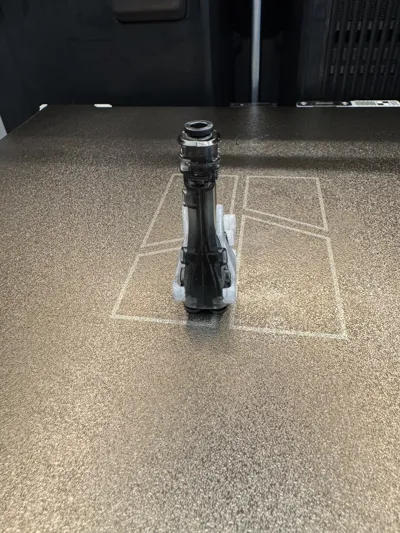
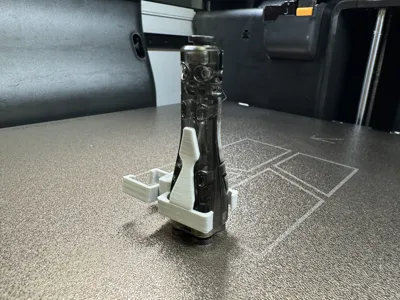
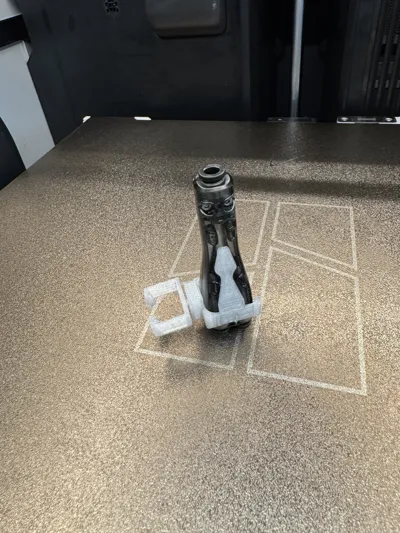
Note: The new style adapter holder has a slot for replacing the filament wiper. The model is “keyed,” so please ensure the orientation of the adapter inside the holder is correct (picture attached).
1. Connect Inputs:
* Attach one PTFE tube from the right/left filament buffer to the adapter’s first inlet.
* Attach the second PTFE tube from the TPU inlet to the adapter’s second inlet.
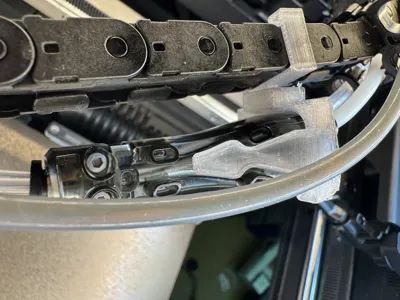
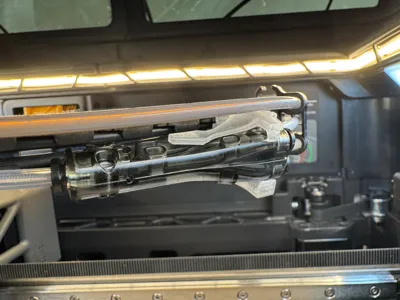
2. Secure the Adapter Clip:
* Snap the adapter clip into place inside the H2D chamber, adjacent to the toolhead chain, between the first (from the back) and the second PTFE clips on the chain.
* Ensure the articulated joint is aligned to flex and relieve tension on the PTFE tubes.
3. Route the Output:
* Connect the adapter’s output port directly to the right/left nozzle extruder.
* Verify that the tube is seated fully to avoid gaps or filament friction.
4. Check Movement:
* Gently move the printhead to confirm that the placement of the Adapter does not cause any kinks in the PTFE tubes or reduce the printhead’s full range of movement.
* Adjust the clip position as necessary for smooth filament feeding.
5. Test Feeding:
* Perform a test feeding to validate the functionality and reliability of the setup.
Load Filament:
- Load filament from both the buffer and TPU spool.
- Ensure that only one filament is inserted into the 4-in-1 Adapter at a time.
- Manually retract the filament exiting the TPU inlet.
Conduct a short extrusion test to ensure reliable switching and flow.
License
You shall not share, sub-license, sell, rent, host, transfer, or distribute in any way the digital or 3D printed versions of this object, nor any other derivative work of this object in its digital or physical format (including, but not limited to, publishing derivative works outside the Makerworld platform or hosting on other digital platforms). The objects may not be used without permission in any way whatsoever in which you charge money or collect fees. Subject to the above restrictions, derivative works may be published only within the Makerworld platform, and all such derivative works must be licensed under the same SDFL‑C license, without modification or additional terms. You may download the digital versions of this object, 3D print it, and display images, videos, or usage demonstrations of 3D printed versions of the object on personal social media platforms or Makerworld official channels, provided that no digital versions of the object are shared or distributed.
Comment & Rating (0)