Anio 6 | Charger | Wall Charging Station


Print Profile(1)
Description
Boost Me (for free)
✨ I'm excited to share my latest model with you! Every boost helps me realize even more great projects and make my ideas more visible. Thank you for your support – you motivate me to keep tinkering and sharing! 🚀💡
Description:
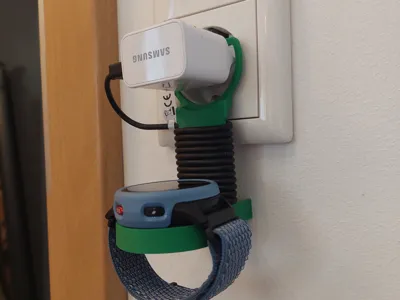
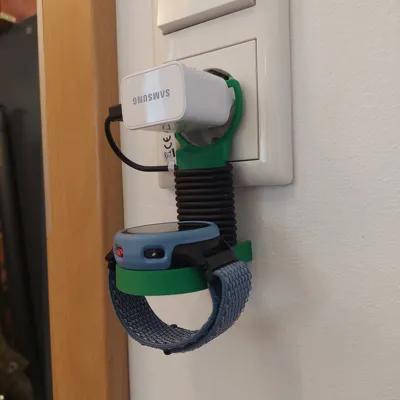
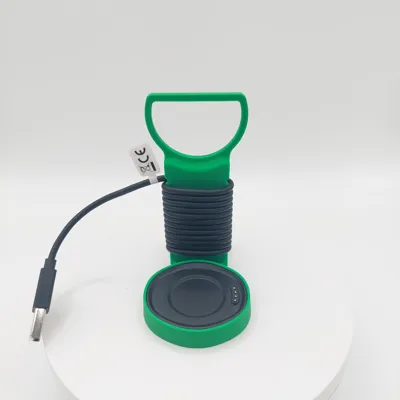
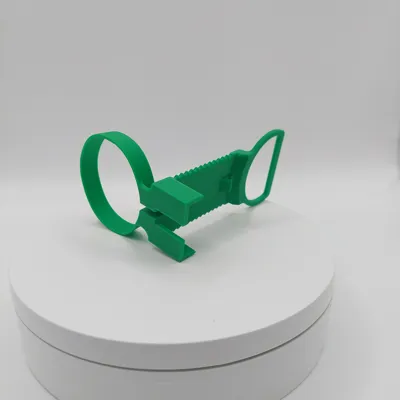
Keep your power outlet tidy! This holder, specially designed for the Anio 6 Kids Smartwatch, combines a charging cradle holder and cable management in one compact design
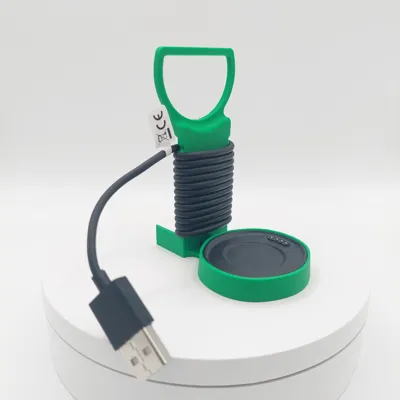
The holder simply hangs over the USB power adapter (suitable for standard power adapters, e.g. Samsung, as shown in the pictures). The long Anio 6 charging cable can be neatly wrapped around the sturdy central bar, so no cable hangs loosely anymore
Special Features:
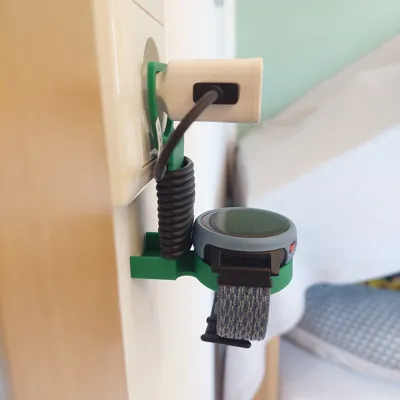
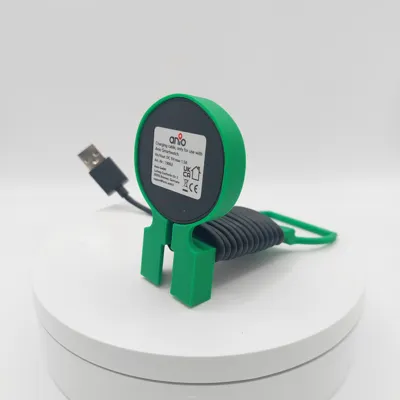
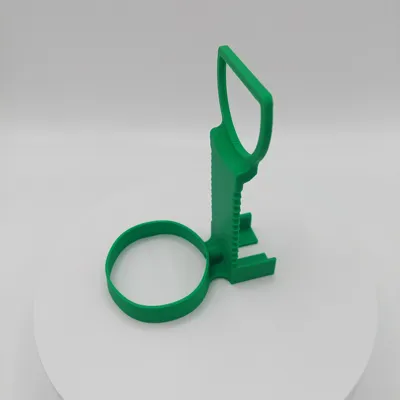
- Perfect Fit: The Anio 6 charging cradle sits securely in the lower receptacle
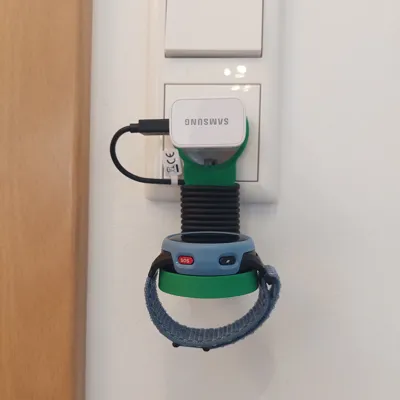
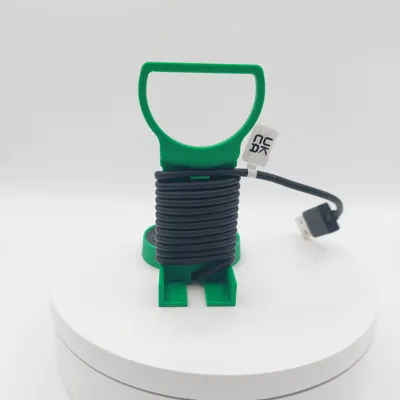
- Integrated Cable Management: The corrugated bar allows for neat cable winding
- Secure Hold: A dedicated cable clip on the back secures the cable end to keep the winding taut
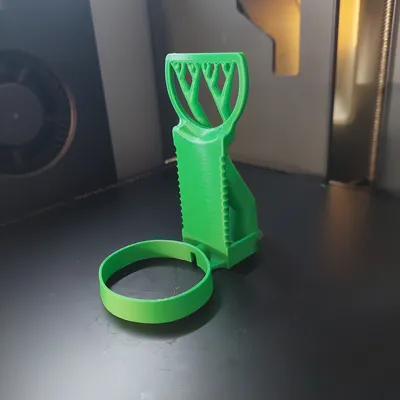
- Space-Saving: Ideal for hallways or children's rooms to prevent tripping hazards from long cables
Assembly Instructions:
To achieve the best result and a secure fit, please follow these steps:
- Insert Charging Cradle: Click the original Anio 6 charging cradle into the designated holder ring from below
- Use Cable Guide: Route the cable from the cradle through the small guide directly back to the rear of the holder
- Wrap Cable: Now wrap the cable neatly and tightly from bottom to top around the corrugated central bar
- Fixation: Clamp the cable at the end of the winding in the upper area to maintain tension
- Mount Power Adapter: Guide the USB plug from back to front and plug it into your power adapter
- Connect: Plug the power adapter together with the holder into the socket Done
Print Settings:
- Material: PLA or PETG
- Infill: 15%
- Support Structures: Yes! The horizontal part of the top opening should be supported
License
You shall not share, sub-license, sell, rent, host, transfer, or distribute in any way the digital or 3D printed versions of this object, nor any other derivative work of this object in its digital or physical format (including - but not limited to - remixes of this object, and hosting on other digital platforms). The objects may not be used without permission in any way whatsoever in which you charge money, or collect fees.
Comment & Rating (3)