Oil-Radiator Wheel Replacement - Print in Place
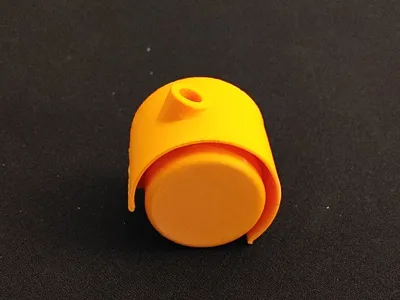
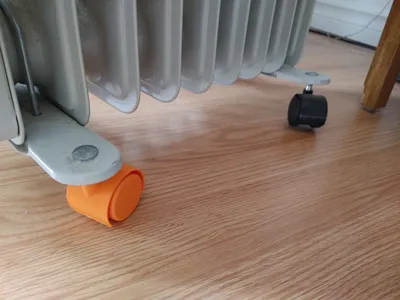
Print Profile(2)
Description
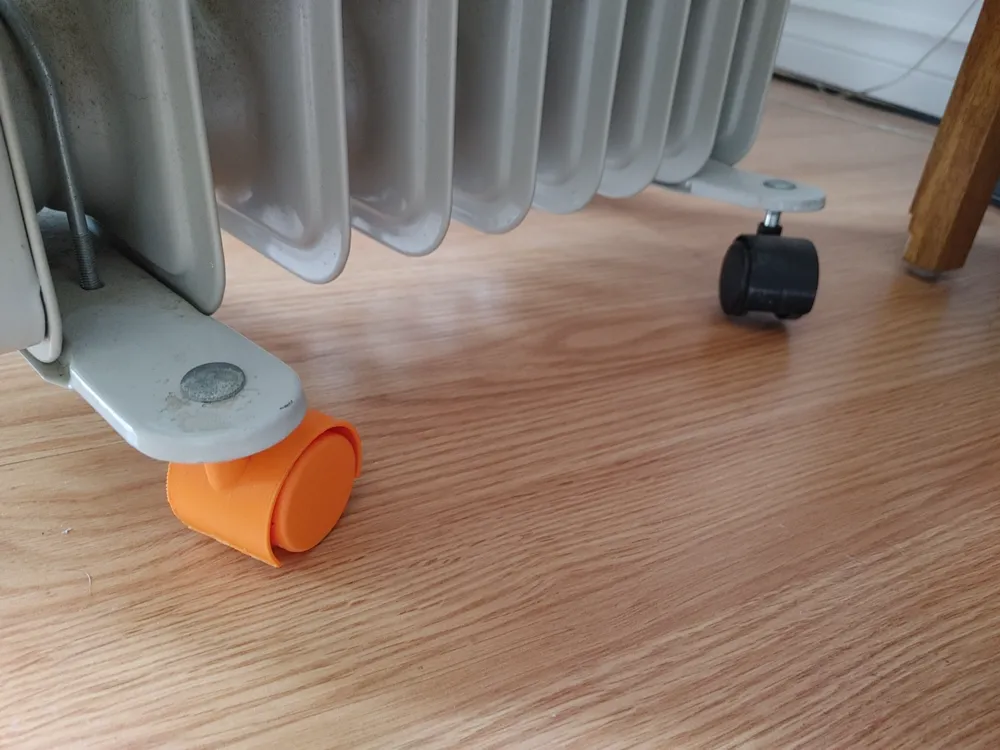
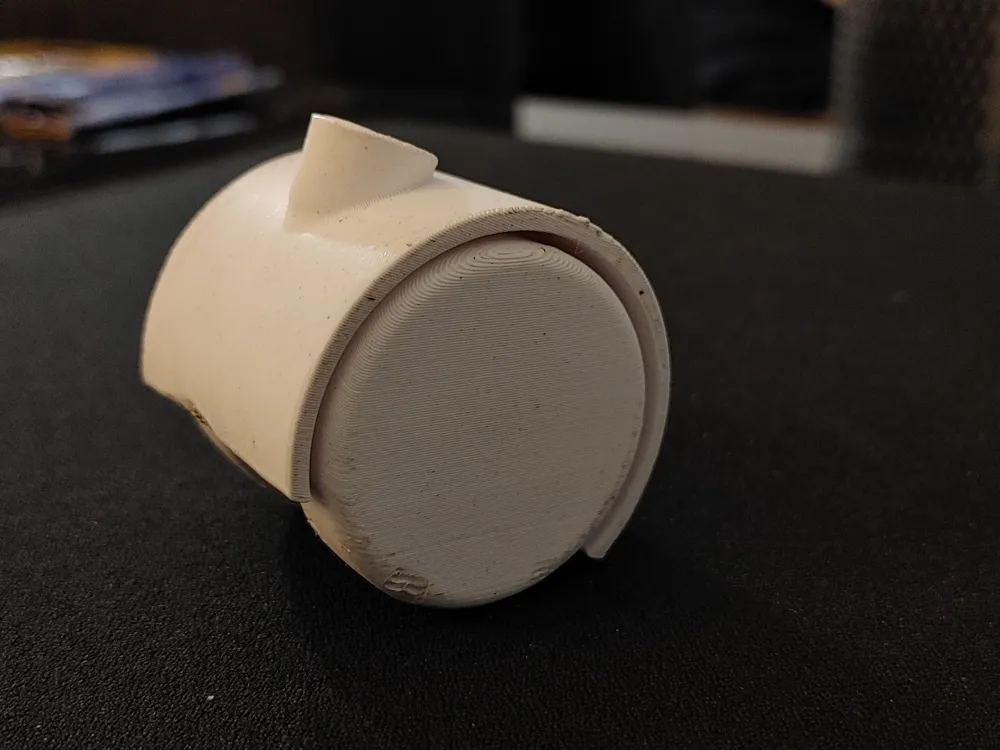
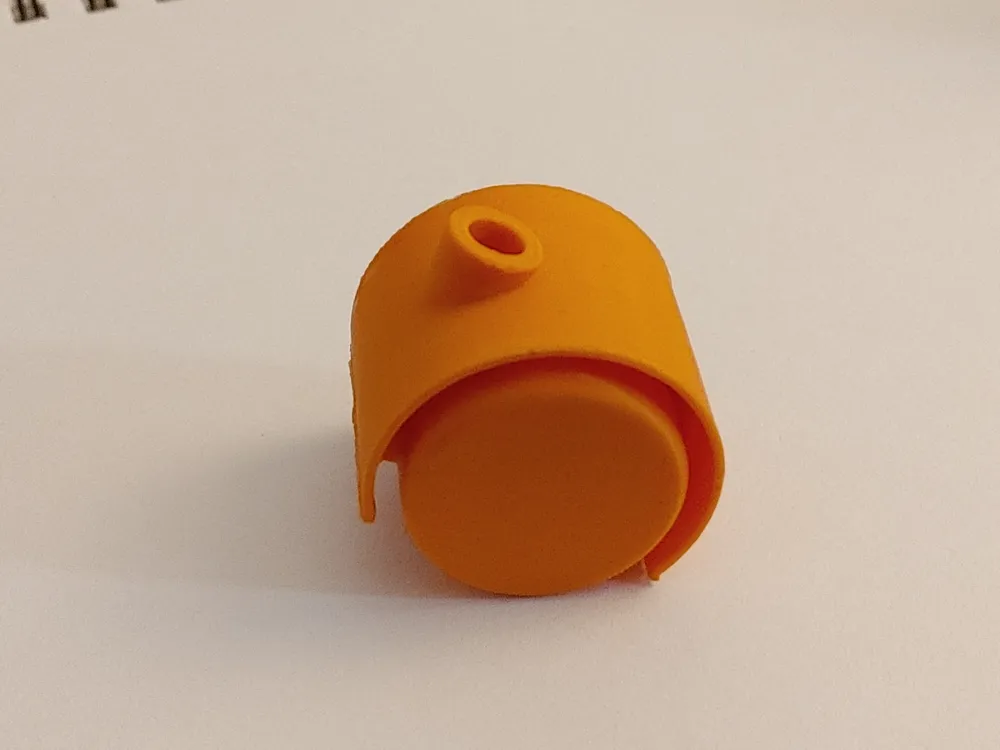
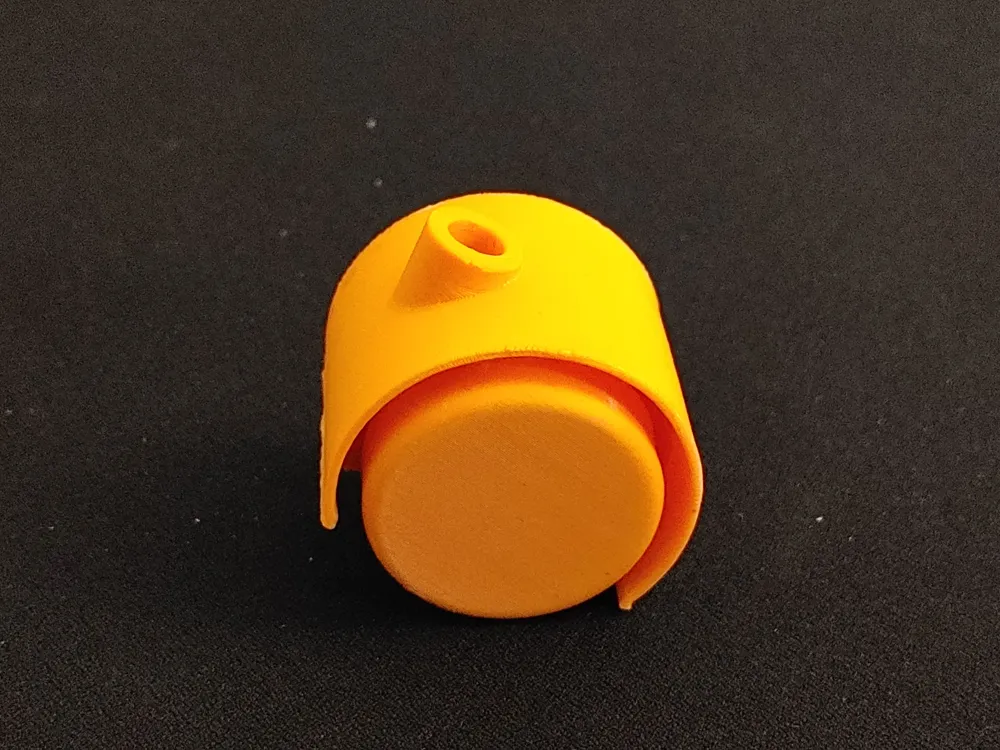
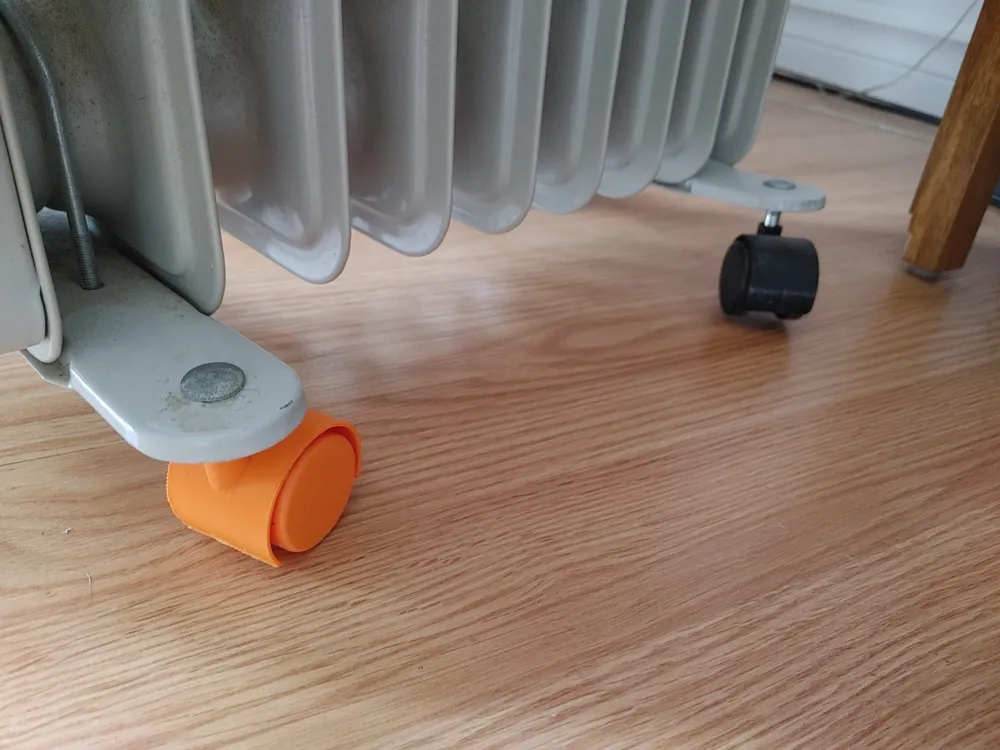
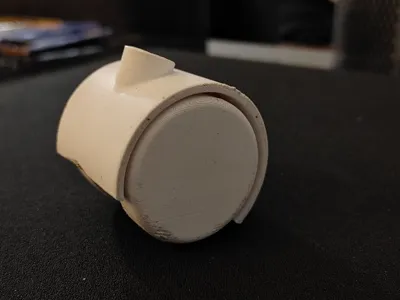
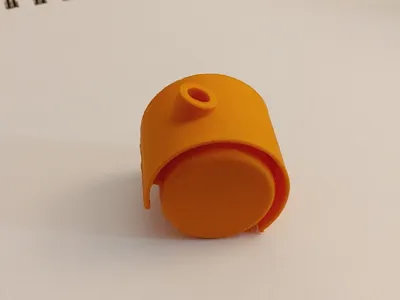
My wheel on my radiator broke so I figured no better time for a challenge. Bare minimum requires PETG but even then is slightly weak. I am doing a final print in ASA and I have plates here I can do approximate weight tests with once I have the ASA wheel in my hand. I don't have a scale big enough to get exact weights but workout weights should get me close enough I would think. The print is PRINT-IN-PLACE
The PETG version, depending on the filament, pops on exactly the same as the OEM one did. Slightly less tight but for the better I think, a smooth snap.
I come back and update my models as I run into issues. If someone prints this please report any issues with the print or the function. It should roll well after a bit of hand pressure trying to spin the wheels. They are separate as well so they spin independently.
The support painting required at a minimum is pictured below
The light blue on the bottom of the wheel is the part touching the build plate to give you an idea of the
orientation when painting on the supports.
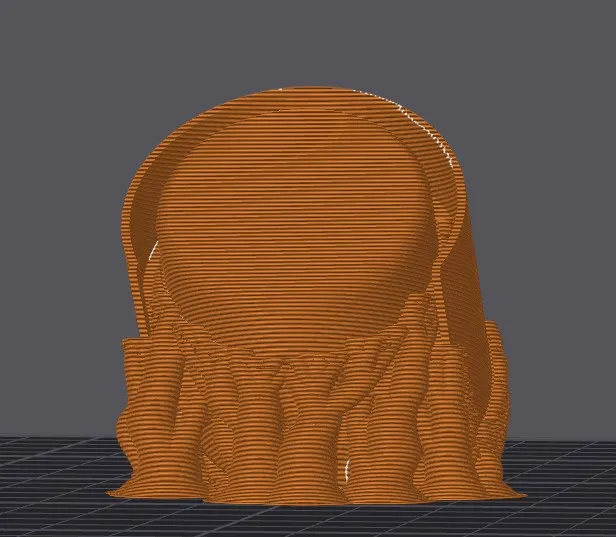
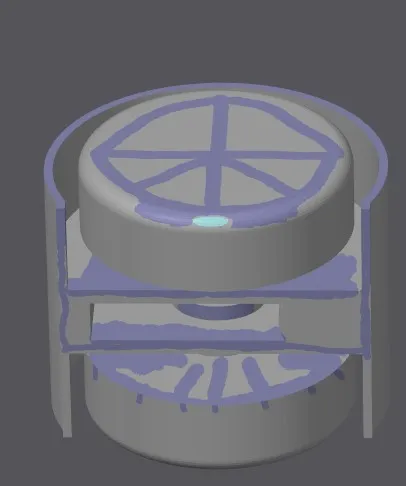
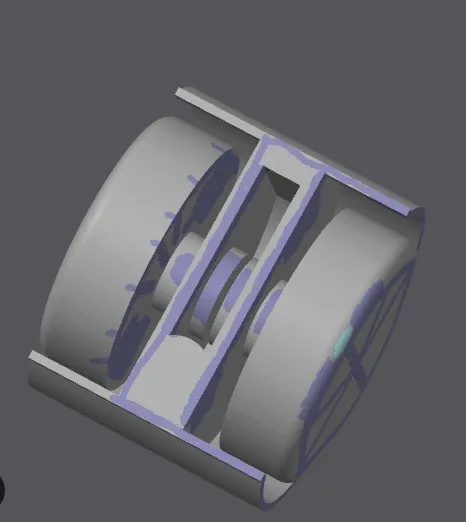
Hopefully this helps somebody, it's not perfect and all feedback is welcomed with open arms :)
You can use it for more than just oil filled radiator. I may measure the hardware so you can source your own hardware
and use it for other random projects. OR if you have the hardware from an old radiator you can scavenge it:)
IMPORTANT NOTE - For Any Warp-Prone Filament
My printer settings come with a G-Code alteration that will basically run an annealing process directly after the print finishes and the bed lowers, I know those that don't have this G-Code are going to LOVE it if printing any filament that is prone to warping. If you want I can describe it in great detail but it basically just keeps the bed at print temperature (90c Bed Temp for me printing ASA), shuts off all fans and soaks part for 15-18 mins or so, then it will drop bed temps by 10 degrees at a time to control and relieve the stress. Any questions about this feel free to ask!
Thanks for checking out my model!
License

You shall not share, sub-license, sell, rent, host, transfer, or distribute in any way the digital or 3D printed versions of this object, nor any other derivative work of this object in its digital or physical format (including - but not limited to - remixes of this object, and hosting on other digital platforms). The objects may not be used without permission in any way whatsoever in which you charge money, or collect fees.


Comment & Rating (0)