
Studio Dowel Lamp
Print Profile(2)
Bill of Materials


- Wood dowels x 1: https://www.amazon.com/dp/B01GQSW4DK?ref=ppx_yo2ov_dt_b_fed_asin_title&th=1
- Pendent light x 1: https://www.amazon.com/dp/B0F2HVML7C?ref=ppx_yo2ov_dt_b_fed_asin_title&th=1
Description
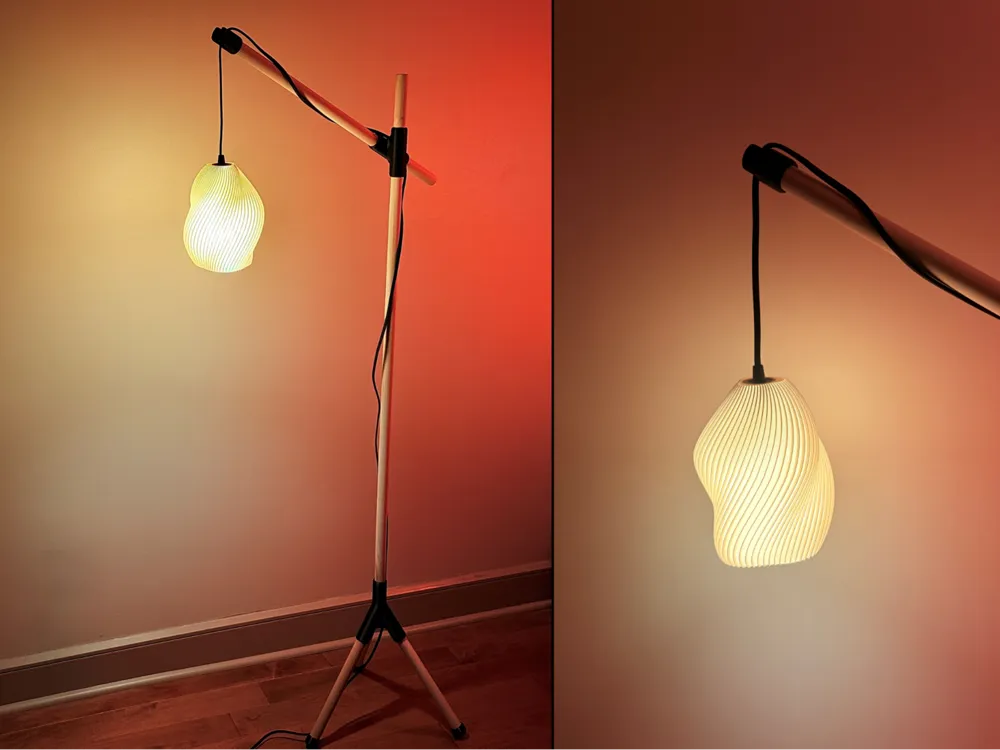
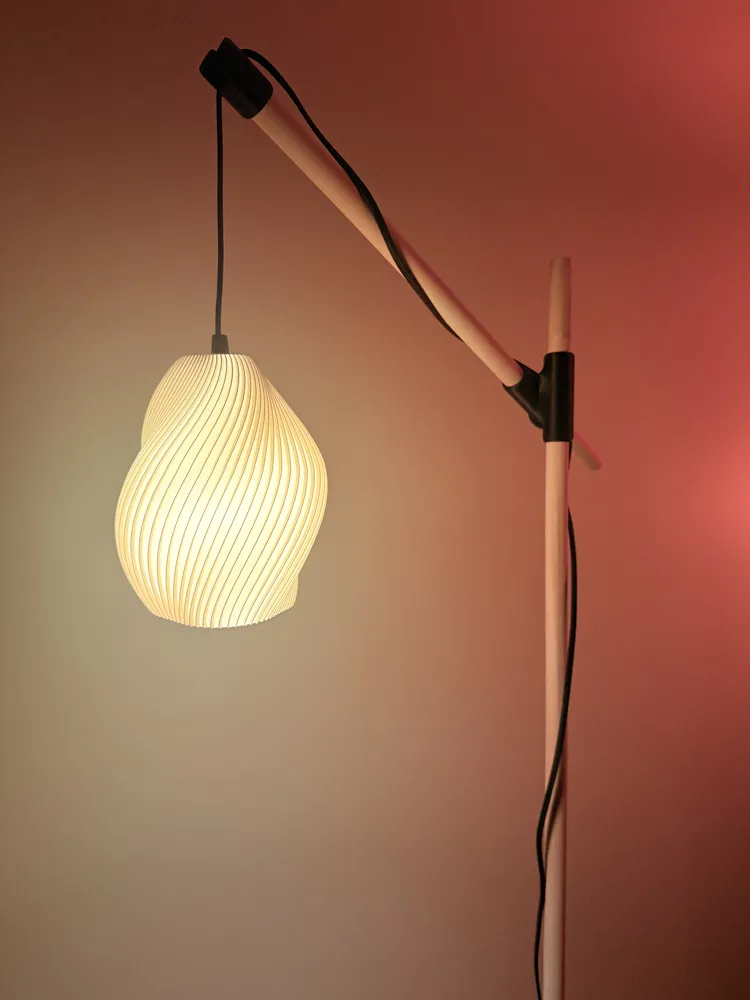
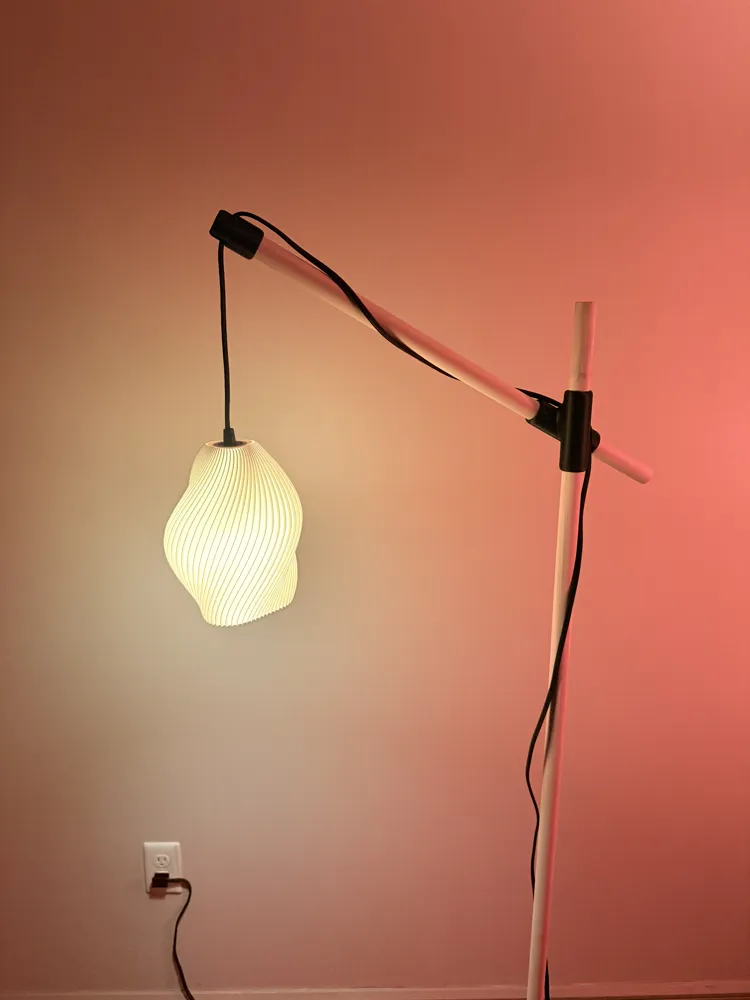
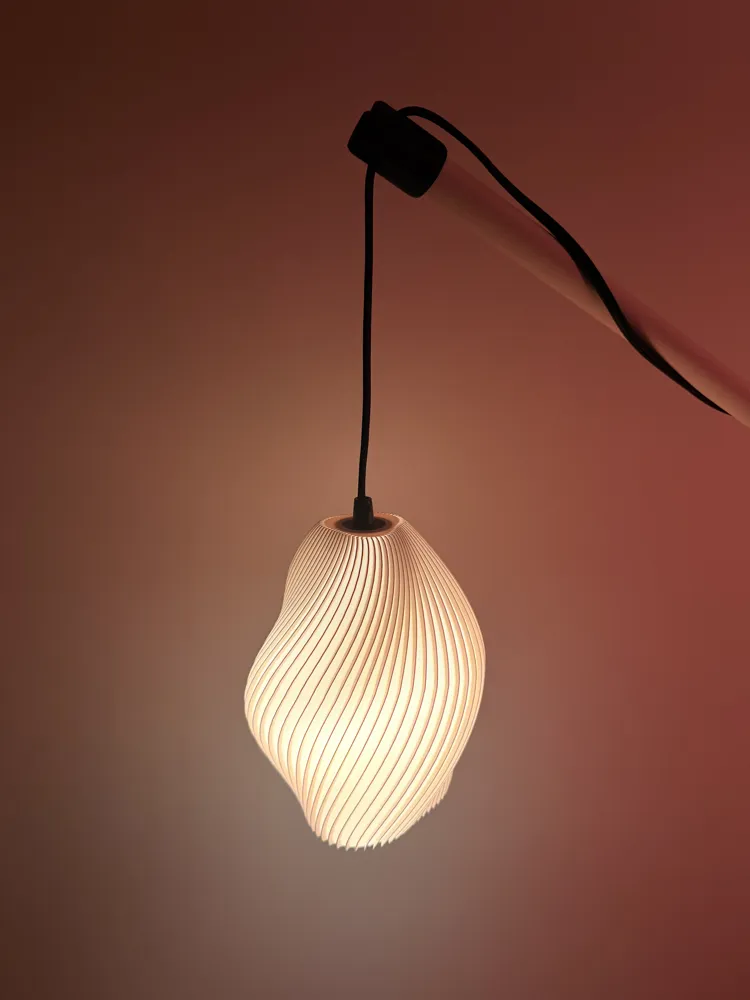
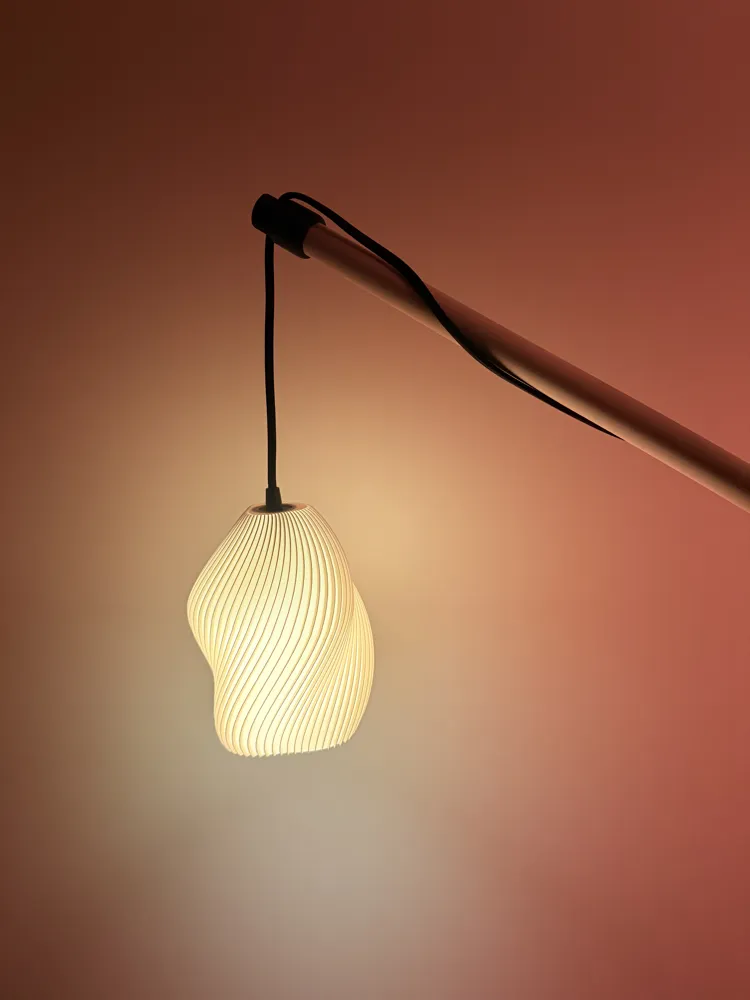
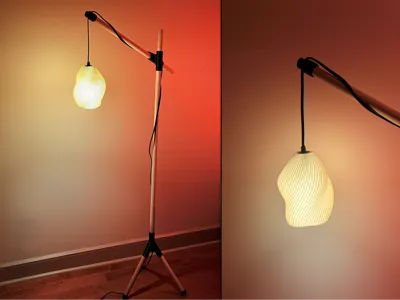
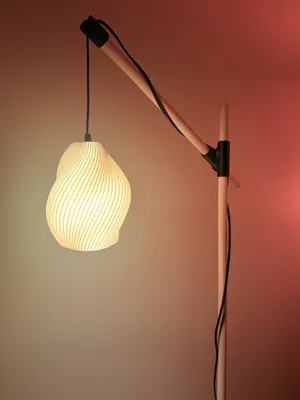
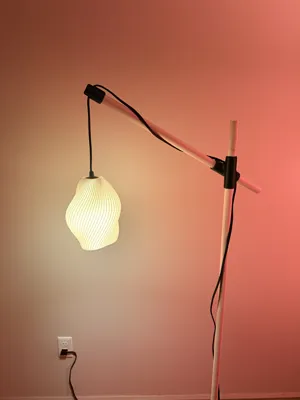
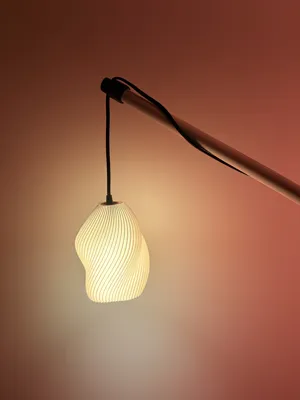
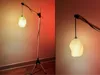
A modern pendant lamp constructed from 3D printed connector joints and standard wooden dowels, fastened with a few screws. The build is straightforward and requires no specialized tools, making it accessible for most skill levels.
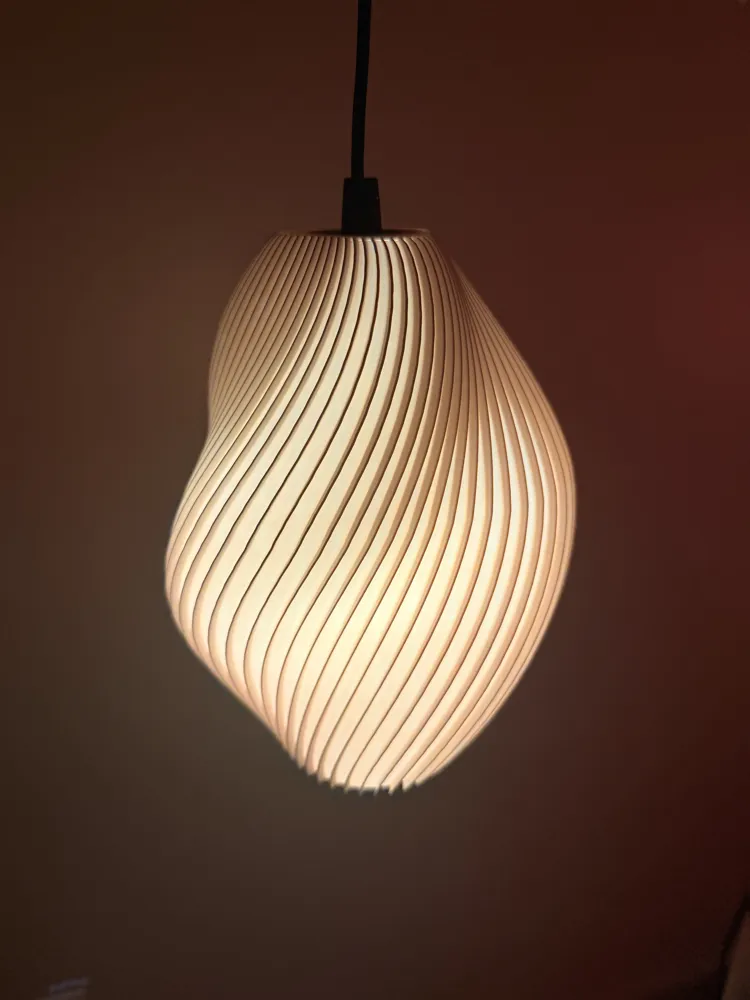
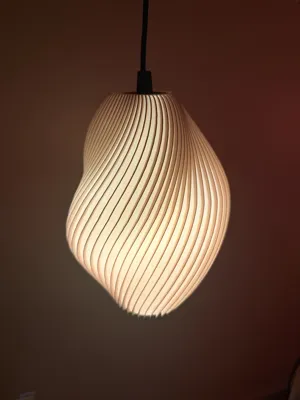
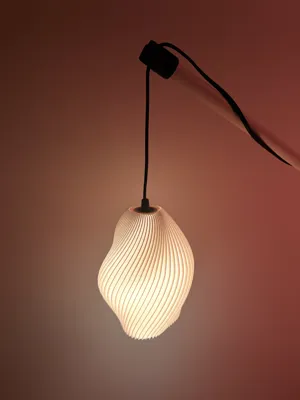
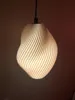
The shade is independently customizable using the MakerLab Vase Generator. Customize a vase profile, flip it in your slicer, and add a small negative volume at the base to accommodate the cable and plug. No additional modeling required. The shade shown in the product photos was made the same way.
Source the 1in diameter dowels from any local hardware store or online, print the joints, wire your preferred bulb, and the lamp is ready to start hanging around. The combination of natural wood and textured black joints gives it a clean and fun aesthetic that suits a range of interior styles.
Materials:
You will need a few things for this project that are not 3D printed
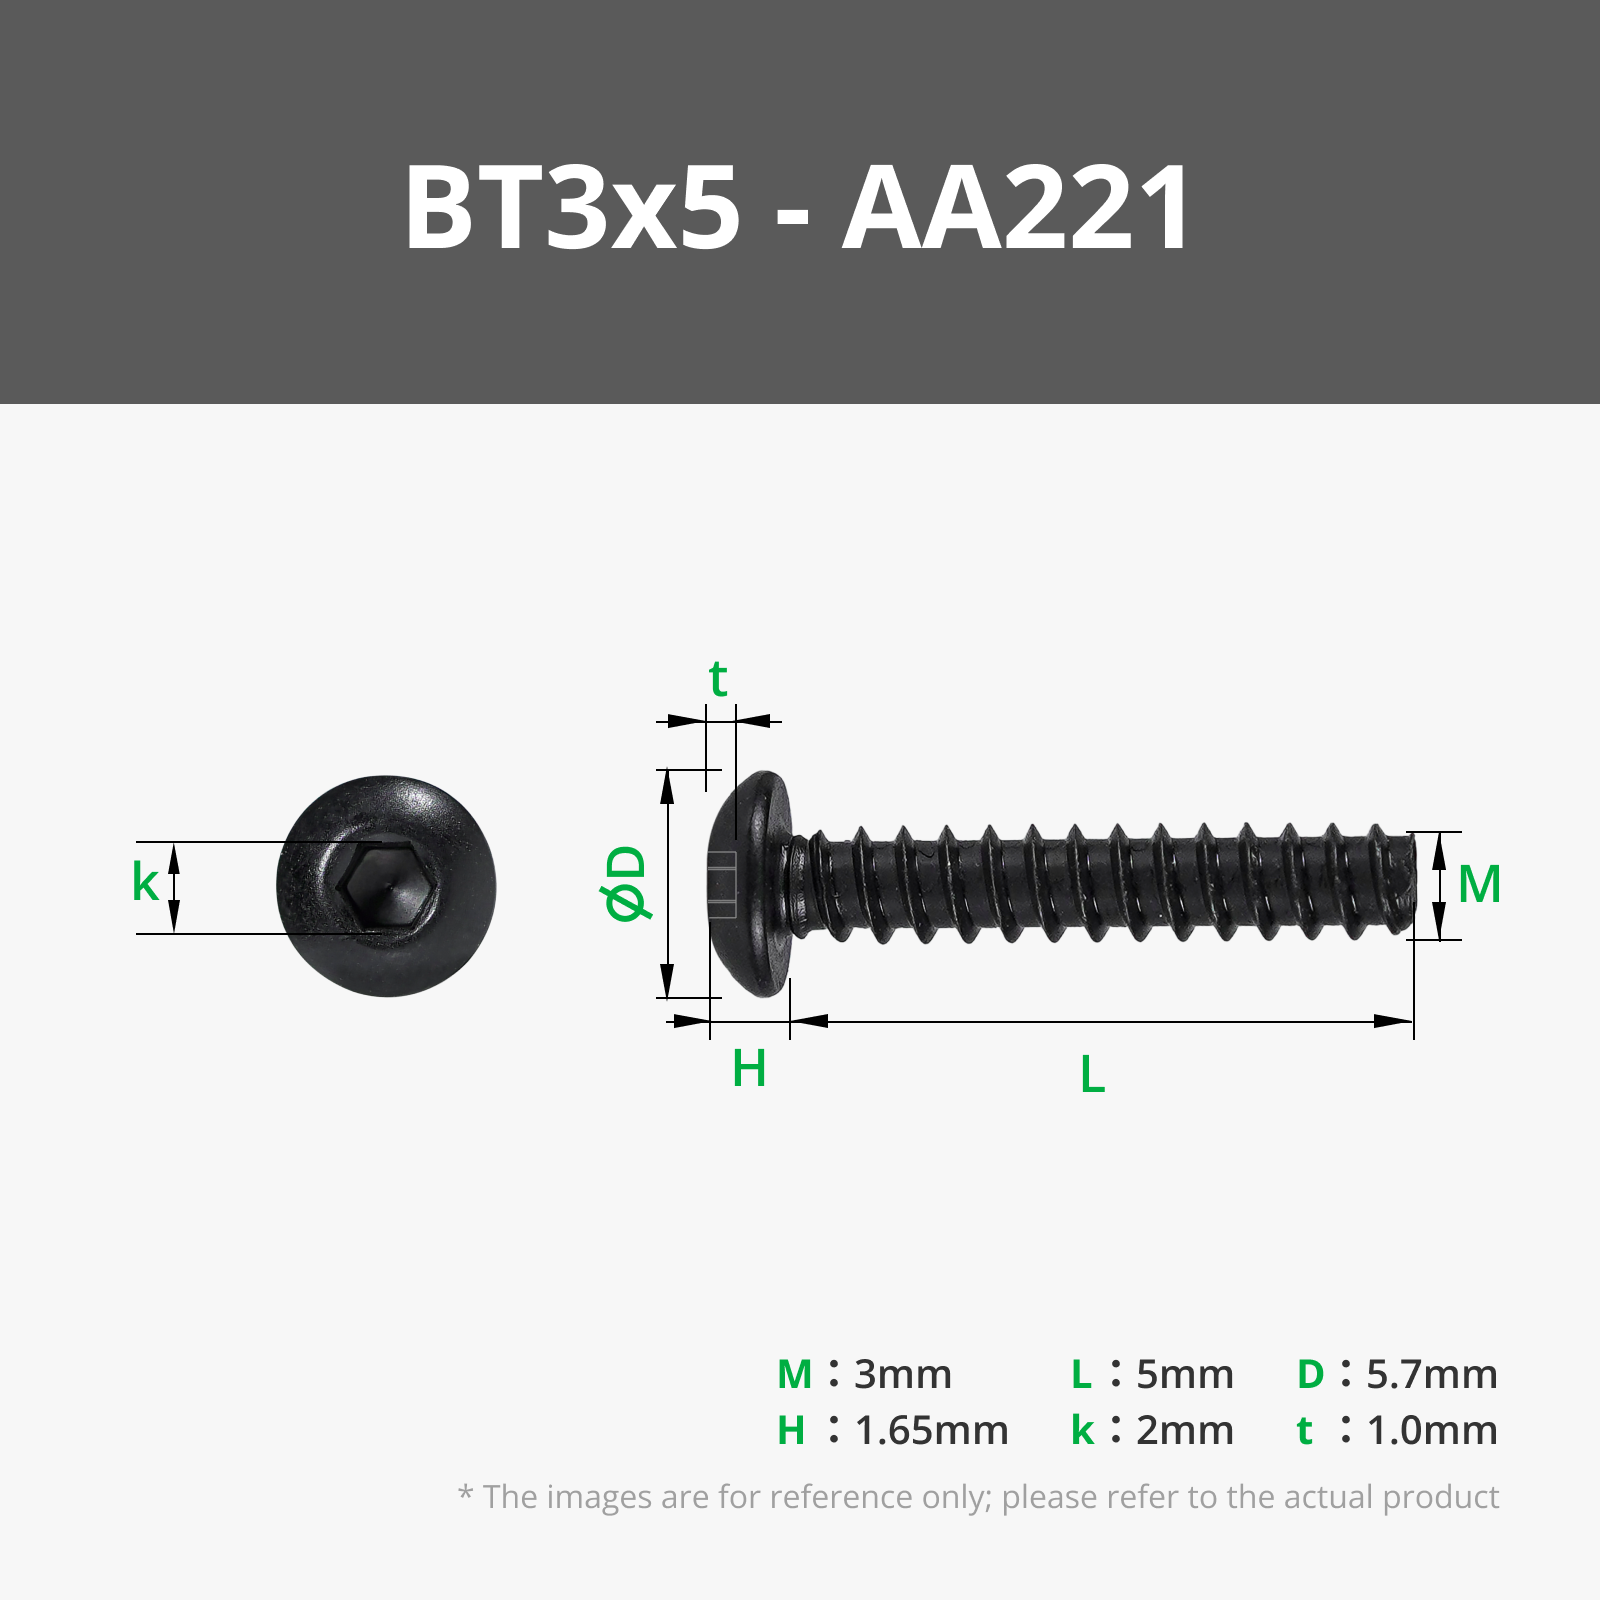
- 9 M3x5 self tapping or wood screws OR glue
- Screws do not need to go into wood, just press up against it. You can pre drill a hole to get thread inside the wood for additional security.
- 1in diameter wooden dowels (For best cost, buy multiple 48in dowels and cut it yourself)
- 1x 48in
- 1x 24in
- 3x 12in
- 1 hanging e26 size light socket (commonly available in hardware stores and amazon, I have linked the one on amazon I used in the BOM)
- 1 e26 light bulb
Lamp Shade Tutorial:
First hop over to MakerWorld's Make My Vase tool
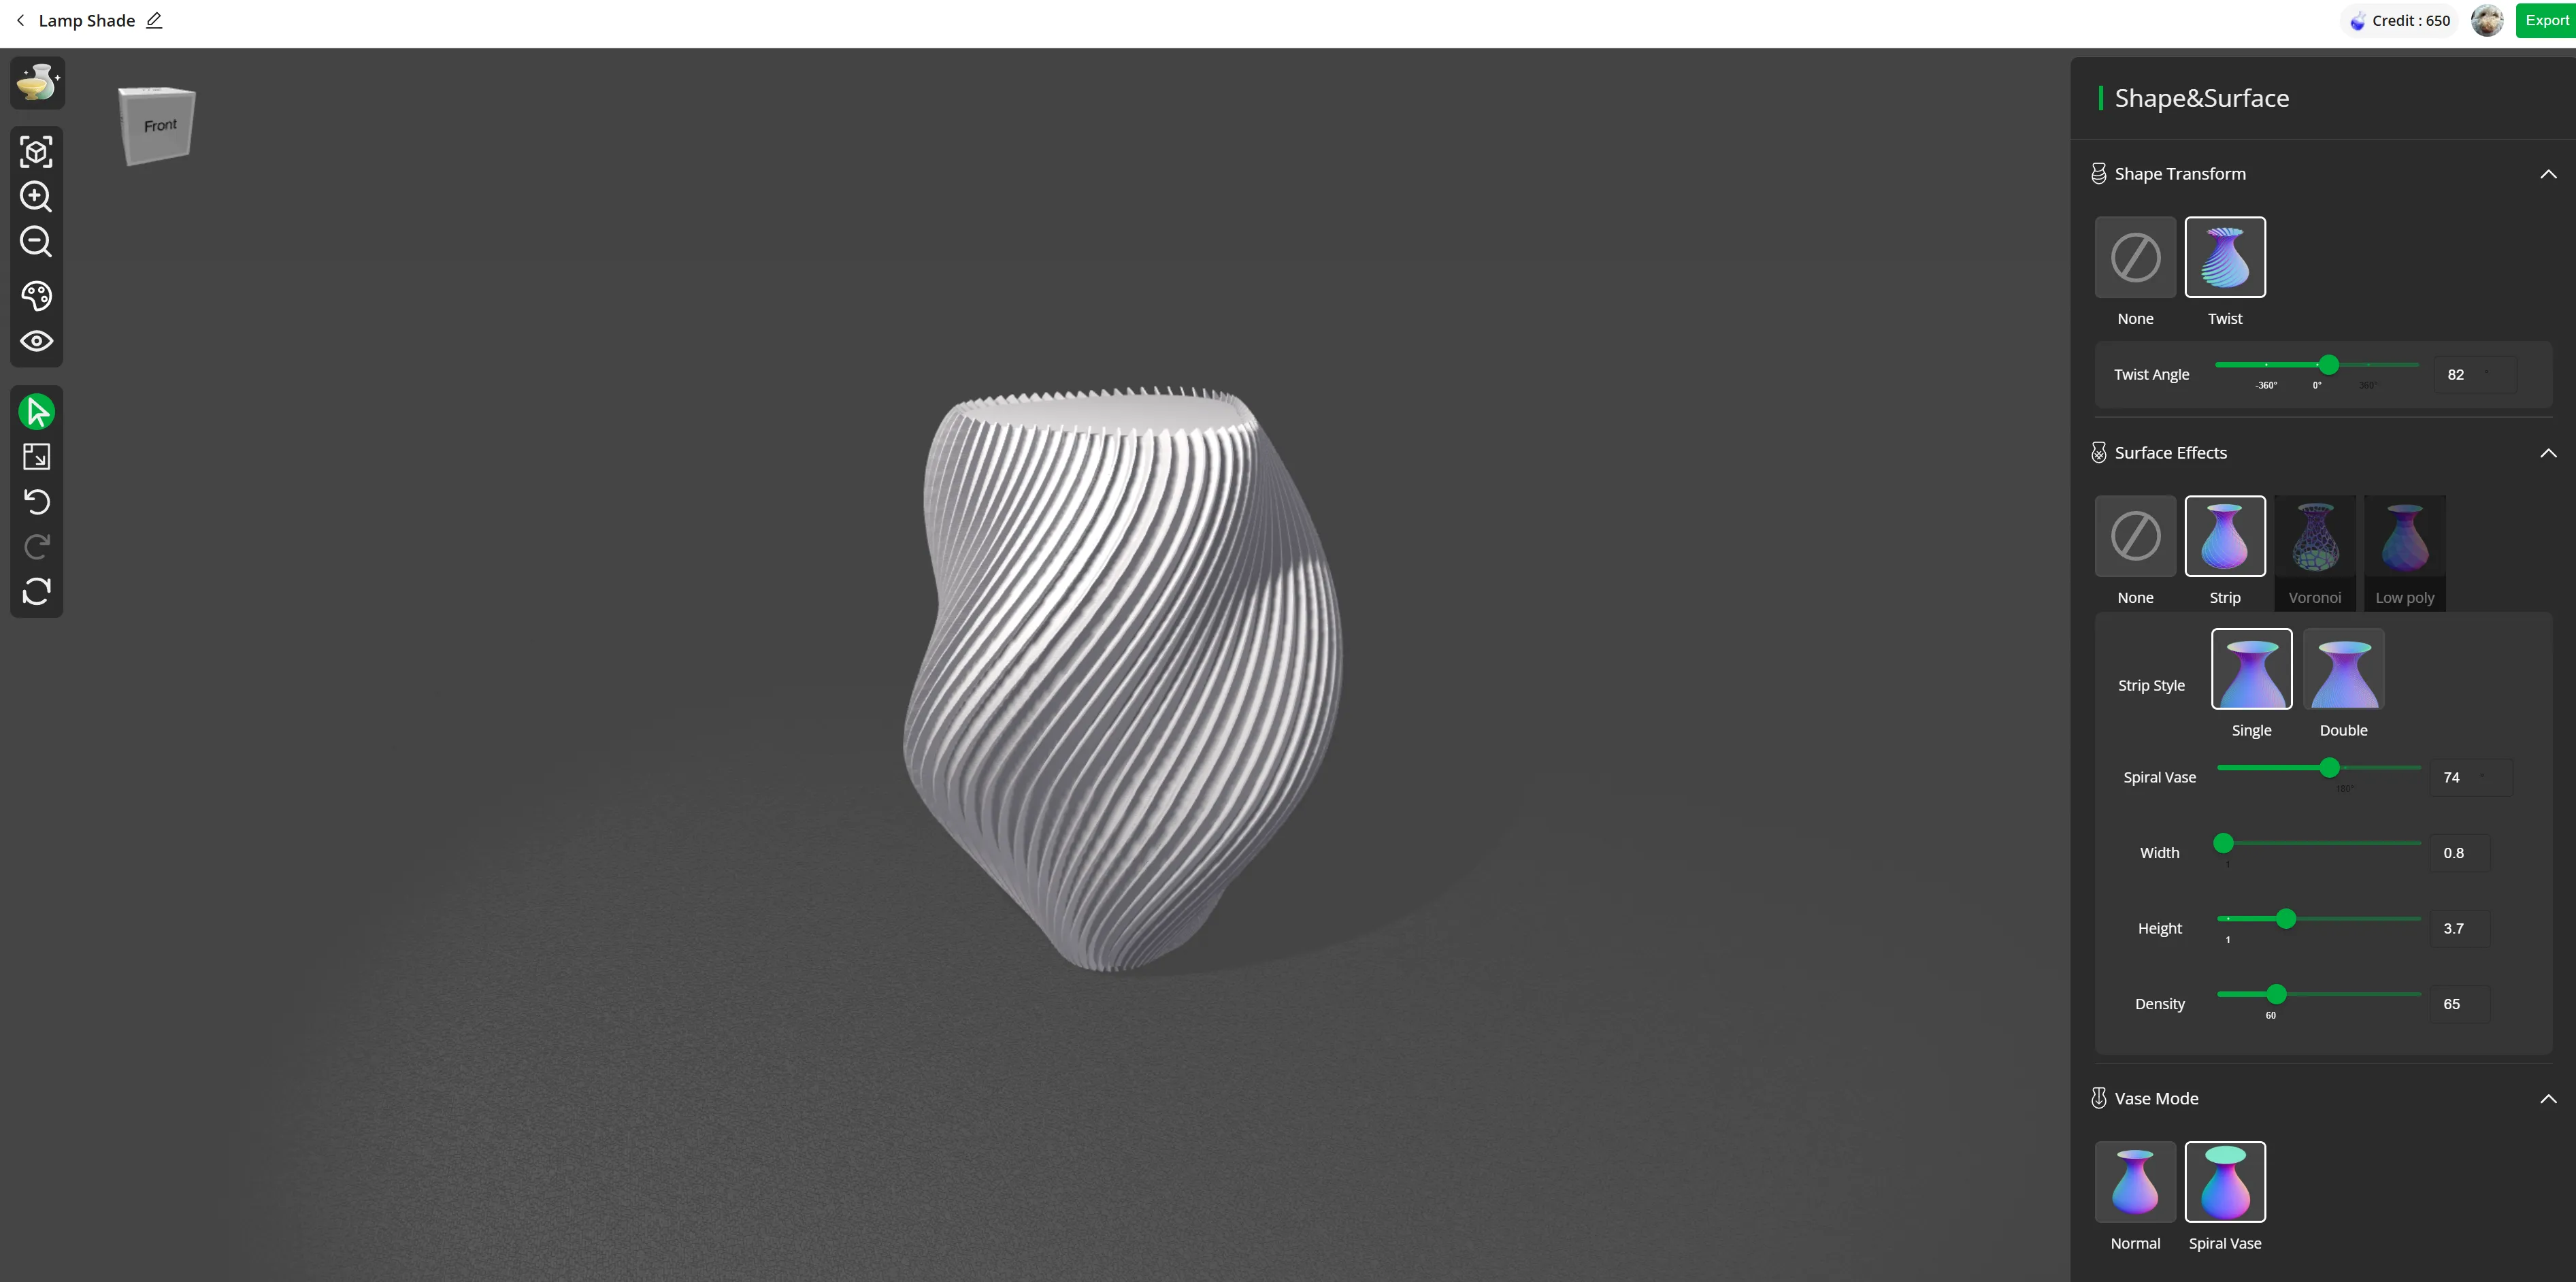
Once you have a style you like, export it and open it in your slicer, I used spiral vase mode for my lamp.
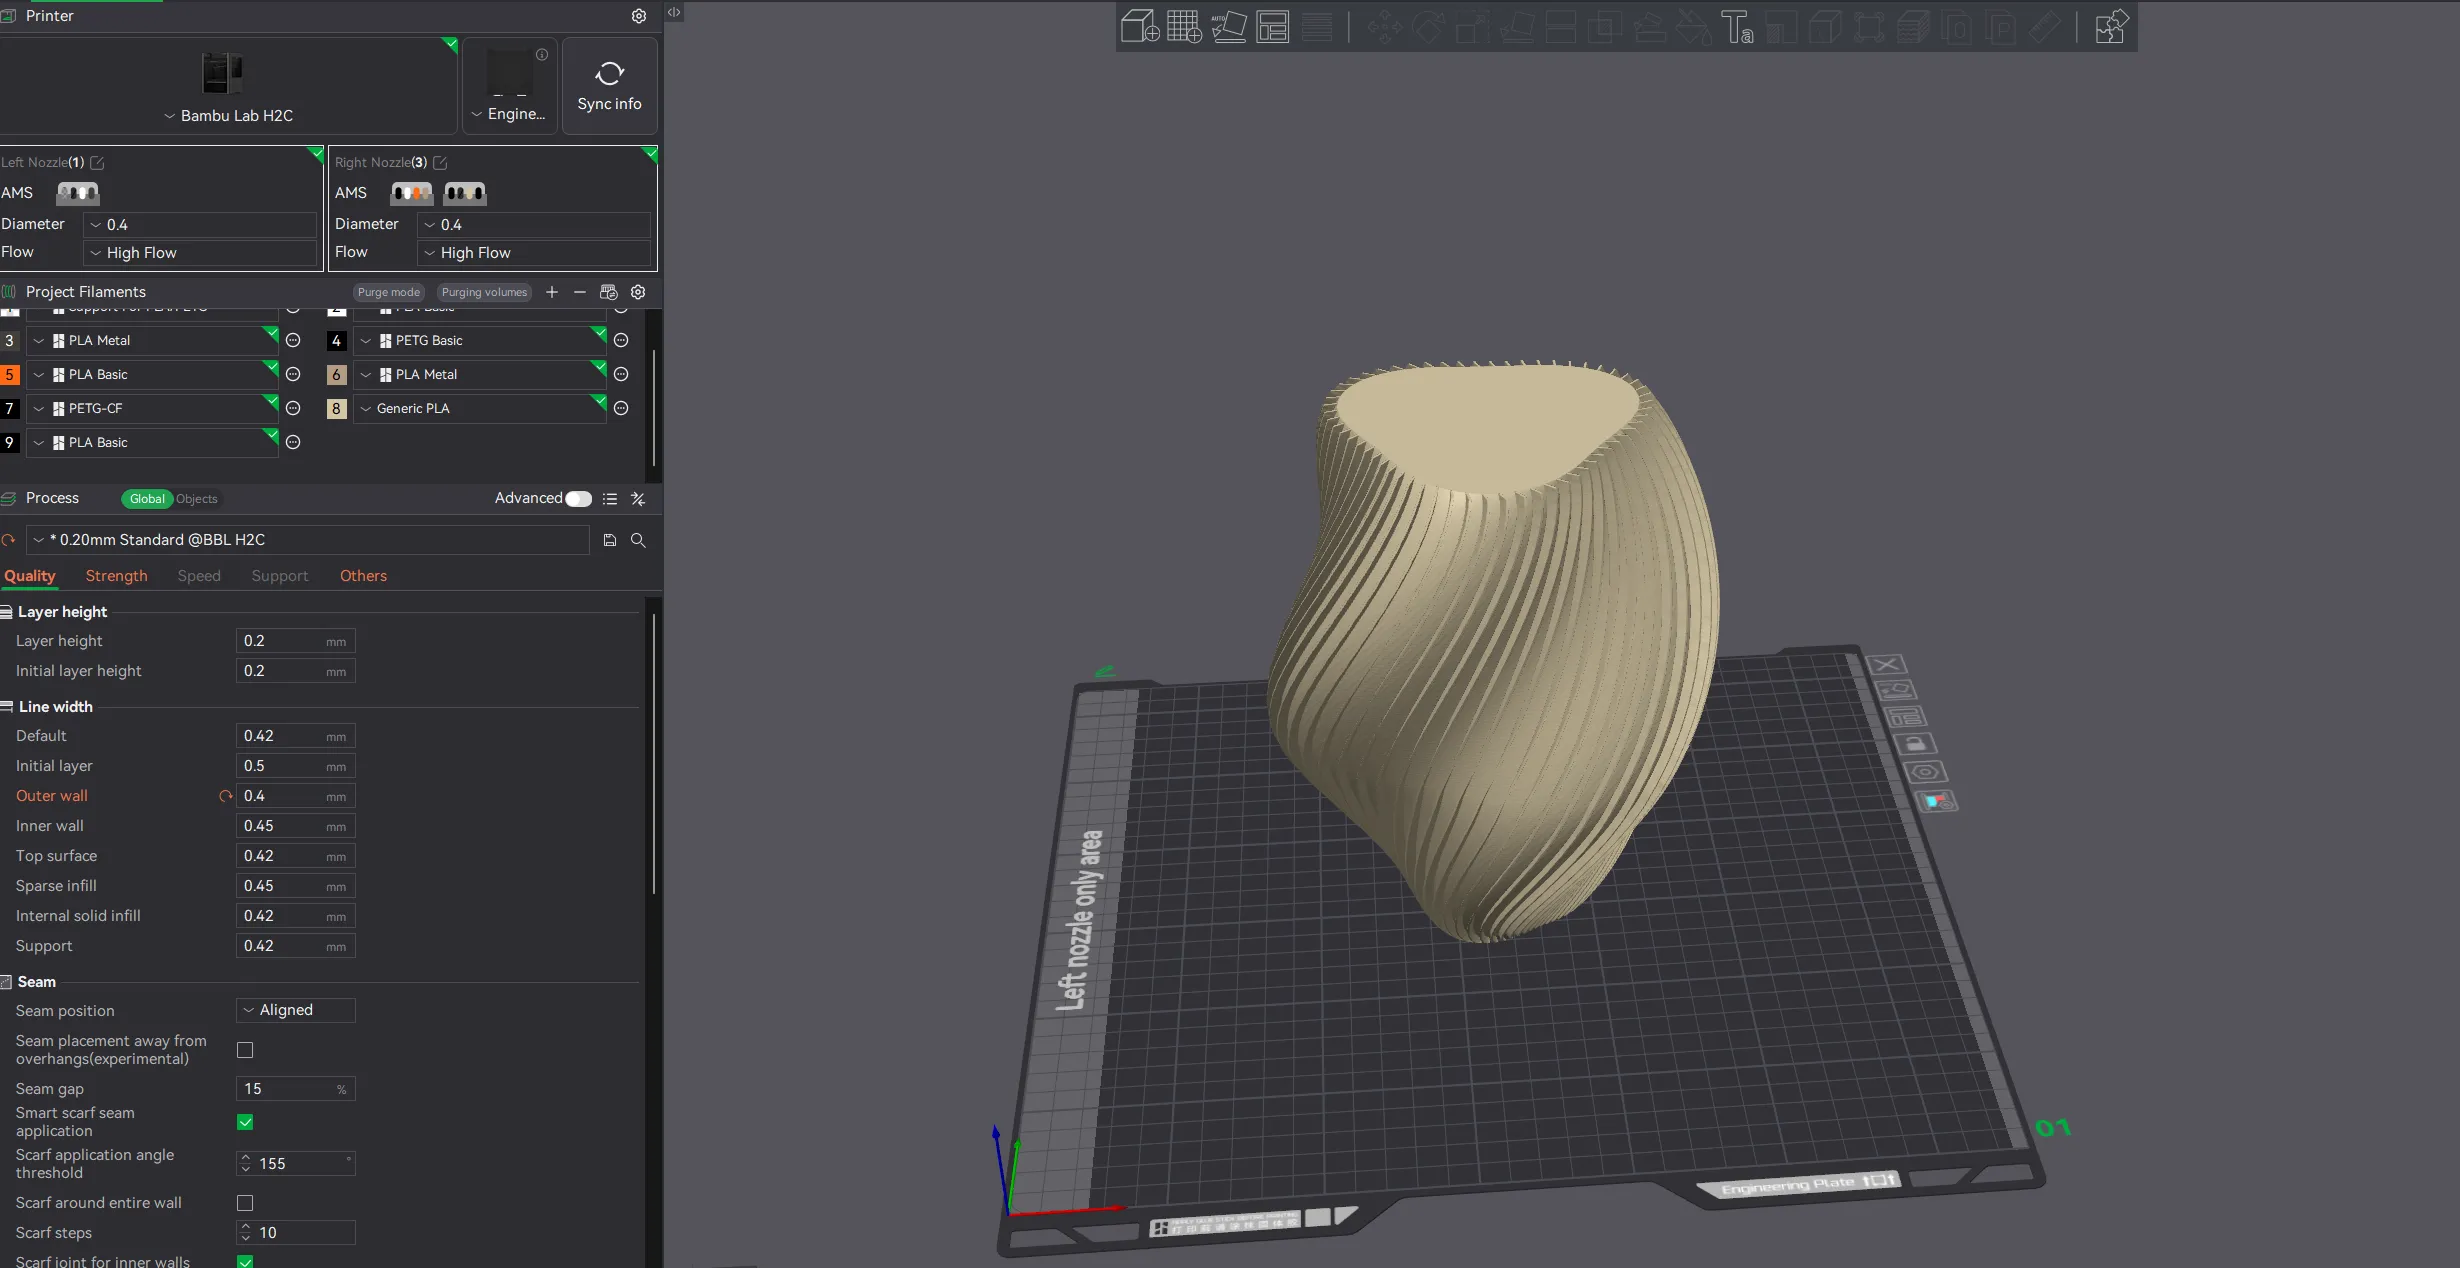
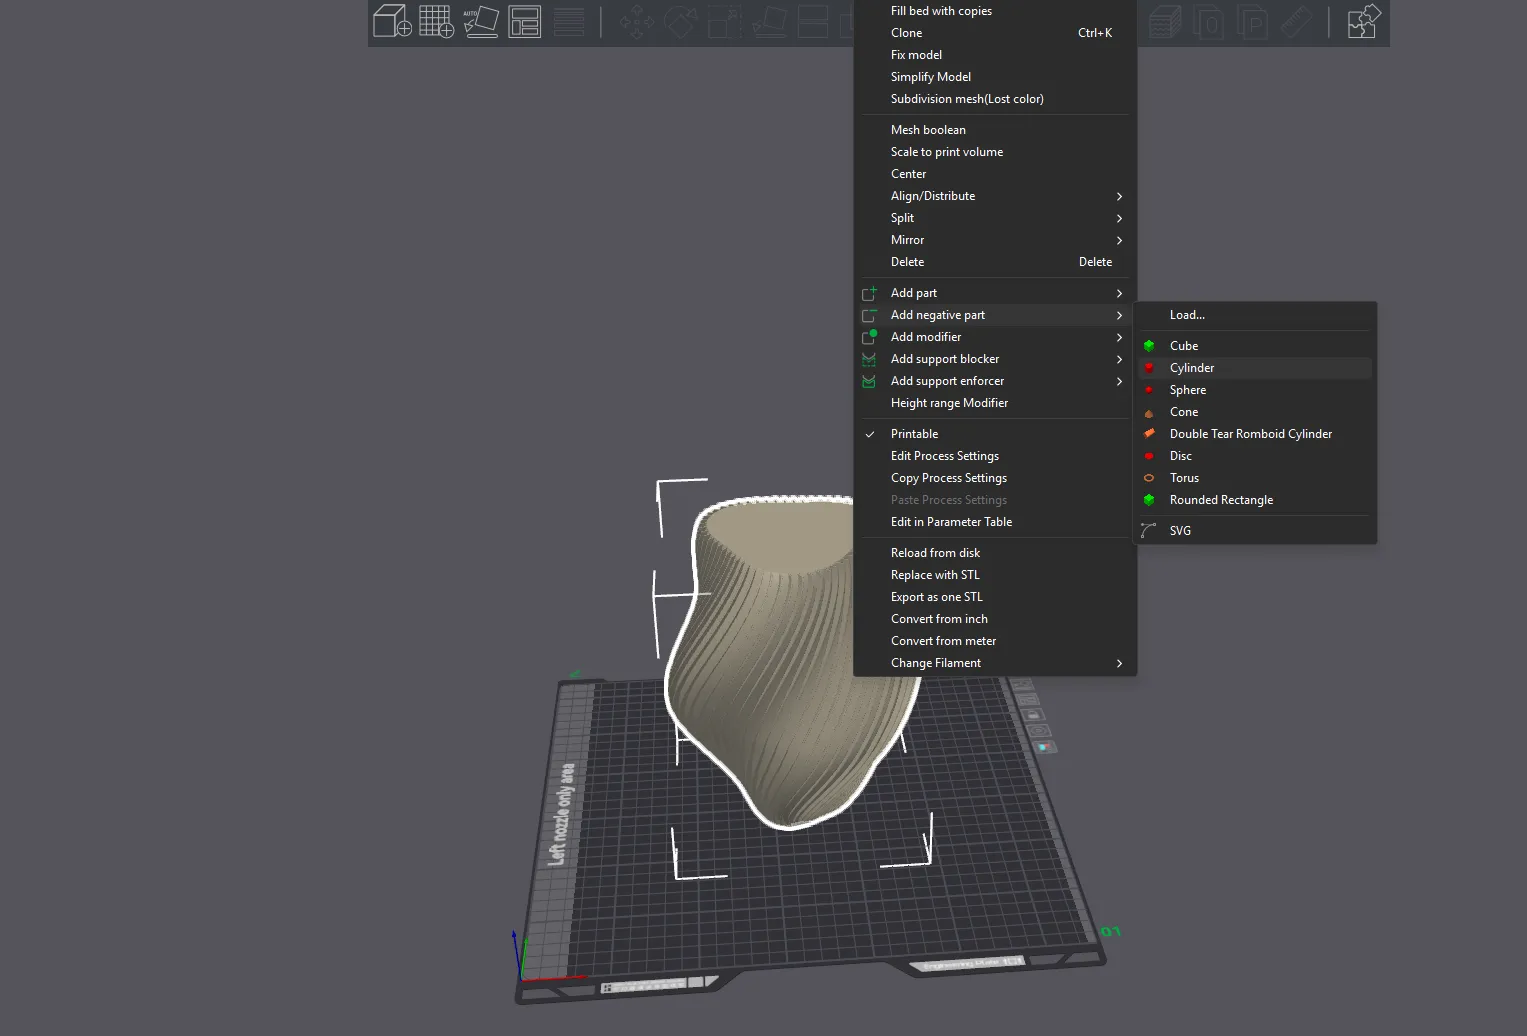
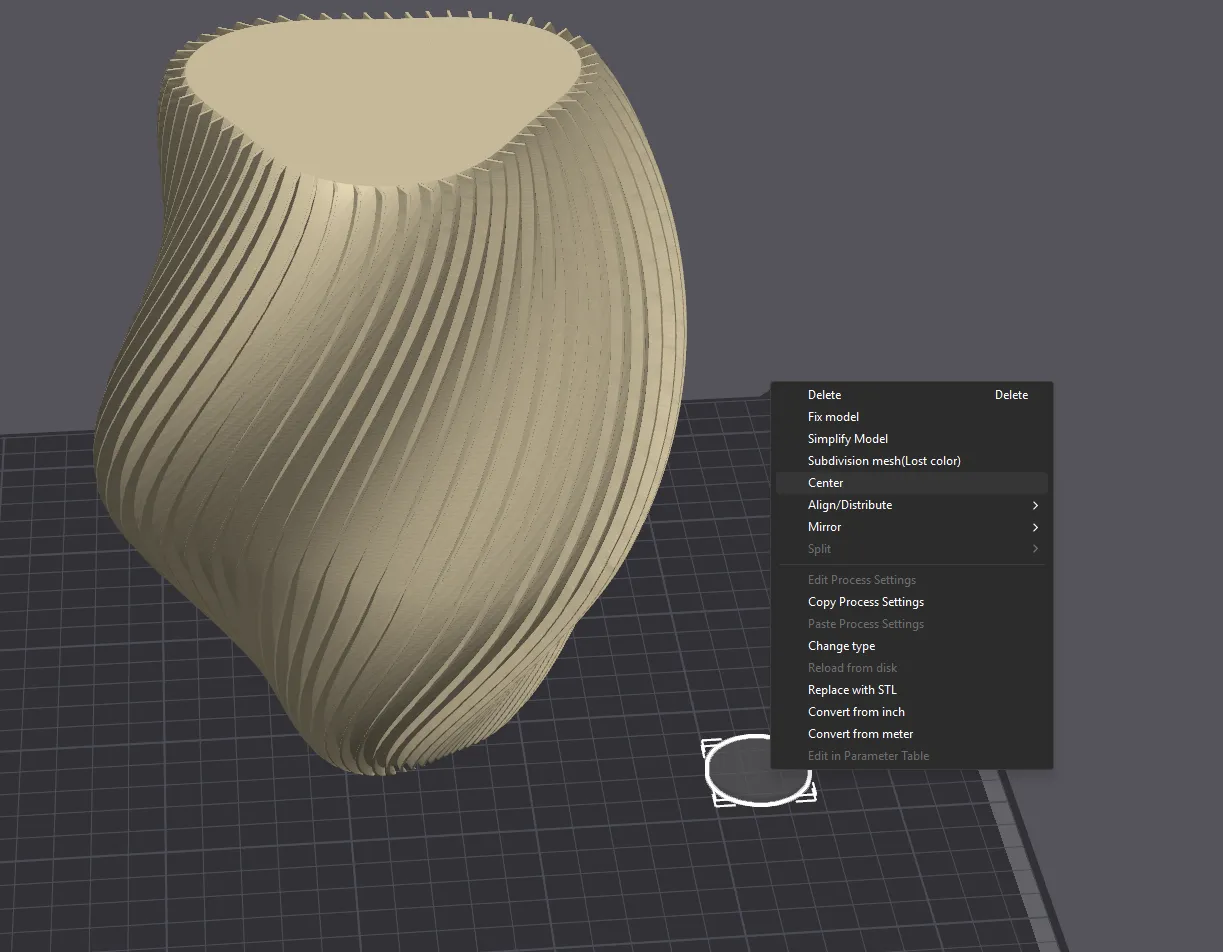
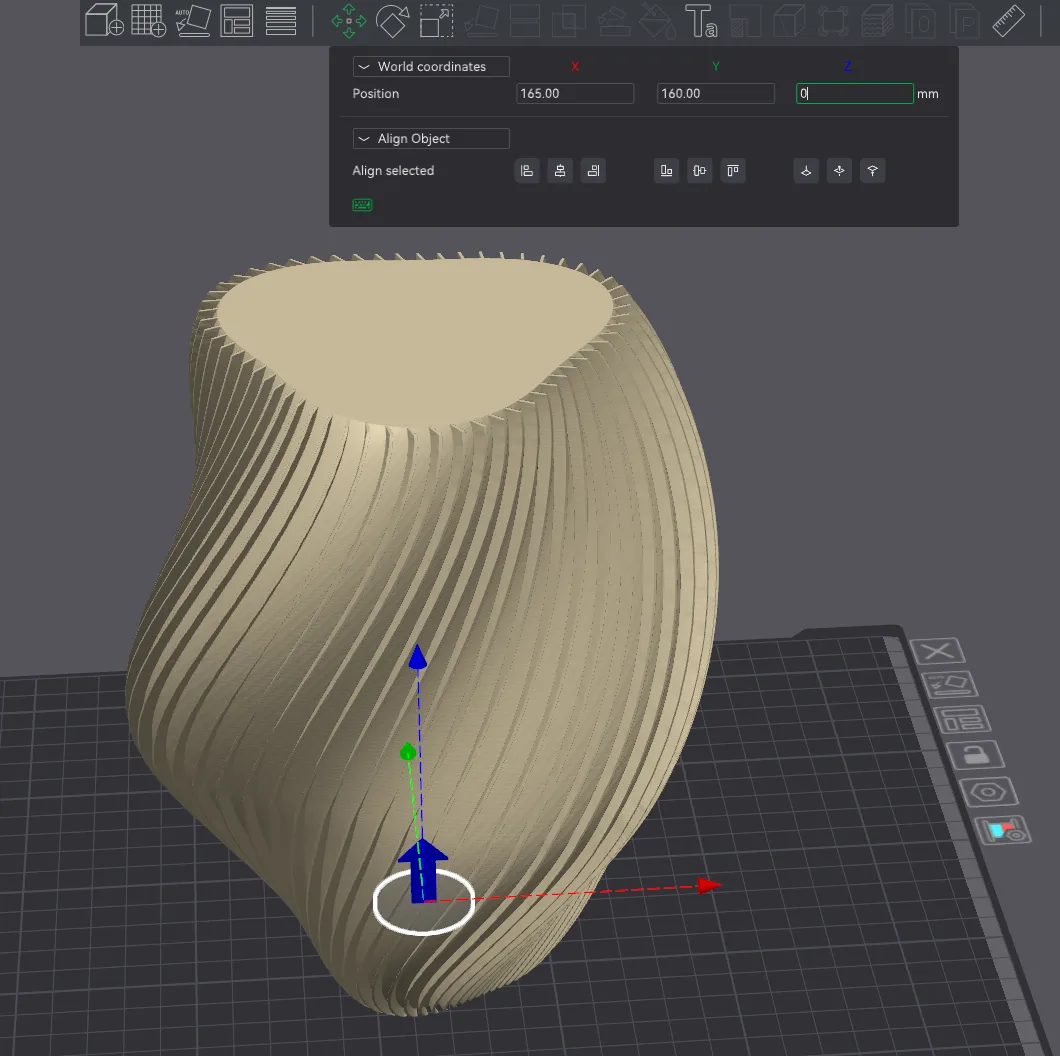
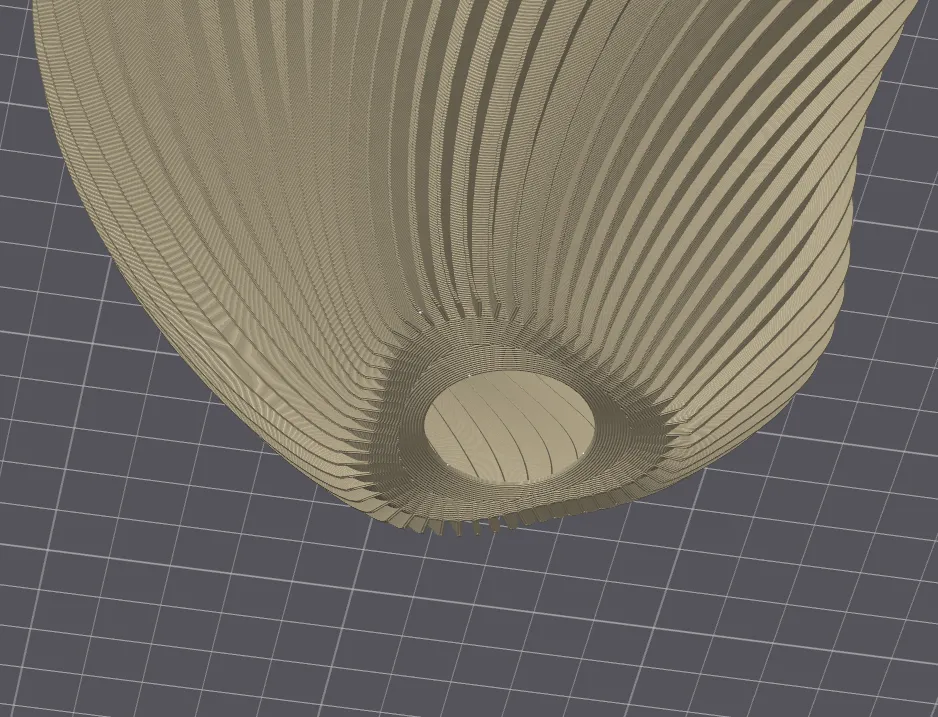
Now add a negative part by right-clicking your model, center it, and set it to 0mm Z axis (on the build plate)
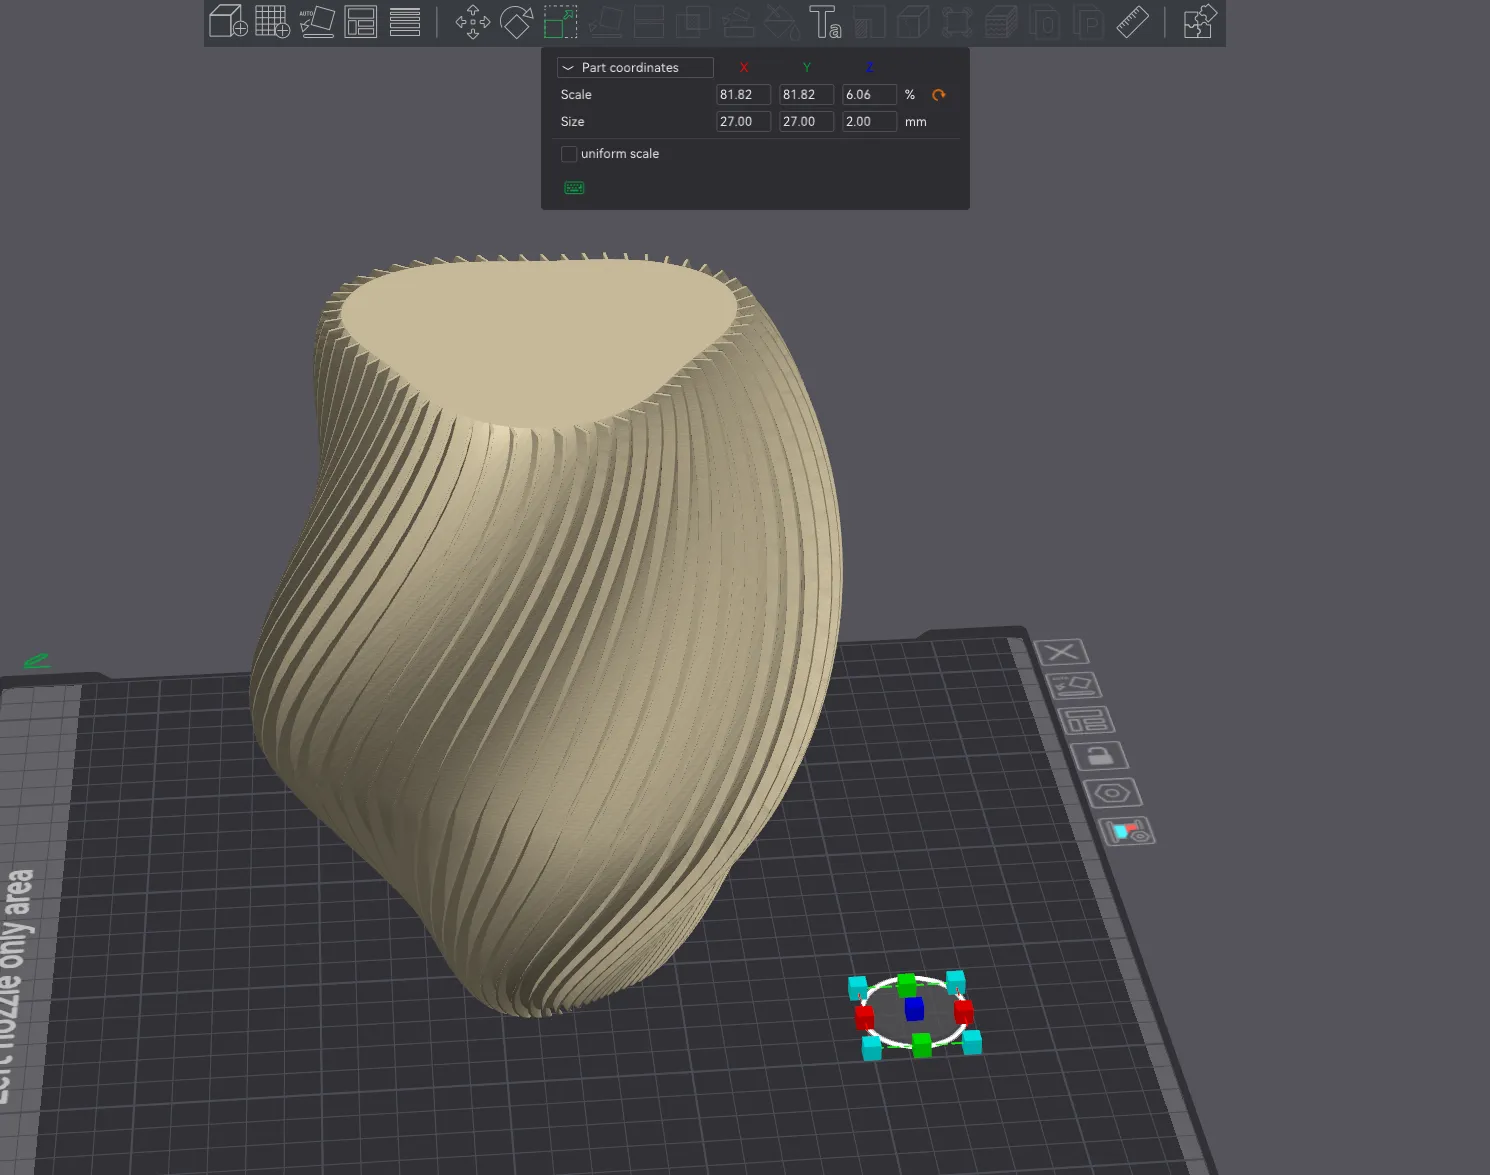
When scaling your cut out, make sure it is just enough for your wire and outlet to fit through but not your hanging light end fixture that houses the bulb. Do not let the plastic sit directly against your light bulb.
Assembly:
The assembly is very straight forward using different length dowels.
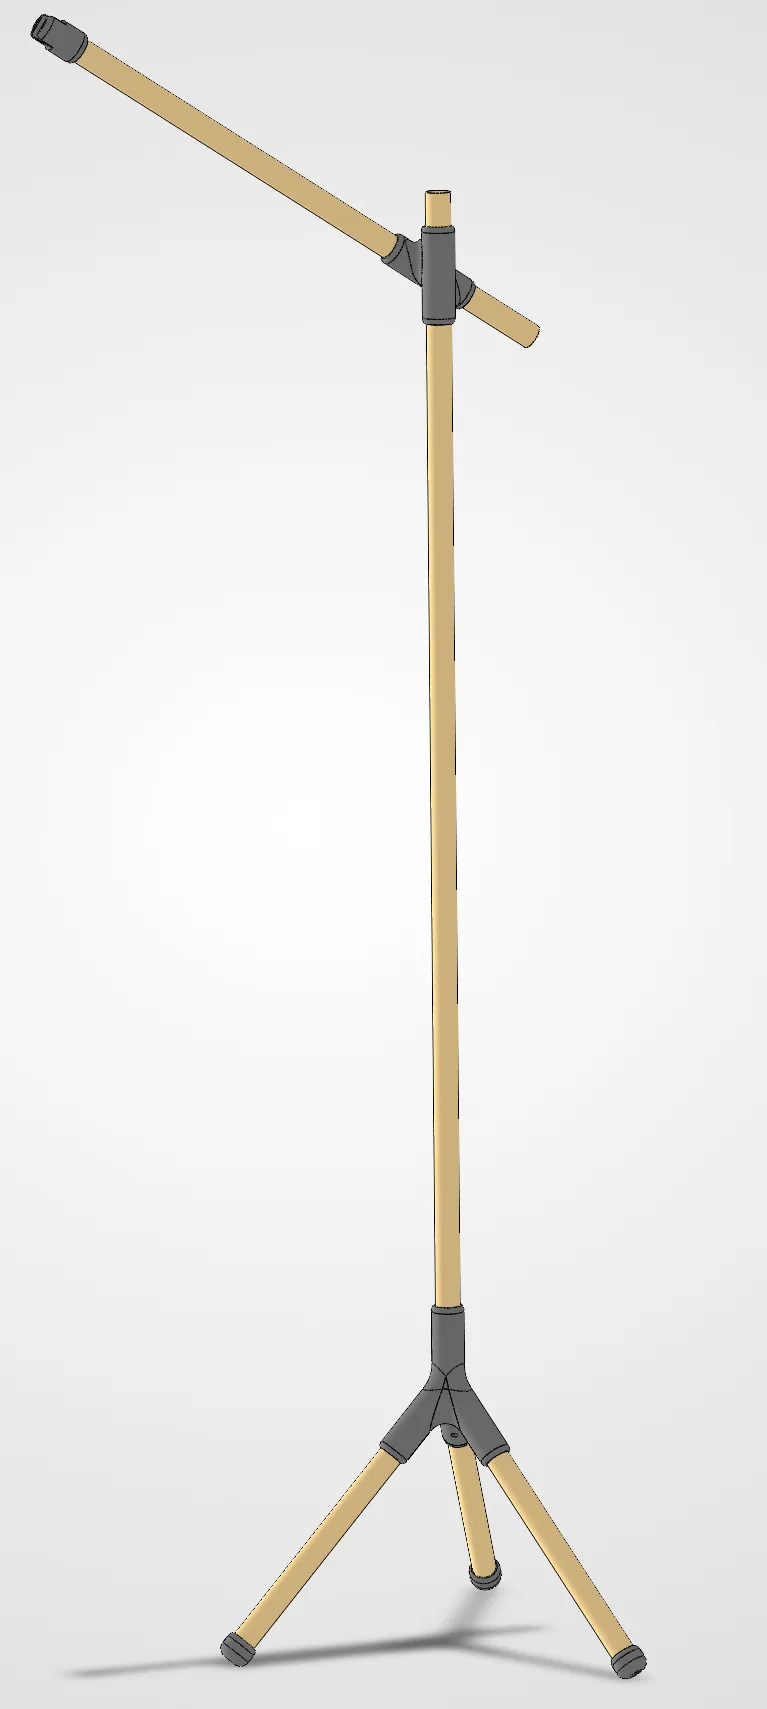
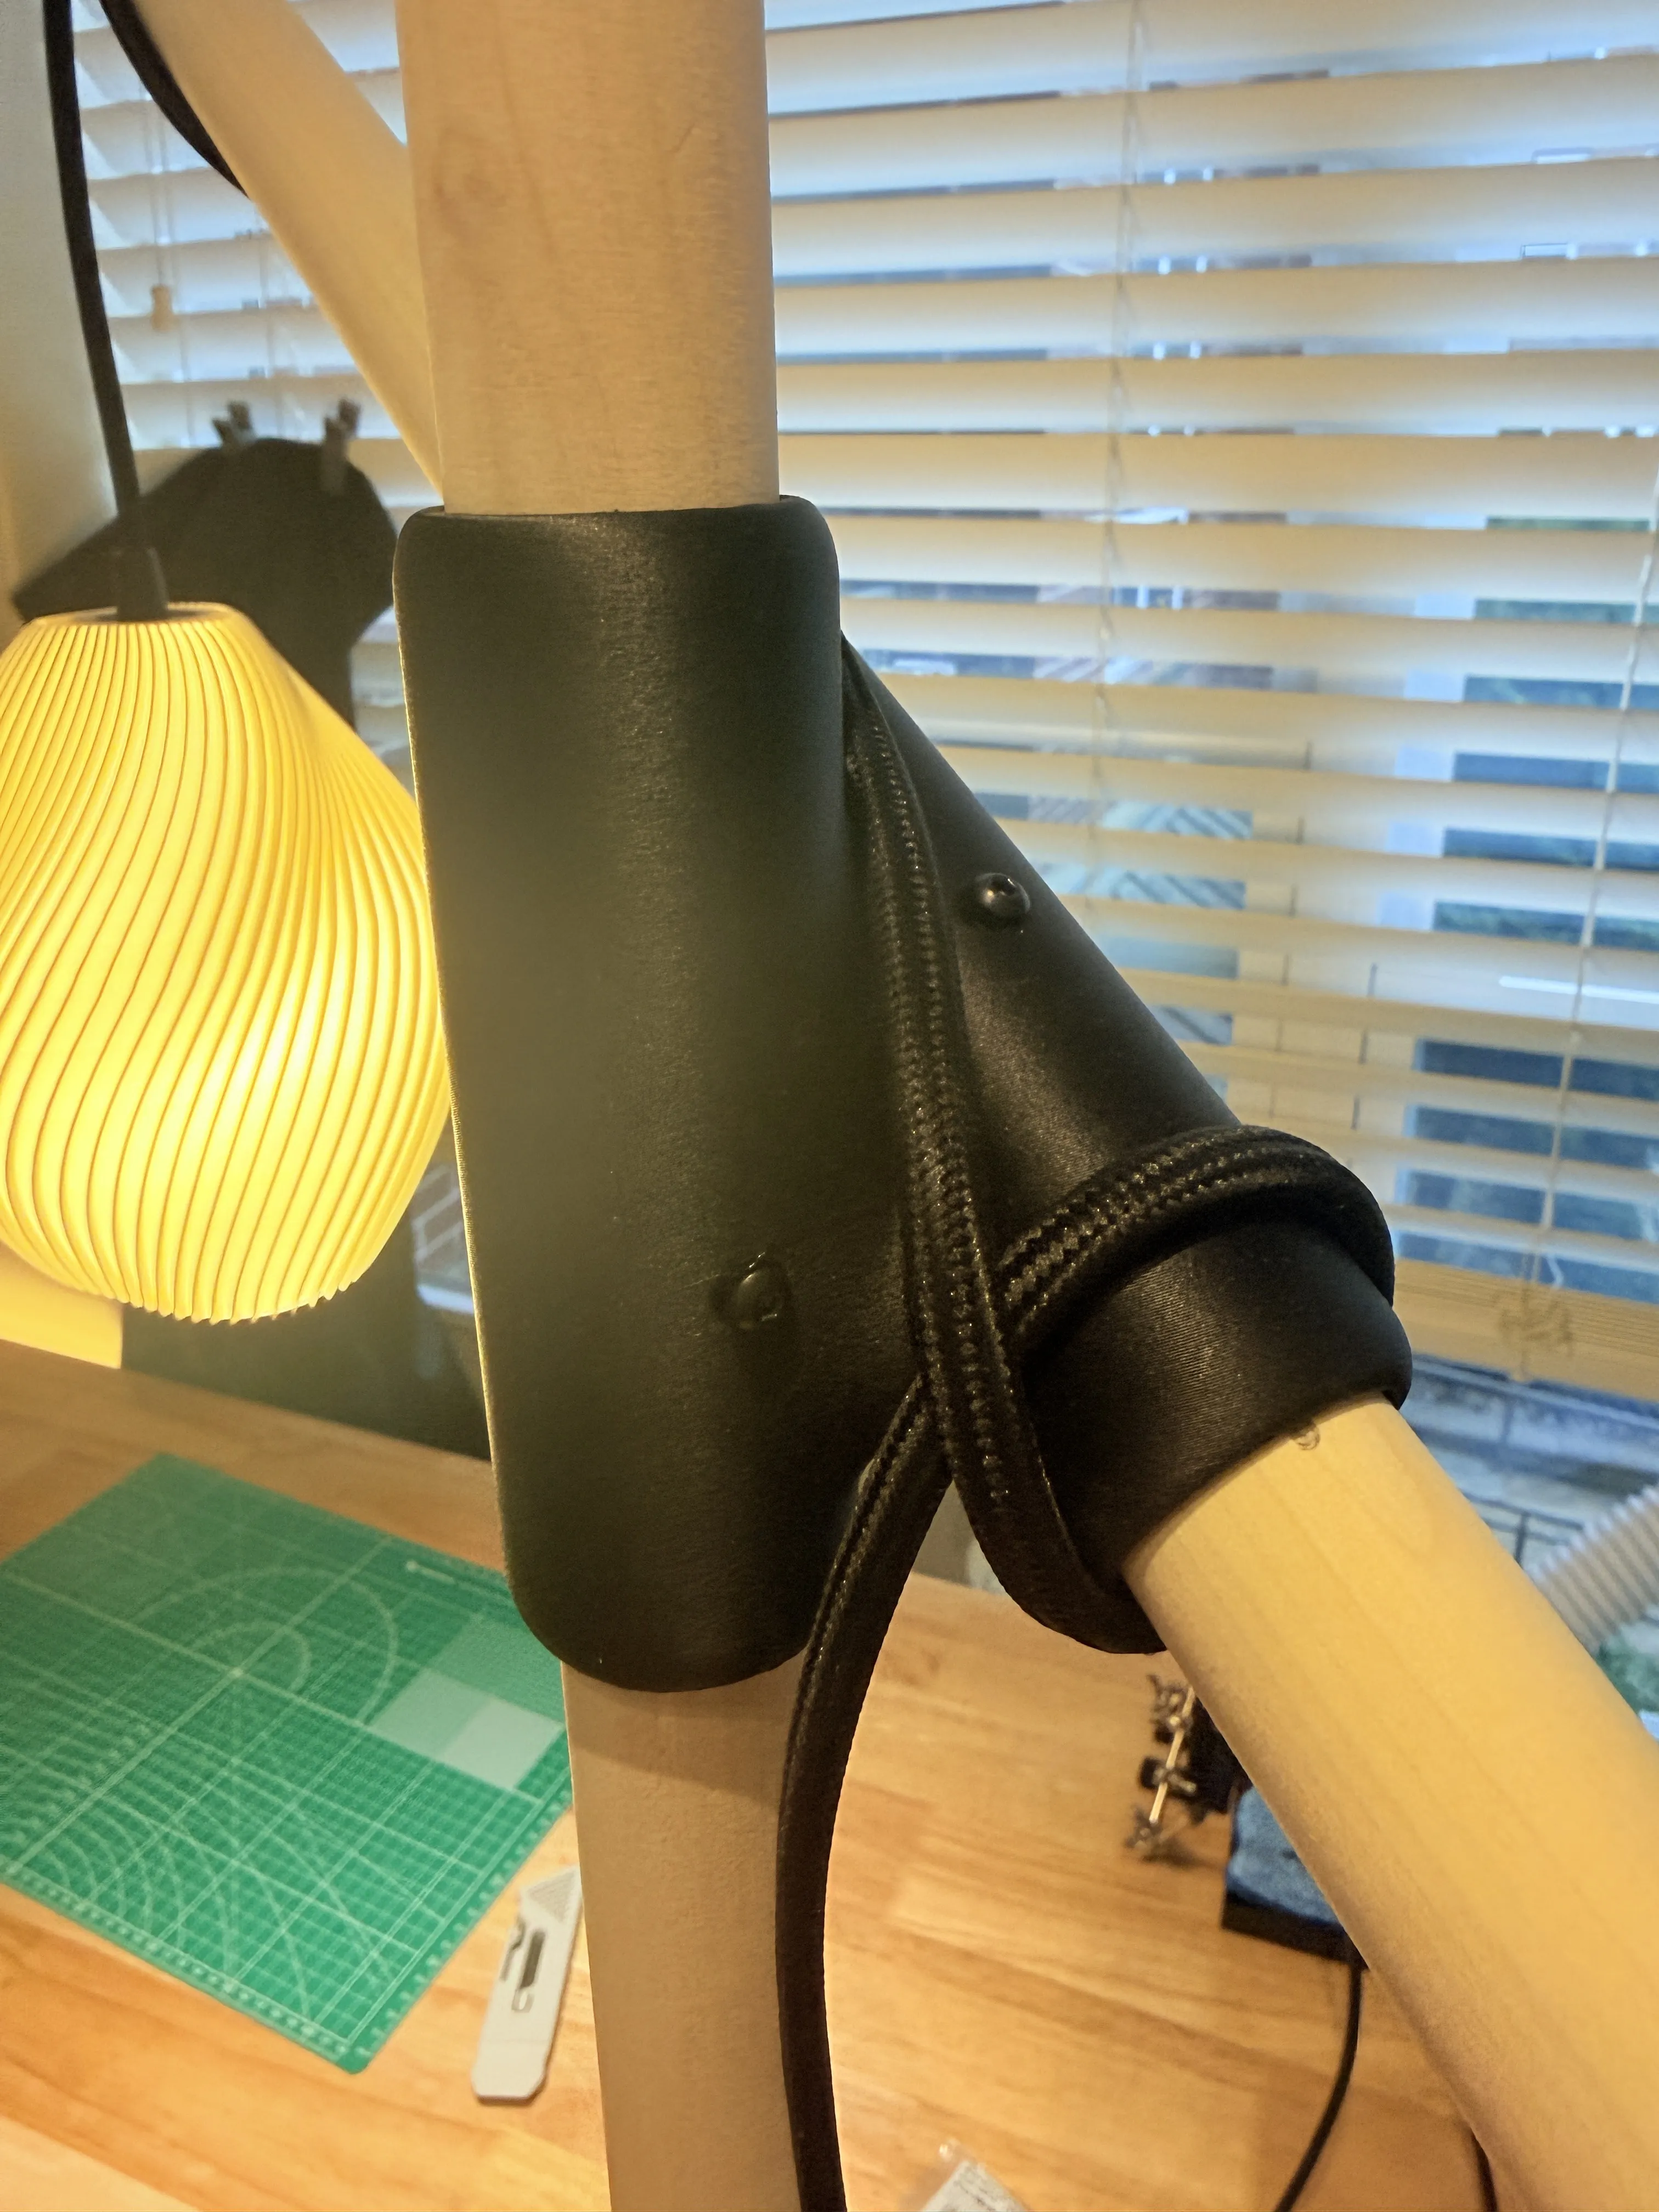
First insert the short dowels into the base and add your screws, then screw in the TPU feet. Next insert the long dowel to the tip and screw it in the from the bottom. Next slide your top joint onto the vertical shaft and secure it, then your medium sized dowel gets inserted and secured. Now add your hanging faster end to the medium shaft. Finally hand your light and wrap the cable around your lamp adding a knot when transitioning from angled to vertical.
Boost Me (for free)
If you want to support me then boosts are a great way of helping me out and supporting me as I upload exclusively to makerworld for free
License

You shall not share, sub-license, sell, rent, host, transfer, or distribute in any way the digital or 3D printed versions of this object, nor any other derivative work of this object in its digital or physical format (including - but not limited to - remixes of this object, and hosting on other digital platforms). The objects may not be used without permission in any way whatsoever in which you charge money, or collect fees.


Comment & Rating (1)