
1/4 Inch to 3-Prong Action Cam Adapter
Print Profile(1)
Description
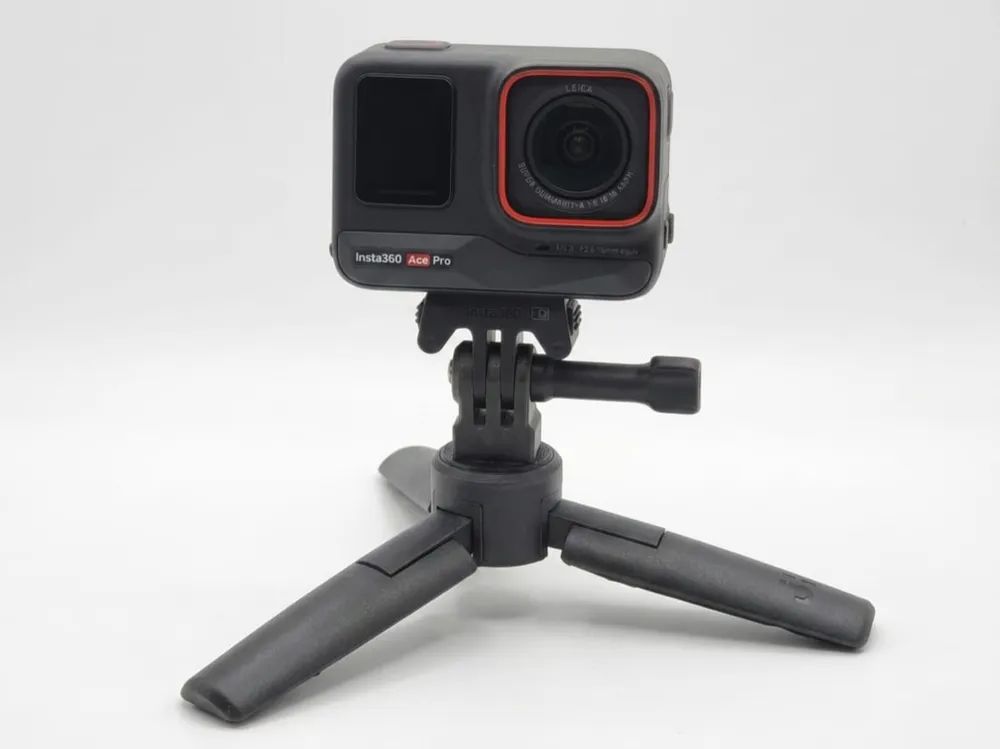
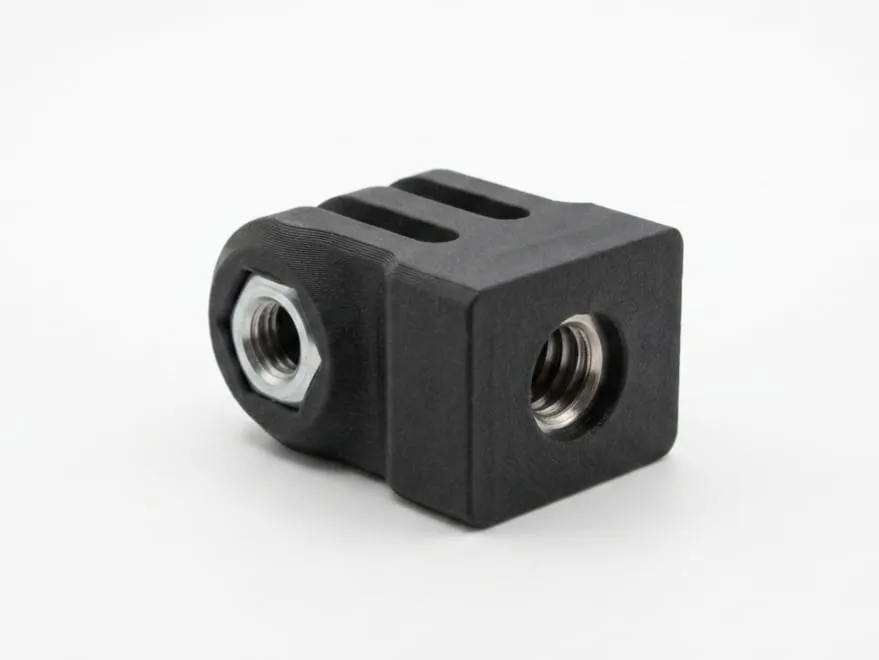
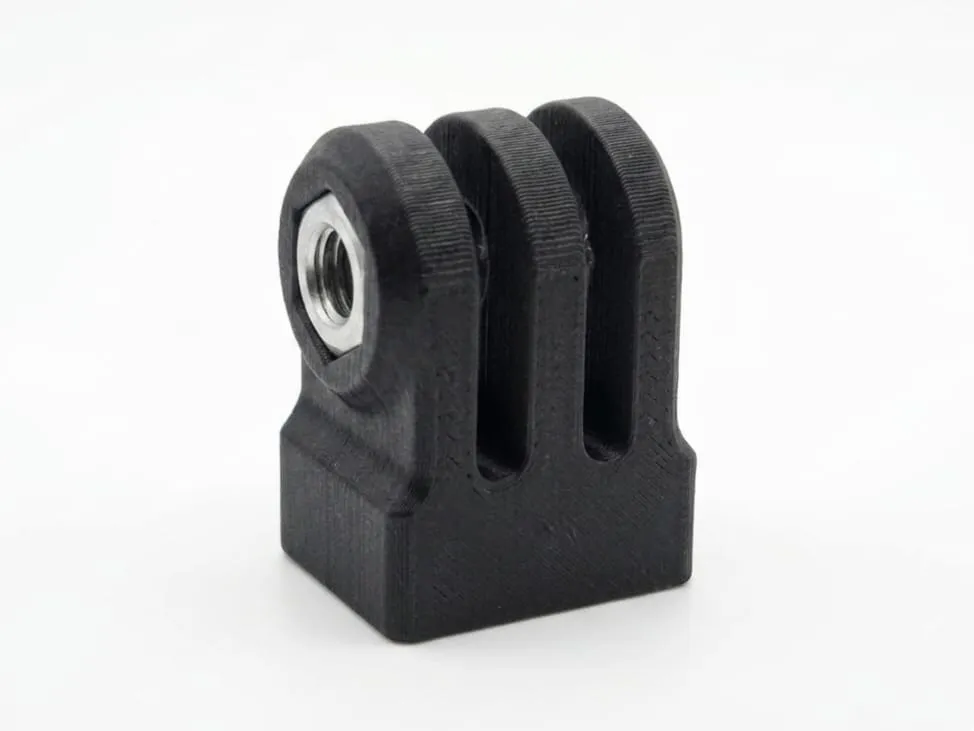
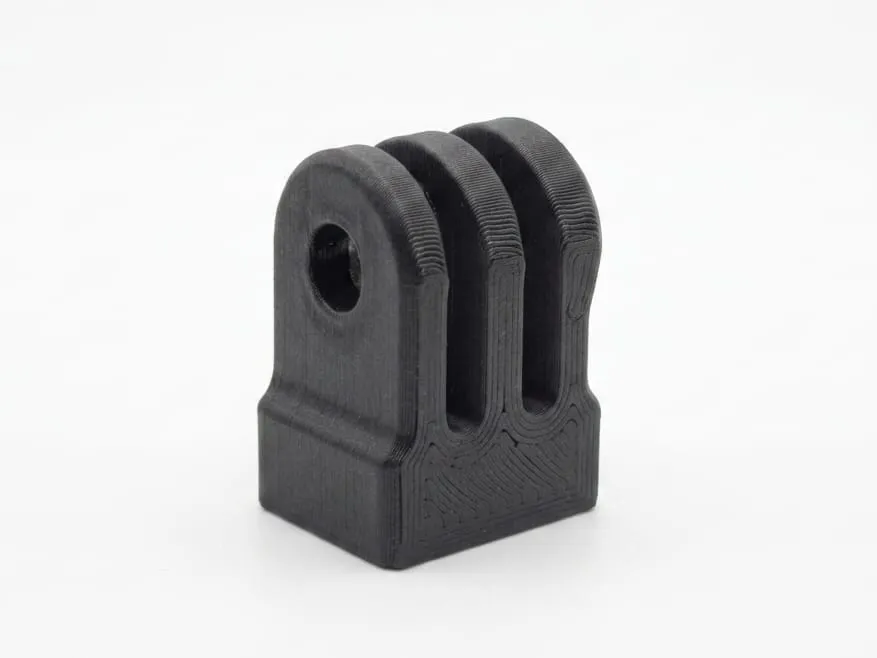
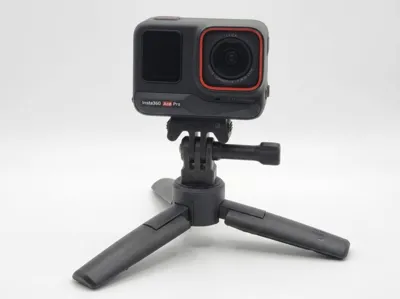
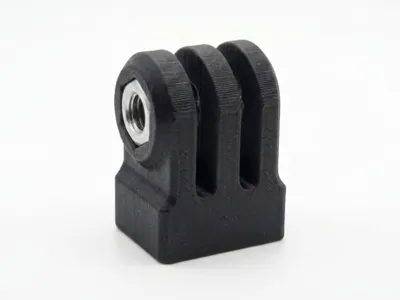
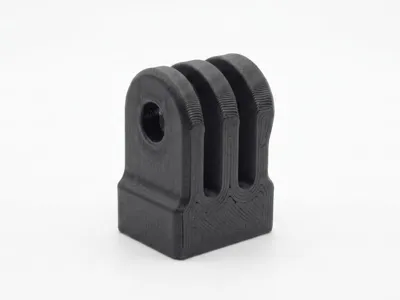
This is a robust, high-strength adapter designed to mount your action camera (like Insta360 Ace Pro, GoPro, etc.) onto any standard 1/4" tripod screw. By using Carbon Fiber (CF) filament and embedded hardware, this mount offers superior stability and durability compared to standard plastic adapters.
Hardware Needed:
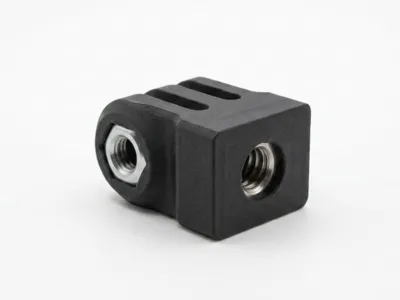
- 1x 1/4" Hex Nut (to be embedded during the print).
- 1x M5x3 Hex Nut (to be glued into the side slot).
- Superglue (for the M5x3 nut).

How to Print:
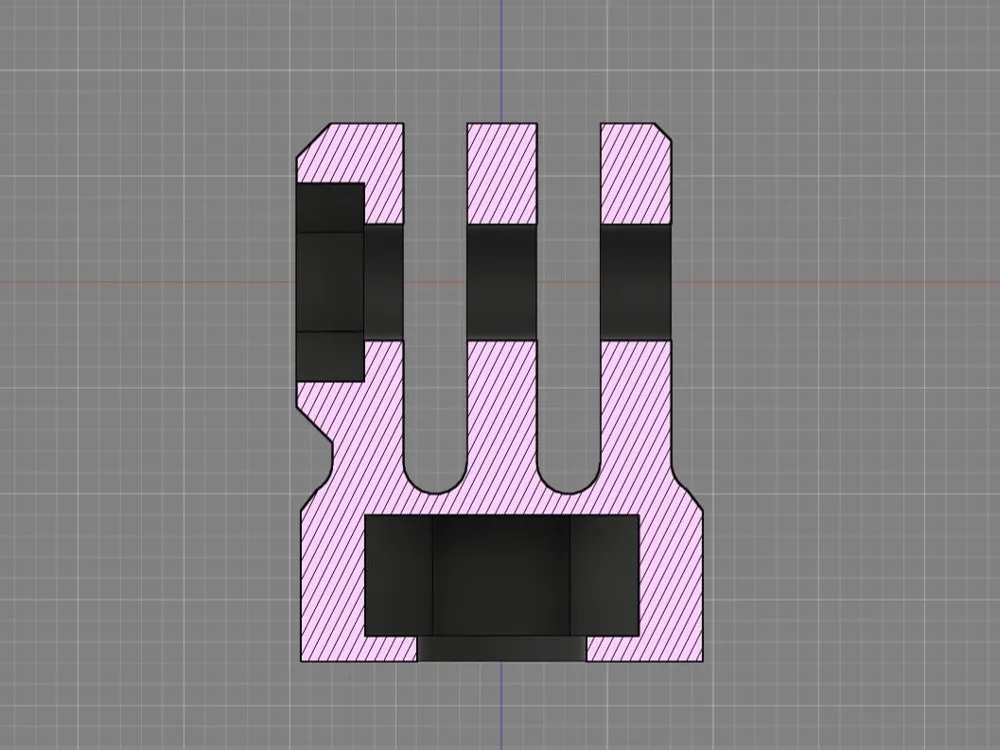
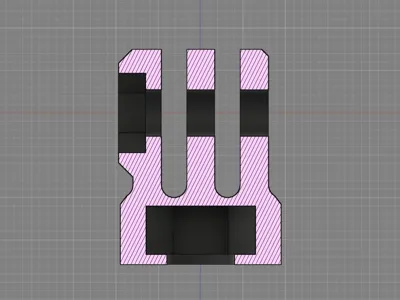
- Print Orientation (Important!): The model MUST be printed lying on its side. Because of the internal geometry for the hex nut, it can only be printed on one specific side. Please refer to the provided cross-section image to ensure correct orientation (the wide, flat part of the internal cavity must face upwards for proper bridging without supports).
- Material Recommendation: The model in the photos was printed using a Carbon Fiber (CF) reinforced filament. This material gives extreme rigidity required for a secure camera mount.
- Standard Materials: It also works great with standard PETG or ASA for a durable, impact-resistant finish.
- Wall Settings: For the "heavy-duty" effect and maximum strength, use a high number of wall loops (perimeters) — 4 to 6 walls are recommended, along with a dense infill (e.g., 40% Gyroid).
- Hardware Required: You will need one 1/4" hex nut and one M5x3 hex nut.
- Embedding the 1/4" Nut (Crucial Step): This model requires a pause mid-print to insert the 1/4" tripod nut.
- In your slicer, insert a "Pause at Height" command at exactly 13.1 mm.
- When the printer pauses, carefully place the 1/4" nut into the cavity. Ensure it sits flush and does not protrude above the current print plane.
- Resume the print to permanently seal the nut inside.
- Final Assembly: After the print completes, apply a small drop of superglue to the side slot and press the M5x3 nut securely into place.
License

You shall not share, sub-license, sell, rent, host, transfer, or distribute in any way the digital or 3D printed versions of this object, nor any other derivative work of this object in its digital or physical format (including - but not limited to - remixes of this object, and hosting on other digital platforms). The objects may not be used without permission in any way whatsoever in which you charge money, or collect fees.


Comment & Rating (0)